Topaz Sharpen AI Can Work Wonders - Review

If you are trying Sharpen AI or other Topaz Labs products, please consider using my affiliate link. There is no extra cost to you and it helps support tutorials like this one. Ready to buy? Click my link and support my work.
An application specifically to sharpen images has not been a part of my workflow for a long time. Several years back, I had Nik Sharpener Pro because I had the Nik collection. I didn’t use Sharpener Pro. The level of sharpening I got from my standard micro-contrast adjustments with ON1 or Lightroom was plenty for me. Until … they weren’t enough.
Who Is Sharpen AI For?
Sharpen AI is for many types of photographers. If you are a handheld photographer, Topaz Sharpen AI will make the camera shake in those slightly blurry photos disappear, giving you crisp and sharp images. Wildlife and portrait photographers can correct for misses in focus. And for landscape photographers, Sharpen AI has general sharpening for scenes that are just slightly soft (which sometimes happens with RAW files).
Sharpen AI because part of my toolkit is out of need. I was taking in a stunning sunrise and captured a hand-held pano sweep. Unfortunately, when I was reviewing the images back in the studio, a couple of the panels of the sequence were a little soft. I was shooting handheld, with a longer lens, and didn’t take enough care to pause enough between each image. That’s when I started looking at sharpening applications again, and Topaz Sharpen AI saved my pano.
Valley In The Sawtooth Wilderness
Contact Scott to commission a print or license this image.
Is Sharpen AI Any Good?
In a word, absolutely! I’ve used Sharpen AI on several different photos already. Watch the video to see how well the different AI models work. Like any tool, Sharpen AI has strengths and weaknesses - and AI doesn’t work miracles.
Topaz Sharpen AI Strengths
Fantastic results. This is what’s most important - the results. Images refined with Sharpen AI are crisp and clean. Image quality is excellent.
Multiple AI Models. Different photos need different types of sharpening. Sharpen AI has three models to select from. It can auto-analyze your photo and select one for you, too.
Control. Topaz gives you the photographer control over the AI model selected. The tool buttons and sliders let you tailor how strong or gentle to apply sharpening.
Topaz Sharpen AI Weaknesses
Speed. Adjustments to the AI models and sliders take a few seconds on average to re-render the image.
Masking. The masking tool is functional, but basic. It is a little sluggish. I recommend using layering another app with stronger masking tools (Photoshop, ON1 Photo RAW, etc.) to selectively apply sharpening.
I have found Sharpen AI to be very capable and providing extra-fine detail. Often, the automatic detection is all that’s needed to apply the correct AI sharpening model with just the right amount of strength.
The AI is smart in this tool, too. It understands depth in a scene. In the example here, notice how sharp the “Sacramento” sign becomes, yet the background maintains a level of softness. I photographed this scene with a shallower depth of field. Sharpen AI recognized that and didn’t override my creative field choice.
Sharpen AI is encouraging me to shoot more handheld. While I make all attempts to stabilize my camera in the field, I know I don’t have the steadiest hands.
The results from Sharpen AI are unquestionably excellent.
The Sharpen AI Controls
The controls in Sharpen AI are simple yet powerful. There are three sections in the control panel and the workflow is top to bottom. First, a sharpening model is selected, the model is fine tuned, and finally (if needed) some grain can be added to the image.
Image Quality
The Image Quality section is where you select the AI model to apply to your image. Sharpen AI has three models to control the type of sharpening applied to a photo. Click the Auto button to have Sharpen AI analyze your image and select the model it thinks is best, or select one yourself.
Motion Blur. This model corrects for softness resulting from subject movement in a frame. Camera shake from a handheld photo, or scenes with a moving subject like a panning shot, are examples where the Motion Blur model works well.
Out Of Focus. This model corrects for missed focus in a photo. For example, a wildlife photo of a bird where you try to set focus on the bird’s eye, but miss slightly. This model works well to correct sharpness.
Too Soft. This model is for general sharpening. When a photo is soft overall, this model is a good choice.
The Auto setting usually gets things right, but not always. Watch the video around the 9 minute mark for an example of when the Auto option chooses incorrectly.
Beneath the AI model buttons are additional controls These help refine the AI model. Make a selection based on the nature of the photo being sharpened.
Normal. The most commonly used choice. A photo is soft and a little blurry.
Very Noisy. An image that is both soft and very noisy. (Sidebar: You may prefer to use a dedicated noise reduction tool to manage noise. My preferred tools in ON1 NoNoise.)
Very Blurry. Select this for photos that are extremely blurry.
It can sometimes be difficult to tell where the line is between a “normal” blurry photo and one that is “very” blurry. If Normal still feels soft, you can try Very Blurry or visit the sliders in the Settings section.
Topaz Labs Sharpen AI has simple yet powerful controls.
Settings
The sliders in the Settings area further refine the amount of sharpening. Adjust these sliders after selecting an AI model. There is also an Auto button to give you a starting point.
Remove Blur. Set how little or how much blur is removed. I think of this slider as how “aggressive” do I want to let the AI be when sharpening.
Suppress Noise. Reduce noise artifacts from the sharpening process. Sometimes sharpening can accentuate or exaggerate noise. This slider helps keep that in check.
Post Processing
In the Post Processing section of the controls (collapsed in the screen shot here) is a single Add Grain slider. The reason for the slider is to reintroduce grain to an image if the sharpening algorithms removed too much of any original noise. I never use this slider. If I have a need to reintroduce grain into a photo, I have other tools to do that.
Sharpen AI analyzes and detects the type of softness or blur in your image and can correct it automatically.
Selective Sharpening With Sharpen AI
Sharpen AI includes a basic masking brush with edge detection to selectively apply sharpening to an image. Press the M key to activate the masking tools (or click the small mask icon in the lower right of the interface).
The controls in the lower left set the brush size, feather, and opacity including a toggle for edge detection. Standard keyboard shortcuts like the square bracket keys to resize the brush and the X key to toggle painting modes apply.
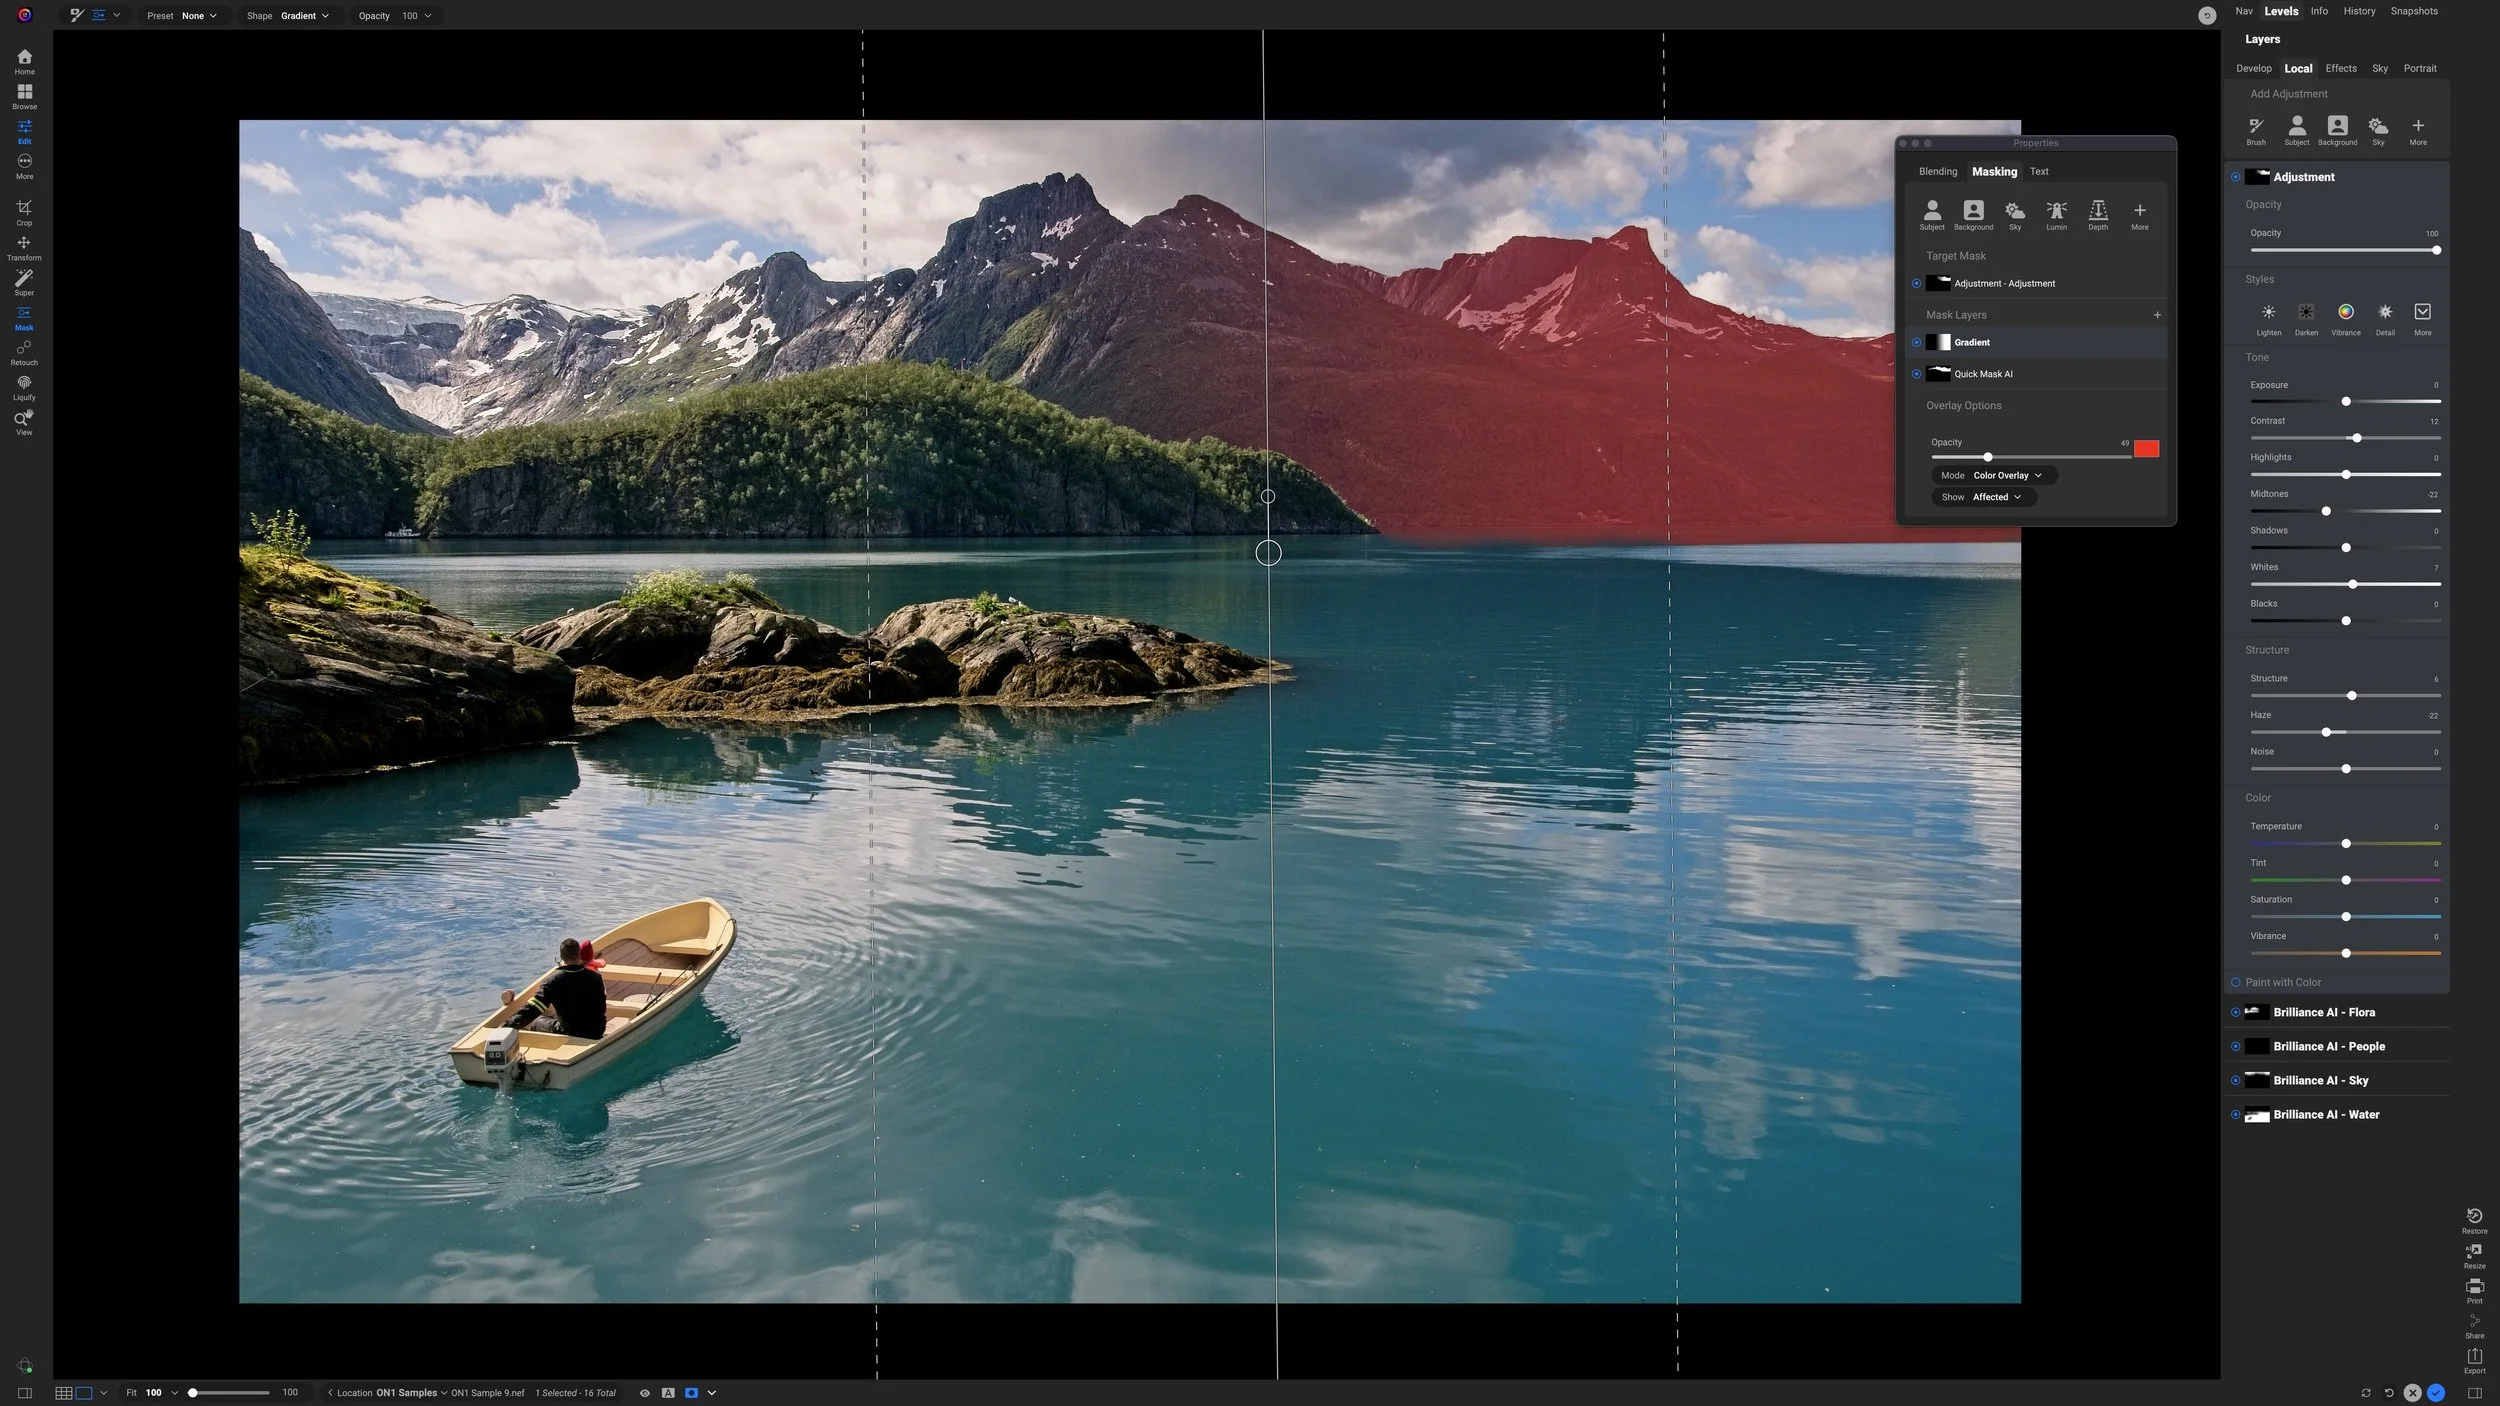
There is also a ‘Find Objects’ button to automatically find the main subjects in your photo. I have had moderate success with this option. The AI is pretty good about identifying subjects like cars or people, and gives options to include or exclude detected objects from the mask. For other scenes, like this landscape photo of water and ice, the AI could not pick out any subjects.
The masking brush is rudimentary and can get the job done. However, if you have other packages with masking functions, like Photoshop, I recommend using those. The masking tools are stronger.
Selectively apply sharpening to your images. Only add detail to the areas you want. For many photos, the AI-powered Find Objects button makes masking easy.
Is Sharpen AI Worth It?
Sharpen AI retails for ~US$79 so it is not an inexpensive tool. It does only sharpening, yet what it does, it does very well. I think Sharpen AI is worth the investment for specific types of photographers. If you are a wildlife photographer capturing fast-moving subjects, or take lots of handheld images, you will find plenty of use for Sharpen AI in your workflow.
For the straight-up landscape photographer, Sharpen AI can give you a boost in detail throughout an image, if your images come out of camera a little soft to begin with. I’d suggest taking advantage of the Sharpen AI free trial download and measuring the results for yourself.
Sacramento Street Chinatown
Contact Scott to commission a print or license this image.