Do I Still Need The Color Enhancer? Yes, In This One Situation
If you are trying ON1 Photo RAW 2021 or upgrading from a prior version, please consider using my affiliate link. There is no extra cost to you and it helps support Photo RAW tutorials like this one. Ready to buy? Use the offer code SDP20 at checkout and Save 20%!
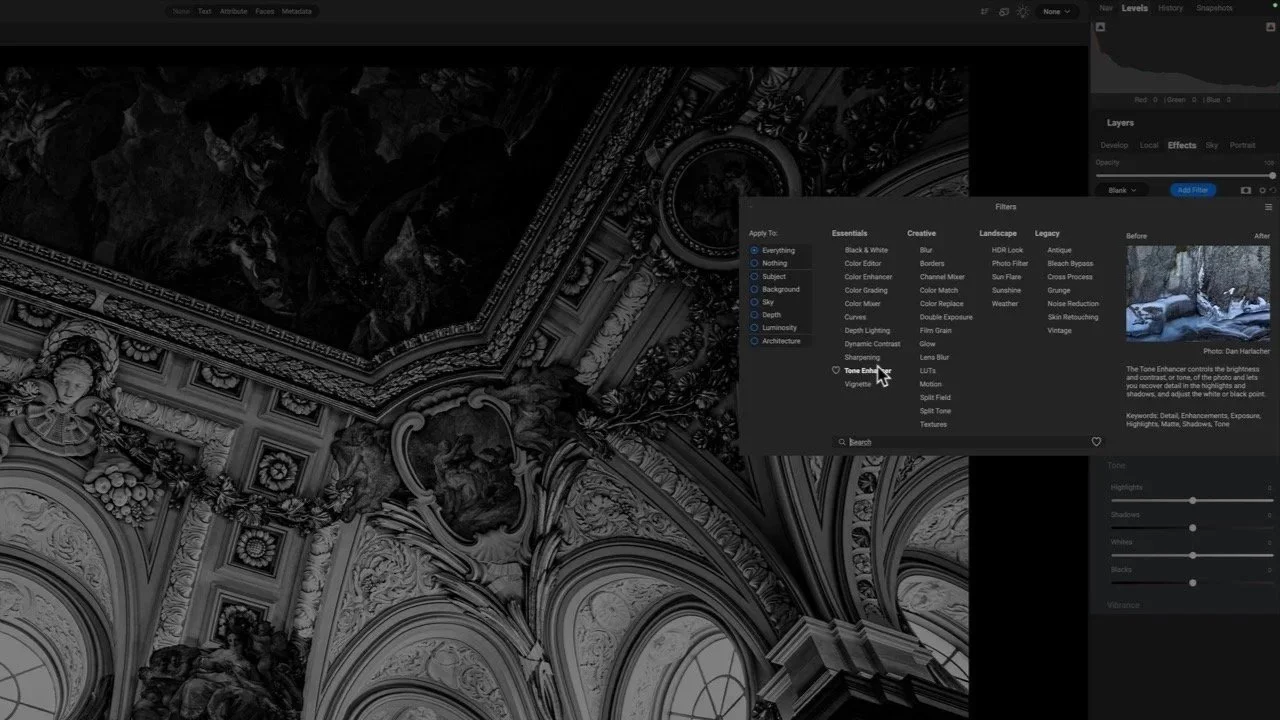
Color Enhancer History And Overlap
The Color Enhancer filter has been in ON1 products for a long time, well before ON1 Photo RAW was a product. I remember using Color Enhancer harking back to Perfect Effects 4 … a product name that hasn’t been uttered in a long time! :) Back in the day, this filter was in the Effects portion of the ON1 plug-ins to Lightroom, Photoshop, and others and was the way to adjust hue, saturation, luminance, temperature, and tint in ON1. It was useful for both global adjustments to a photo and localized changes when applied with a mask.
As the ON1 product line matured and RAW processing became part of the product, some of the controls in the Color Enhancer were added to the Develop module. Adjustments like temperature, tint, and saturation are fundamental changes needed in the core of a RAW engine. Nearly every photo needs at least one of those types of adjustments globally. Around the same time, the Local Adjustments tab made its debut. Locals make those same fundamentals coupled with the masking tools available, with the added benefit of working with the RAW data in an image file.
Eventually, a streamlined Color Adjustment filter was added to Effects, dedicated to selective hue, saturation, and luminance controls. It would seem to be the end of an era for the Color Enhancer.
Other tools in Photo RAW do what the Color Enhancer filter does. Why do I need it?
Why Is The Color Enhancer Still Here?
So if all of the functionality of the Color Enhancer is in other tools, why is the filter still there? There are two big reasons. The first is to preserve previous edits. Earlier iterations of ON1 products had a notion of “Smart Photos” where the editing instructions were embedded in a PSD file. This enabled a non-destructive workflow while still in a plug-in ecosystem. Removing the Color Enhancer entirely could break older edits - and no photographer wants that. When I update my software, I expect - dare I say, demand - that my existing edits remain exactly as they are.
The second reason to keep the Color Enhancer in the product is for presets. Many photographers, myself included, make presets to speed up workflow, and many of those presets include the Color Enhancer. Presets made with earlier versions of ON1 continue to work with the newer versions. That’s important. I’m sure the wizards at ON1 could have come up with a way to map the aging Color Enhancer filter to the newer tools … or just keep it in the product.
And, as you’ll soon see, there is still a use for the Color Enhancer today.


The One Situation The Color Enhancer Still Proves Worthy
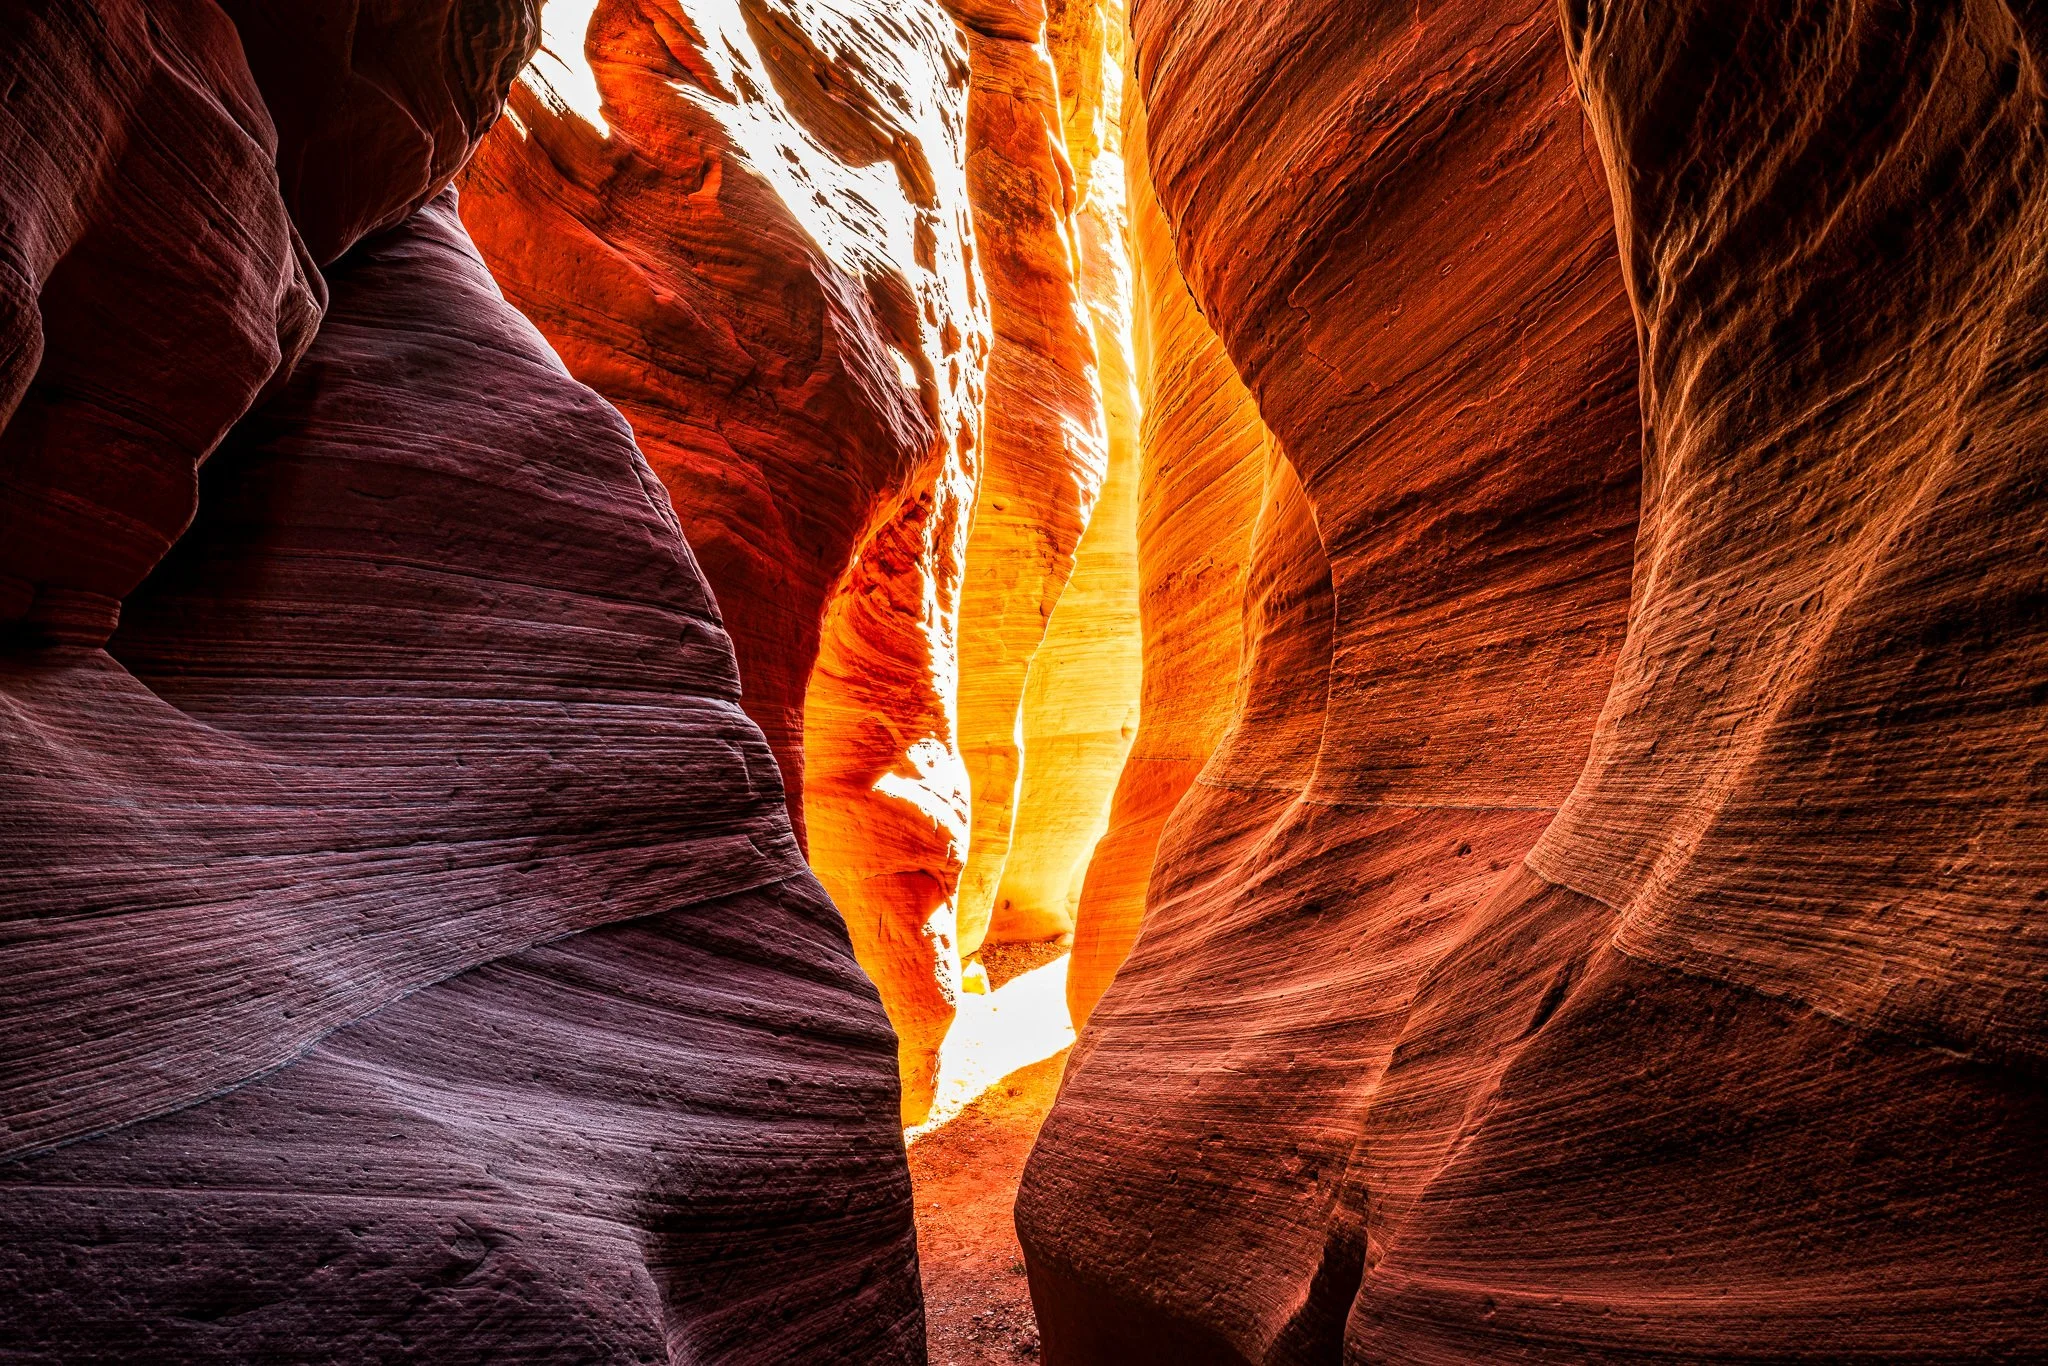
There is still one scenario that the Color Enhancer can handle that the other tools cannot. Localized Purity adjustments. The sliders in the Purity area protect color casts from the very bright highlights and very deep shadows. In the sunset photo here, a slight yellow, dingy cast is present in the very bright areas of the sun. With a small adjustment to the Highlights slider in Purity, the highlights are cleaner.
The highlights of the sun have a yellowish cast.
Adjusting Highlights Purity reduces the unflattering yellowish highlights.
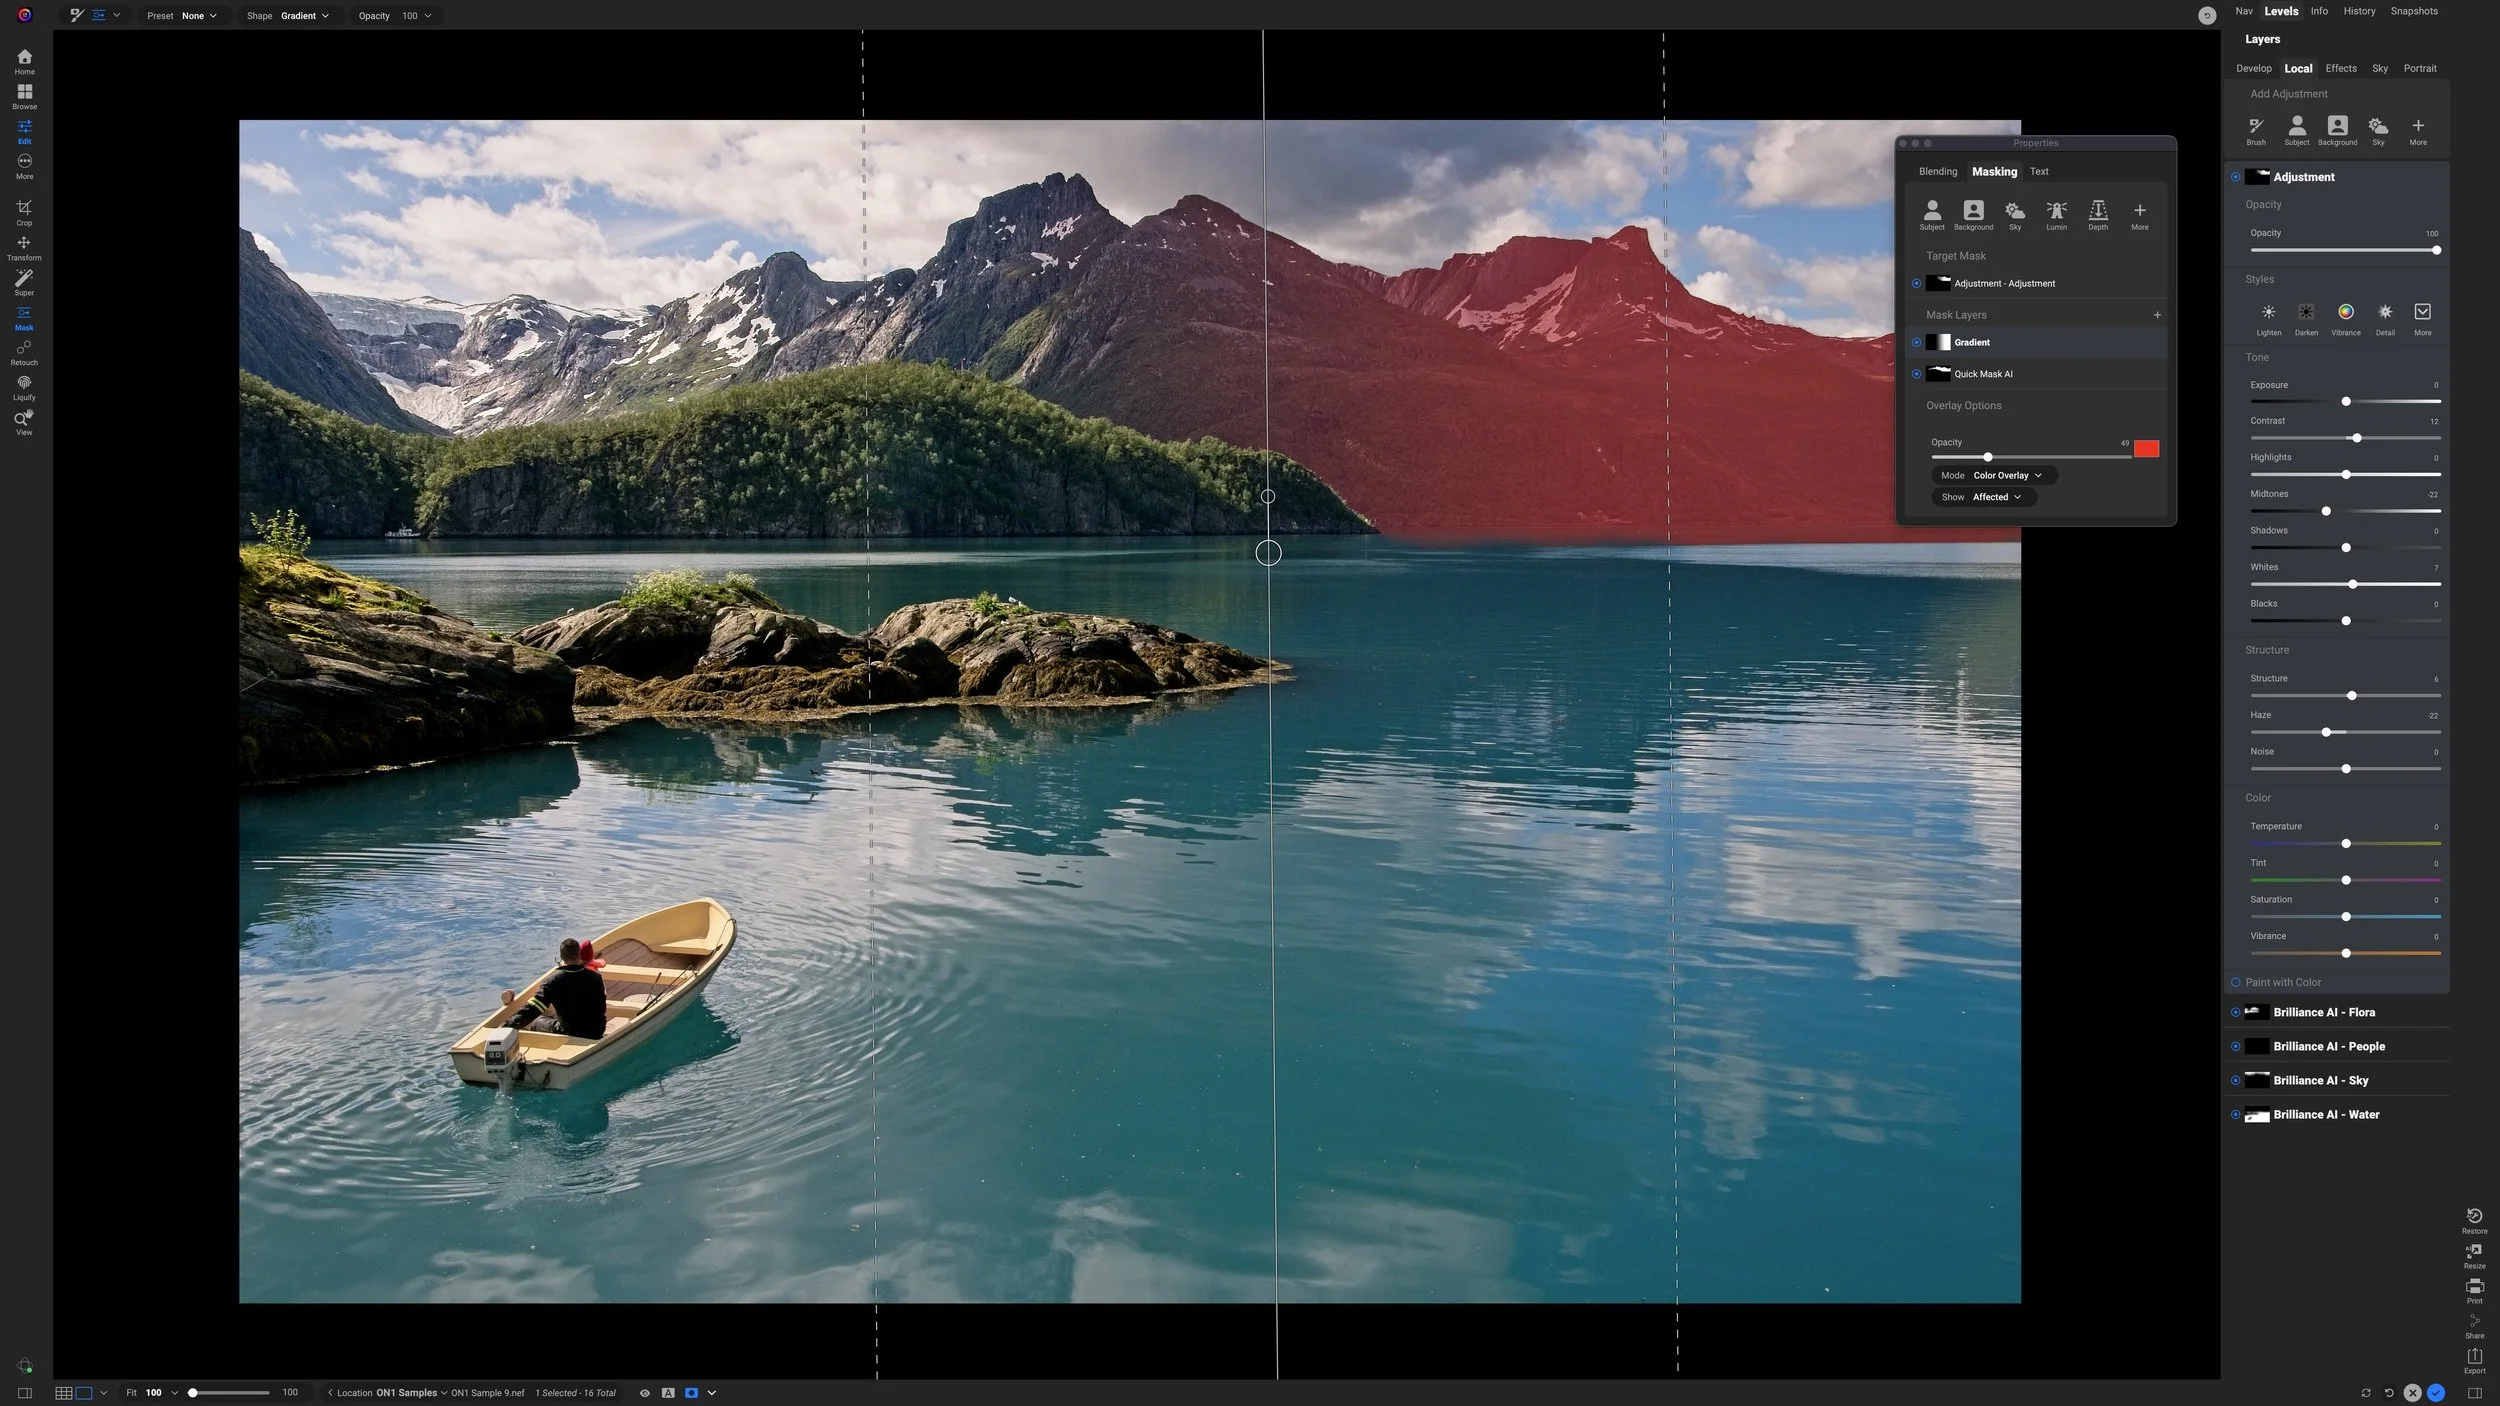
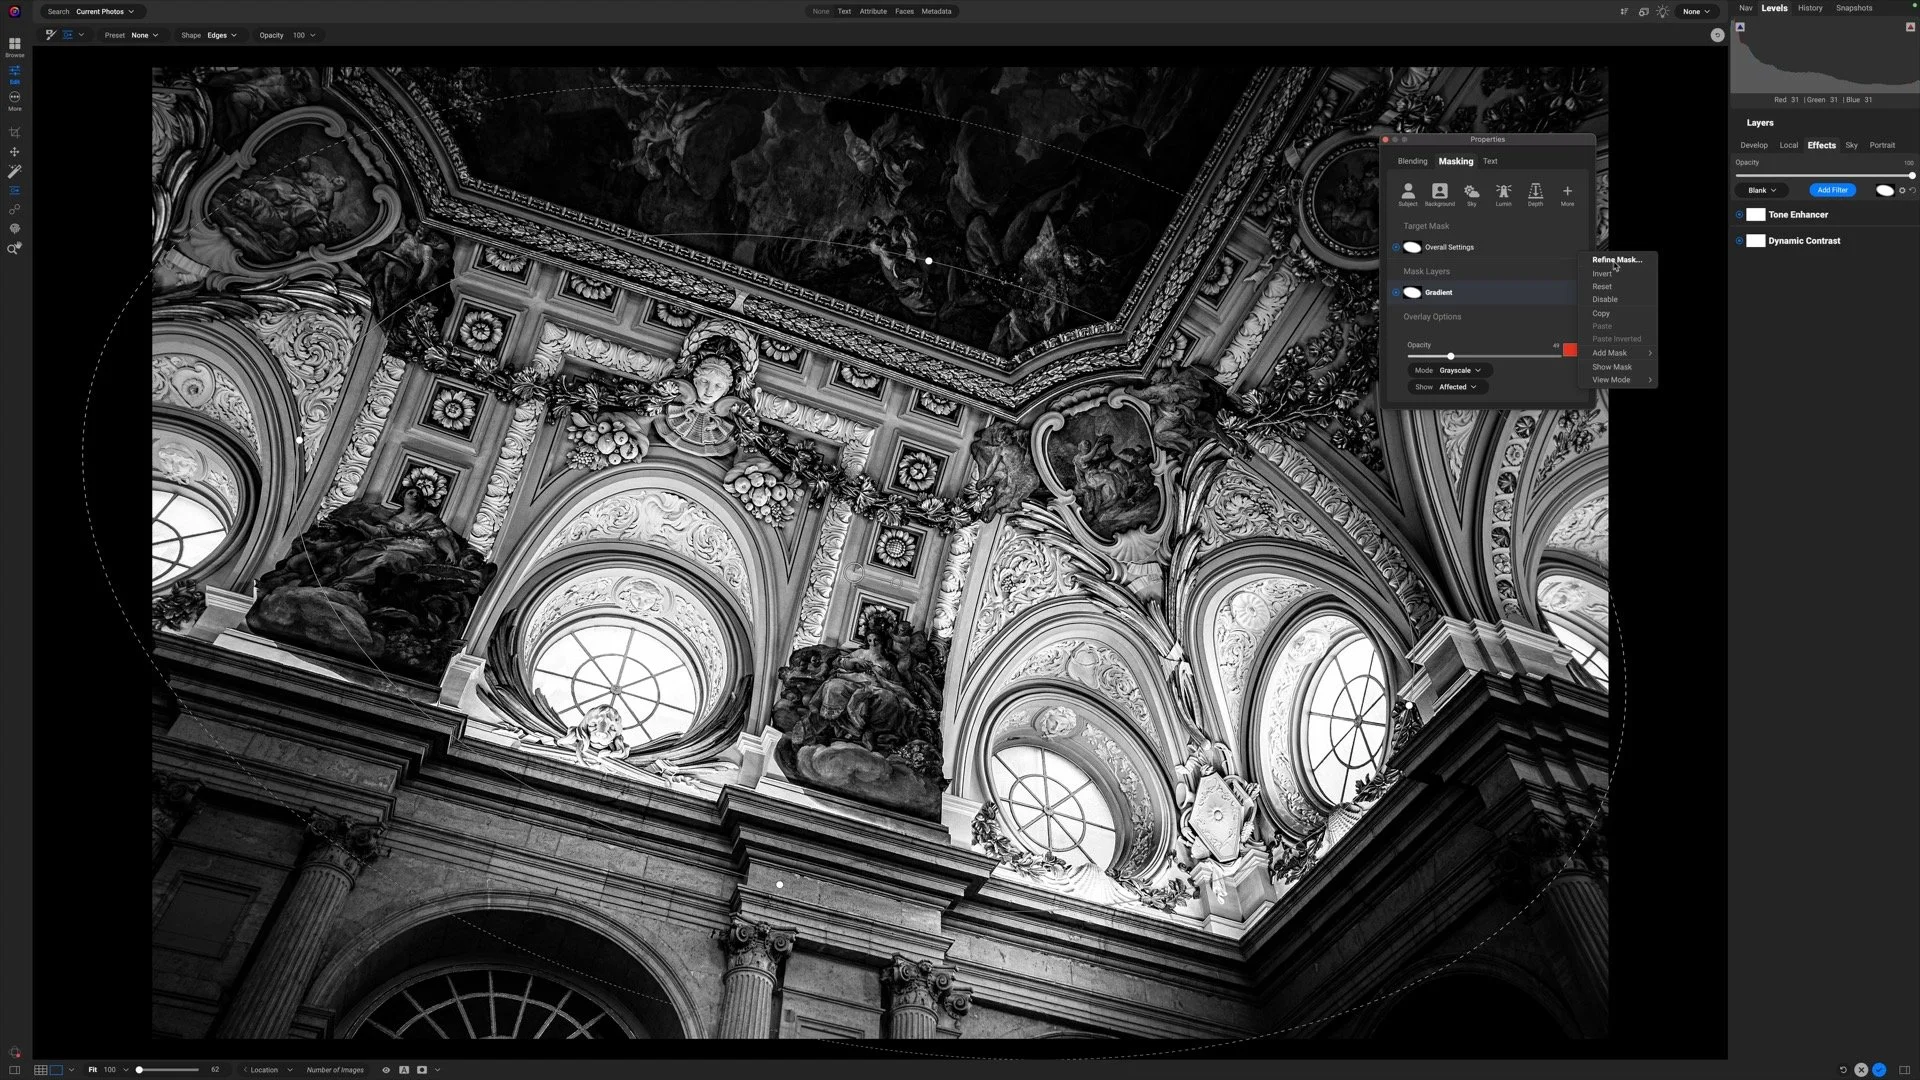
Don’t stop here! You could do this simple adjustment in Develop. The value add of the Color Enhancer is that it is an Effects filter and you have the masking tools. Target the purity to just the area of the photo that needs it. I like to do this with a luminosity mask plus an Edges shaped mask. Add a luminosity mask to the photo. By default, the adjustments are applied to the brighter areas of an image and masked away from the darker areas. Next, added an Edges shaped masking bug to create a spotlight on the area needing the Purity cleanup.
Add a mask to the Color Enhancer to target the purity adjustment to the desired area.
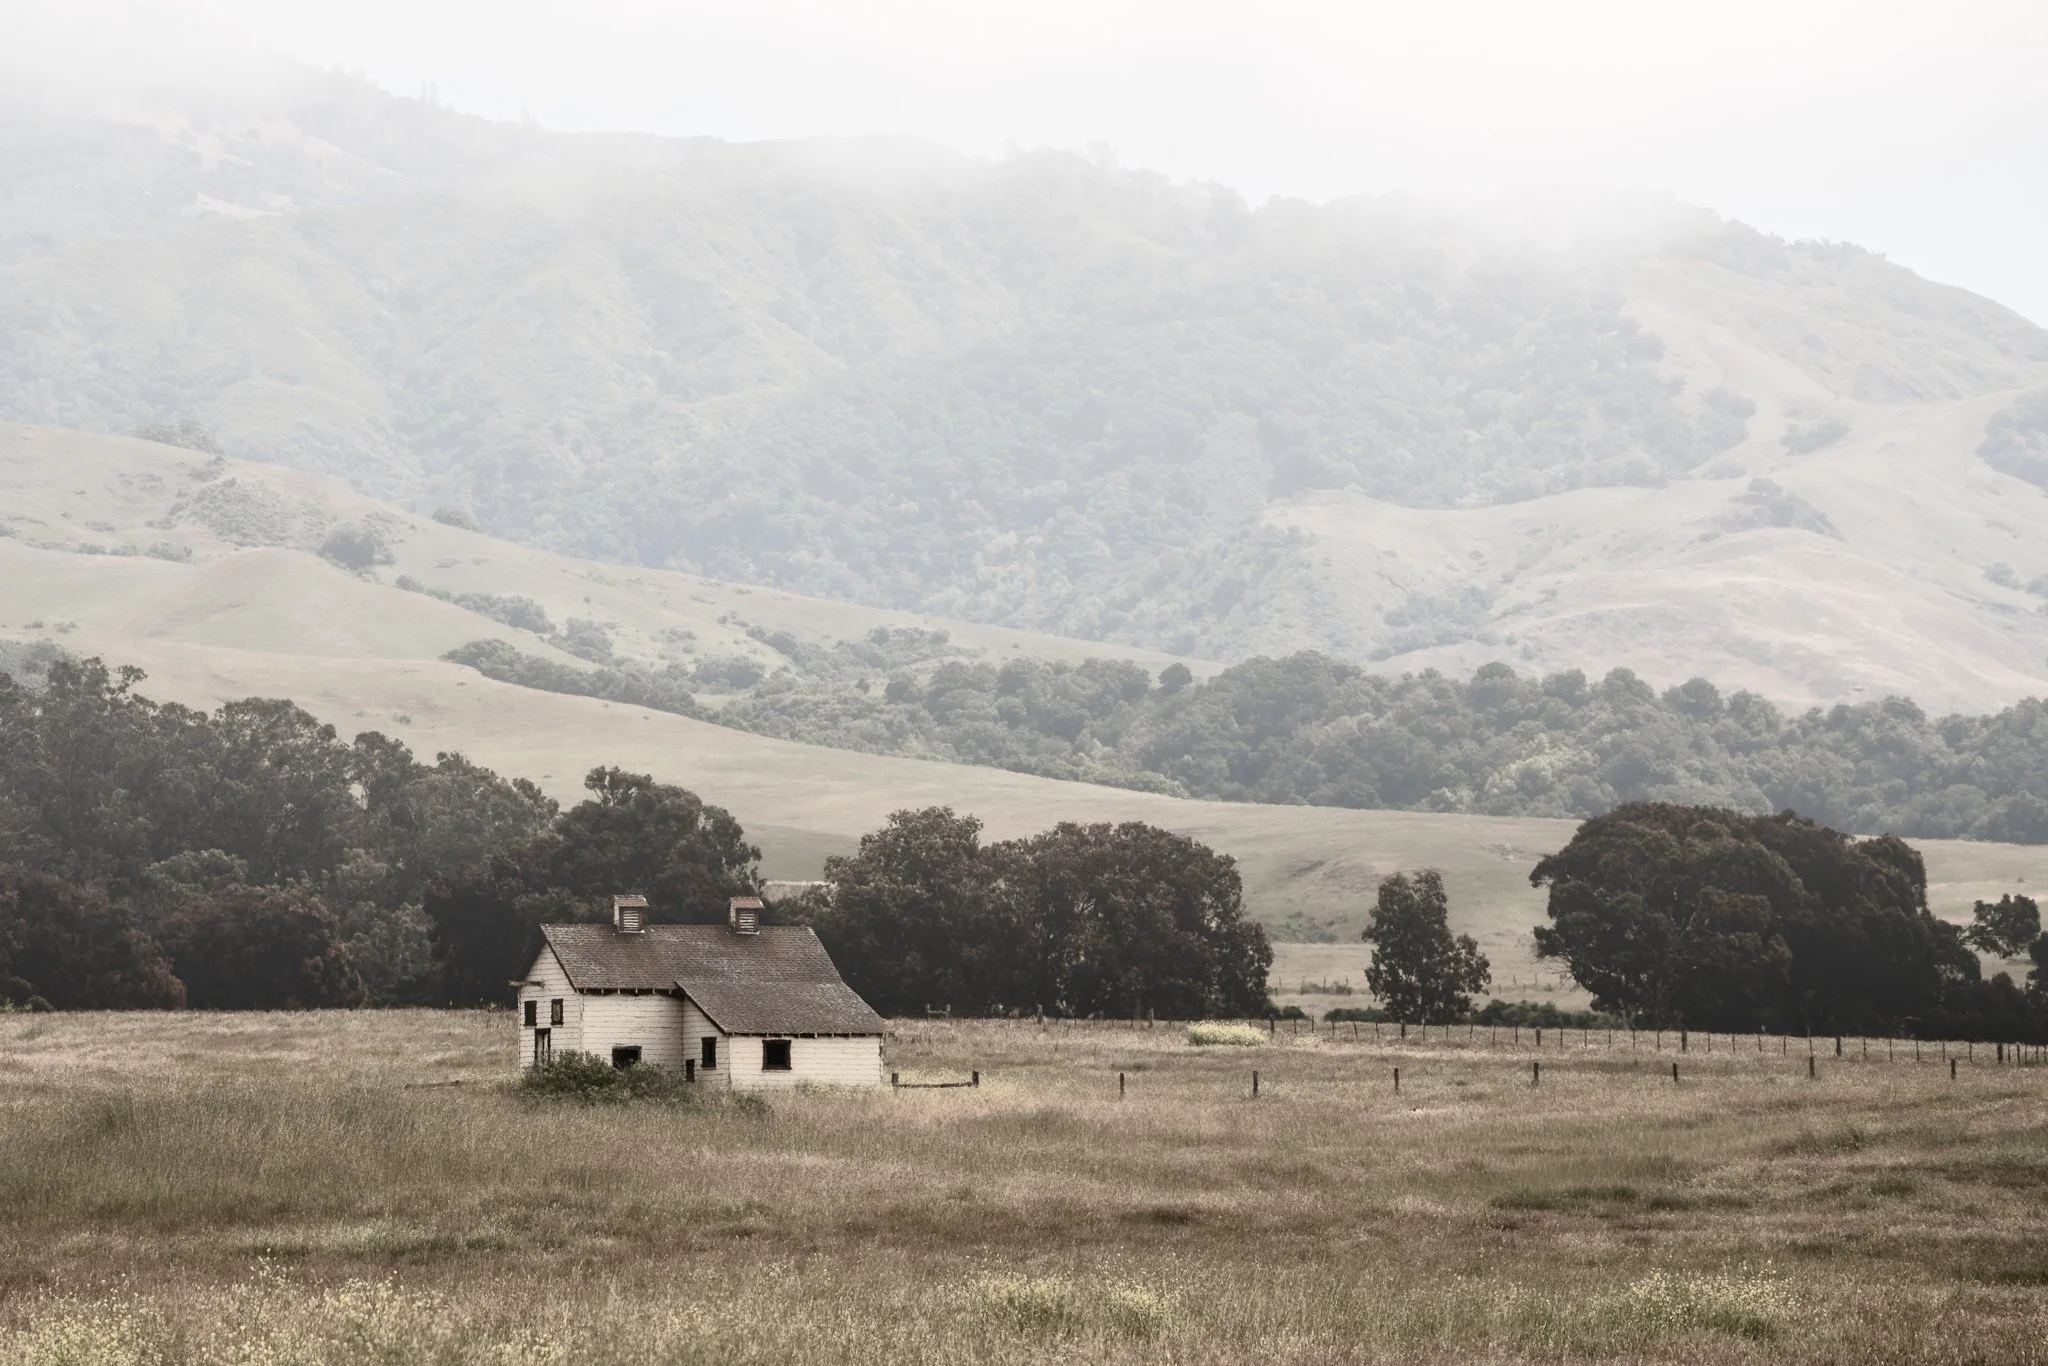
The final result after adding the Color Enhancer mask.
The combination of the Highlights slider in Purity and the luminosity mask is an extremely targeted adjustment - and a much more natural looking result. The same principle applies for the deep shadows. For a photo taking on a color cast in the deep shadows, try the Shadows slider in the Purity area partnered with an inverted luminosity mask. The inverted luminosity mask will target the adjustment to the darker tones in a photo only.
So … the Color Enhancer still has a trick up its sleeve. Yes, this is certainly a very specific use case, yet an important one for fine tuning images. It’s still relevant and useful for landscape photographers. And isn’t it great that ON1 didn’t remove Color Enhancer after all.
Water Colors
Contact Scott to commission a print or license this image.