Accentuate Your Photo Details In Luminar AI
If you are trying Luminar AI or upgrading from a prior version, please consider using my affiliate link. There is no extra cost to you and it helps support Luminar AI tutorials like this one. Ready to buy? Use the offer code SDP10 at checkout and Save US$10!
Landscape and travel photographers need details in our photos. Sharp textures and contrast play an important role in conveying feel and mood through our imagery. Luminar AI has several tools to add detail. While Structure AI may get flashier press because it has “AI” in the name of the tool, you need to know about the Details Tool.
The Details Tool In Luminar AI
The Details Tool gives you much more control over how details are accentuated in your images. You can selectively control detail and sharpening with much more precision because the tool targets different levels of detail to different sized elements in your photo.
The Details Sliders
The Details Tool has three sliders to control the levels of detail in your photo. You can think of these as controlling detail at a “size” level. There are Small, Medium, and Large sliders and each controls detail for a certain size of object or element in your photo. Make sure to zoom in to at least 100% when working with the Details sliders or you may not be able to judge if the detail is sufficient or too much.
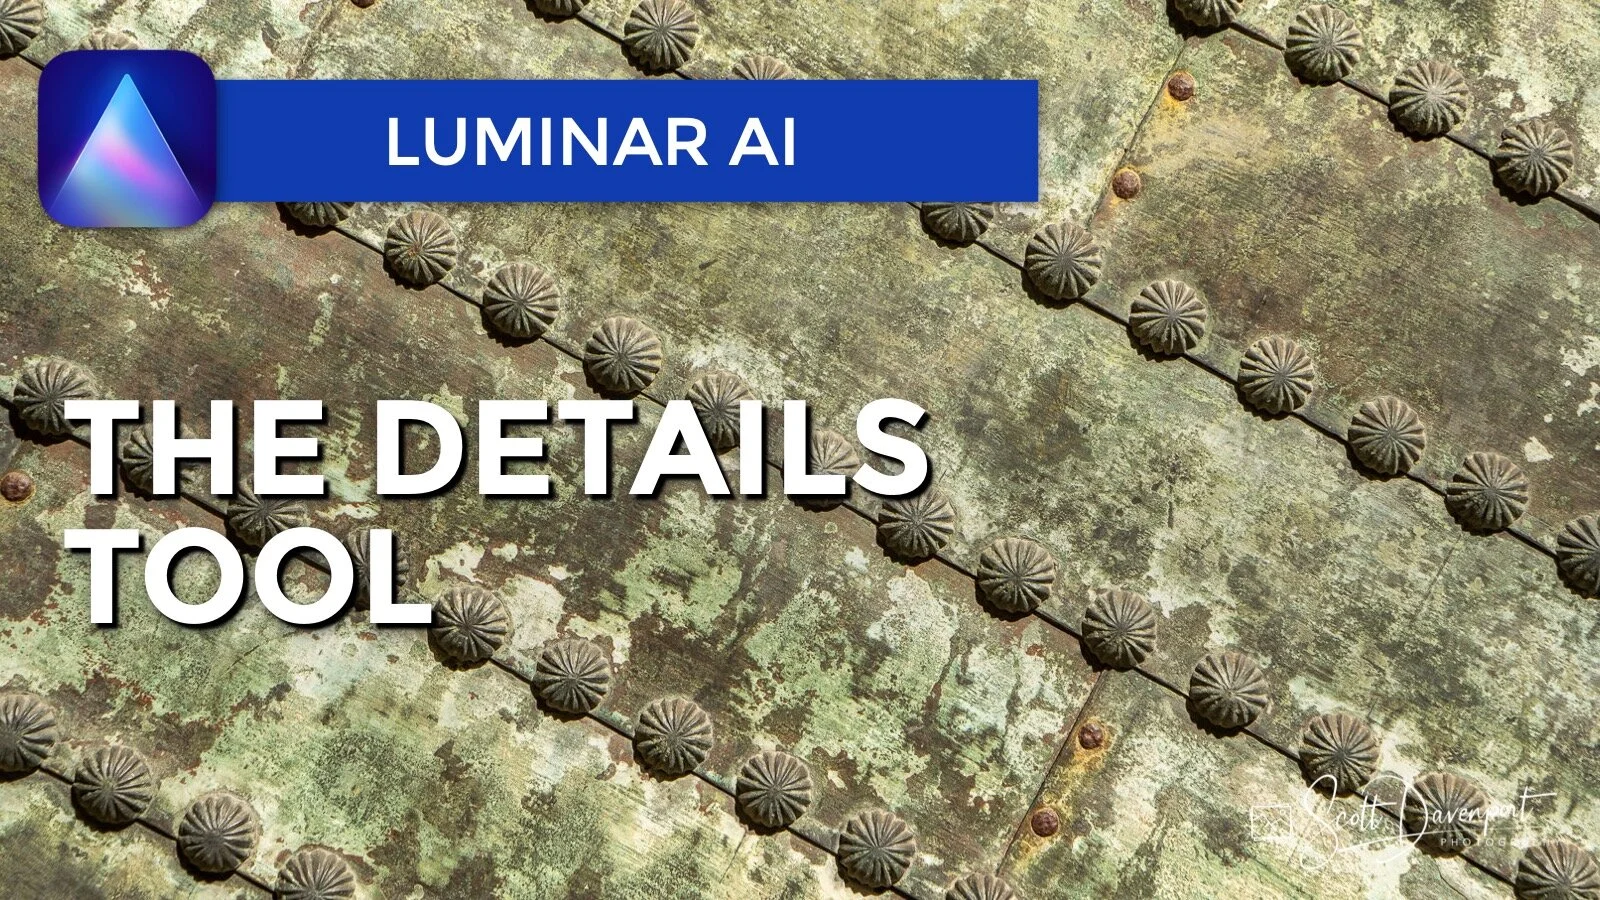
In this photo of a metal roof, the Small slider accentuates the micro-detail in the metal and the rust. Conversely, the Large slider adds details to the rivets and creases in the metal, and some of the general contrast between the lighter and darker patches on the roof. The Medium slider, as you have most certainly guessed, is somewhere in between.
Small Details increases the micro-detail in tiny element and particles in an image, like the rust in this metal roof.
Medium Details adds crispness to moderately sized items in a scene. Notice the brighter and darker patches in the metal are more obvious.
Large Details accentuates the larger items in a photo, like the rivets in this metal roof.
A good starting point for the Small, Medium and Large sliders is values of 5, 10, and 10 to start. This relationship adds detail without pushing too far. Depending on the photo, you may inch these higher. It is also worth noting you can take the Details sliders in the negative direction, reducing detail and softening an image. This may be useful for a dreamier look, or to downplay certain subjects in a scene. (Remember… you have the masking tools available, too! You can selectively apply Details to just the areas of your photo you want.)
Details Masking
Two advanced controls for the details are Details Masking area. The Details Protection slider helps to keep the details in check. If the look is too harsh, raise the Details Protection slider to temper the effect. Think of it like a volume control - you can turn down the volume if the details are too loud. Details Masking helps to identify smoother, more uniform areas of an image and reduce the detail enhancement in those areas. In a landscape scene with patches of blue sky, Details Masking helps prevent artificially adding detail to what should be a soft sky.
Of course, you could always dial back the Small, Medium, and Large sliders instead of using the Details Masking tools. That’s how I usually work - the default values for the Details Masking sliders are generally good.
Refine the scope and impact of details using the controls in the Details Masking area.
The Sharpen Slider
The Sharpen slider addresses soft edges and can improve the focus of a photo. It’s quite impressive, actually. The Sharpen slider delivers a nice evenness to a photo. Small to moderate amounts of sharpening are best. Too much and the image can become grainy.
Sharpening Masking
The two controls in this area refine the sharpening. The Sharpen slider is attuned to the edges of objects, and the Sharpening Radius controls how far from an edge sharpening is applied. Sharpening Masking increases or decreases the area affected by the sharpening. Ranges between 30 and 70 are reasonable for this slider, and the default is typically good.
Improve focus and crisped edges with the Sharpen slider.
Refine the scope and impact of Sharpen with the Sharpening Masking sliders.
Putting It All Together
Use the Small, Medium, and Large Details sliders together with the Sharpen slider and get a nice pop in detail. The three details sliders bring out the rich textures of subjects. The Sharpen slider makes edges crisp and provides and overall evenness to the details. If and when you need it, the advanced controls are there to really fine-tune the look. Most often, I can get the results I want with just the four core sliders in the Details Tool.
Use the Details sliders and the Sharpen sliders together to bring out rich detail.
Metal Roof In Seville
Contact Scott to commission a print or license this image.


