Capturing Long Exposure Photos With Your iPhone
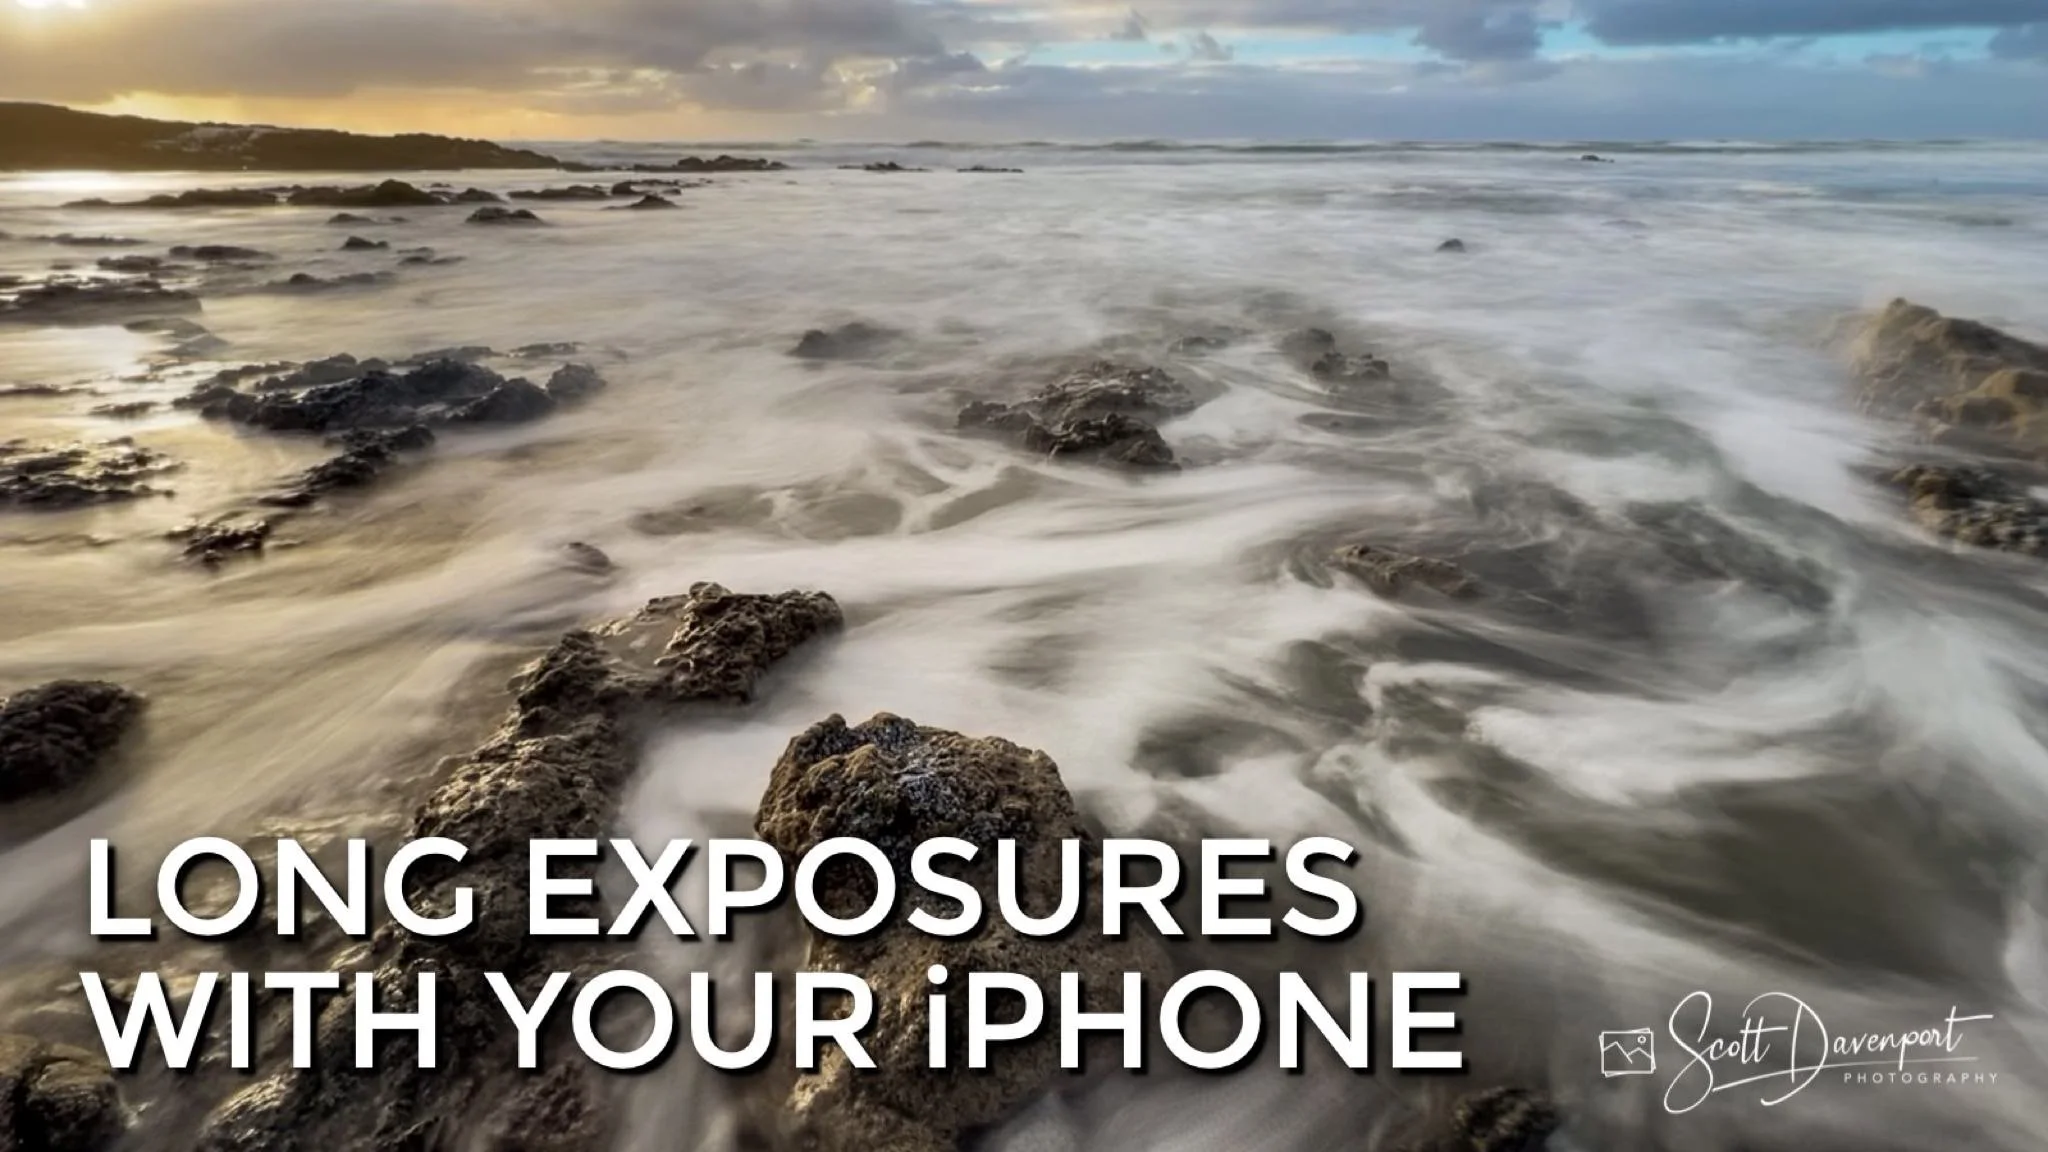
Have you ever seen a great photo that screams for a longer exposure … but you can’t set up your filter system? Maybe you’re traveling with family and friends, or maybe you don’t have your full camera kit with you. If you are using a modern iPhone and iOS, try out the Live Photo feature in the Camera app. Live Photo captures a short video and the Photos app lets you convert that to a long exposure. It’s quite slick and you can still capture that long exposure even when you’re without your beloved filters.
Step 1 - Switch Your Camera App To Live Photo
Modern iPhones and iOS releases include the Live Photo option. To create a long exposure with your iPhone, you need to capture a Live Photo.
To Capture a Live Photo, open the Camera app and choose the Photo mode. In the lower right (landscape orientation) or the upper right (portrait orientation), tap the circular icon with a dashed line around it. You’ll see the word LIVE briefly appear in the preview area. Now you’re ready to capture a Live Photo. When you press the shutter button (the large white circle) you are capturing a Live Photo.

Use the circular icon in the Camera App to switch to the Live Photo mode. You’ll see LIVE appear briefly in the preview area.
Once set up for a Live Photo, you’ll also notice the the RAW option is disabled. This is because a Live Photo is actually a short video snipped. The “photo” is a still frame from the video. Since the capture isn’t a single image, there is no RAW option for the capture.
Step 2 - Stay Steady and Frame With Breathing Room
When capturing the Live Photo, keep your hands as steady as possible. The more stable you keep your phone, the crisper and cleaner the stationery objects in your photo will be. Also, frame your scene with a little extra space at the borders. This will give you the best results converting a Live Photo to a long exposure.
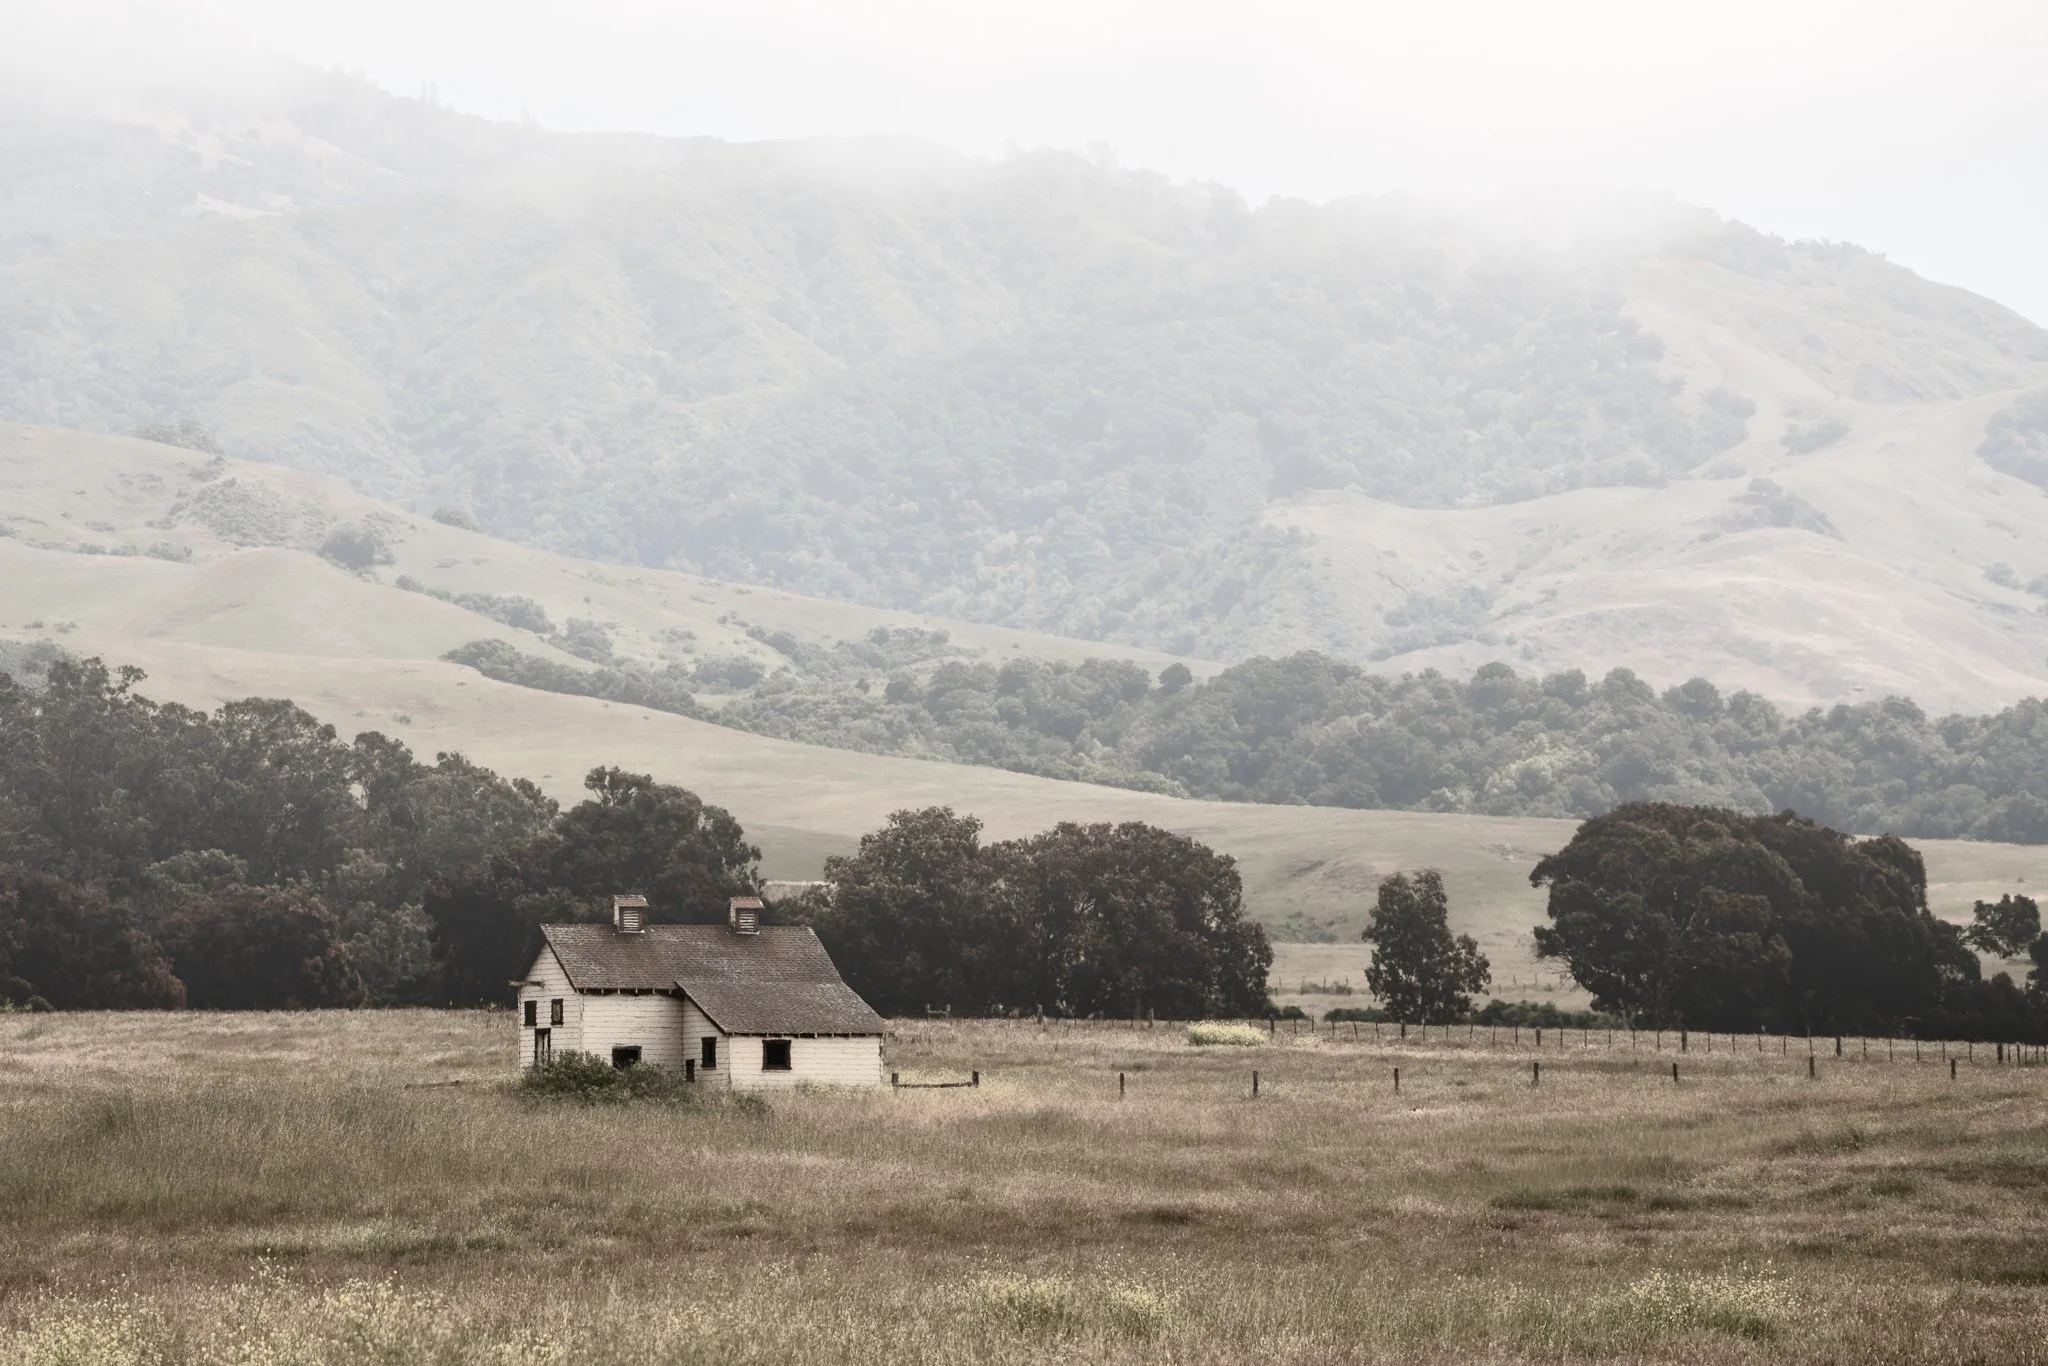
Why the extra space when framing? There is usually a small amount of cropping that happens during the process, so the resulting long exposure loses some pixels around the edges. The Live Photo is actually a video clip. Converting to a long exposure essentially takes all of the individual frames of the video, aligns them, and blends together the moving areas. Alignment uses fixed objects in the photo, like the rocks in the image below. Even the steadiest of hands will move around some, so the alignment process may shift and reposition the individual still frames. The final result is cropped a little to trip away uneven edges.
For the best result, stay steady and give the edges of your frame some breathing room.
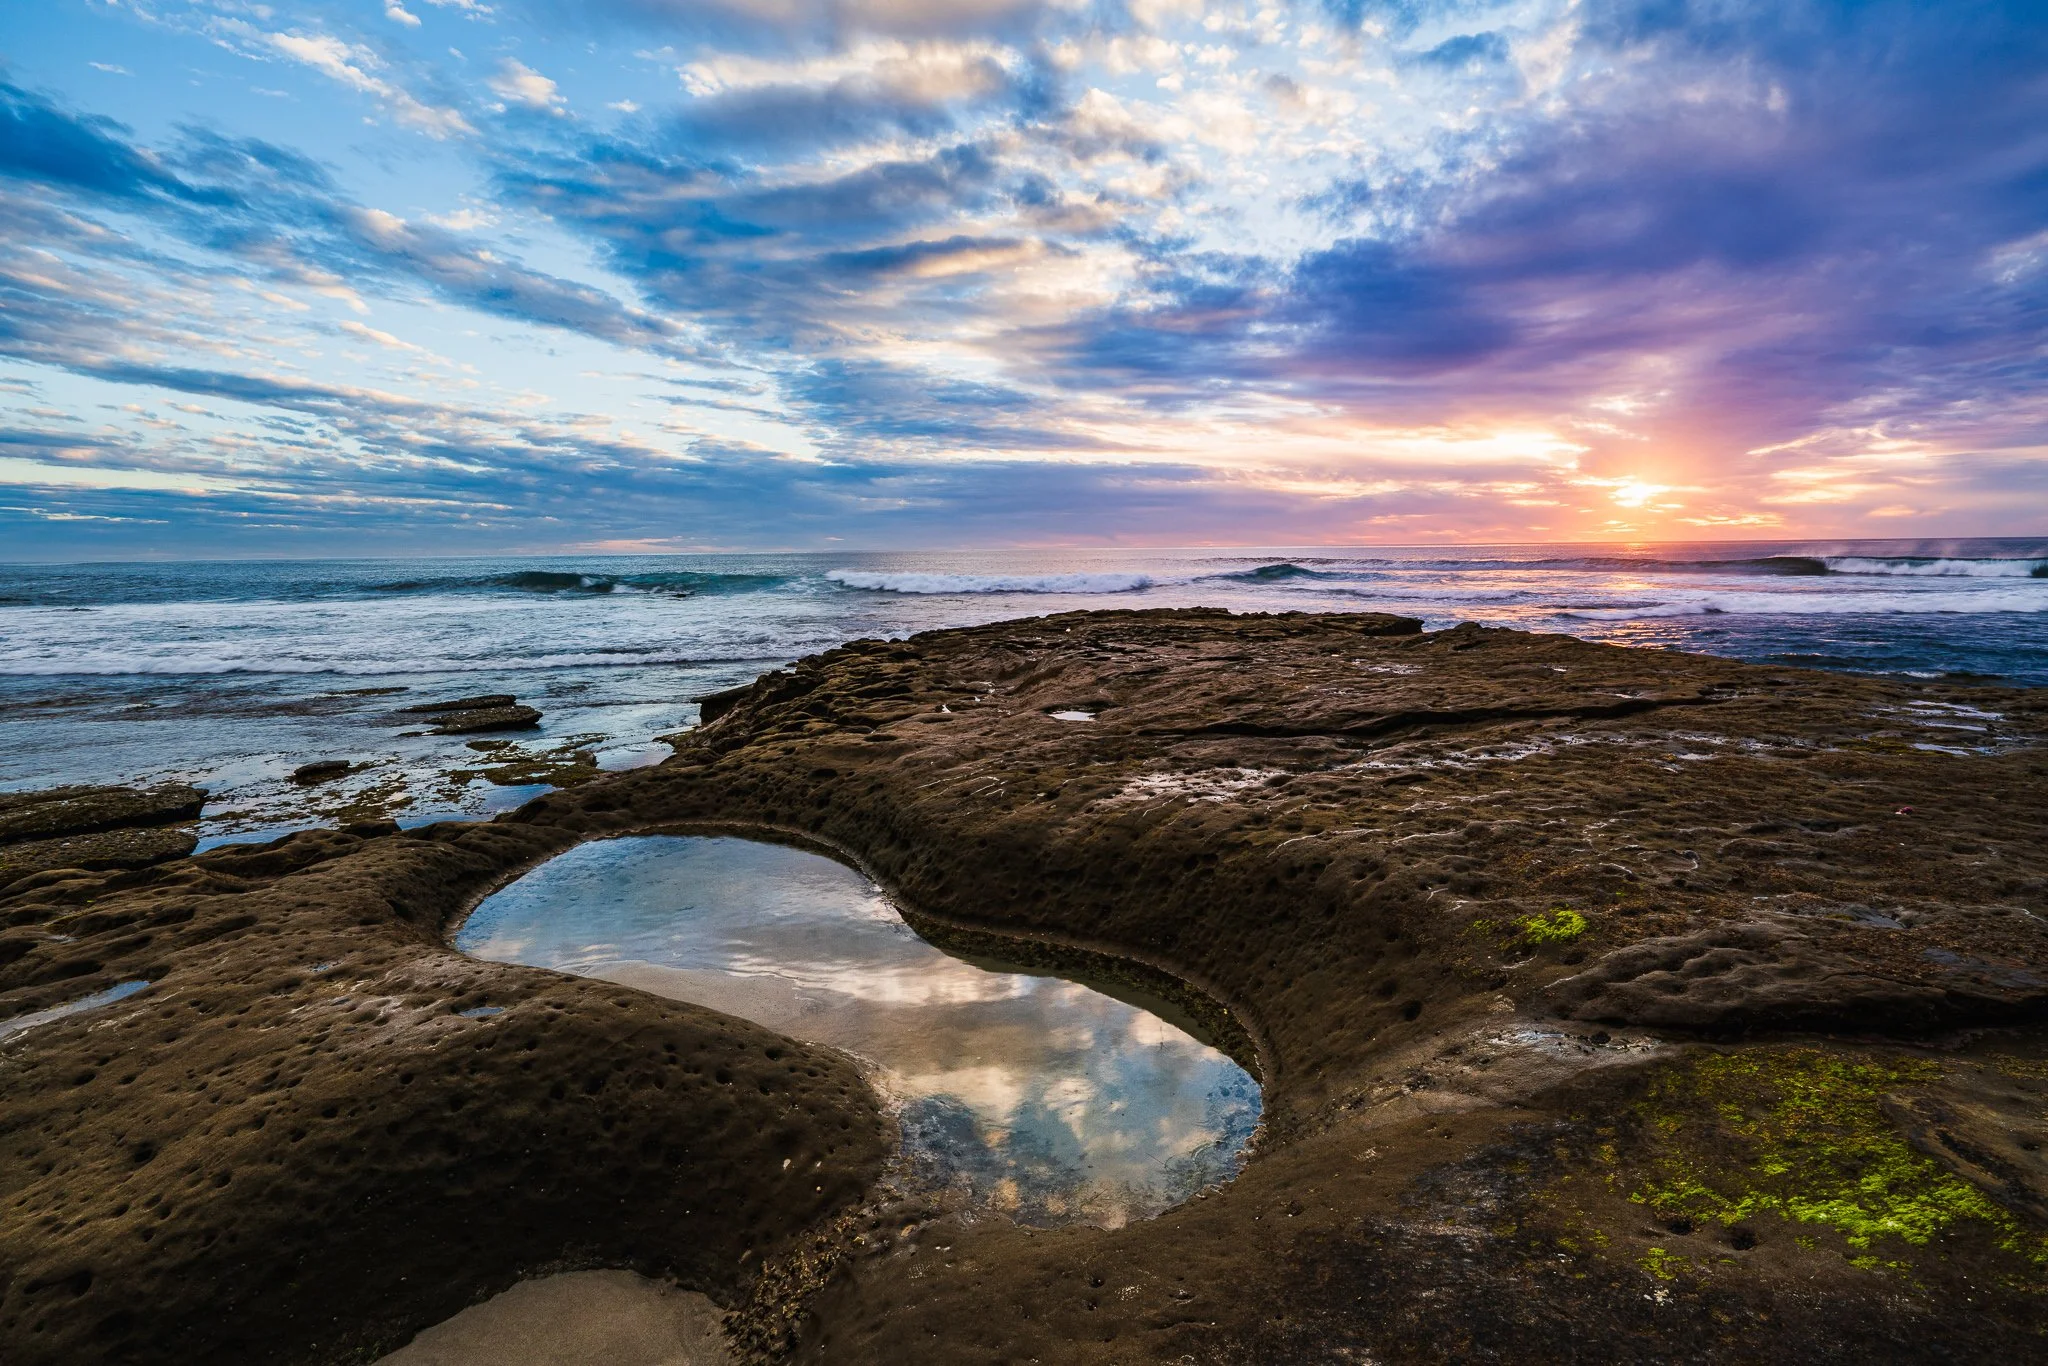
A still image taken from a Live Photo. Notice how much of the rock on the right edge is visible.
Once the Long Exposure is created, you often lose pixels around the edges.
Step 3 - Convert The Live Photo To A Long Exposure
Now that you have your Live Photo capture, converting it to a Long Exposure is easy. You can do this directly on your iPhone:
Open the Photos app and view the photo.
Tap the LIVE label for a popup menu.
Choose Long Exposure
Your iPhone thinks for a moment and then produces an image simulating a long exposure image. The results can look pretty fantastic.

Open a Live Photo in the Photos app to switch it to a long exposure.

In a few moments, your iPhone will convert the Live Photo video clip into a long exposure.
Step 4 - Add More Post-Processing If You Like
Like any image, you can add post-processing to your long exposure photo. You can use the Photos app on your phone or Mac computer to add contrast, level the horizon, or increase color. You can also AirDrop the image to your computer (or transfer it via other means) and work with it in editors like Lightroom, Photoshop, and others. Remember that it is not a RAW photo. It will be either an HEIC or JPEG image, so you have less latitude for recovering highlights or opening shadows. Yet basic adjustments and refinements are just fine.
Sunset At Strawberry Hill In Oregon
Contact Scott to commission a print or license this image.