Vignette Tips For ON1 Effects

If you are trying ON1 Photo RAW, the ON1 plug-ins like ON1 Effects or ON1 HDR, or upgrading your ON1 software to a newer version, please consider using my affiliate link. There is no extra cost to you and it helps support ON1 tutorials like this one. Ready to buy? Use the offer code SDP20 at checkout and SAVE 20%!
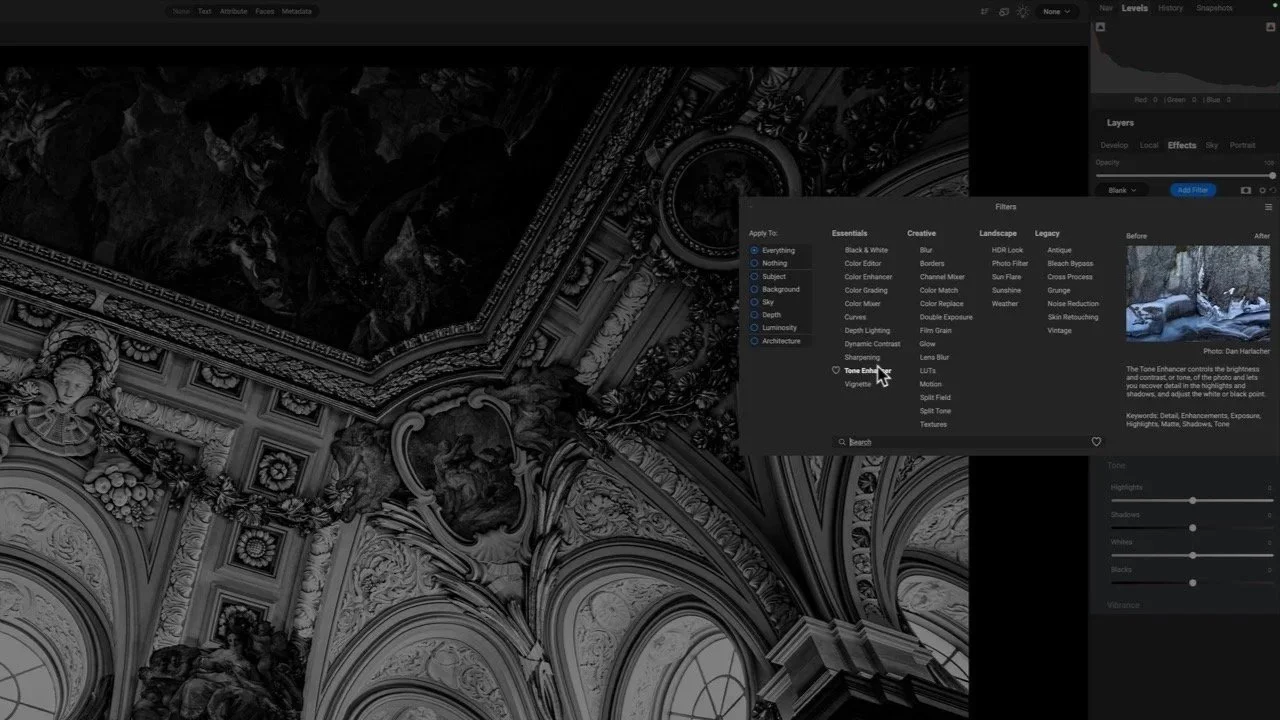
A week or so ago I shared a tutorial for the Vignette filter in ON1 Effects. It covers all the sliders and how I approach using it to add a vignette to my images. Over on my YouTube channel, some viewers shared their tips for refined, beautiful vignettes. These tips are so cool I wanted to share them with you in video form.
Joel & Bruce - thanks very much for sharing these tips!!
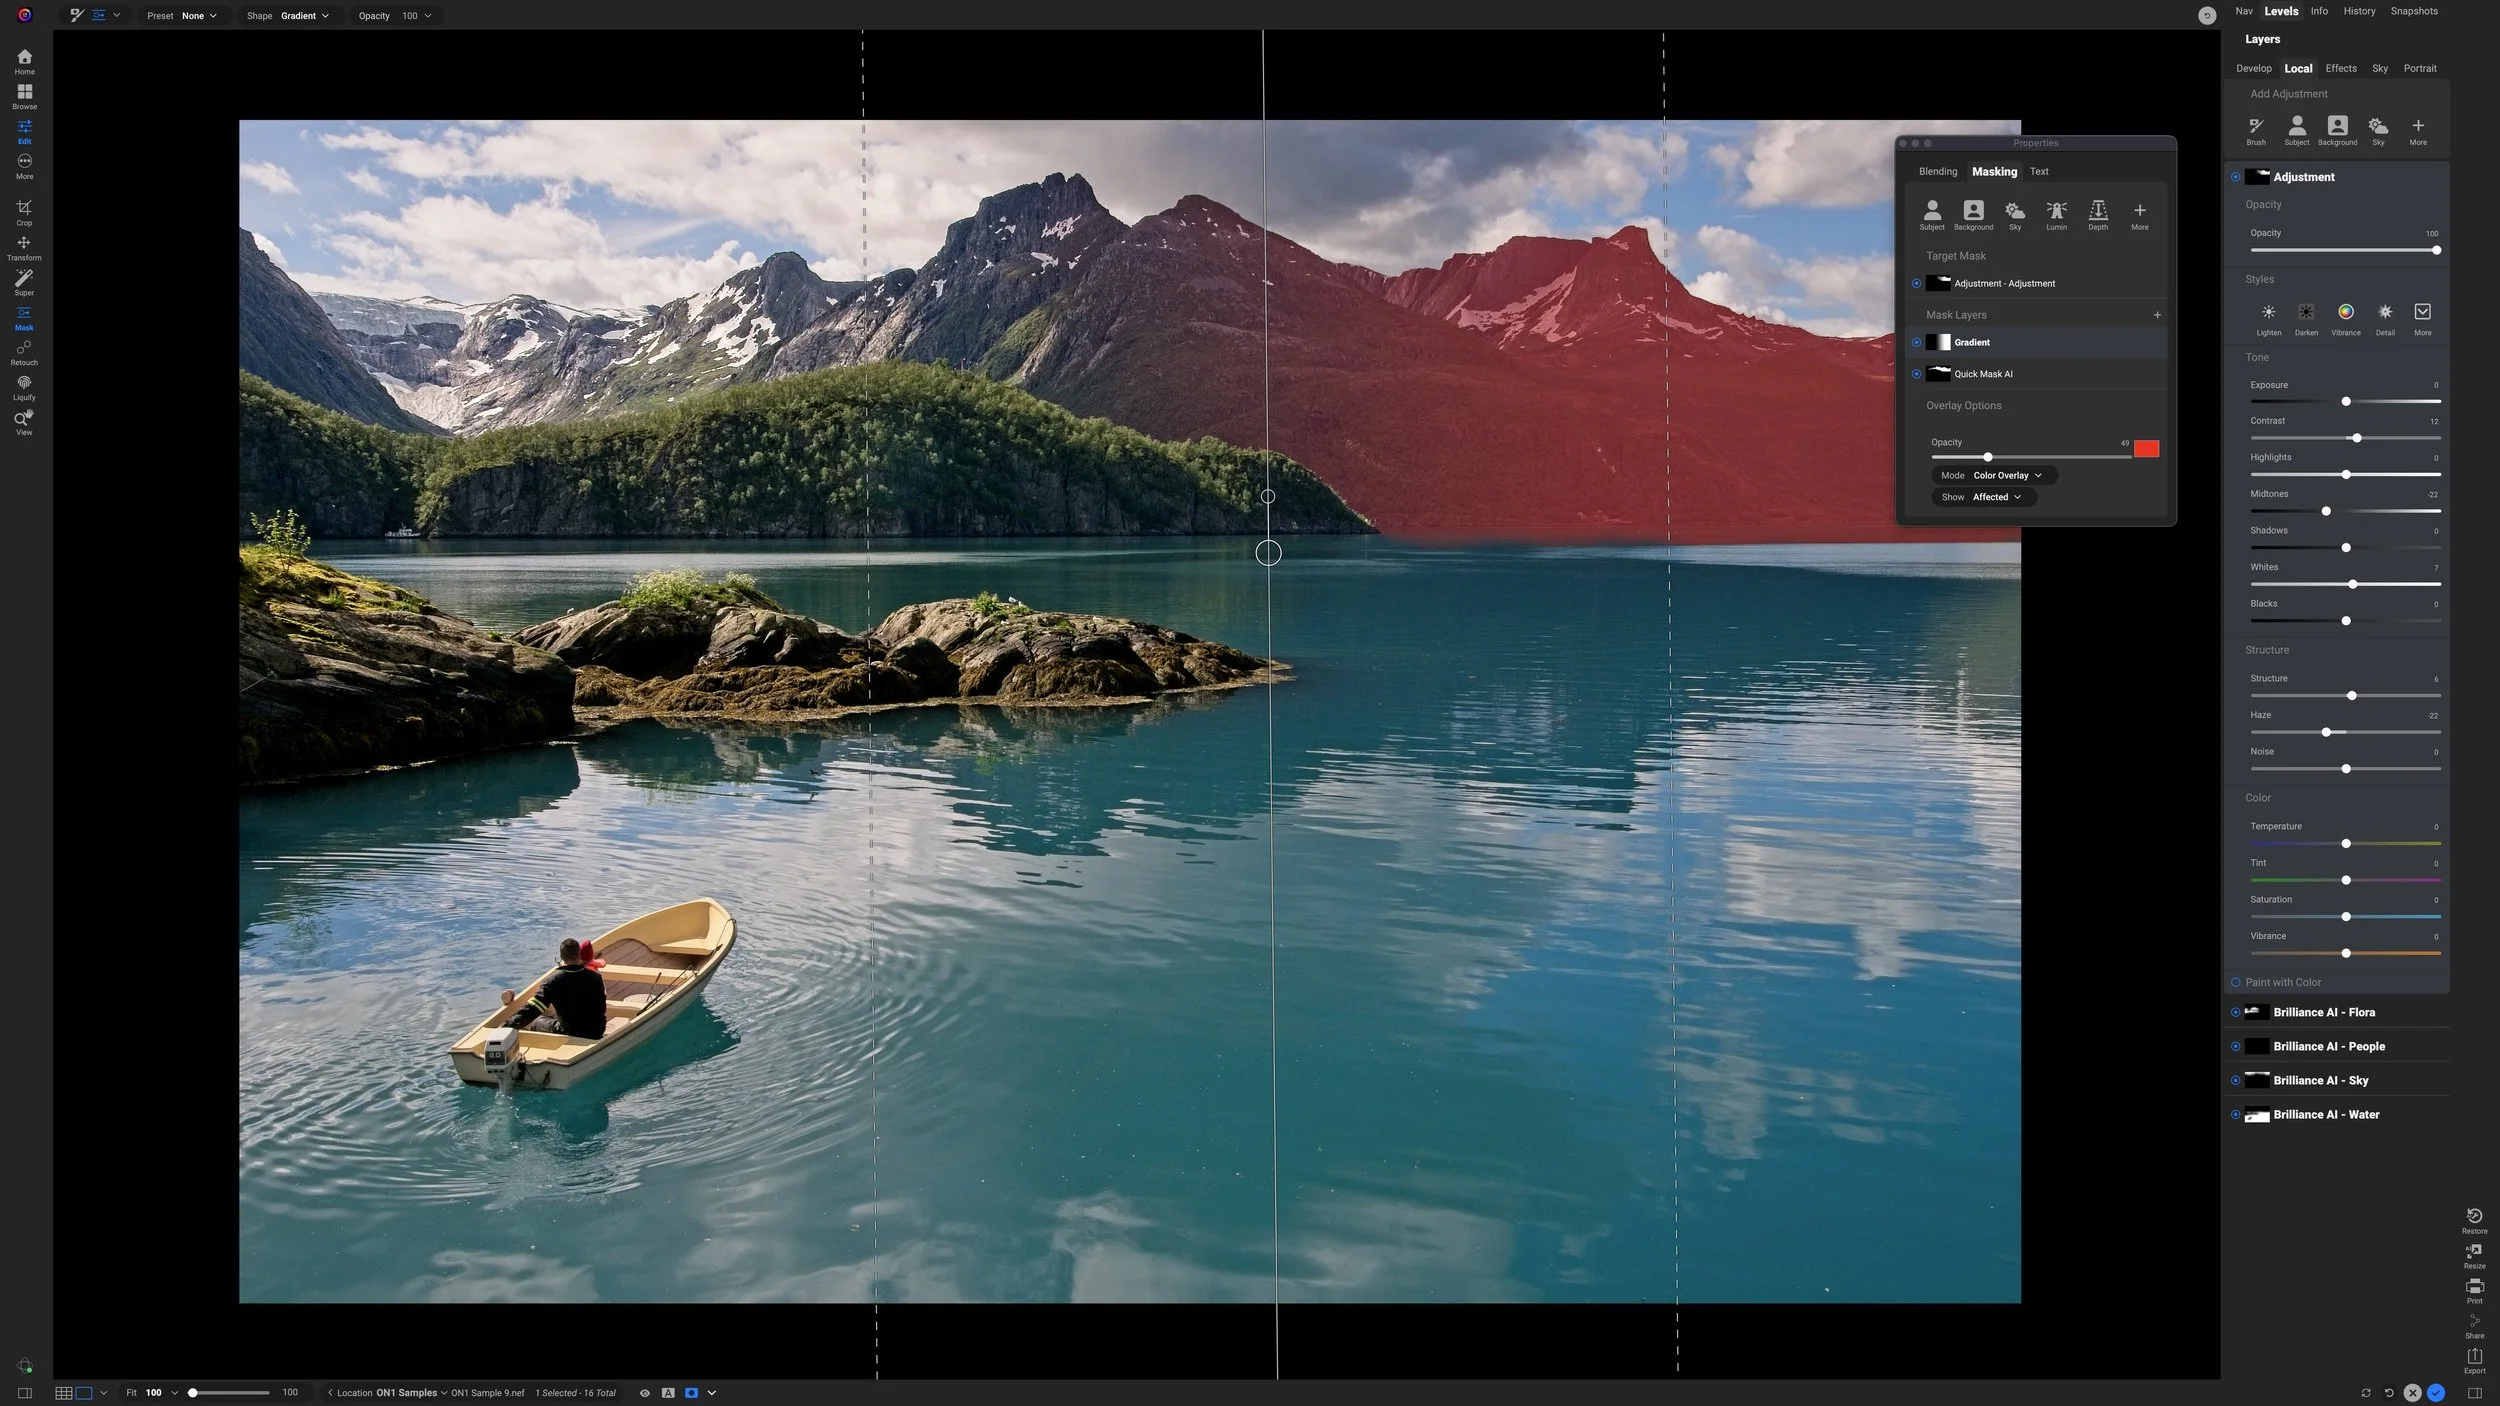
Tip 1 - Use A Luminosity Mask With Vignettes
As we all know, vignettes darken the edges of our photos. Heavy vignettes can really crush the shadows and over-darken the scene. A great tip shared by Joel is to use a Luminosity mask with a Vignette filter. By default, a luminosity mask will hide an effect from dark areas and apply it to light tones. It is very simple to do:
Shape, position, and style your vignette with the Vignette filter.
Open the masking area of the Vignette filter.
Click the Lumen button.
Adjust the Density slider to taste.
Now you’ve got a refined vignette that guides your viewer’s eye without over-darkening shadow areas at the edges of your photo.
Tip 1. Use a luminosity mask with a vignette to avoid over-darkening shadows.
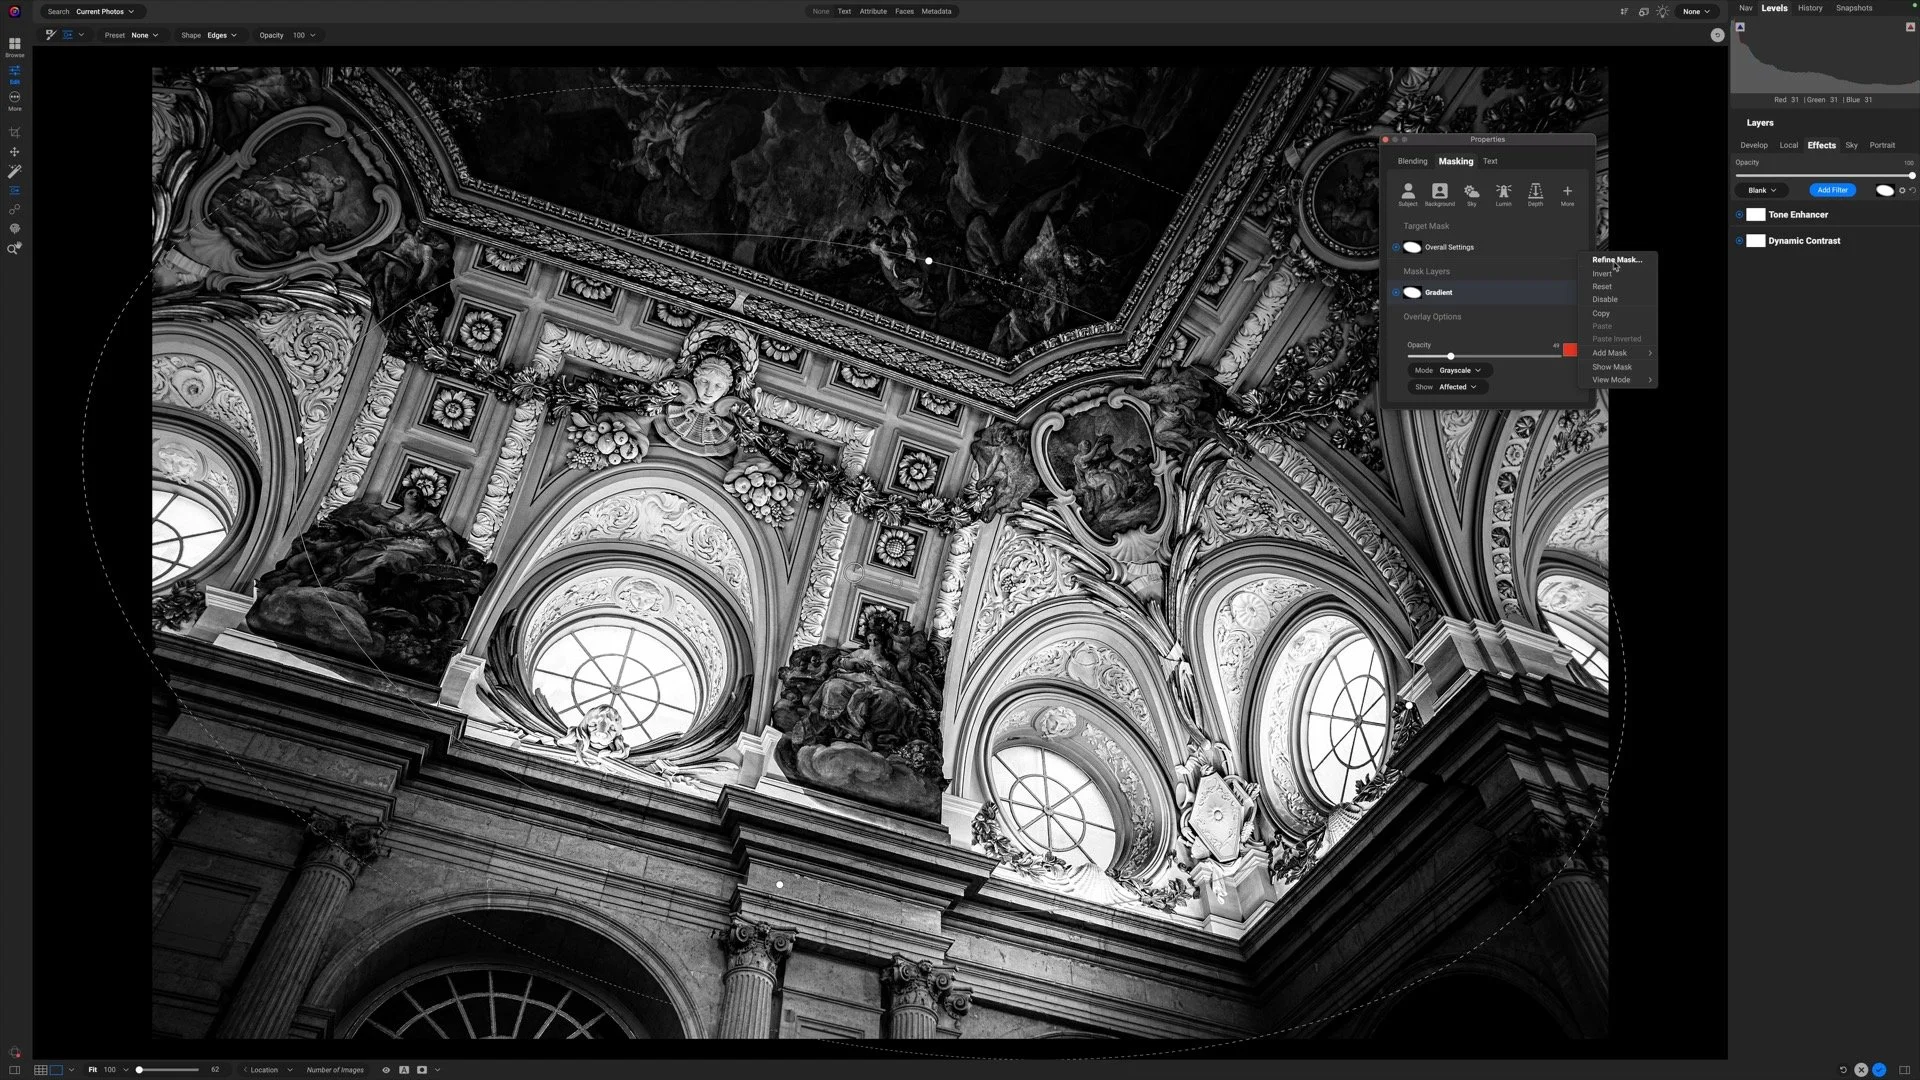
Tip 2 - Angled Vignettes With Local Adjustments
As versatile and flexible the Vignette filter is, we cannot make angled vignettes. However, we can make angled vignettes with a Local Adjustment. Bruce shared this tip:
Switch to the Local tab and add a Local Adjustment.
Choose the Darken style (it’s usually the default).
Apply a Vignette shaped masking bug using the masking toolbar.
Rotate, shape, and feather the elliptical to taste.
Refine the Exposure slider in the Local Adjustment panel to taste.
Voila! An angled vignette!
Tip 2. Use a Local Adjustment with the Darken style and an elliptical shaped masking bug to create an angled vignette.


Bonus Tip - Protect Shadows With The Blending Options
Another way to protect shadows with your vignettes is to use the blending options. These options are in the gear menu of both the Vignette filter and the Local Adjustments. After applying a vignette, open the blending options and raise the Shadows slider to protect dark areas. The Skin slider acts as a midtone protection slider as well. Often with Local Adjustments, it is easier to adjust the blending options than it is to apply a combination of luminosity masks and elliptical shaped masks.
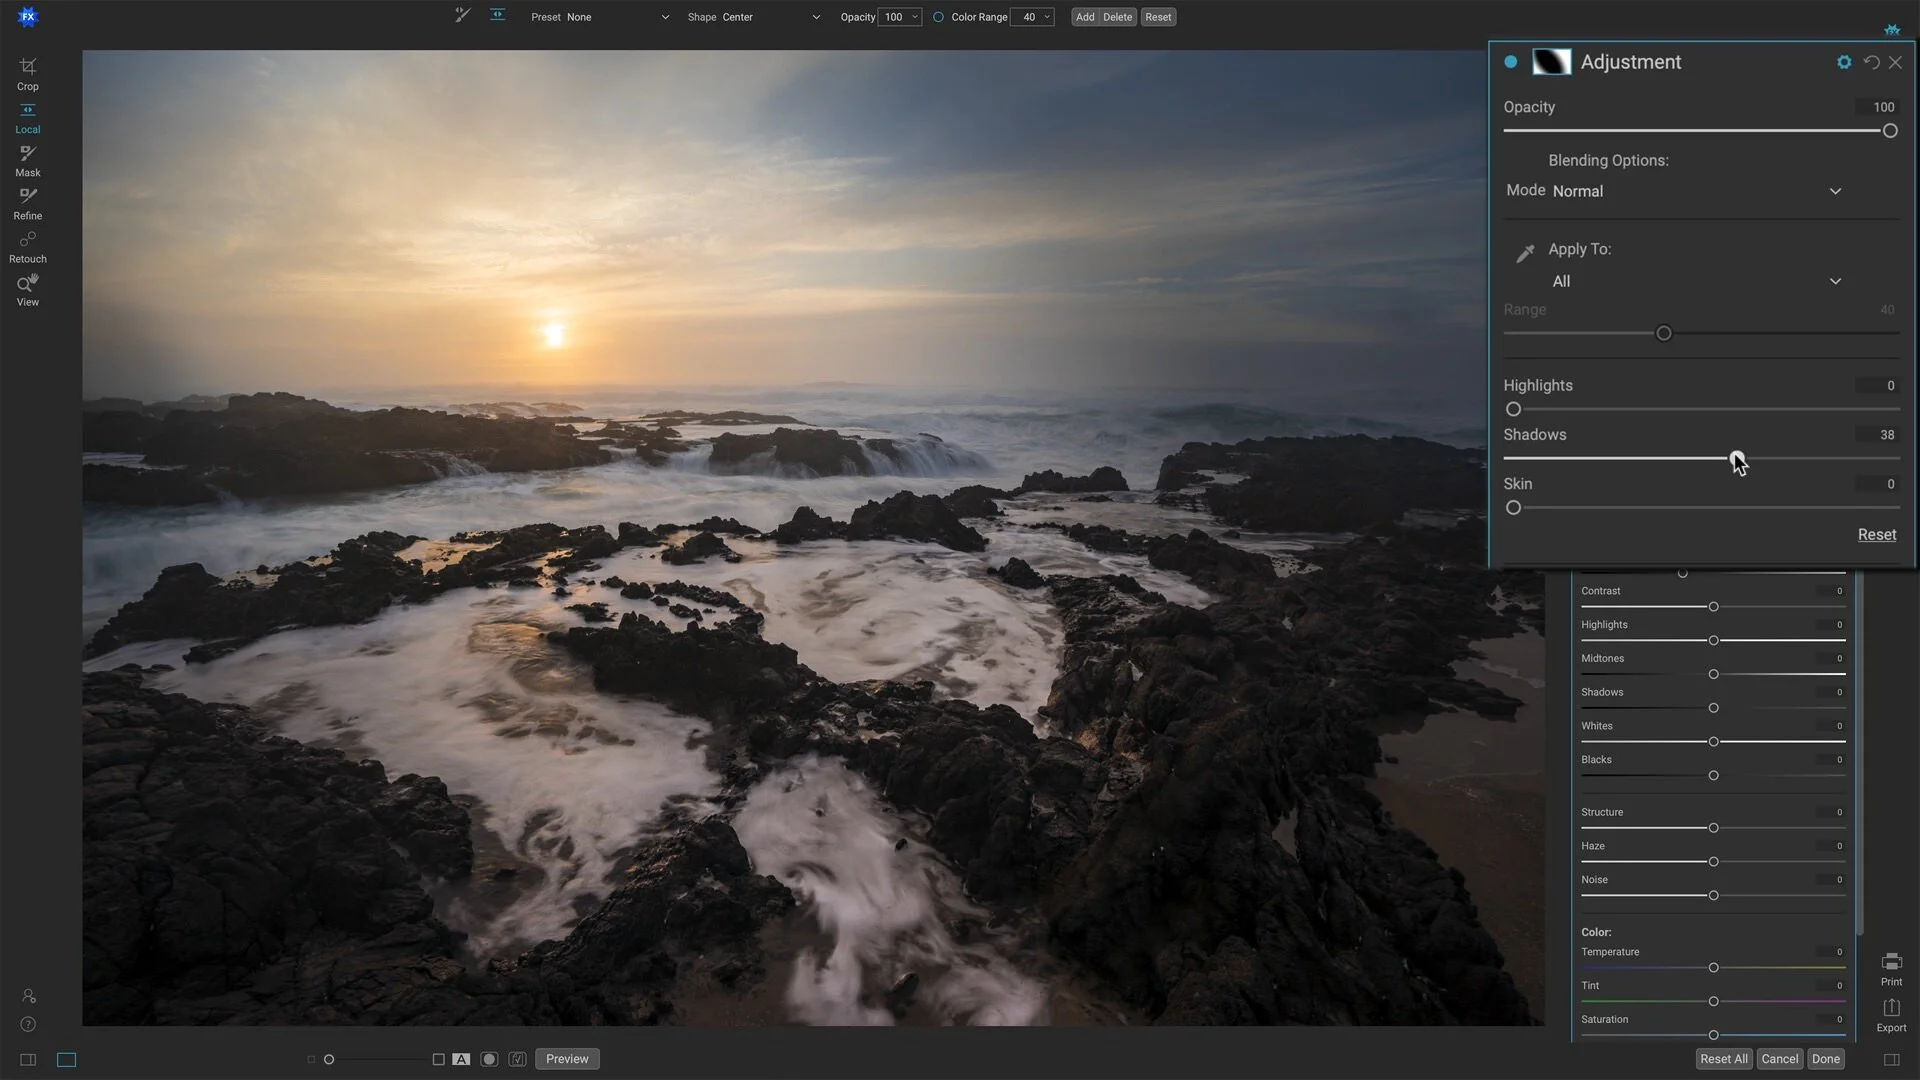
Bonus Tip. Protect the shadows and midtones in your vignettes using the Blending Options. Blending Options are available for Local Adjustments and all Effects filters, including the Vignette filter.
There you go! Now you’re ready to add smooth, beautiful, natural vignettes like a pro!
Cape Perpetua
Contact Scott to commission a print or license this image.