Add Atmosphere With The Weather Filter In ON1 Effects
If you are trying ON1 Photo RAW, the ON1 plug-ins like ON1 Effects or ON1 HDR, or upgrading your ON1 software to a newer version, please consider using my affiliate link. There is no extra cost to you and it helps support ON1 tutorials like this one. Ready to buy? Use the offer code SDP20 at checkout and SAVE 20%!
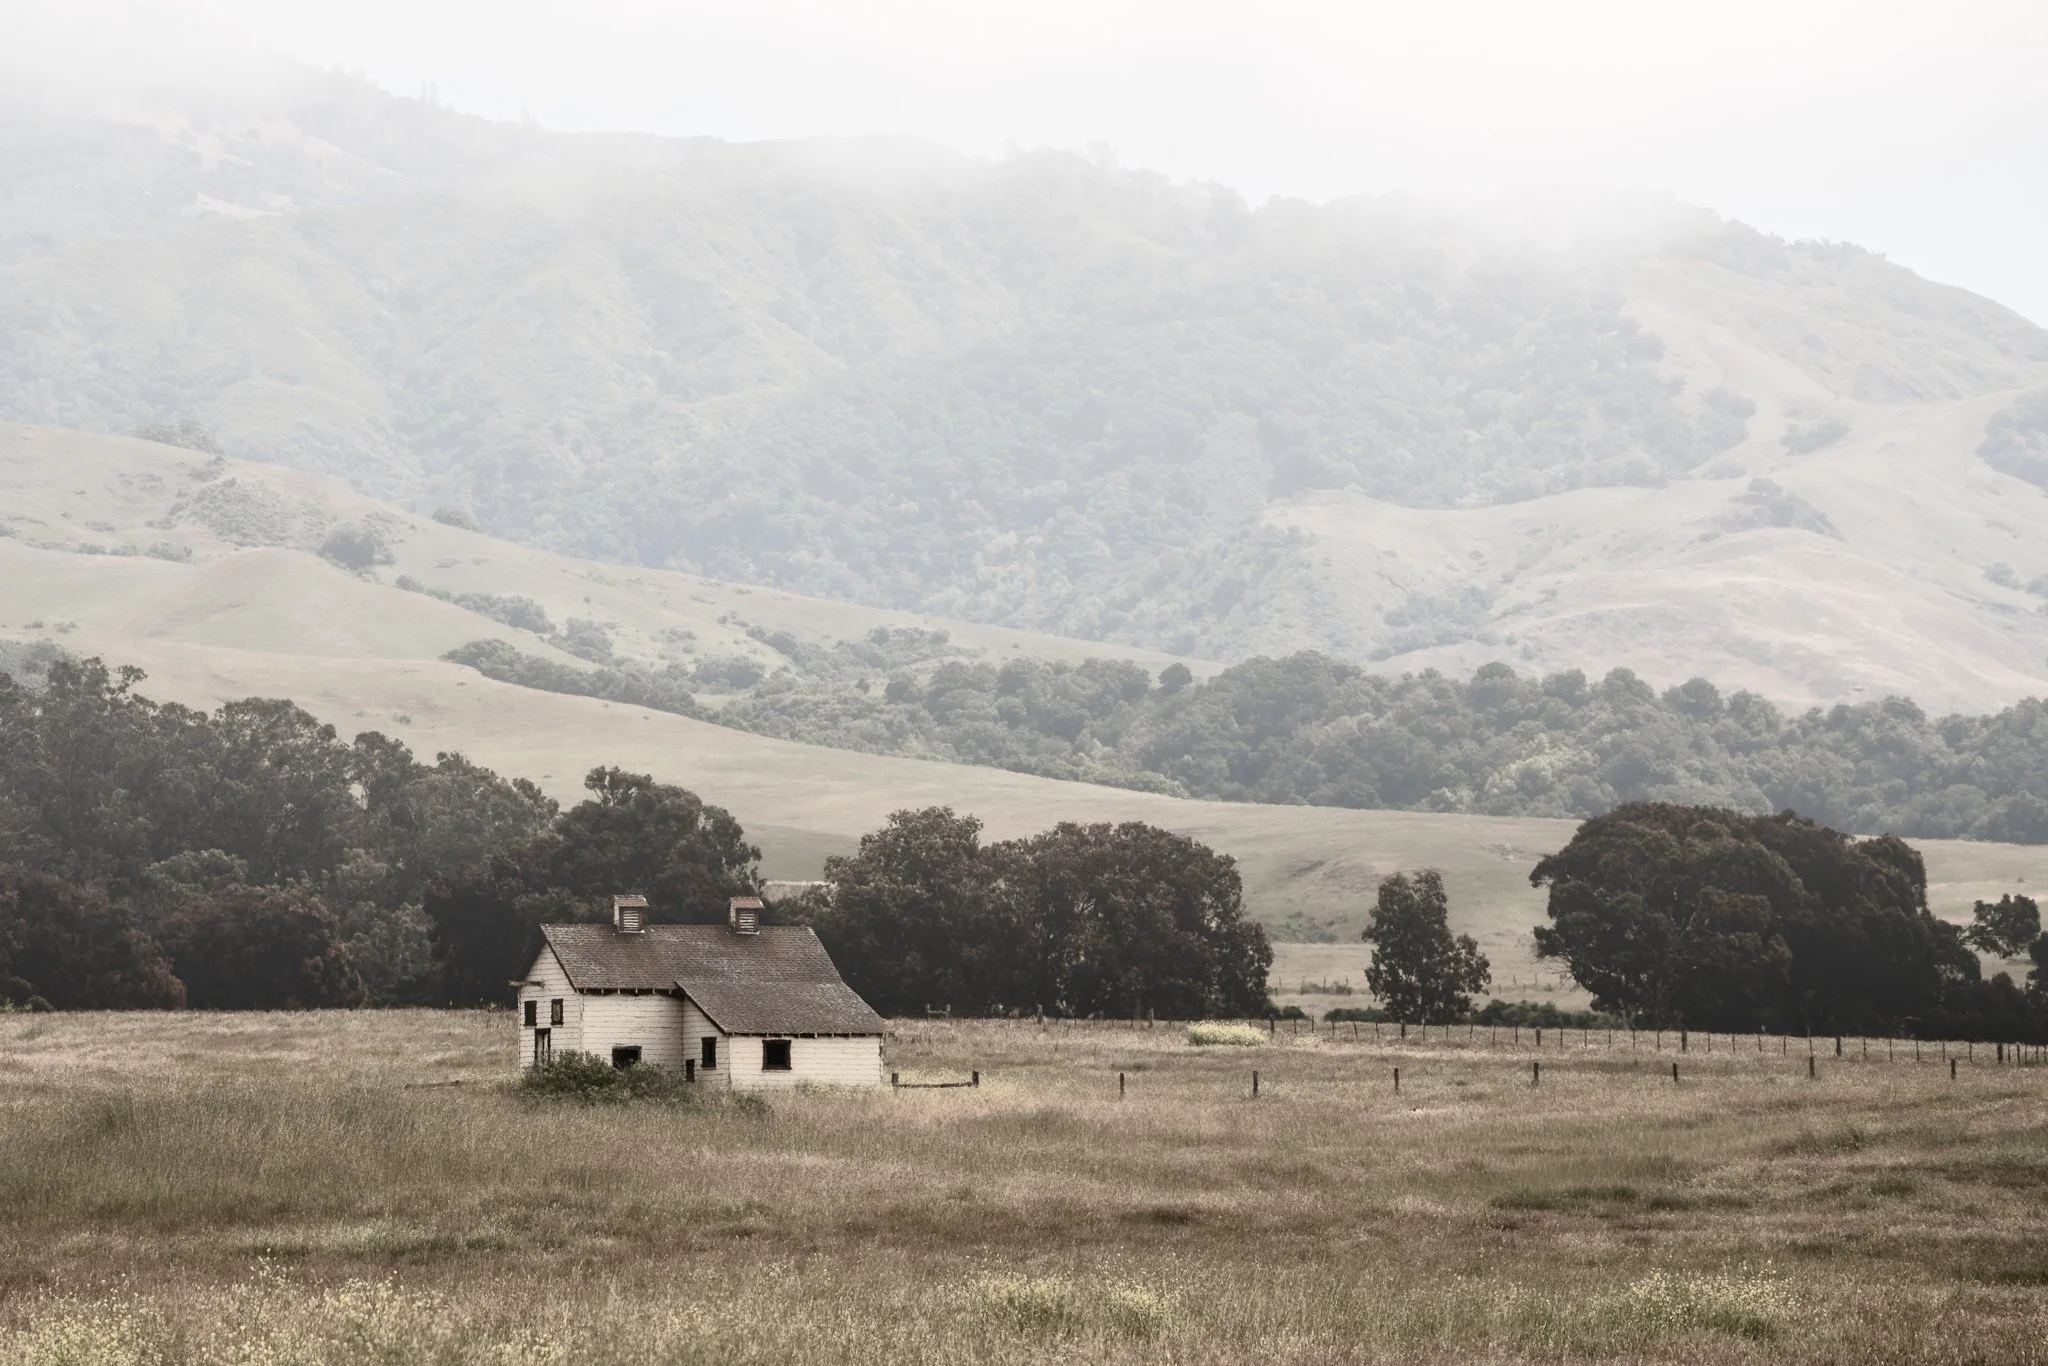
Bad weather can make for good photos. Rain, snow, and fog can all add atmosphere to our images. The Weather filter in ON1 Effects can be used to accentuate scenes taken in less-than-ideal weather, adding atmosphere and mood. I like to use the Weather filter to augment a scene rather than “create” weather, although for certain photos, such as close up portraits, the addition of a weather overlay can work quite well.
Using the Weather filter is an easy 3-step process:
Choose a Precipitation type, rain or snow
Adjust the strength and orientation of the precipitation
Add and blend in Fog
As you’ll see in this article, you can control the looks of the precipitation and fog independently, or leave one of these items out entirely.
Step 1 - Choose A Precipitation
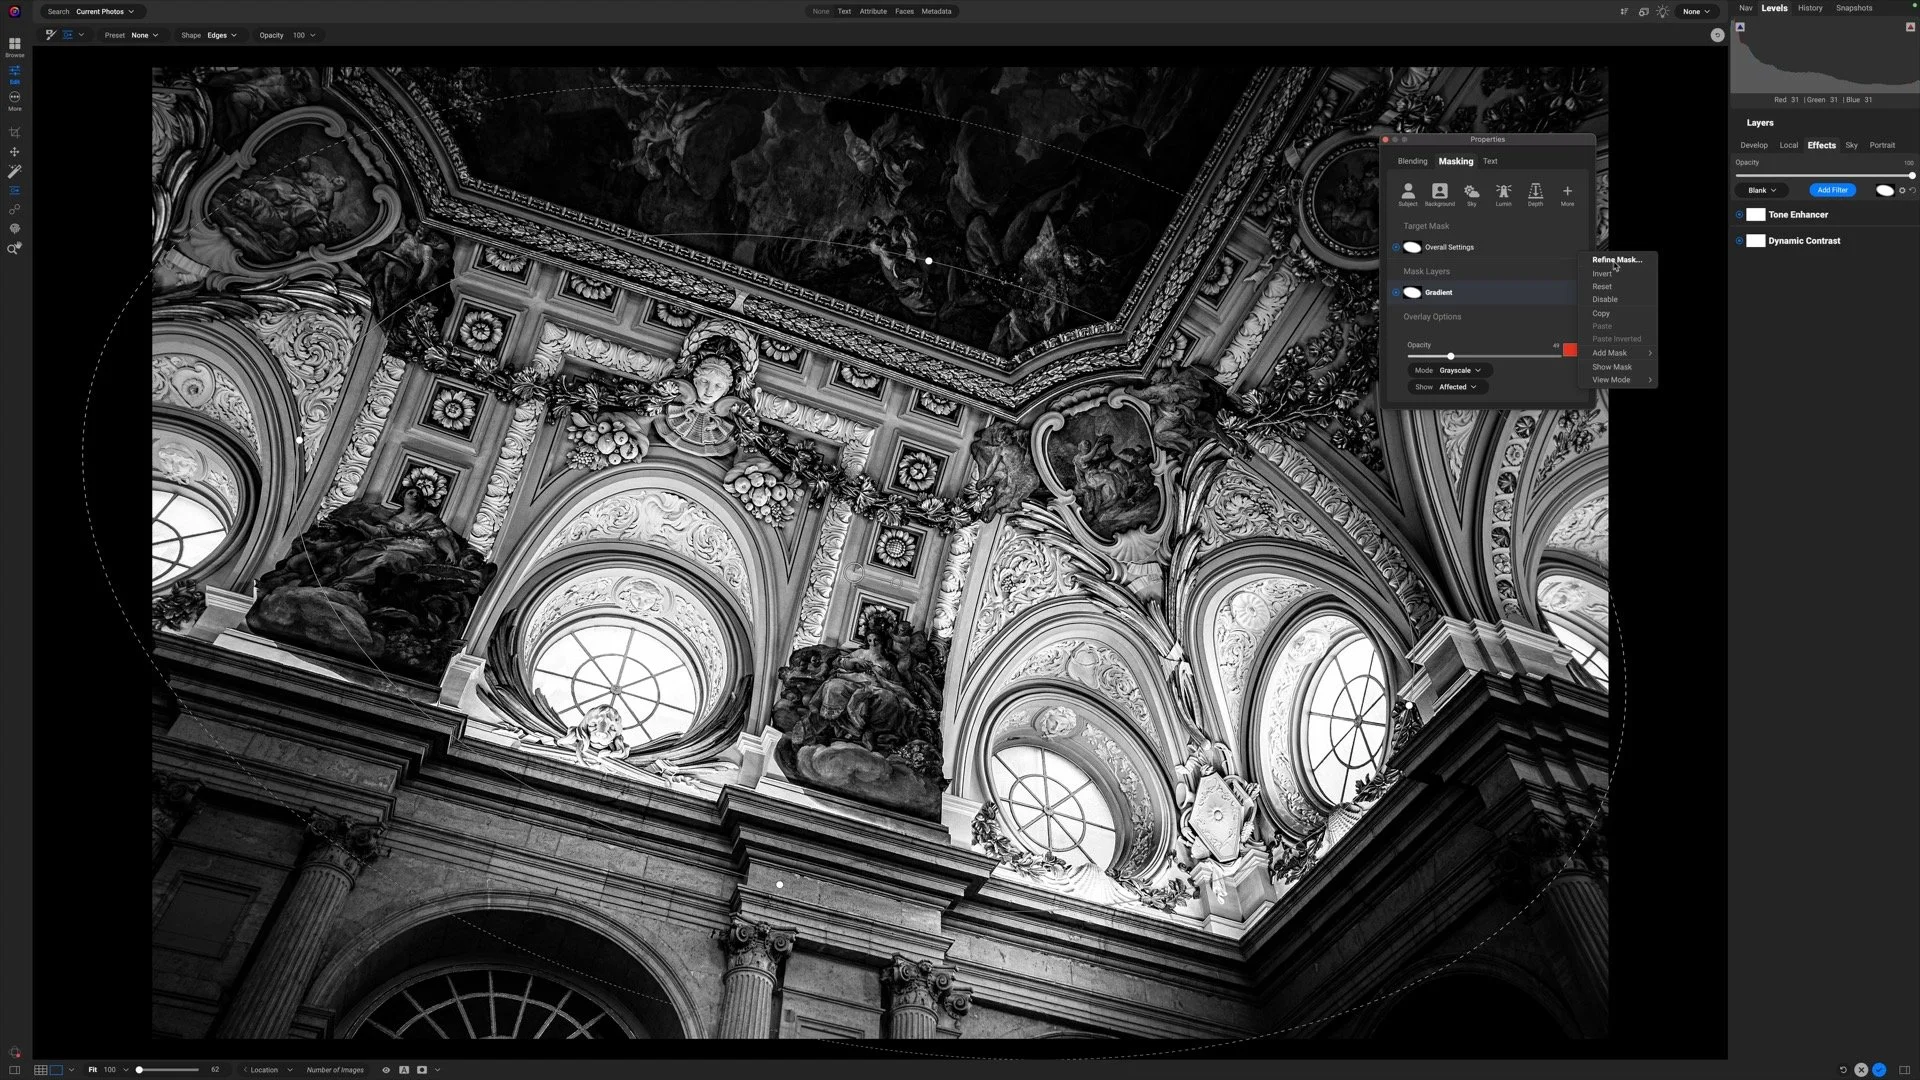
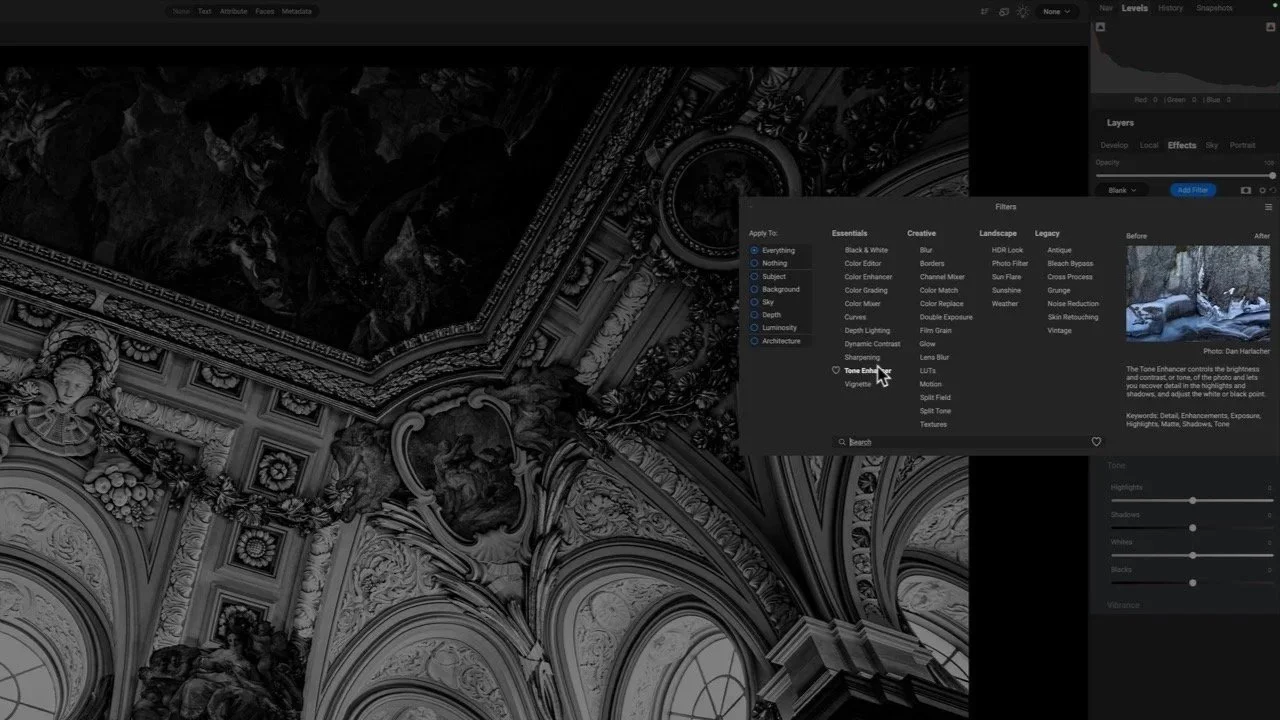
After adding the Weather filter to the filter stack, the first step is to choose a Precipitation. Open the Texture popup menu and hover over the various overlays built into the filter. There are a variety types of rain and snow, both light and heavy. Once a type is selected, adjust the Opacity slider to control the strength of the overlay. Note that this Opacity slider is specific to the Precipitation. There is also a main Opacity slider for the entire Weather filter, that also affects any Fog effects added.
Pro Tip: If you only want to add Fog to your photo, set the Precipitation to None.
Choose a type of precipitation, rain or snow, for your look.
Step 2 - Adjust The Precipitation Overlay Position
This step is optional yet sometimes useful. The Scale slider increases the size of the overlay and the icons adjust the orientation. In practice, the rotation and flip vertical controls don’t make sense for Weather overlays. Why? Rain and snow fall from top to bottom, and most precipitation overlays have a nuance to them that indicate direction. The Flip Horizontal button can be useful, depending on the photo.
The Fit To Canvas button is on by default. This ensures the overlay covers your entire canvas, stretching and scaling the precipitation texture accordingly. Unless the overlay looks awkward, you can leave this option enabled.
Use the Transform controls to adjust the scale and position of the precipitation overlay.


Step 3 - Add Atmosphere With Fog
The Weather filter has several controls in the Fog section.
Amount: Control how much fog to add
Position: Convenient presets to quickly position the fog
Distance: Adjust the point at which the fog ends. Negative values add more fog to the photo.
Rotation: Adjust the angle the fog enters the photo.
Transition: Control how smoothly the edge of the fog dissipates
Selecting an item from the Position popup menu jumpstarts your work with fog. They are like presets for fog. Each item sets the Distance, Rotation, and Transition sliders to create the look described in menu choice. You can (and should!) refine the individual sliders for the exact look you want for your photo
Pro Tip: Set Transition to 0 while adjusting the Distance and Rotation sliders to precisely position the fog in your photo.

Add a layer of fog to increase ambiance and atmosphere.
And that’s it! Three steps and you’re a Weather pro.
Woman Walking At Kumano Nachi Taisha Temple In The Rain
Contact Scott to commission a print or license this image.