Picking The Best Photos For Your Composite
If you enjoy posts like this, please support my work and support independent photography tutorials like this.
When I cull a sequence of similar photos, I keep compositing in mind. Often the reason I capture a burst of photos, or a sequence over a short span of time, is so I can assemble the best parts of each individual frame into a composite image. In this article, I break down the steps I use to find the best photos to use in my composite. You can also look over my shoulder in the video for a deeper explanation of why I choose certain images and reject others.
Step 1 - Find The Candidate Photos … And Reject The Bad Shots
Walk through the sequence of images. As you visit each image, pay attention to the primary subject or the main story of your photo. Is the photo in focus? Is the story strong, the subjects well-positioned? If so, mark the photo in some way to designate it as passing the first round of culling. I use star ratings for this. When the subjects look really good, I mark the image with a high rating, like 4 stars. If the photo is sharp, but the main subjects are poorly positioned, I apply a lower star rating, like 3 or 2 stars. (I use star ratings. You could use color labels, keywords, or whatever works for you.)
While you’re making your first pass through the sequence, reject images that you know won’t work for your composite. Maybe there is camera shake or missed focus, or some other obtrusive distraction. If the photo doesn’t stand a chance of making the composite, reject it.
The base image has most of the elements you want. Here, the three subjects on the left are in a good position and the two on the right are separated.
Reject frames that have a fundamental flaw (like soft focus) in the capture.
Step 2 - Find A Base Photo
Once the first pass through the set of images is done, filter the sequence to show only those that passed the first round. For my workflow, that’s a photo with a star rating. Make a second pass through those selects looking for the “base” image. The base image is the one that has the most going for it. Most of the subjects are well-positioned, or the light is extra nice, or… you get the idea. That singular image has the strongest foundation to build upon.
Mark your base frame with an additional piece of metadata. I use a pick flag for this.
At the end of the first pass through your images, you have a subset that are candidates for your composite.
Filter the ranked images and find the base image, the frame that has most of the elements you want. Mark it in some way as the base photo (for me, that’s 4 stars)
Step 3 - Consider Secondary & Tertiary Elements
Continuing with the filtered set of images, make another pass through the photos. Pay attention to the subject more closely. When multiple subjects are involved, is the subject in one frame slightly better than another? Also, pay attention to the secondary and tertiary elements in the scene. Is the background less distracting in one frame compared to another? Is the left side of the frame good in one image and the right better in another?
As you assess each of the selects, when you find an element you want to incorporate into your composite, mark the image in some fashion. Again, I use a pick flag for this.
In my example, the positioning of one of the subjects was not the best in the base photo, so another photo got a pick flag added. In another image, the subject position was not ideal, yet the surf in the background was more interesting, so that image got a pick flag.
The position of the subjects is not idea in this frame. However, the splash of surf behind the subjects is interesting, so I mark it as an image to incorporate into my composite.
Step 4 - Go Forth And Blend!
When you’re finished, you have culled down your original sequence to a subset of photos to use in a composite. If you’re following along with my tagging system, that’s photos in the sequence with a star rating and a pick flag. Those are the images to bring into your layering software to blend into a single image.
After a few short rounds of culling, I have whittled down my 10 original images to just 3 to blend into a composite.
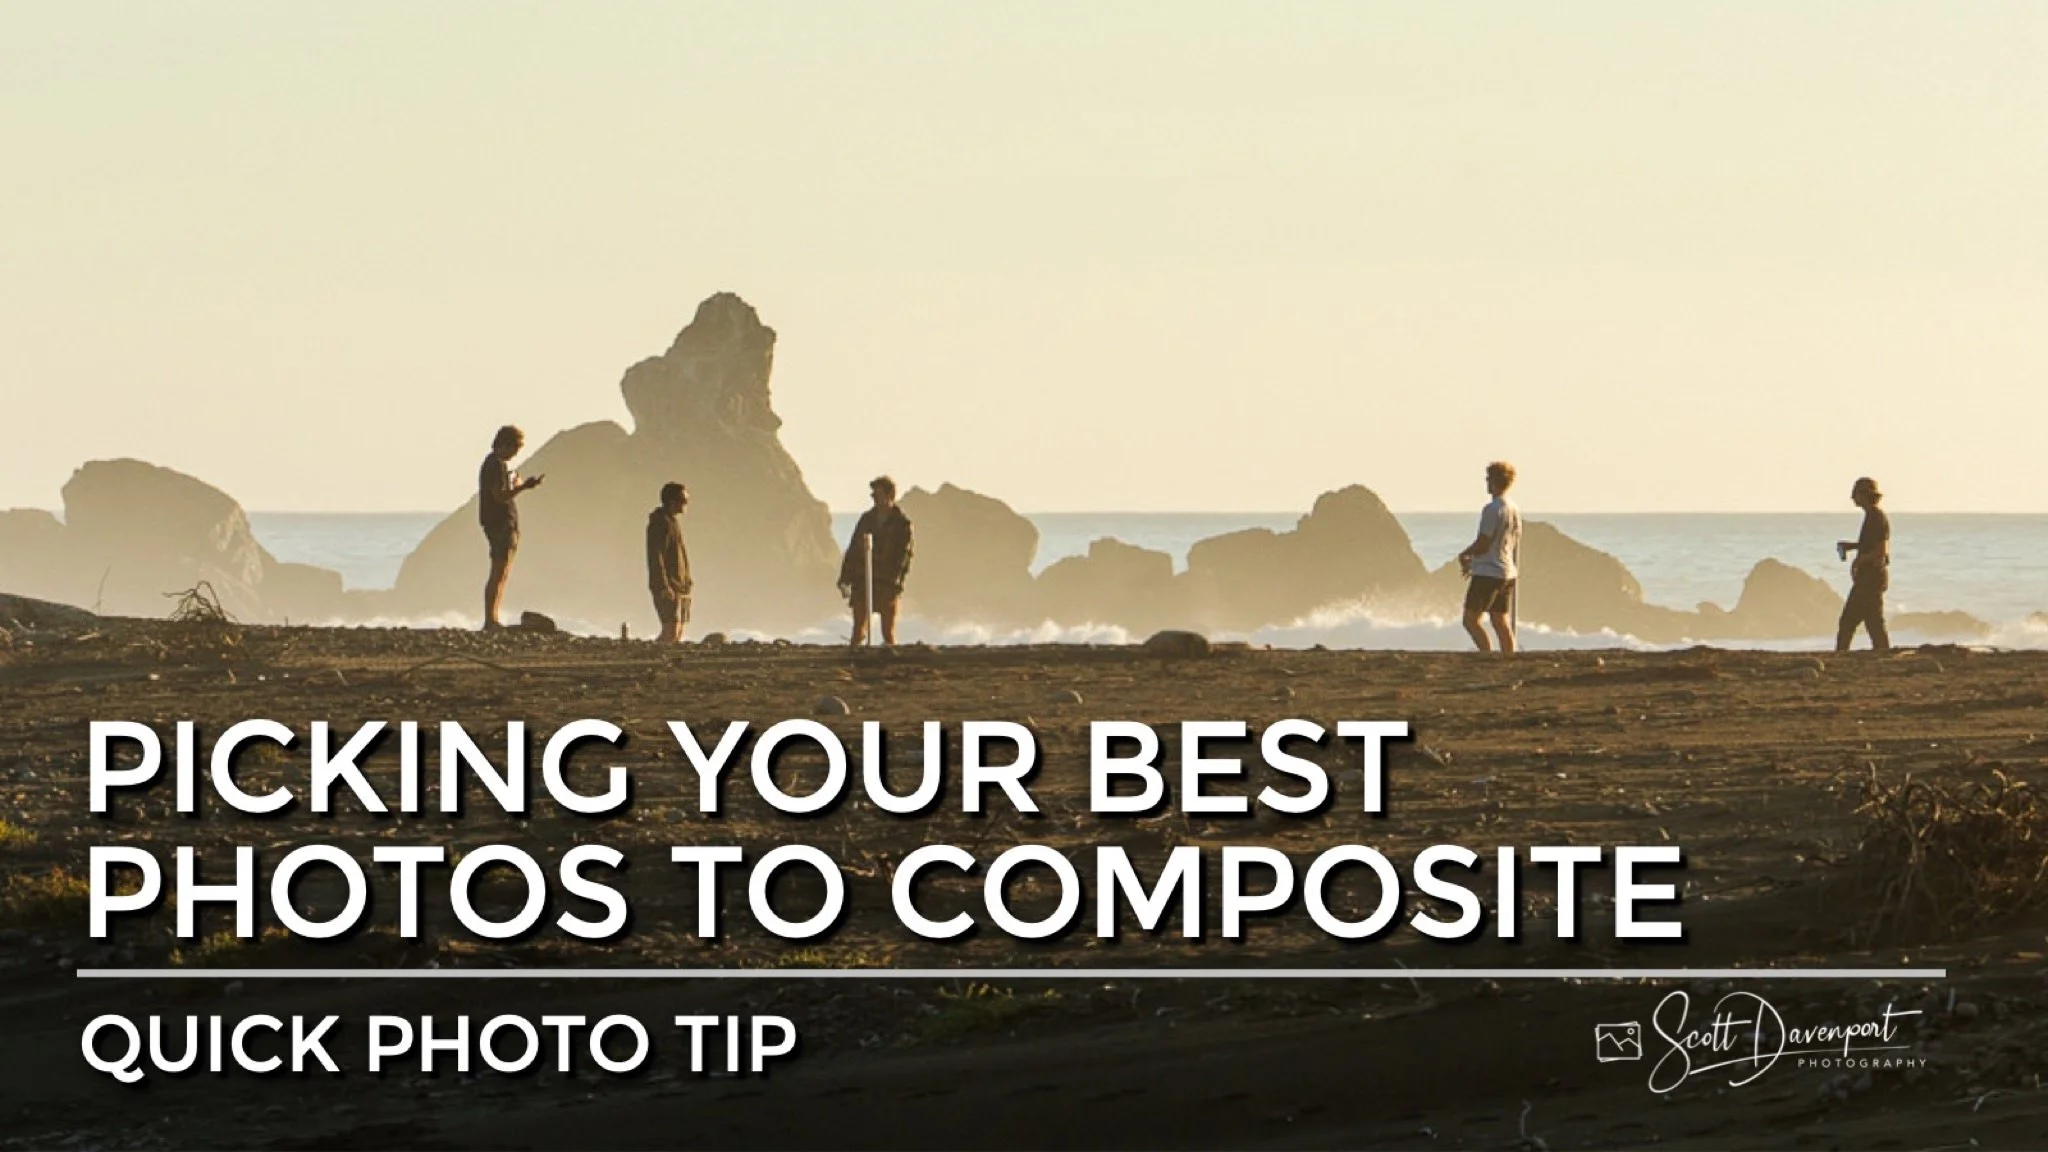
Camping At San Carpoforo, California
Contact Scott to commission a print or license this image.
