
Perfect Retouching In The Shadows
If you enjoy posts like this, please support my work and support independent photography tutorials like this.
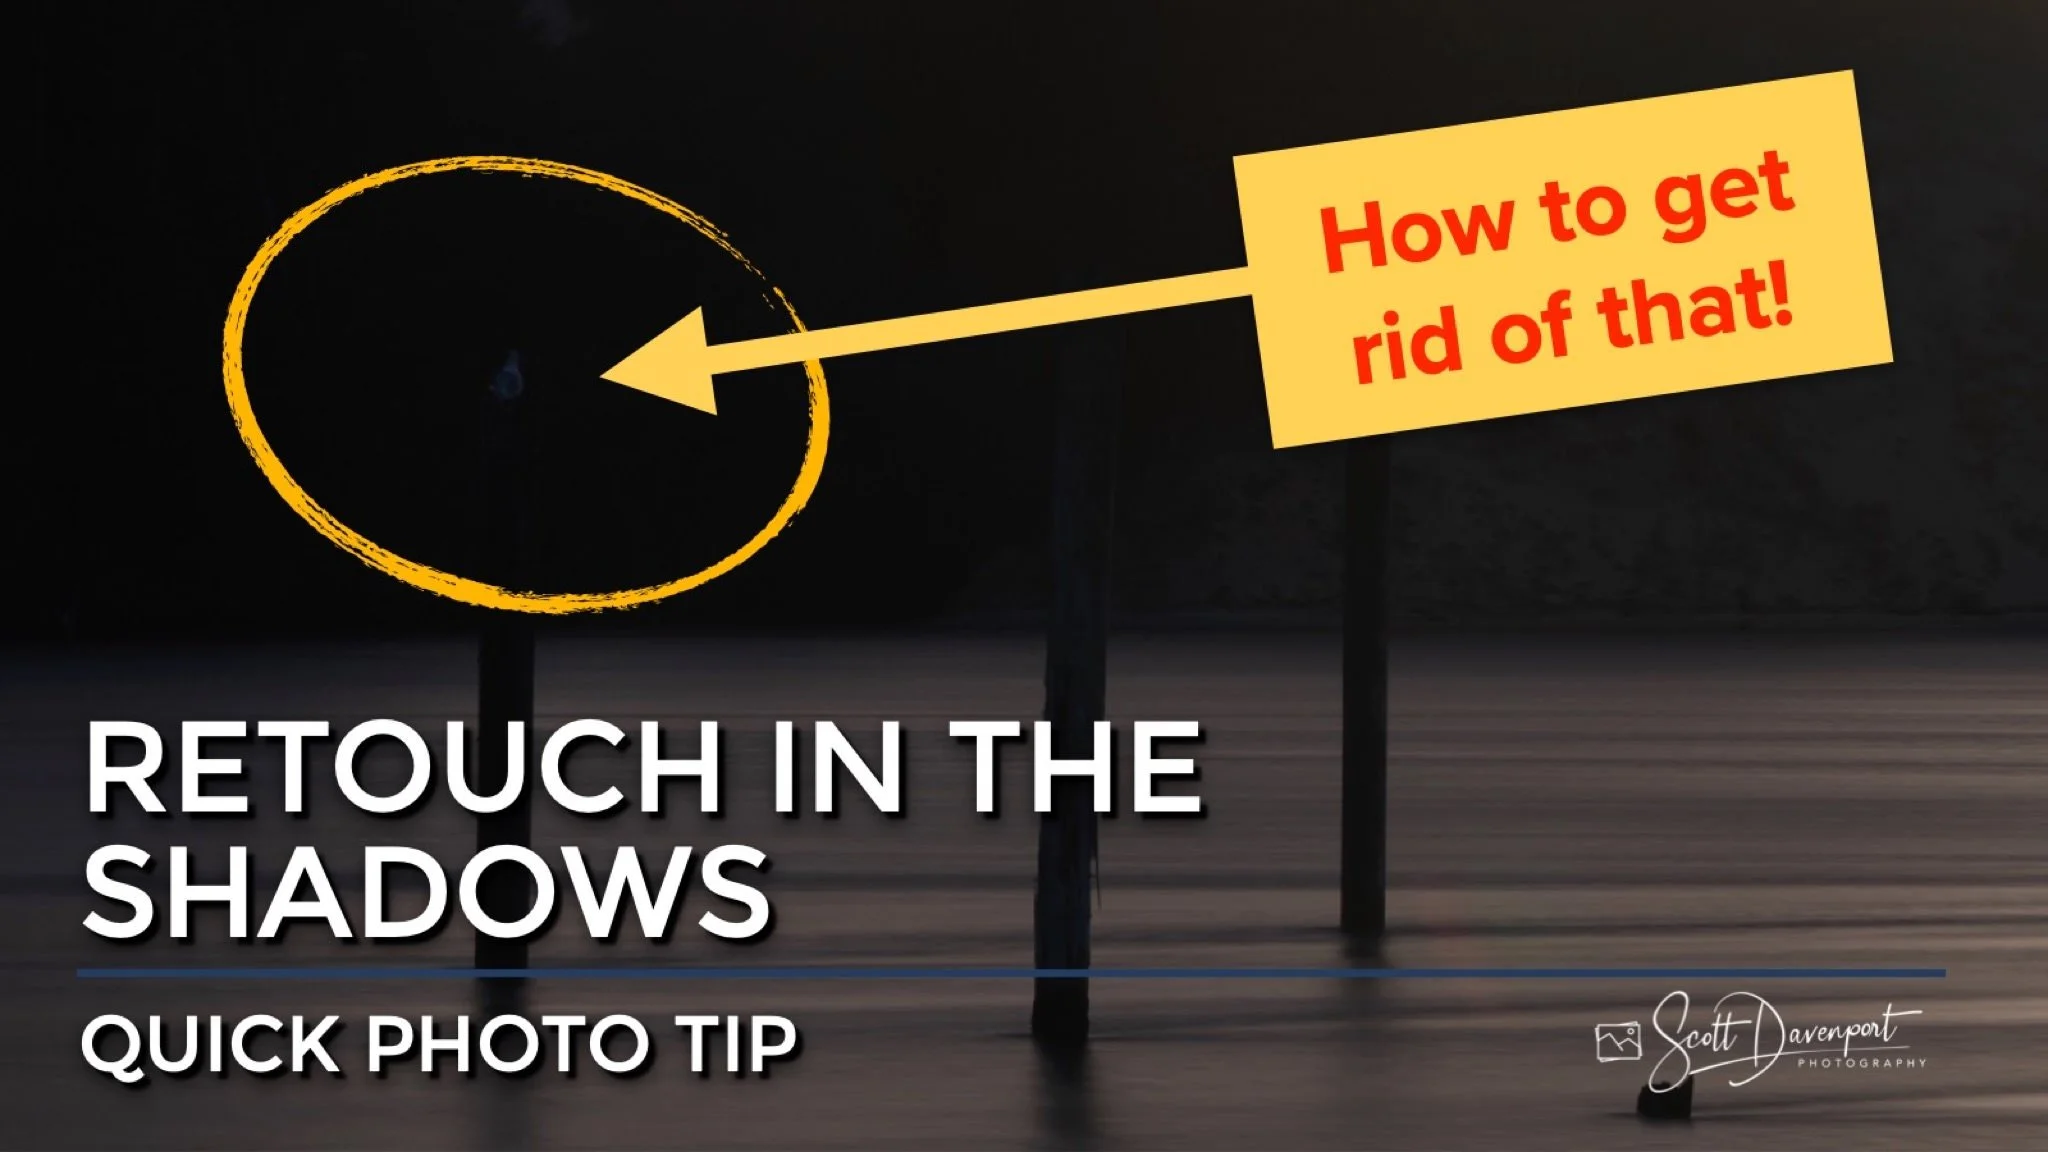
I do most of my retouching at the start of my editing workflow. There is a simple trick I do when retouching in the shadows - an obvious approach, really, that I’ve done subconsciously for years. To really see what you’re doing in the shadows, overexpose and then do your retouches. When you see the detail in the shadows, you may modify your retouching approach for the best results.
The bird on the far left piling is not adding to the story of the photo. Retouching is challenging because that area of the photo is so dark.
The simple trick - overexpose the photo. Now the details in the shadows are obvious.
Then do your retouching. In this case, I switched to a clone-stamp tool to preserve the tree details in the background.
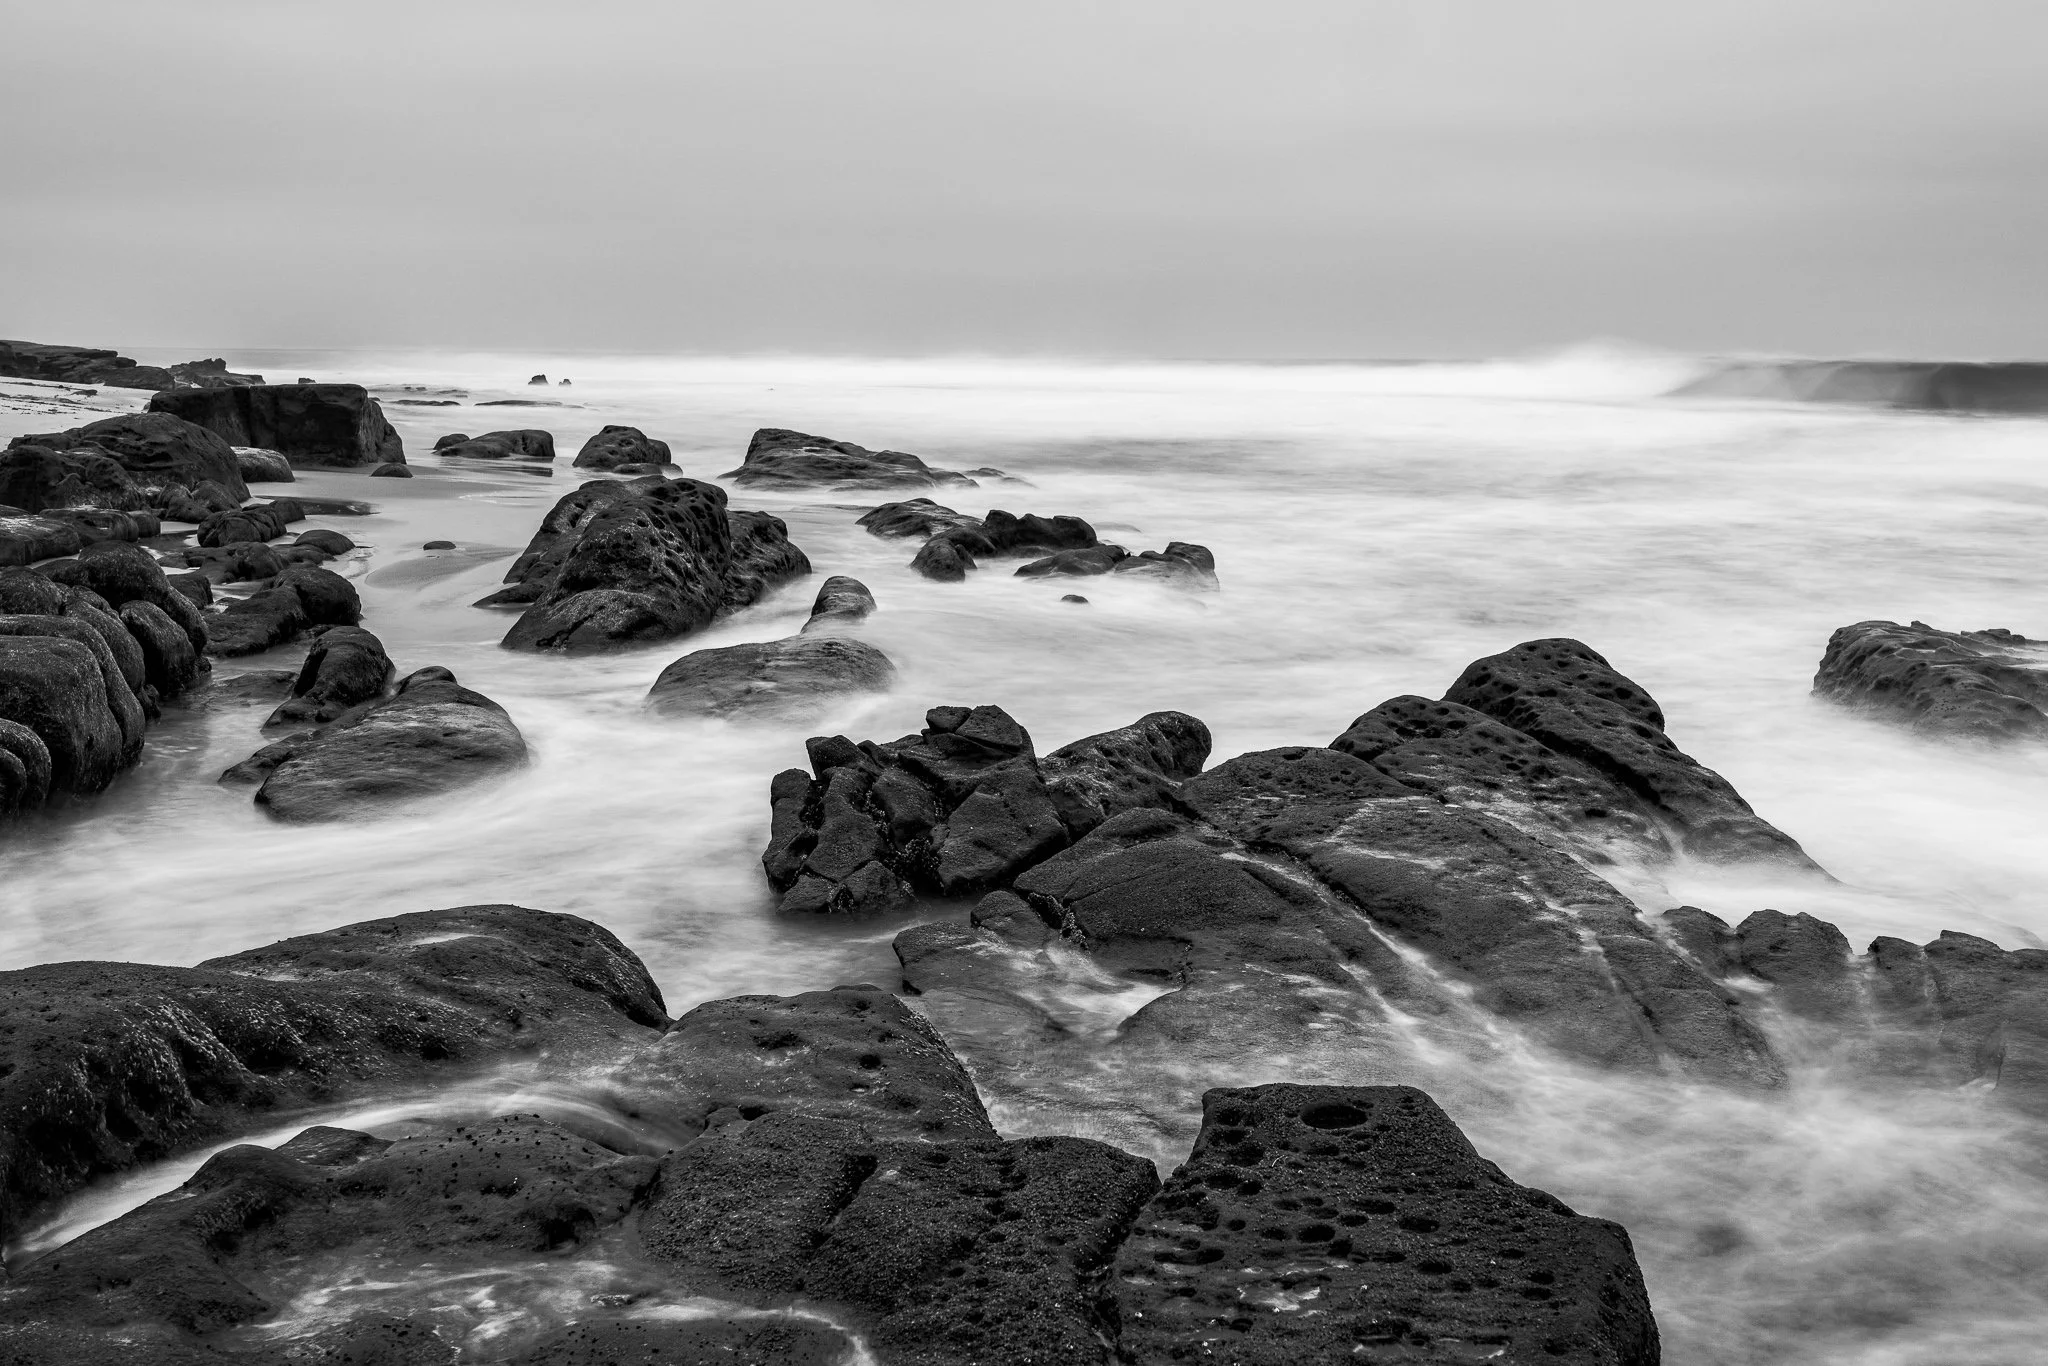
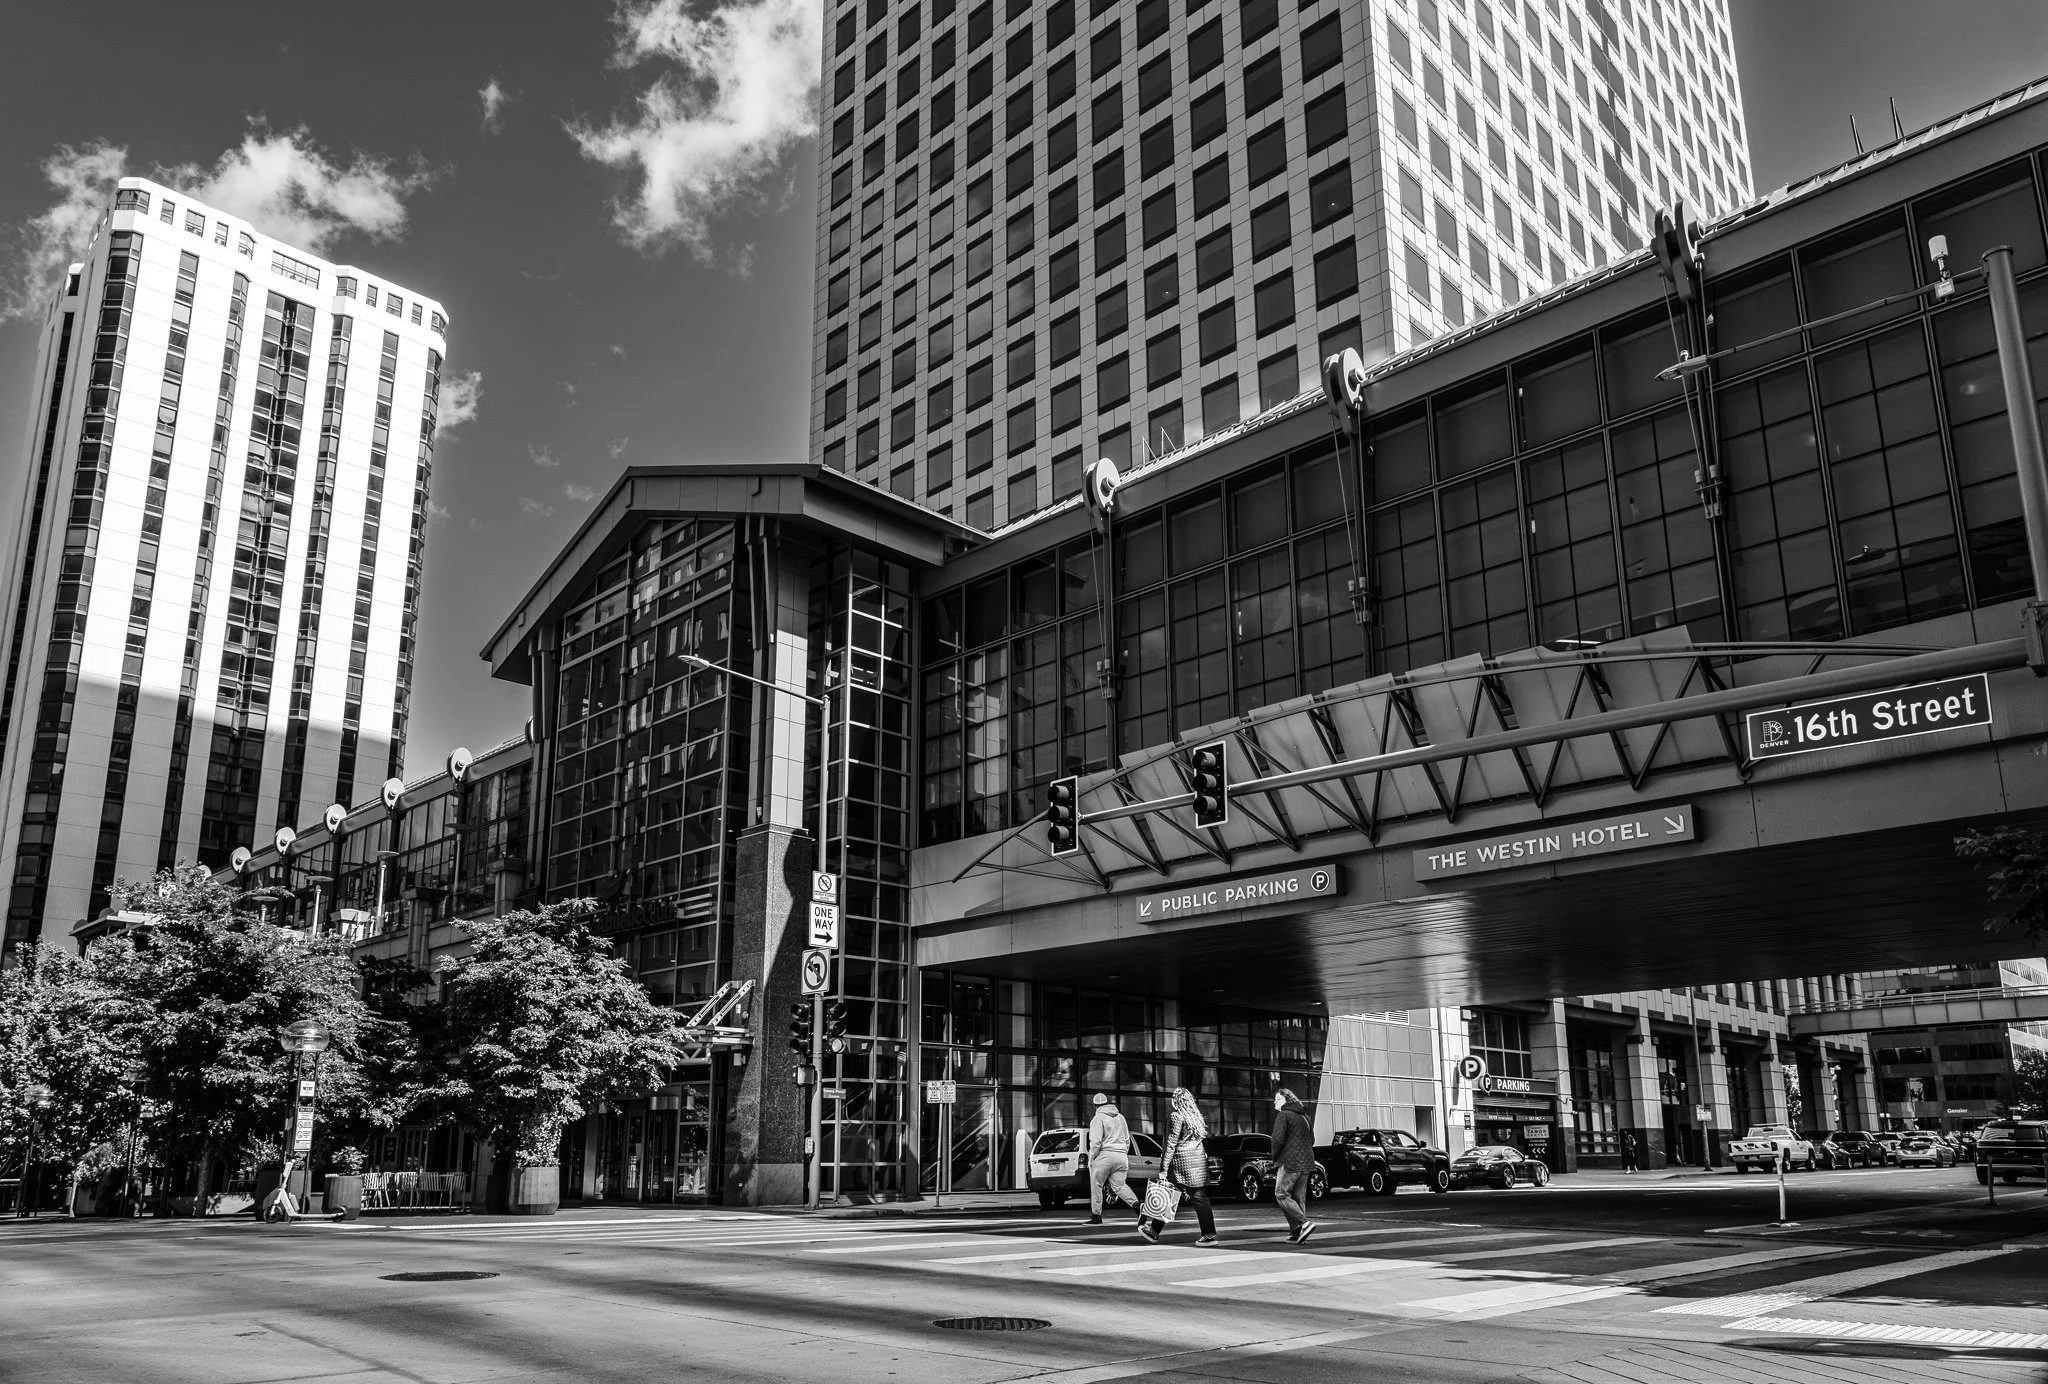
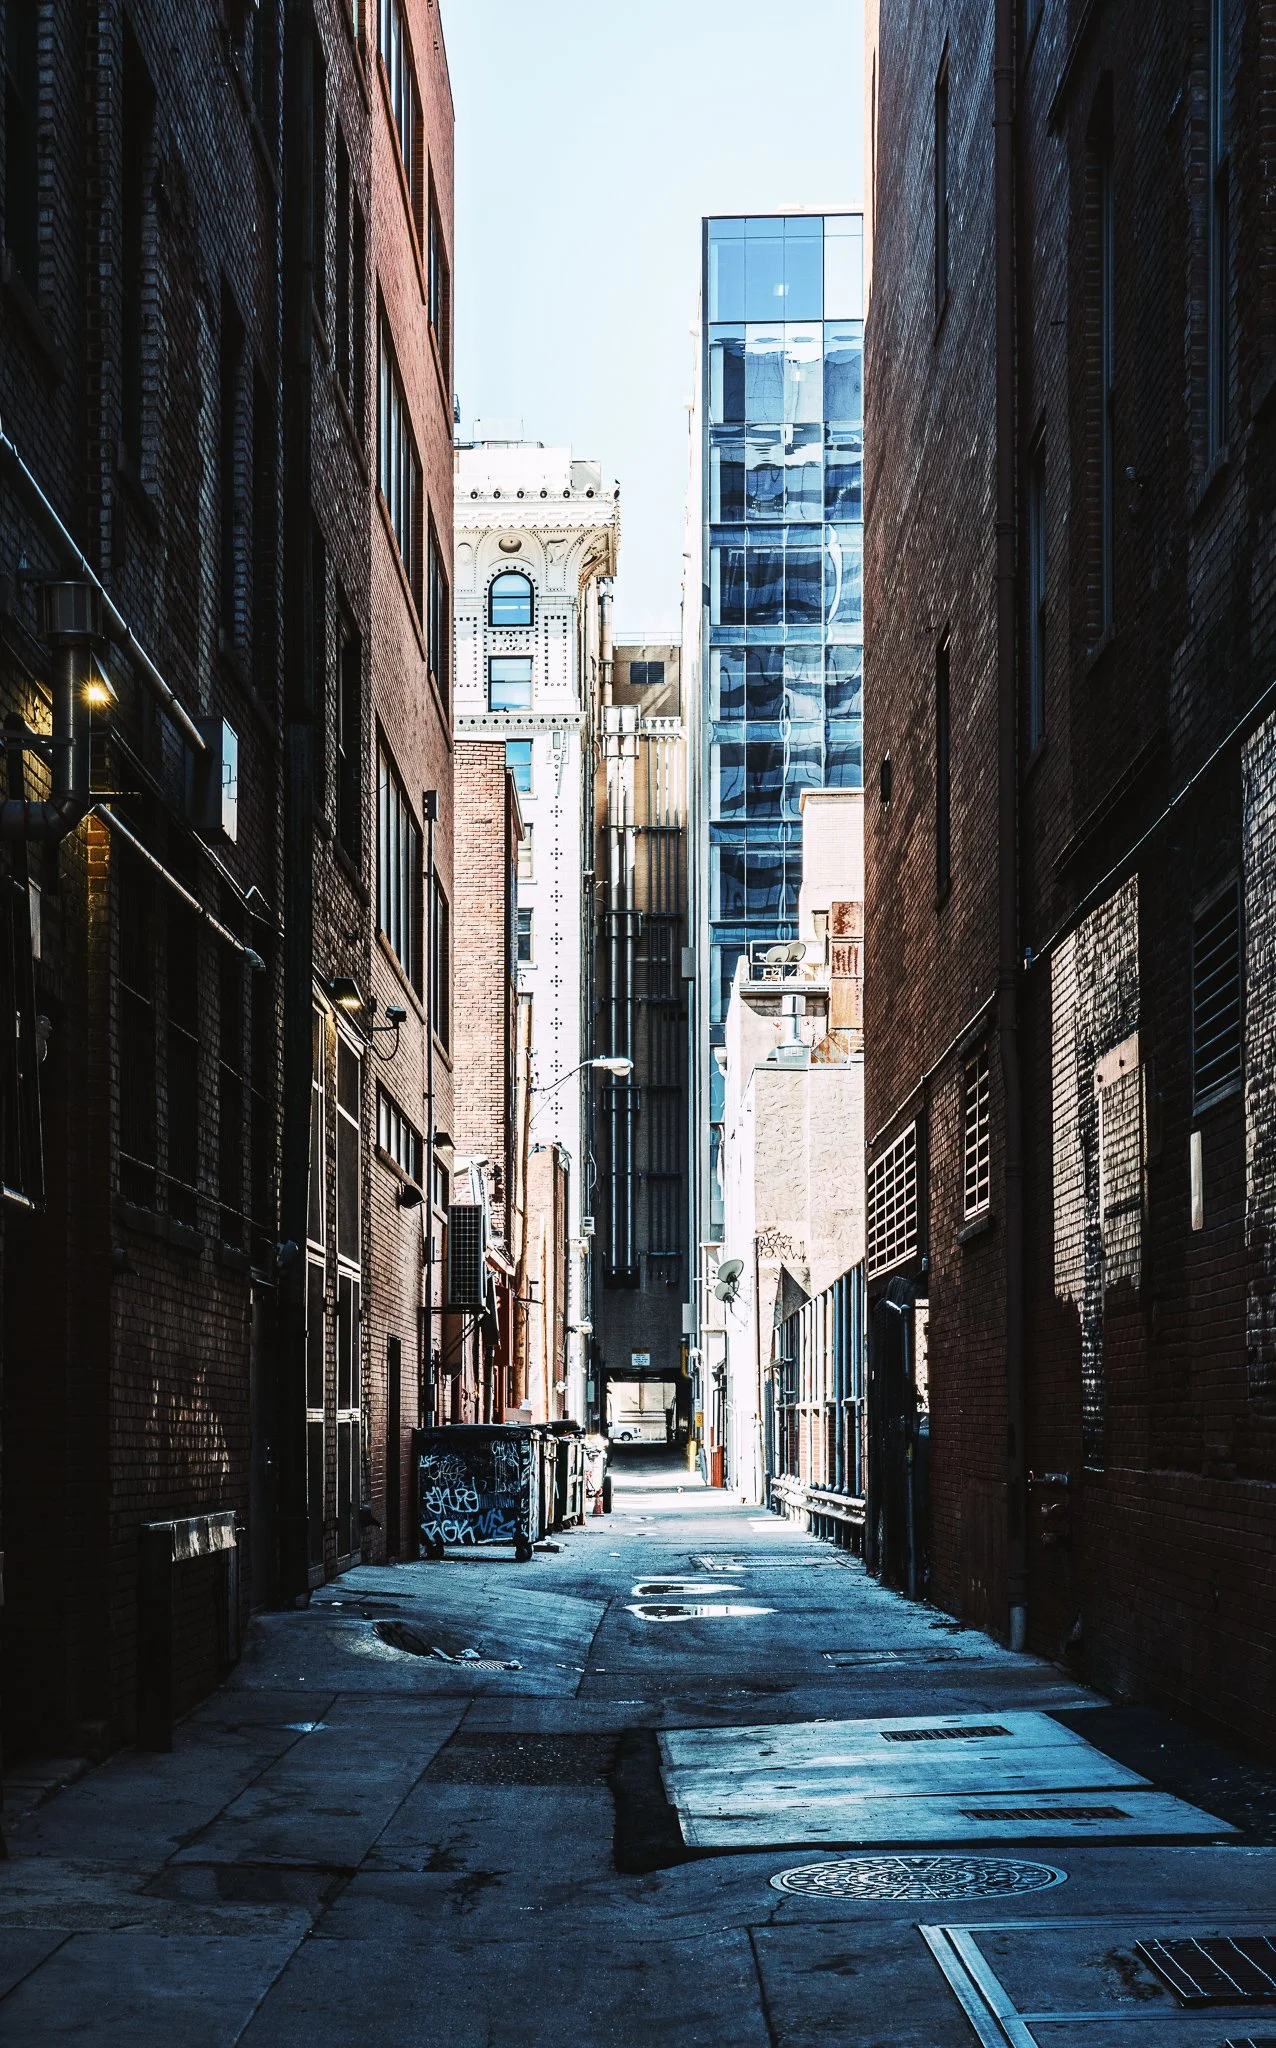


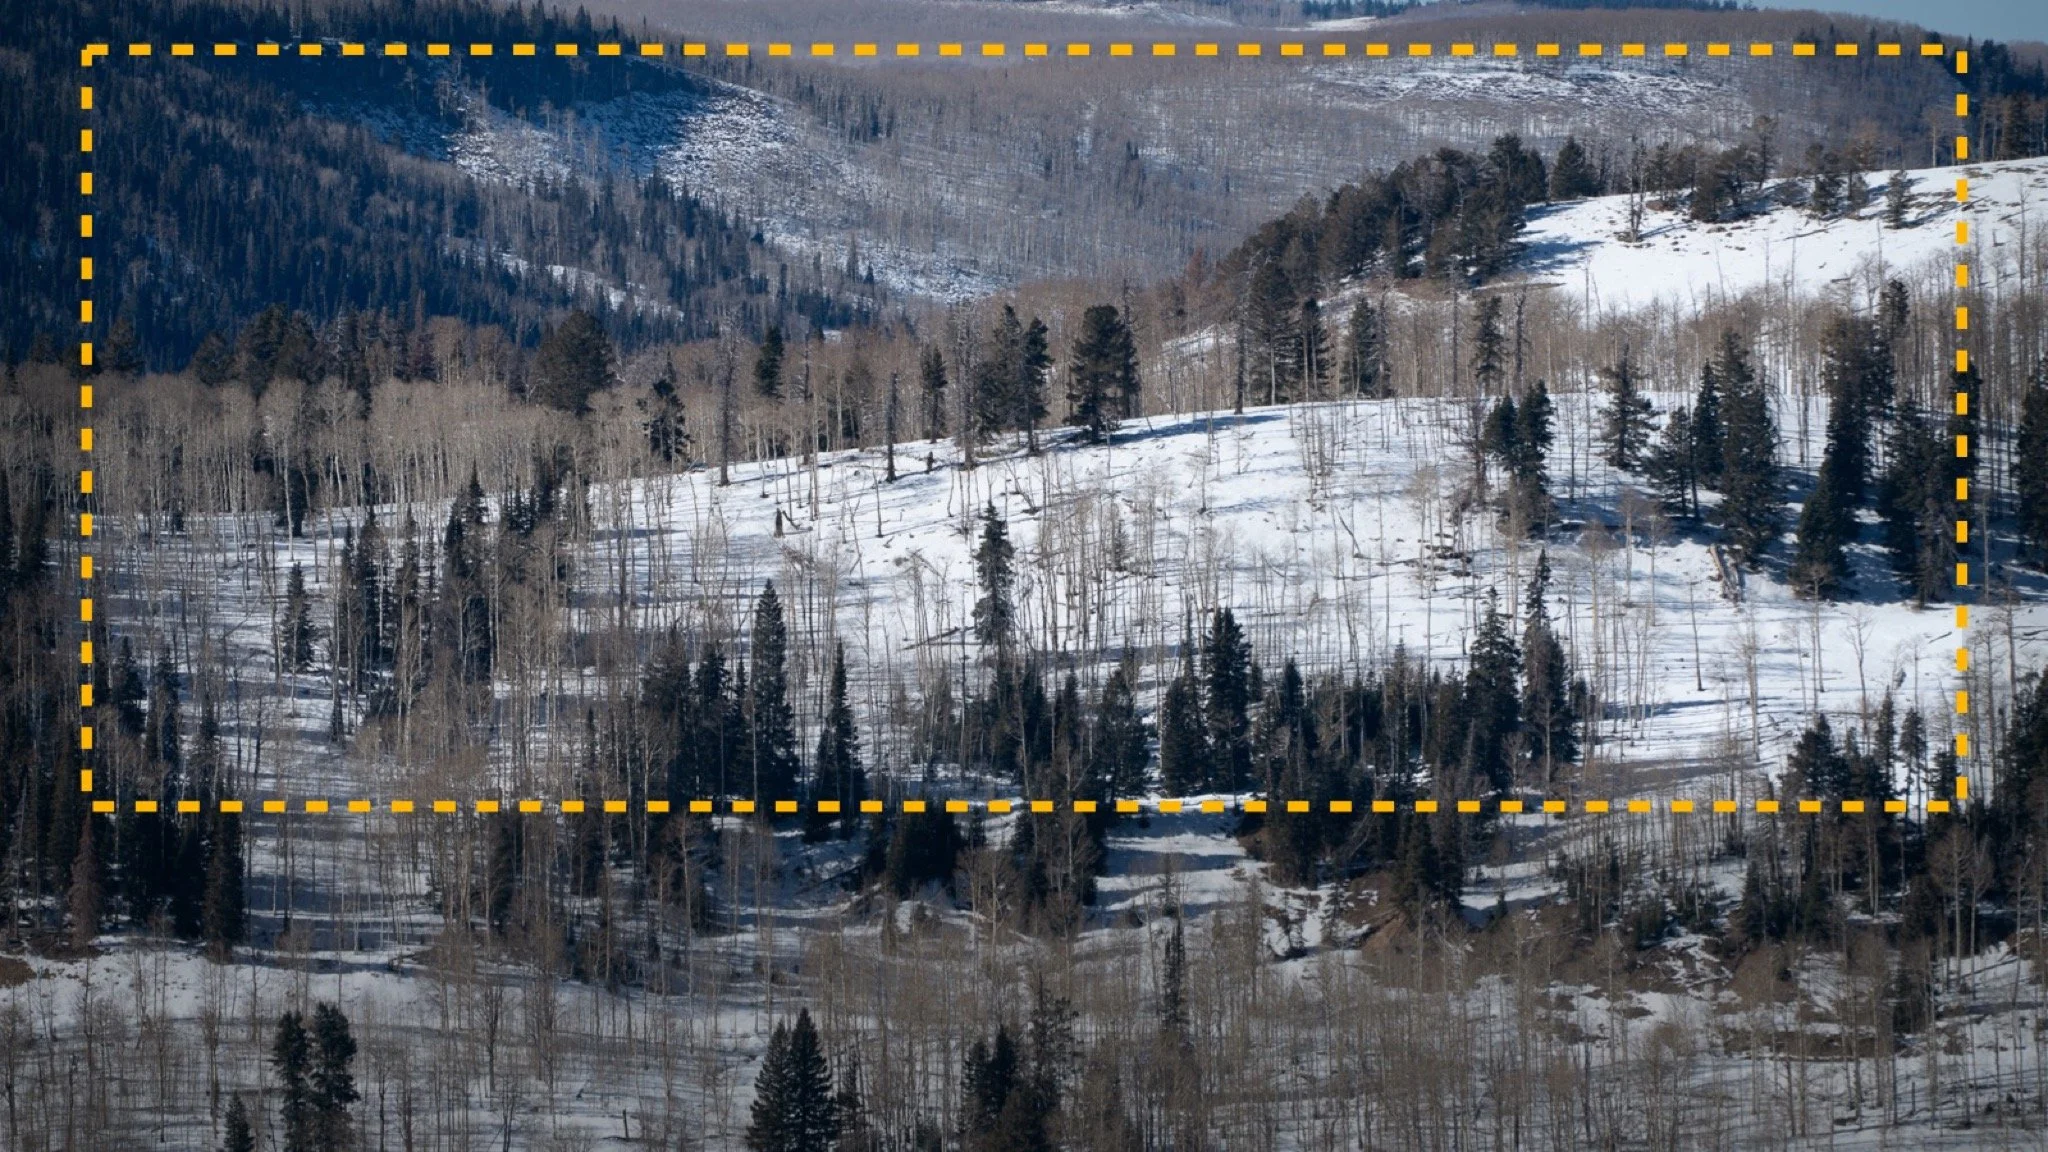
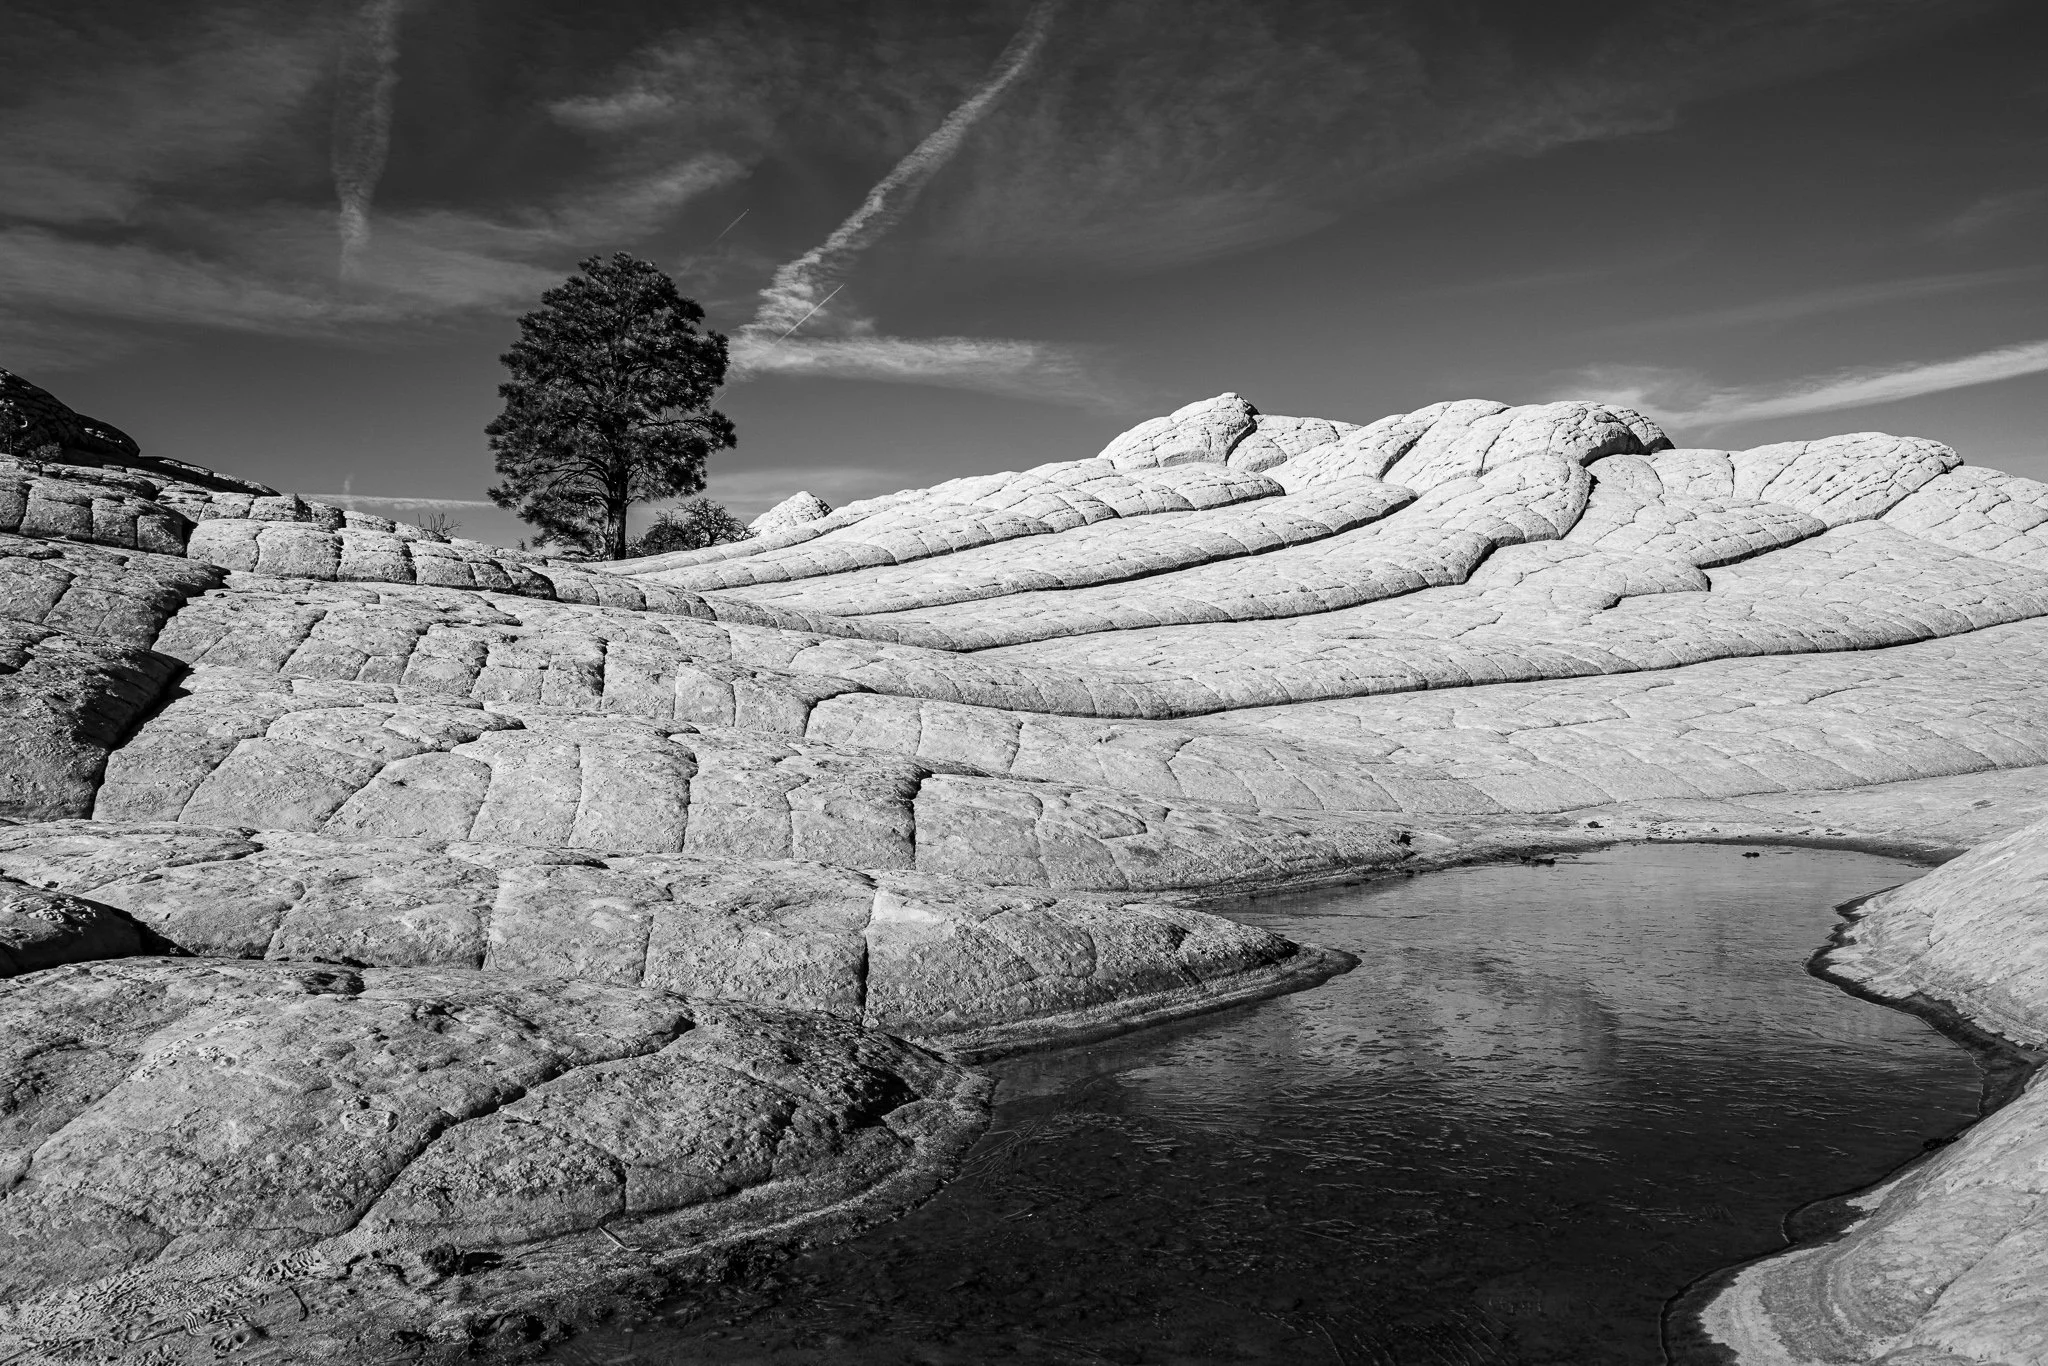
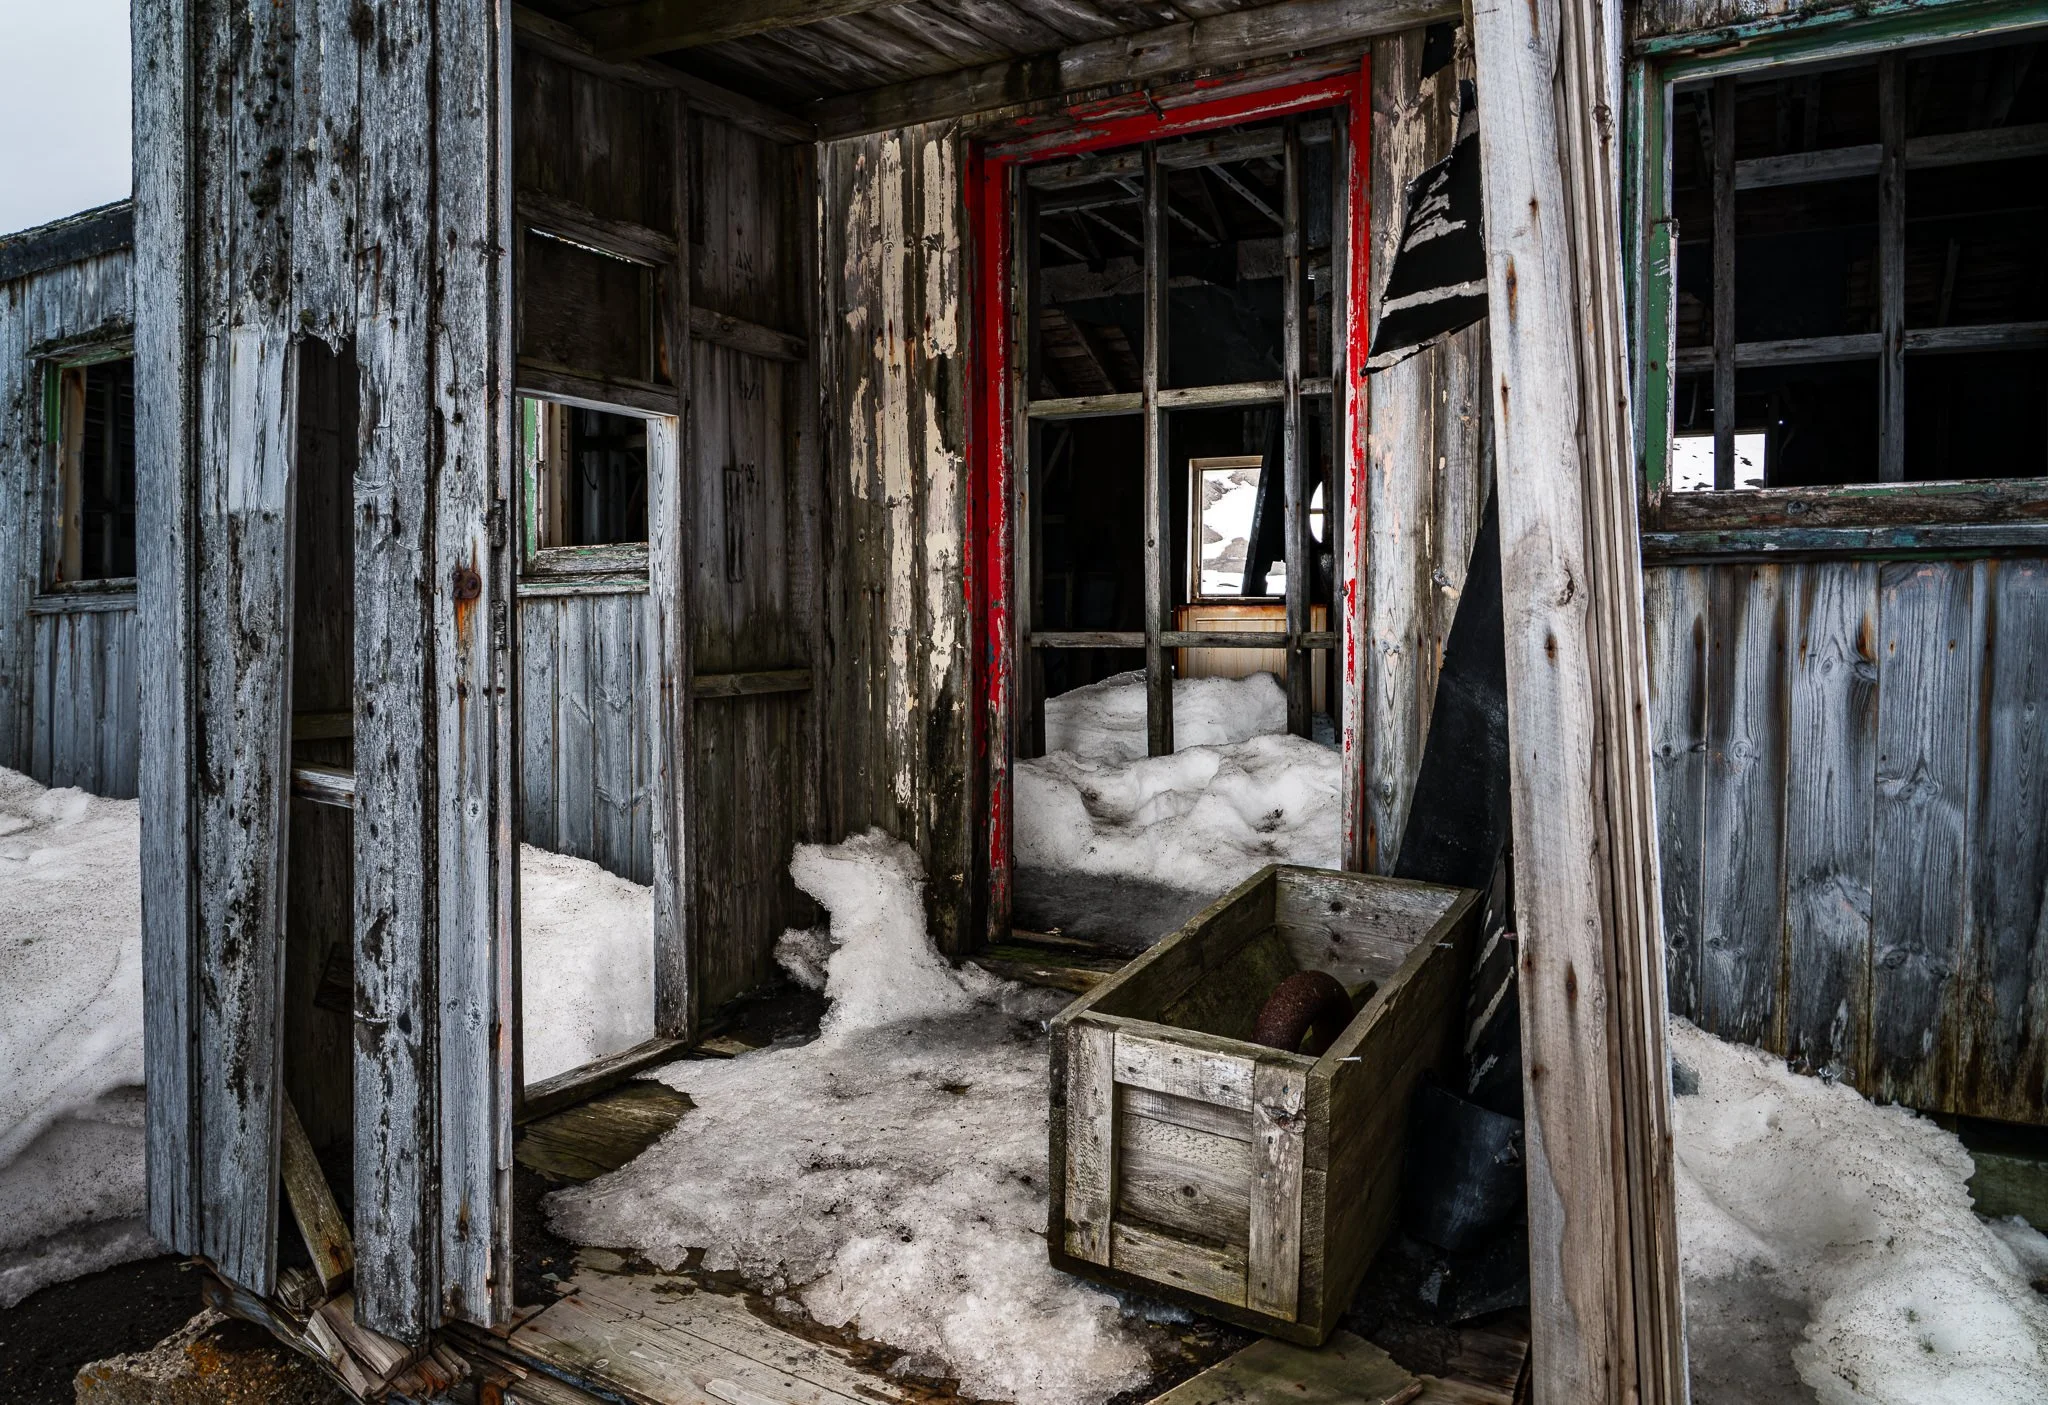


A vignette can help guide the viewer toward your subject, but lowering exposure around the edges of a black and white photo can quickly bury important shadow detail.
In this quick tutorial, I’ll show you a more controlled approach using a radial gradient and the Whites or Highlights slider. You’ll still get that visual nudge toward the subject without making already-dark areas disappear.