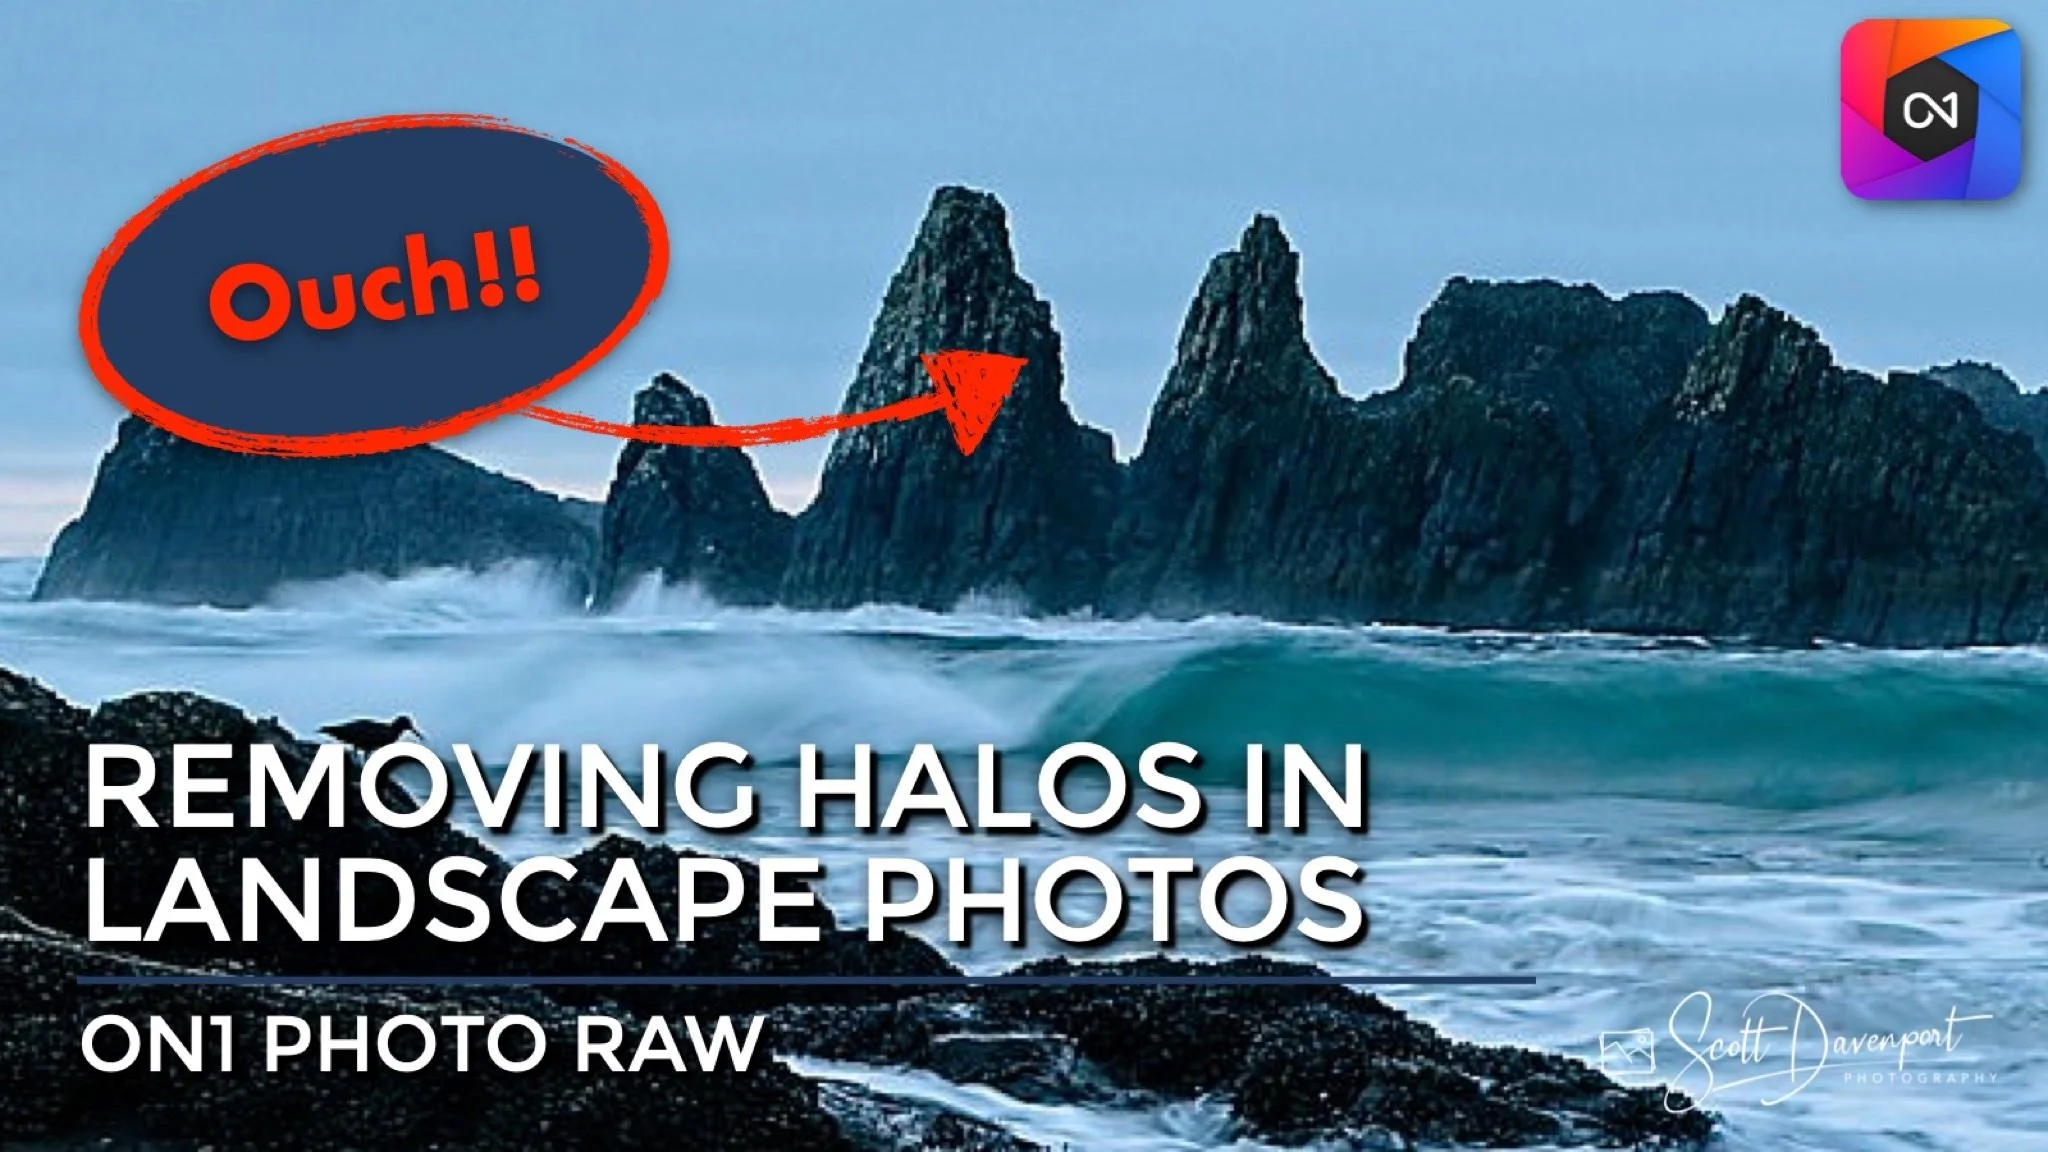
How To Fix Halos In Your Landscape Photos Using ON1
If you are trying ON1 Photo RAW, the ON1 plug-ins like ON1 Effects or ON1 HDR, or upgrading your ON1 software to a newer version, please consider using my affiliate link. There is no extra cost to you and it helps support ON1 tutorials like this one. Ready to buy? Use the offer code SDP20 at checkout and SAVE 20%!
Landscape photography is synonymous with dynamic range. Deep shadows and bright highlights are present in the scene, and high contrast edges are common. These extremes of light and shadow is what make for the most compelling landscape images. They are also a recipe for a nasty side effect - halos.
What Is A Halo?
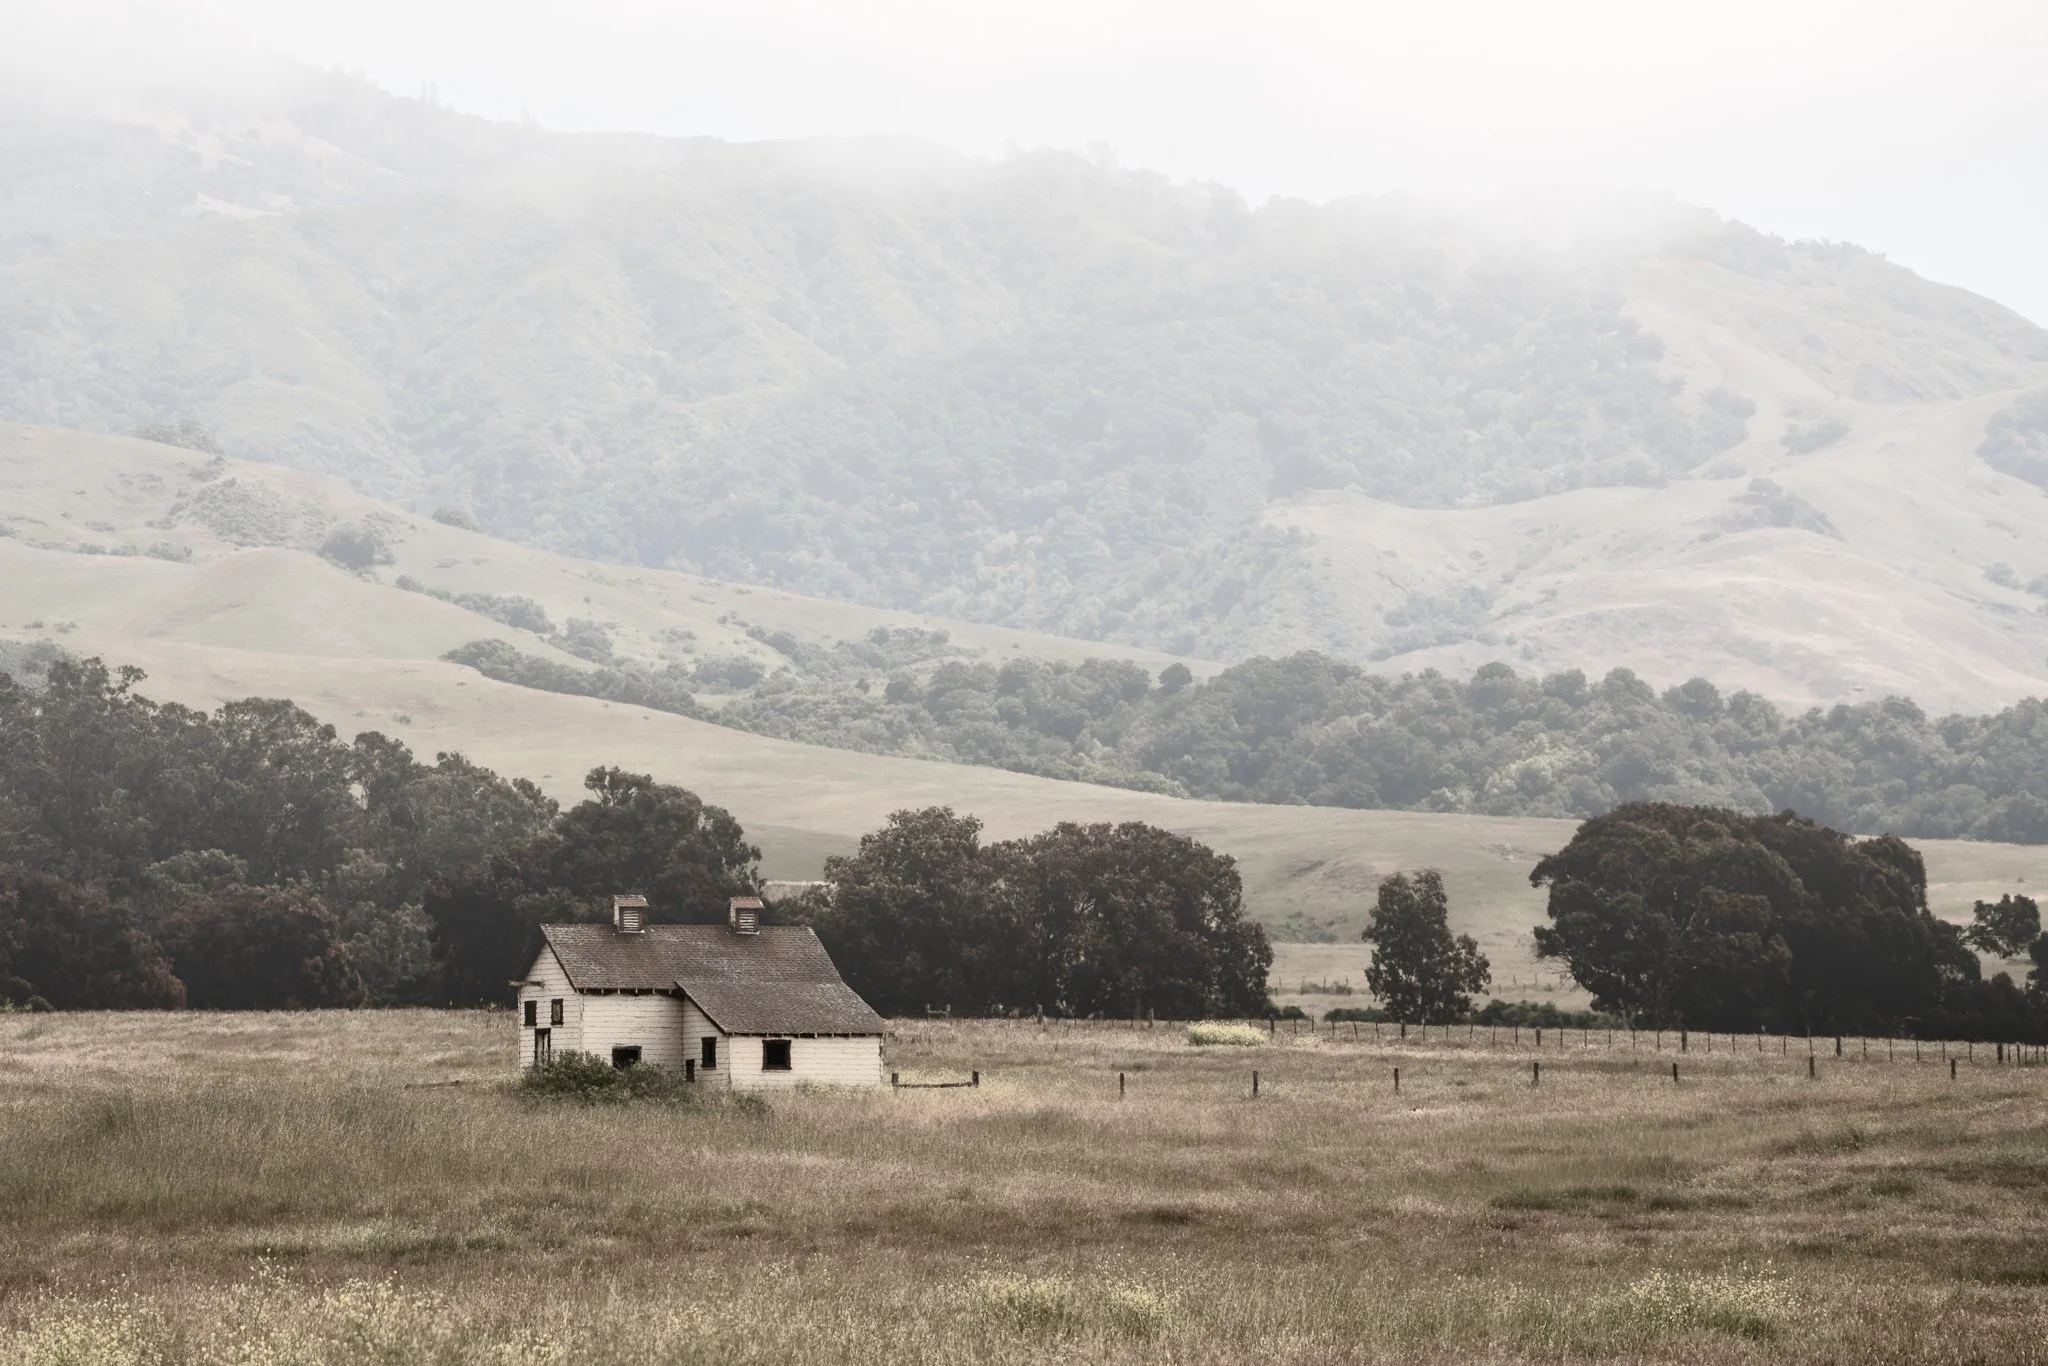
A halo is a bright band of pixels outlining a high contrast edge. They are most exaggerated at high contrast edges, where there is an abrupt change from dark to light or vice versa. A halo can appear in color and black & white imagery. In the example below, there is an unattractive halo around edges of the rock formation where it meets the sky.
When we process landscape photos, it is typical to increase contrast. Adjustments such as Dynamic Contrast or other detail enhancers that bring out textures in your scene do so by increasing local contrast. This also exaggerate halos. The more you add contrast, the more pronounced the halo becomes.
Find The Cause Of The Halo
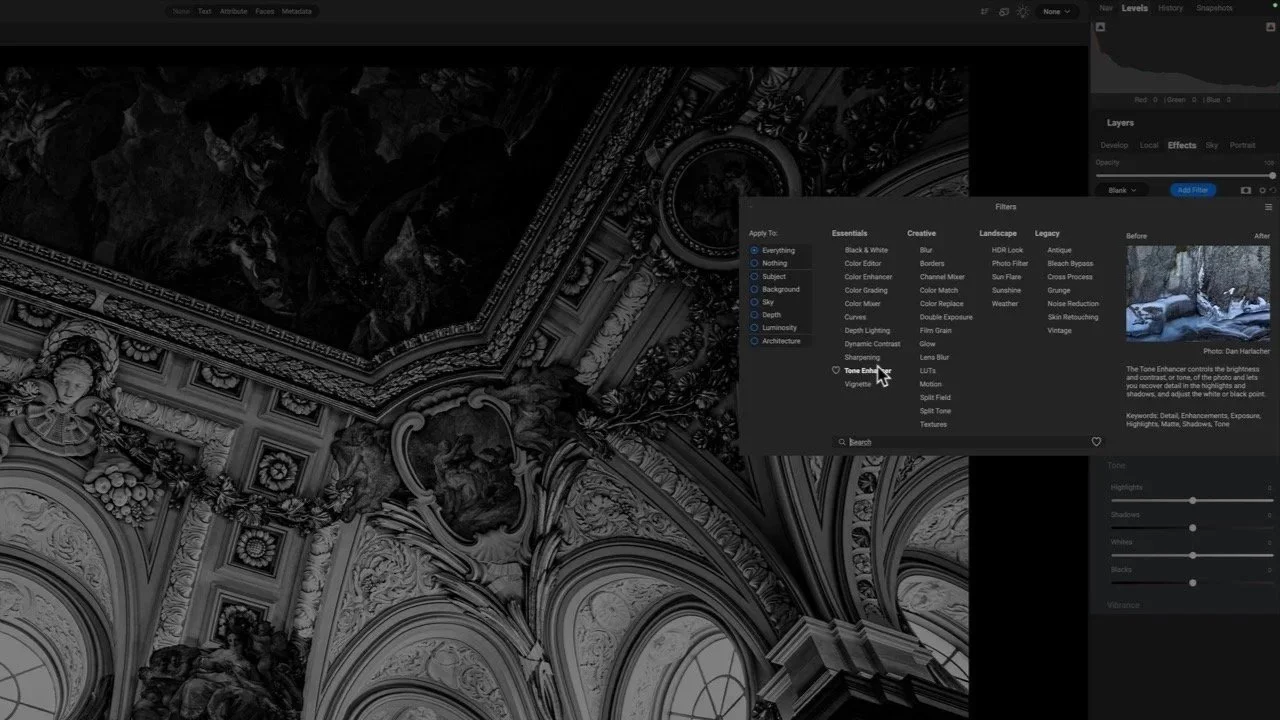
As you process your landscape photo, you may start to see halos appear. Sometimes a halo appears immediately and other times it may not be apparent until several adjustments have been made. There is no quick shortcut to finding the cause of a halo. Fortunately, ON1 Photo RAW makes it easy to turn off and on various filters to see which has the most pronounced impact creating a halo.
Usually, if halos are to appear in my images, I will begin to see them after Develop and Effects adjustments have been made. In the photo above, I applied a camera profile, auto-corrected Tone & Color, and did an auto-white balance in Develop. Then, a few Effects filters were added, including Dynamic Contrast and Sharpening. The halo began to appear.
I take a divide an conquer approach to determine what adjustment is contributing to a halo.
In Effects, take the overall Opacity slider down to zero. This eliminates all Effects filters.
If the halo remains, the issue in in Develop. Otherwise, it’s with an Effects filter.
Next, walk through the adjustments in Develop or Effects
In Effects, it’s a simple matter of toggling off and on each of the filters in the filter stack.
In Develop, it’s a matter of resetting certain sets of sliders, then Undo-ing the reset.
In this photo, my Dynamic Contrast filter contributed most to the halo. Sharpening had a smaller, less noticeable effect on the halo.
Pro tip: If disabling a filter or resetting an adjustment did not have an affect on the halo, re-enable its prior setting. You set those sliders to get your photo the way to want it. If the changes aren’t a contributor to the halos, keep them as-is.
How To Fix A Halo
As noted earlier, halos happen at high contrast edges. In general, the contrast at these edges needs to be reduced. Reducing contrast for the photo overall in Develop can work, however it will also change your photo. Similarly, reducing the strength of an Effects filter may temper a halo. However, reducing contrast or changing the filter strength may not deliver the look you want for your image.
In my example, Dynamic Contrast contributed to the halo. Reducing its opacity did downplay the halo, but at the tradeoff of losing the crispness and punch in the rocks. A similar tradeoff happened by reducing the sliders within the filter. Masking an individual filter is also a possibility. Though there is another way - a method I prefer to tackle halos.


Remove A Halo With A Local Adjustment And A Luminosity Mask
My preferred method to reduce - and sometimes eliminate - a halo is to use a Local Adjustment with a luminosity mask. There are a few steps to this technique and several ON1 masking tools are involved.
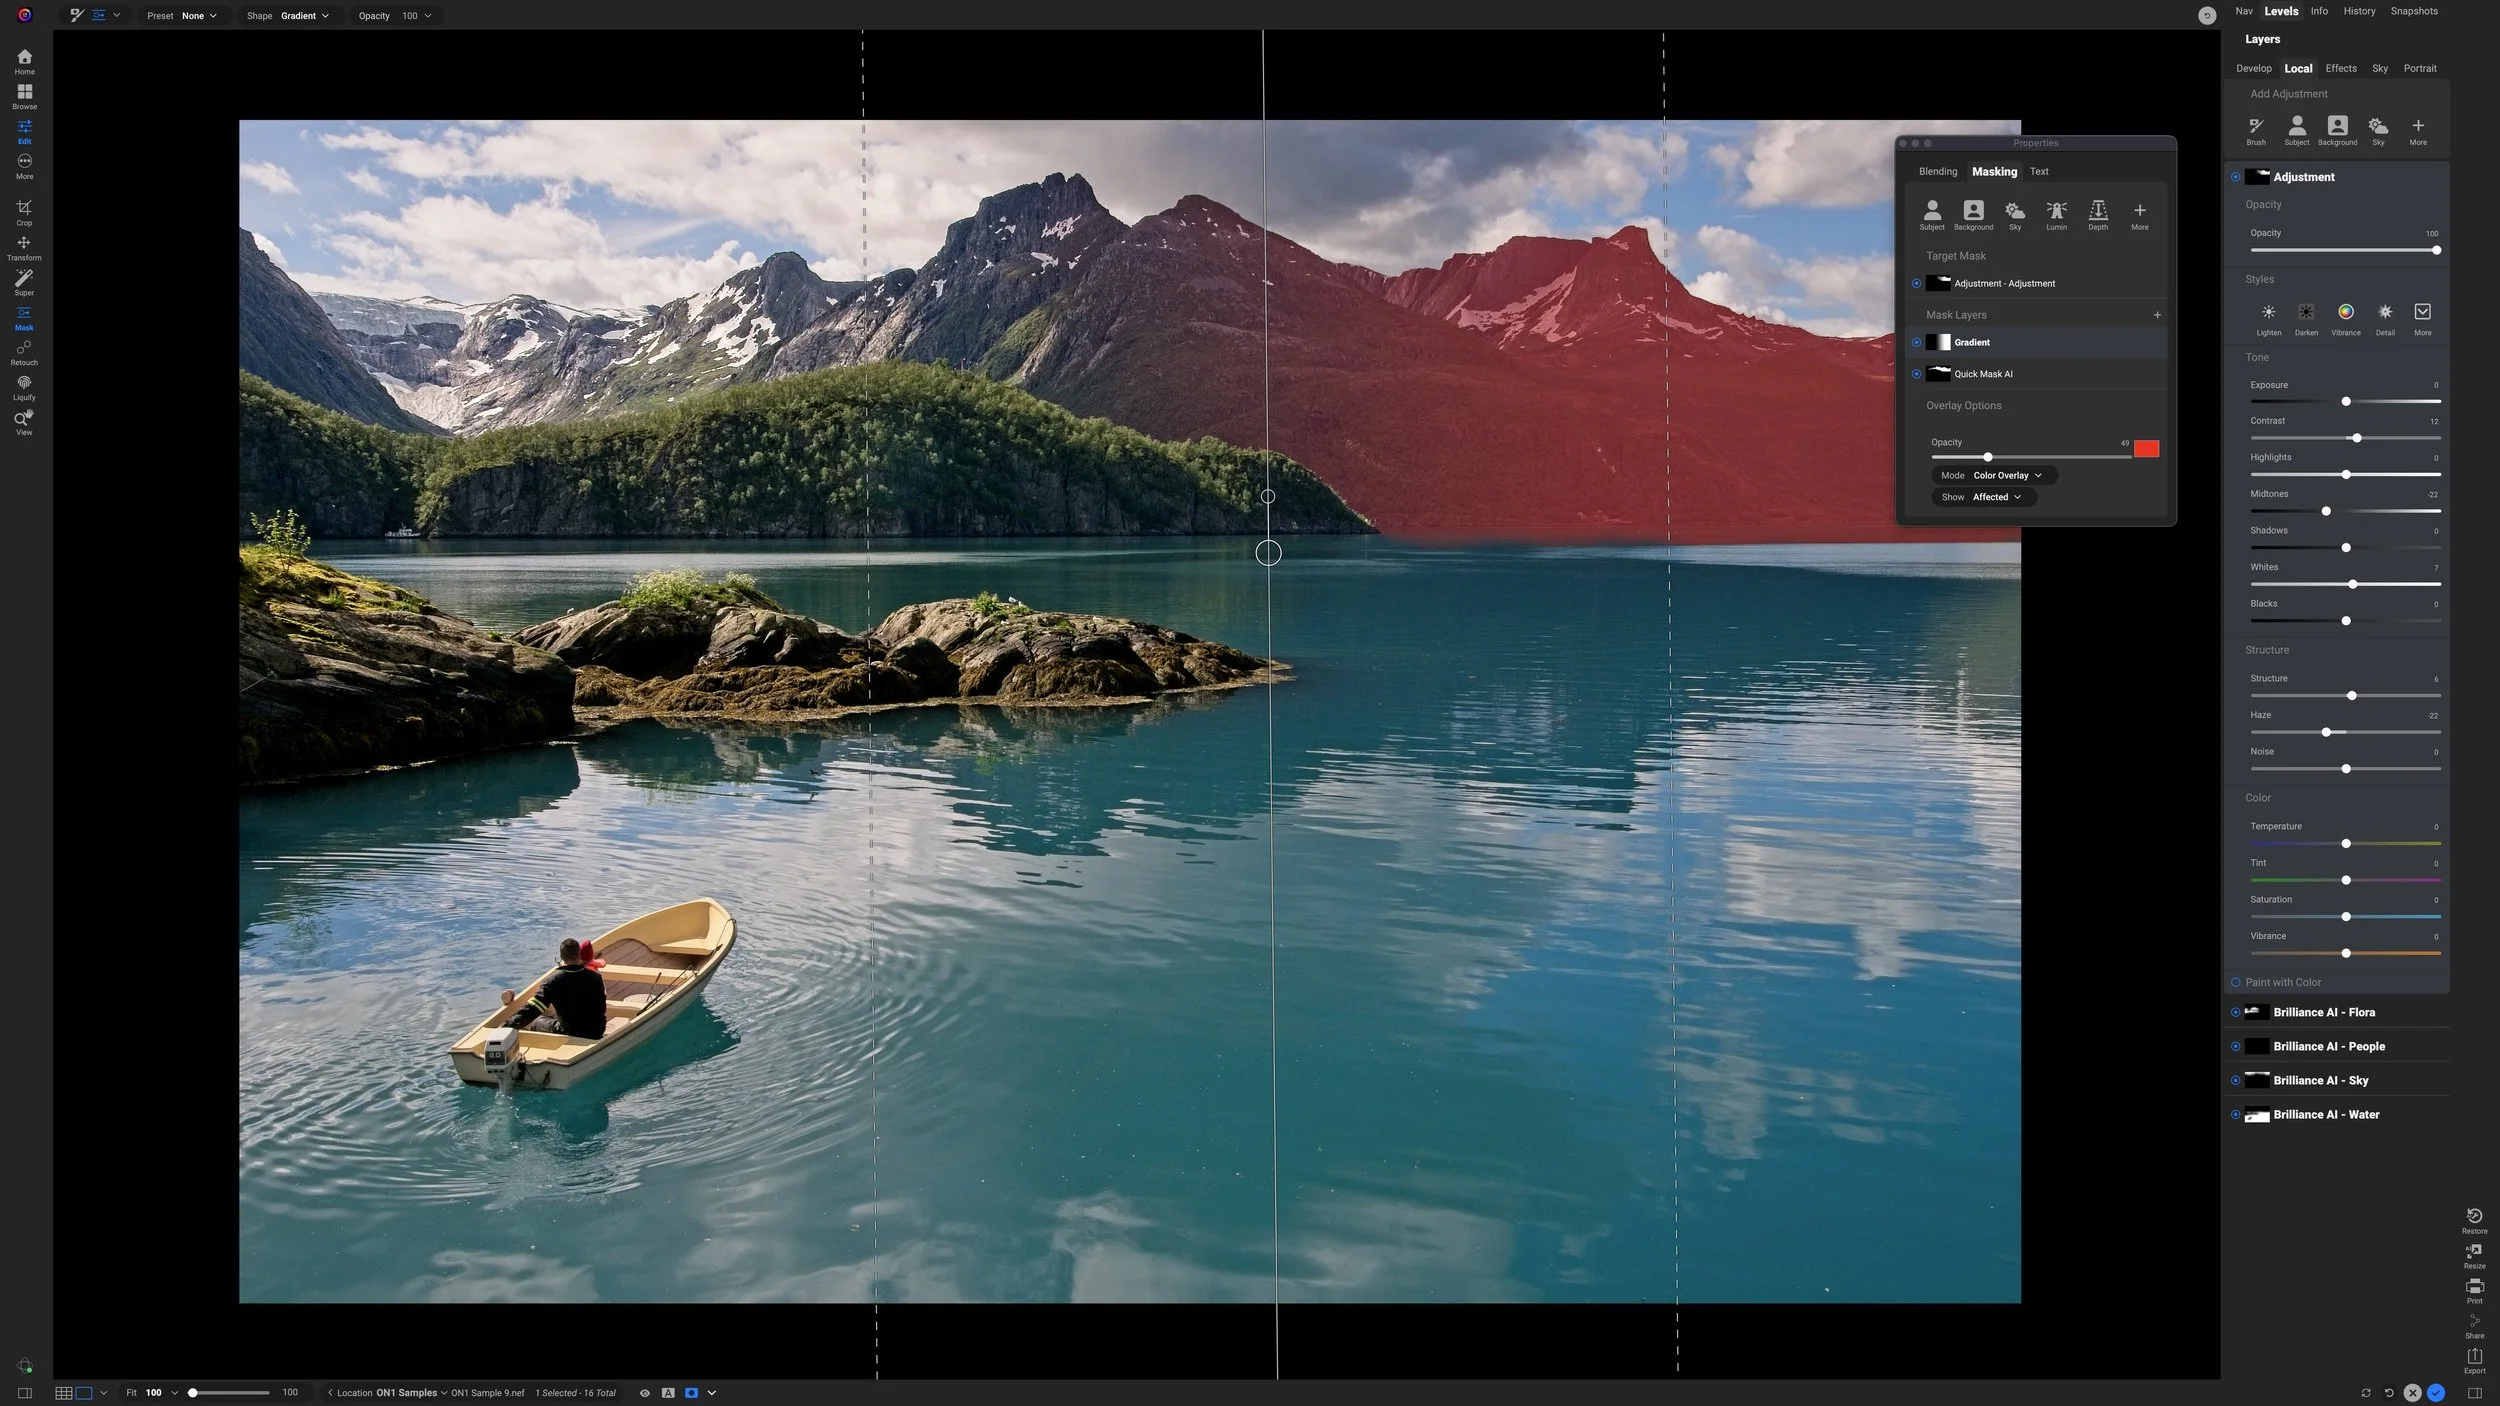
Step 1 - Adjust the Window Slider For The Luminosity Mask
After adding the Local Adjustment and clicking the Lumen button to create the luminosity mask, adjust the Window of the mask to target the halo. I like to work visually when creating this mask. Turn on the mask overlay with the View button in the masking area (the Grayscale overlay is best here). Next, adjust the controls for the Window slider, watching the preview area as you work. Your goal is to isolate as much as possible the halo’s edge.
In this photo, the halo is along the ridge of the rocks where they meet the sky. The Window slider ends up being a narrow band in the midtones. Notice the thin gray line outlining the the rocks. That’s the halo!
The Window slider is the first step and you should aim to get 80-90% of the mask surrounding the halo as near to black as possible.
The Window slider with a Luminosity mask is the first step to begin isolating the halo.
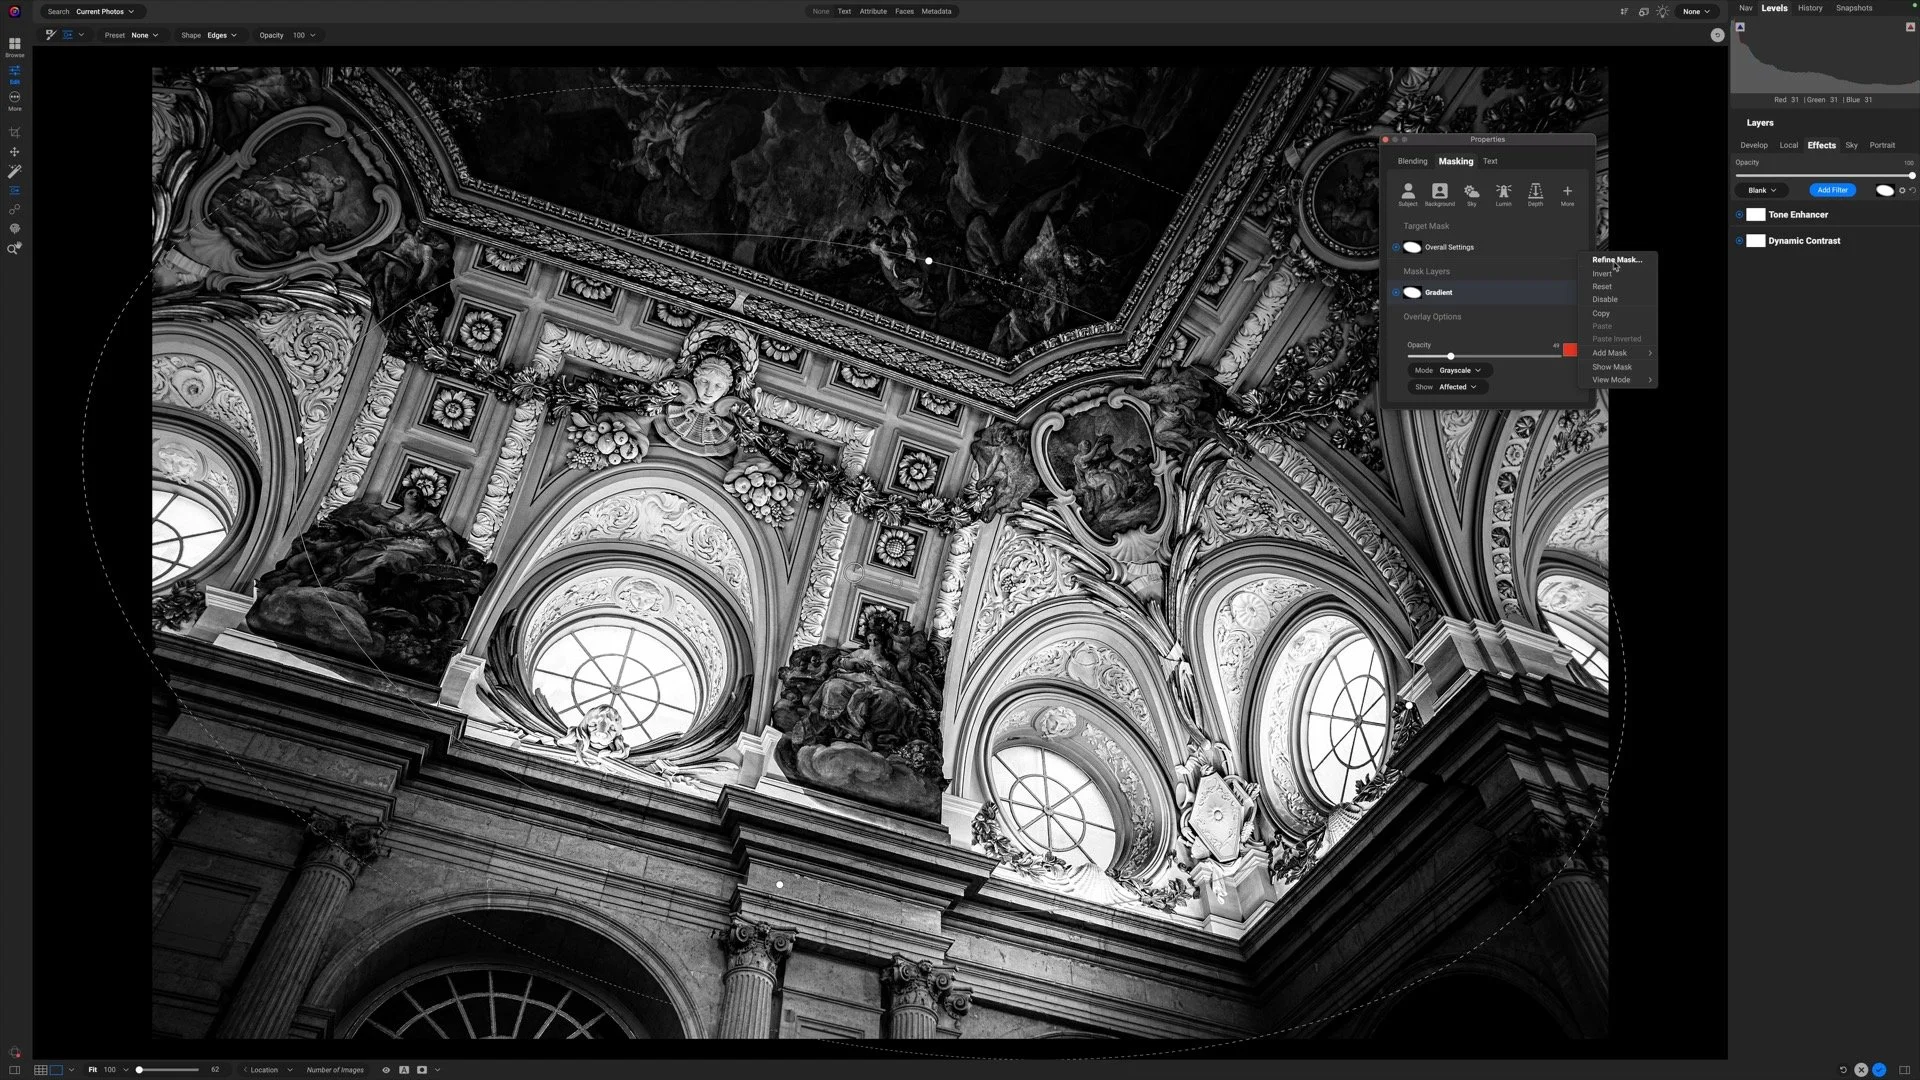
Step 2 - Fine Tune The Mask With Radials And Brushes
The Window slider will likely leave many other areas of your photo still included in the mask. Use a Radial masking bug and the Masking Brush to refine and isolate just the halo. I start with a Masking Bug using the Edges shape. Position and shape the oval so it covers the halo edge. Everything outside of the oval (outside its edges) are masked black. The feather of the mask can be small to zero - you don't need a smooth fade for this type of work.
Next, reach for the Masking Brush and turn on the Perfect Brush. With an opacity of 100% and the brush in Paint Out mode, brush around the halo removing any excess areas of the mask. The end goal is a mask that is just the halo - a thin line. In this photo, the mask of the wavy halo looks like a stock ticker or a medical monitor readout
Pro tip: Zoom out with Command/Control-minus to easily see the masking bug controls. Once the general shape of the oval is in place, zoom back in to refine with the brush.
Add an Edges shaped masking bug to further isolate the halo edge. Make the oval as tight as possible over the halo edge.
Use the Masking Brush with edge detection (Perfect Brush) to remove any straggling areas still active in the mask that are not the halo.
Once brush is complete, the mask should be a thin line - just the halo.
Step 3 - Refine The Halo Mask With The Chisel
Halos can be very thin lines, sometimes just a pixel or two wide. Before making adjustments to change the tonality of the halo, the mask usually needs to be broadened a bit. The Chisel Tool is the tool for the job. Activate the Chisel from the Retouch Tool Group, set its mode to Add, and make the Amount very small. Brush over the entirety of the mask. The result broadens the halo edge just a little. This is a subtle touch, yet an important one.
Use the Chisel Tool to broaden the mask of the halo by a few pixels.
Step 4 - Adjust The Sliders And Fix The Halo
Finally! With your mask ready, you can now make changes to the Local Adjustment sliders and fix the halo. Each halo is different, so your adjustments will vary from what is shown below. Usually a combination of Exposure, Highlights, and Whites adjustments do the trick. Almost always you are reducing the sliders (moving them left) because the halo is a brighter set of pixels compared to its surroundings.
Adjust Exposure, Highlights and Whites to reduce a bright halo. Each halo is different. Spend the time to experiment with the settings and judge results by the look on the photo - not the numbers on the sliders.
Conclusion
All things being equal, we wouldn’t make such strong adjustments that trigger halos. Sometimes that is unavoidable lest the entire image lose its punch and power. When needed, ON1 Photo RAW has the tools available to reduce and remove halos. If your photo has several halos, work through each segment with its own Local Adjustment. Removing halos does require some effort, when the final image is done, it’s totally worthwhile.