Frame Your Image Like A Polaroid In ON1 Photo RAW
If you are trying ON1 Photo RAW, the ON1 plug-ins like ON1 Effects or ON1 HDR, or upgrading your ON1 software to a newer version, please consider using my affiliate link. There is no extra cost to you and it helps support ON1 tutorials like this one. Ready to buy? Use the offer code SDP20 at checkout and SAVE 20%!
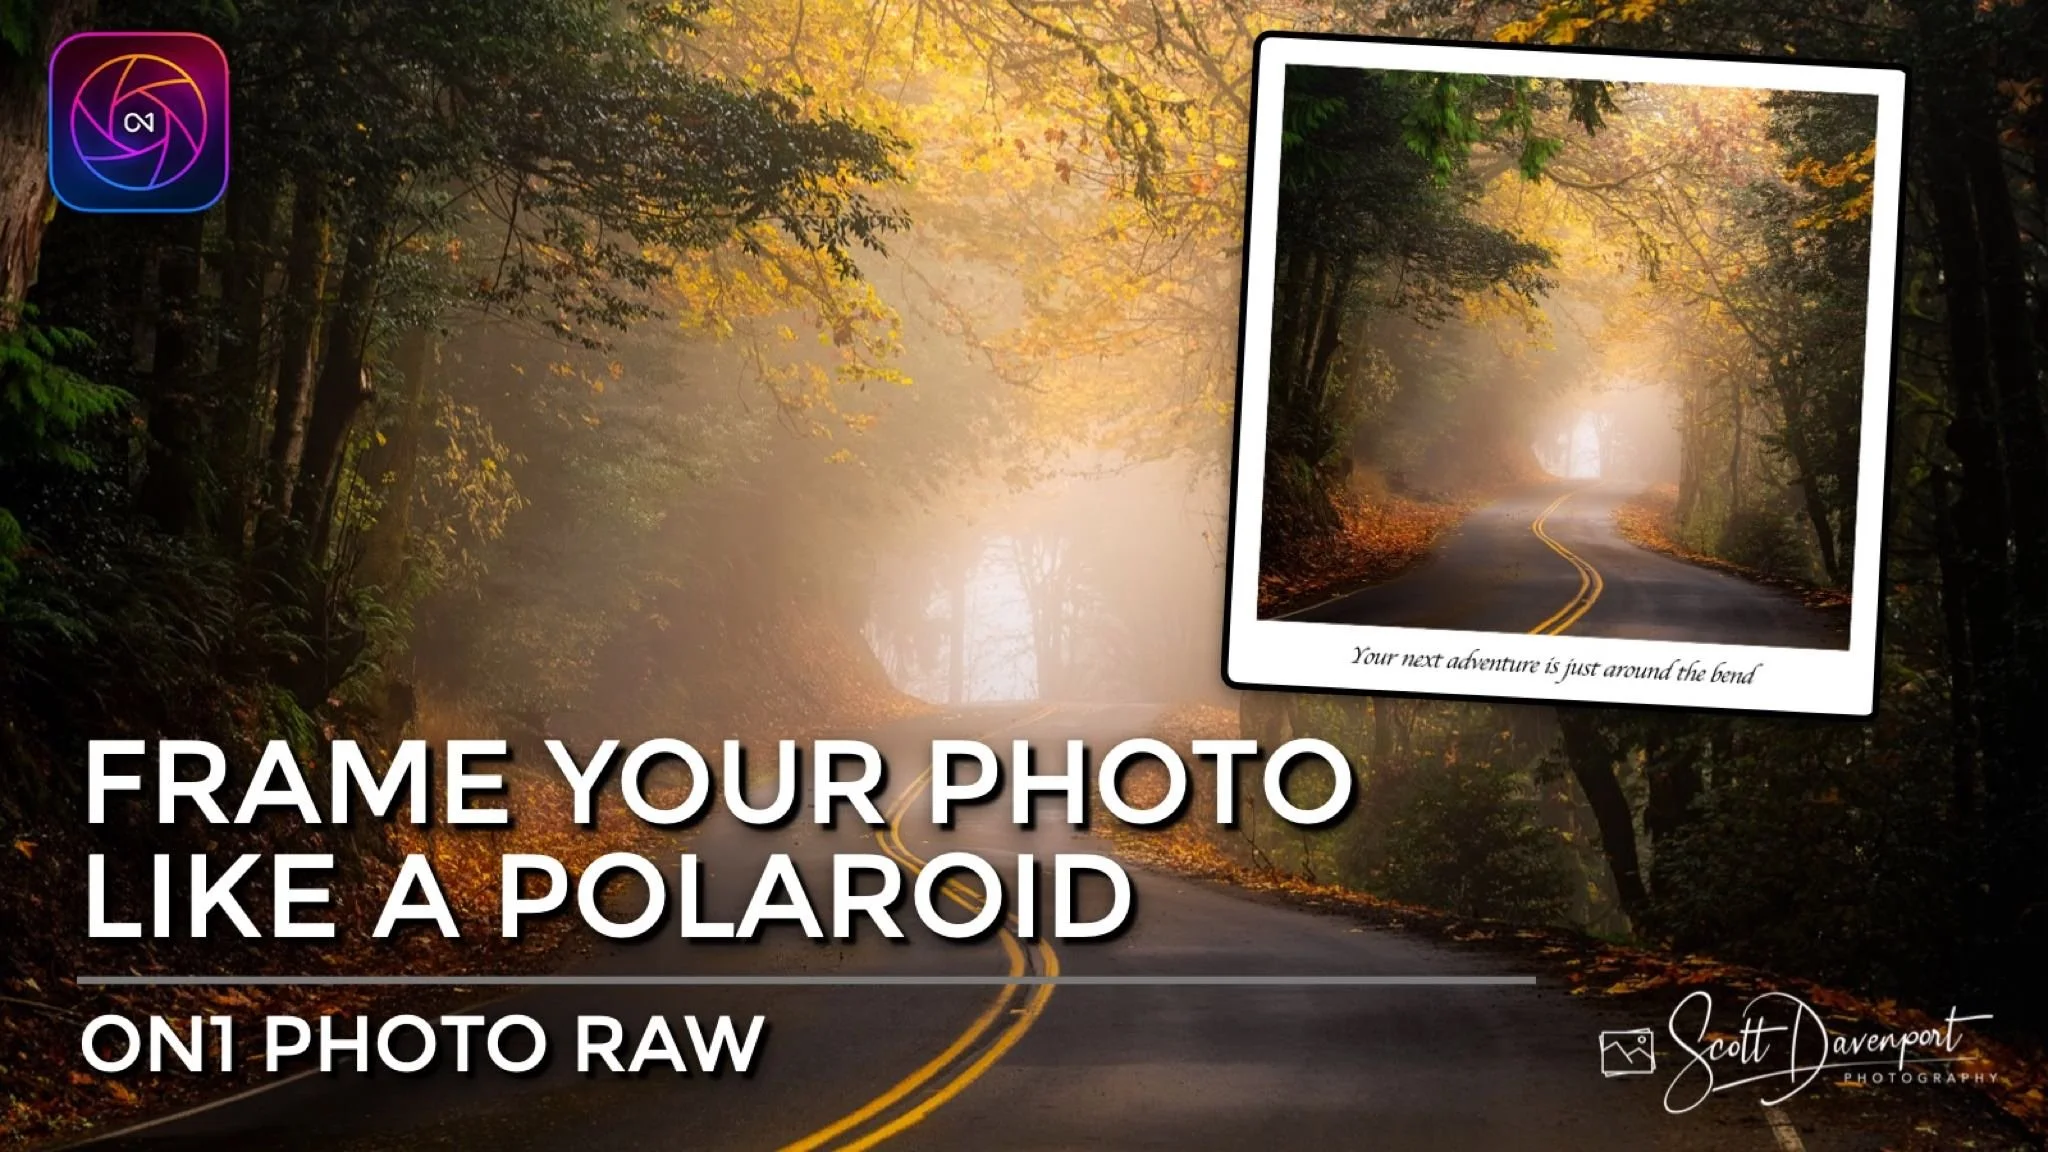
Photo RAW has a lot of features and when you combine them, you have unlimited creative power. Using the Borders filter, a Color Fill layer, a Text layer, and some very light masking, you can easily make a polaroid-style border for your image, and add some text to accompany it.
Step 1 - Process And Crop Your Photo
Process your photo as you normally would. Then, crop it square with the 1x1 ratio in the Crop tool.
Step 2 - Add A Simple White Square Border
In the Effect tab of Edit, add a Borders filter. Choose the Simple category and the White Square border. The border is mostly good. For a polaroid framing, a thicker border at the bottom is needed. The next two steps will create that thicker border.
Learn more: The Borders Filter in ON1
Add a simple white border to your square-cropped photo.


Step 3 - Add A White Color Fill Layer
Open the Layers pane and click the Add Color Fill icon. Set the color to pure white. When you add the color fill layer, your photo disappears. Why? The color fill is above your photo in the layer stack. While still in the layers pane, click and drag the Color Fill layer so it is beneath your photo.
Add a white color fill layer and drag it beneath your photo.
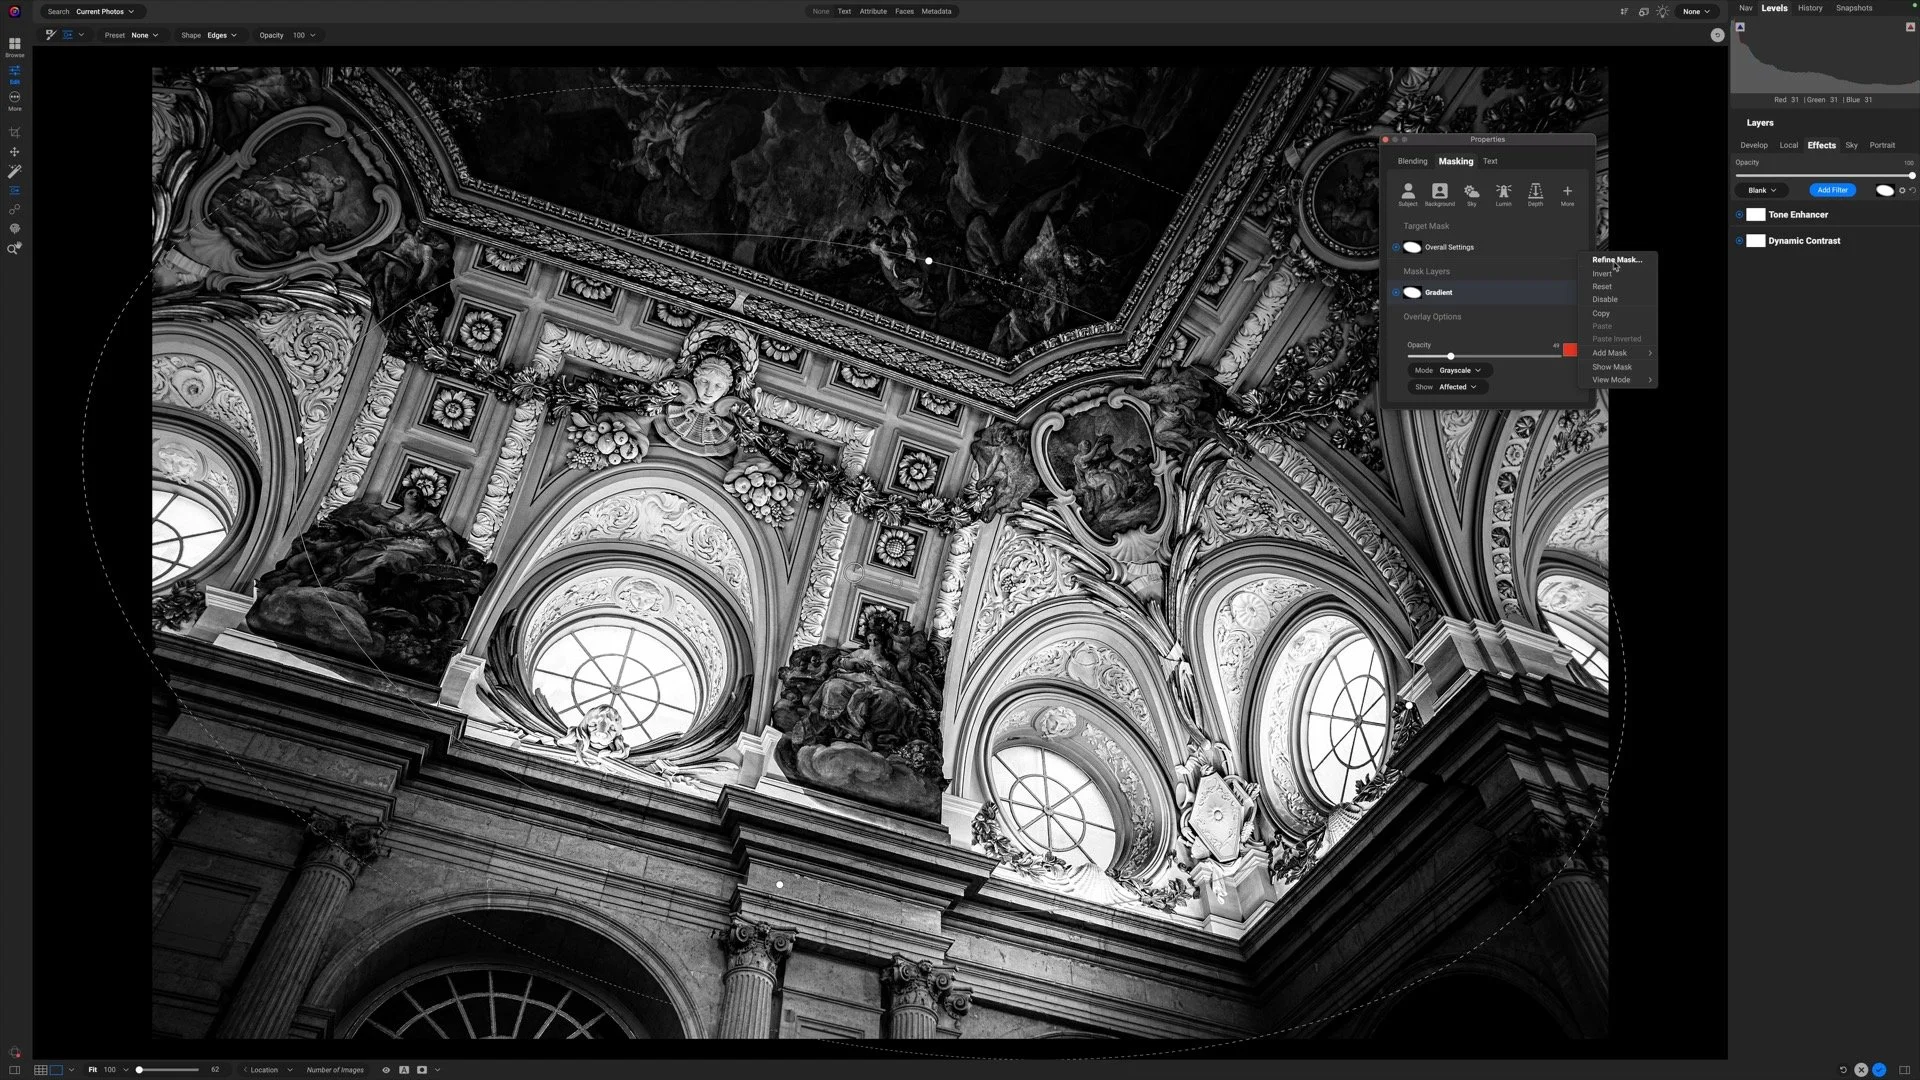
Step 4 - Add A Gradient Mask
In the Layers pane, select your photo layer and click the mask icon for that layer. Choose the Gradient Mask tool from the tool options bar and click once on your photo near the bottom of the image. If most of your photo is hidden, invert the mask. Finally, adjust the mask feather to be non-existent - you want a hard, crisp edge.
What’s happened? You have hidden a portion of your photo and revealed the white color fill layer beneath it. The result - you have your thicker white border at the bottom.
Add a gradient mask to the bottom of the photo layer. This hides a portion of the photo and reveals the white color fill layer, making a thicker border at the bottom.
Step 5 - Add Text (Optional)
For some of my polaroid-framed images, I like to add a little text. In the Layers pane, click the Text (T") icon to add a Text Layer. Tailor the font, size, color and other properties to taste.
Learn more: Text Layers in ON1 Photo RAW
Optional. Add text to the bottom border.
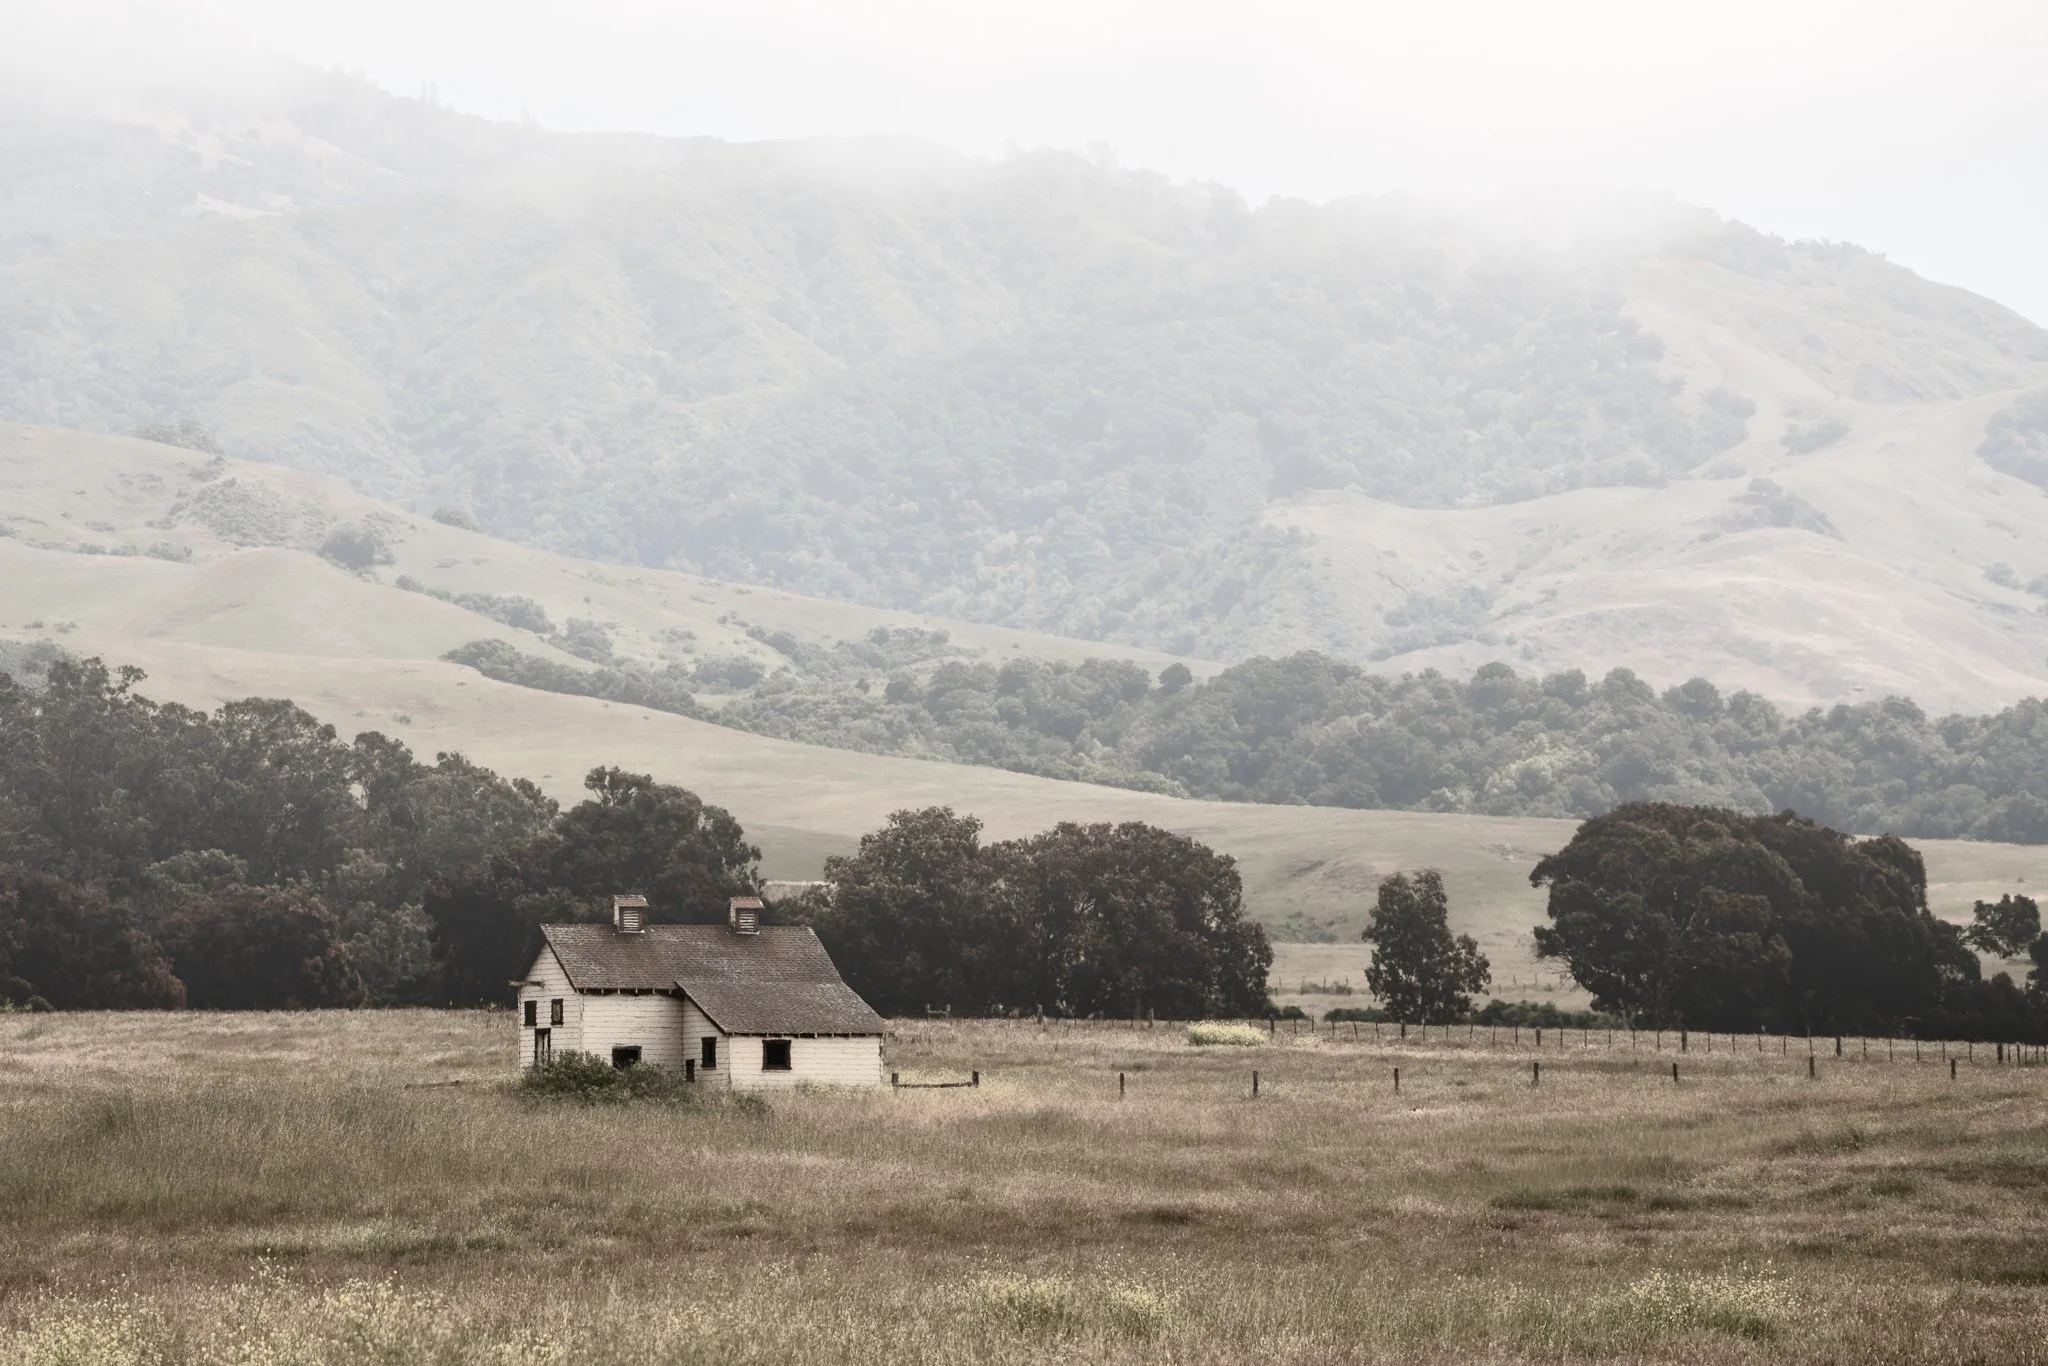
A Road In Myrtle Brook, Oregon
Contact Scott to commission a print or license this image.