

A strong composition is the backbone of a strong photograph. So I am always on the lookout for ways to improve my eye for composition. An easy creative exercise you can do to improve your eye for composition is to explore your existing photos with the crop tool. Yes, the humble crop tool!
Here is a creative composition exercise:
Find 3 unique images within your current photo.
All you need to do this is a crop tool. It helps if your photo software supports virtual copies or versions so you can make several variations of your image without duplicating files. Here is an example of three different views of the same scene along the Oregon coast.
Port Orford 1
Contact Scott to commission a print or license this image.

Port Orford 2
Contact Scott to commission a print or license this image.
Port Orford 5
Contact Scott to commission a print or license this image.
Watch the video on this page for a few additional compositions from this photo. A few hints and tips:
Go freeform on the crop. Do not limit yourself to pre-defined aspect ratios.
Forget about megapixels. This is a creative exercise. It is OK to crop in super-tight on a small subject in the frame.
Look for subject groupings or interesting lines in portions of the frame, then isolate them.
And the next time you are in the field with your camera, try capturing multiple compositions in the field. Zoom in on the LCD of your camera and skim around. You might see another composition worth exploring hiding in plain sight!

Tell compelling stories. Become a better photographer.
Story And Vision will help you be a stronger visual storyteller and a better photographer. This 12 chapter video course guides you on how to examine your unprocessed photos more critically and understand the story the subjects tell. Then, pivot your post-processing approach to accentuate, emphasize, and reinforce that story.
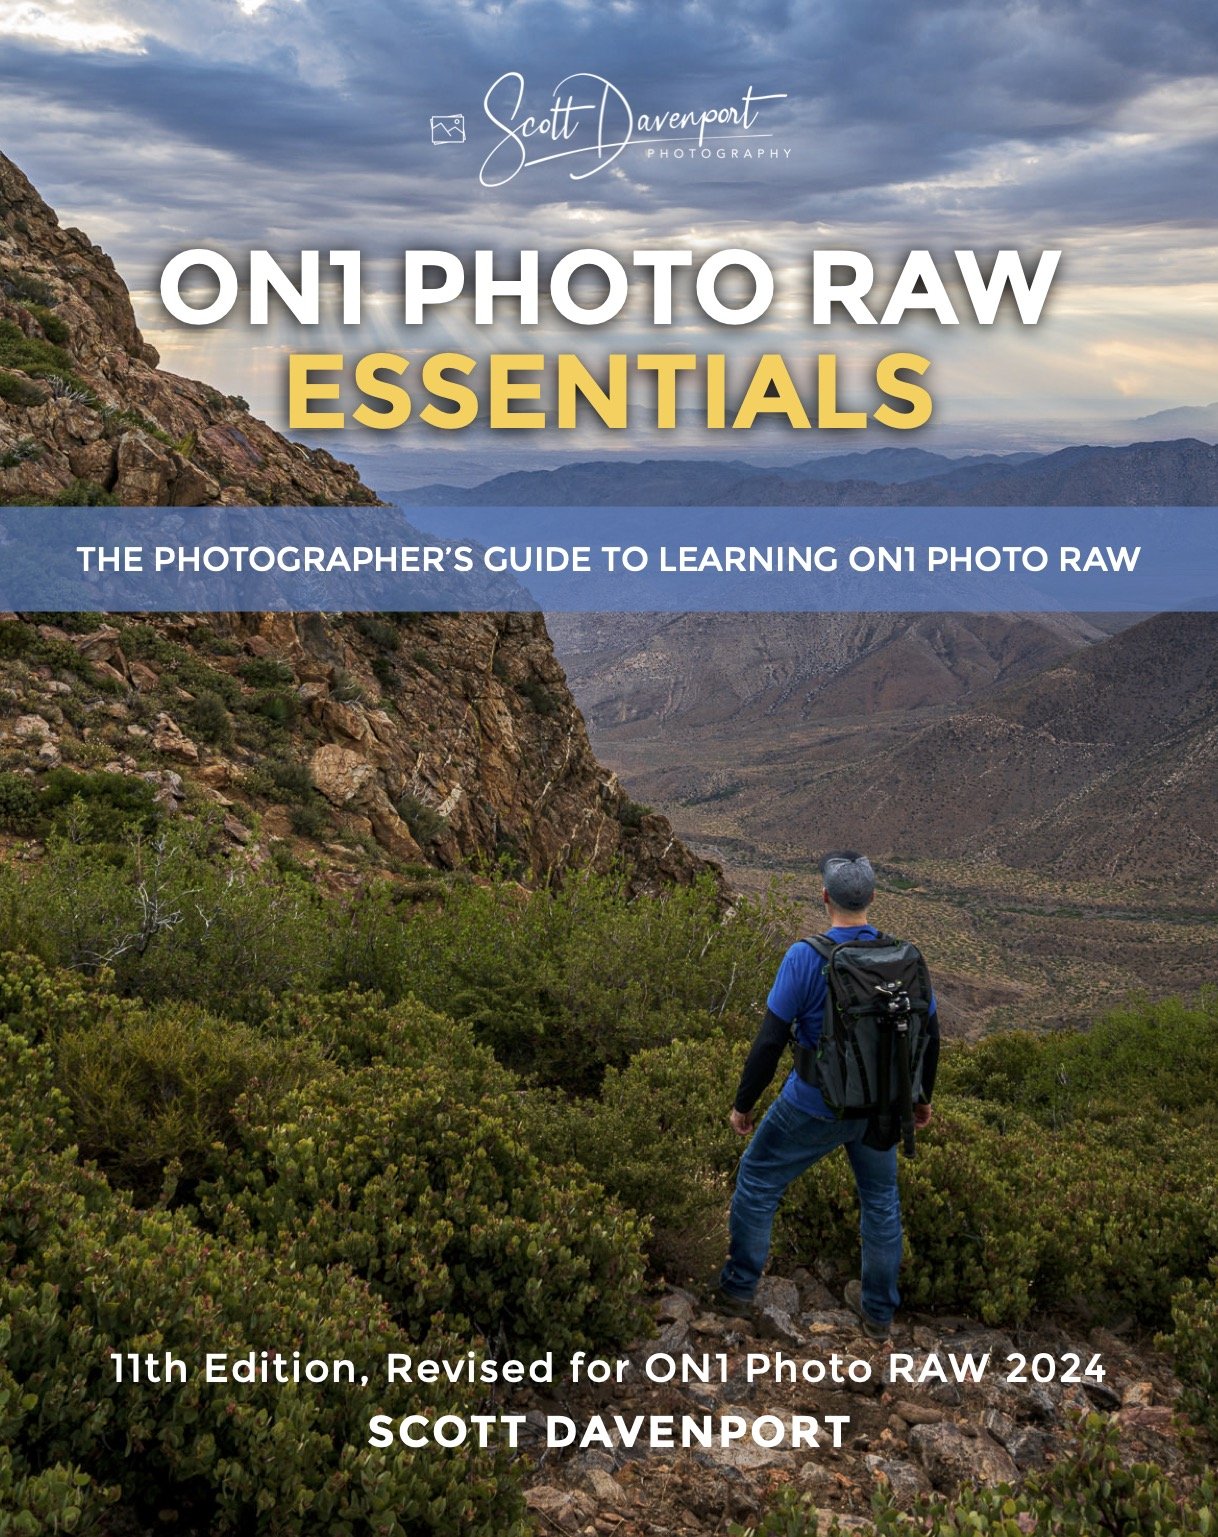
11th Edition - Revised for ON1 Photo RAW 2024
Organize, edit, and share your photos with ON1 Photo RAW. This well-illustrated, no-nonsense book explains everything you need to learn ON1 Photo RAW. It is the most comprehensive book on Photo RAW out there.
ON1 Photo RAW Essentials: The Photographer’s Guide To Learning ON1 Photo RAW 2024

ON1 Effects and its 30+ filters make it easy to add style and create the mood you want for your images. The 10 learn-by-example tutorials show you how to get more pop with contrast, audition and blend LUTs, correct color casts, and more.
Adding Style With ON1 Effects will help you craft your signature style and tell your story.
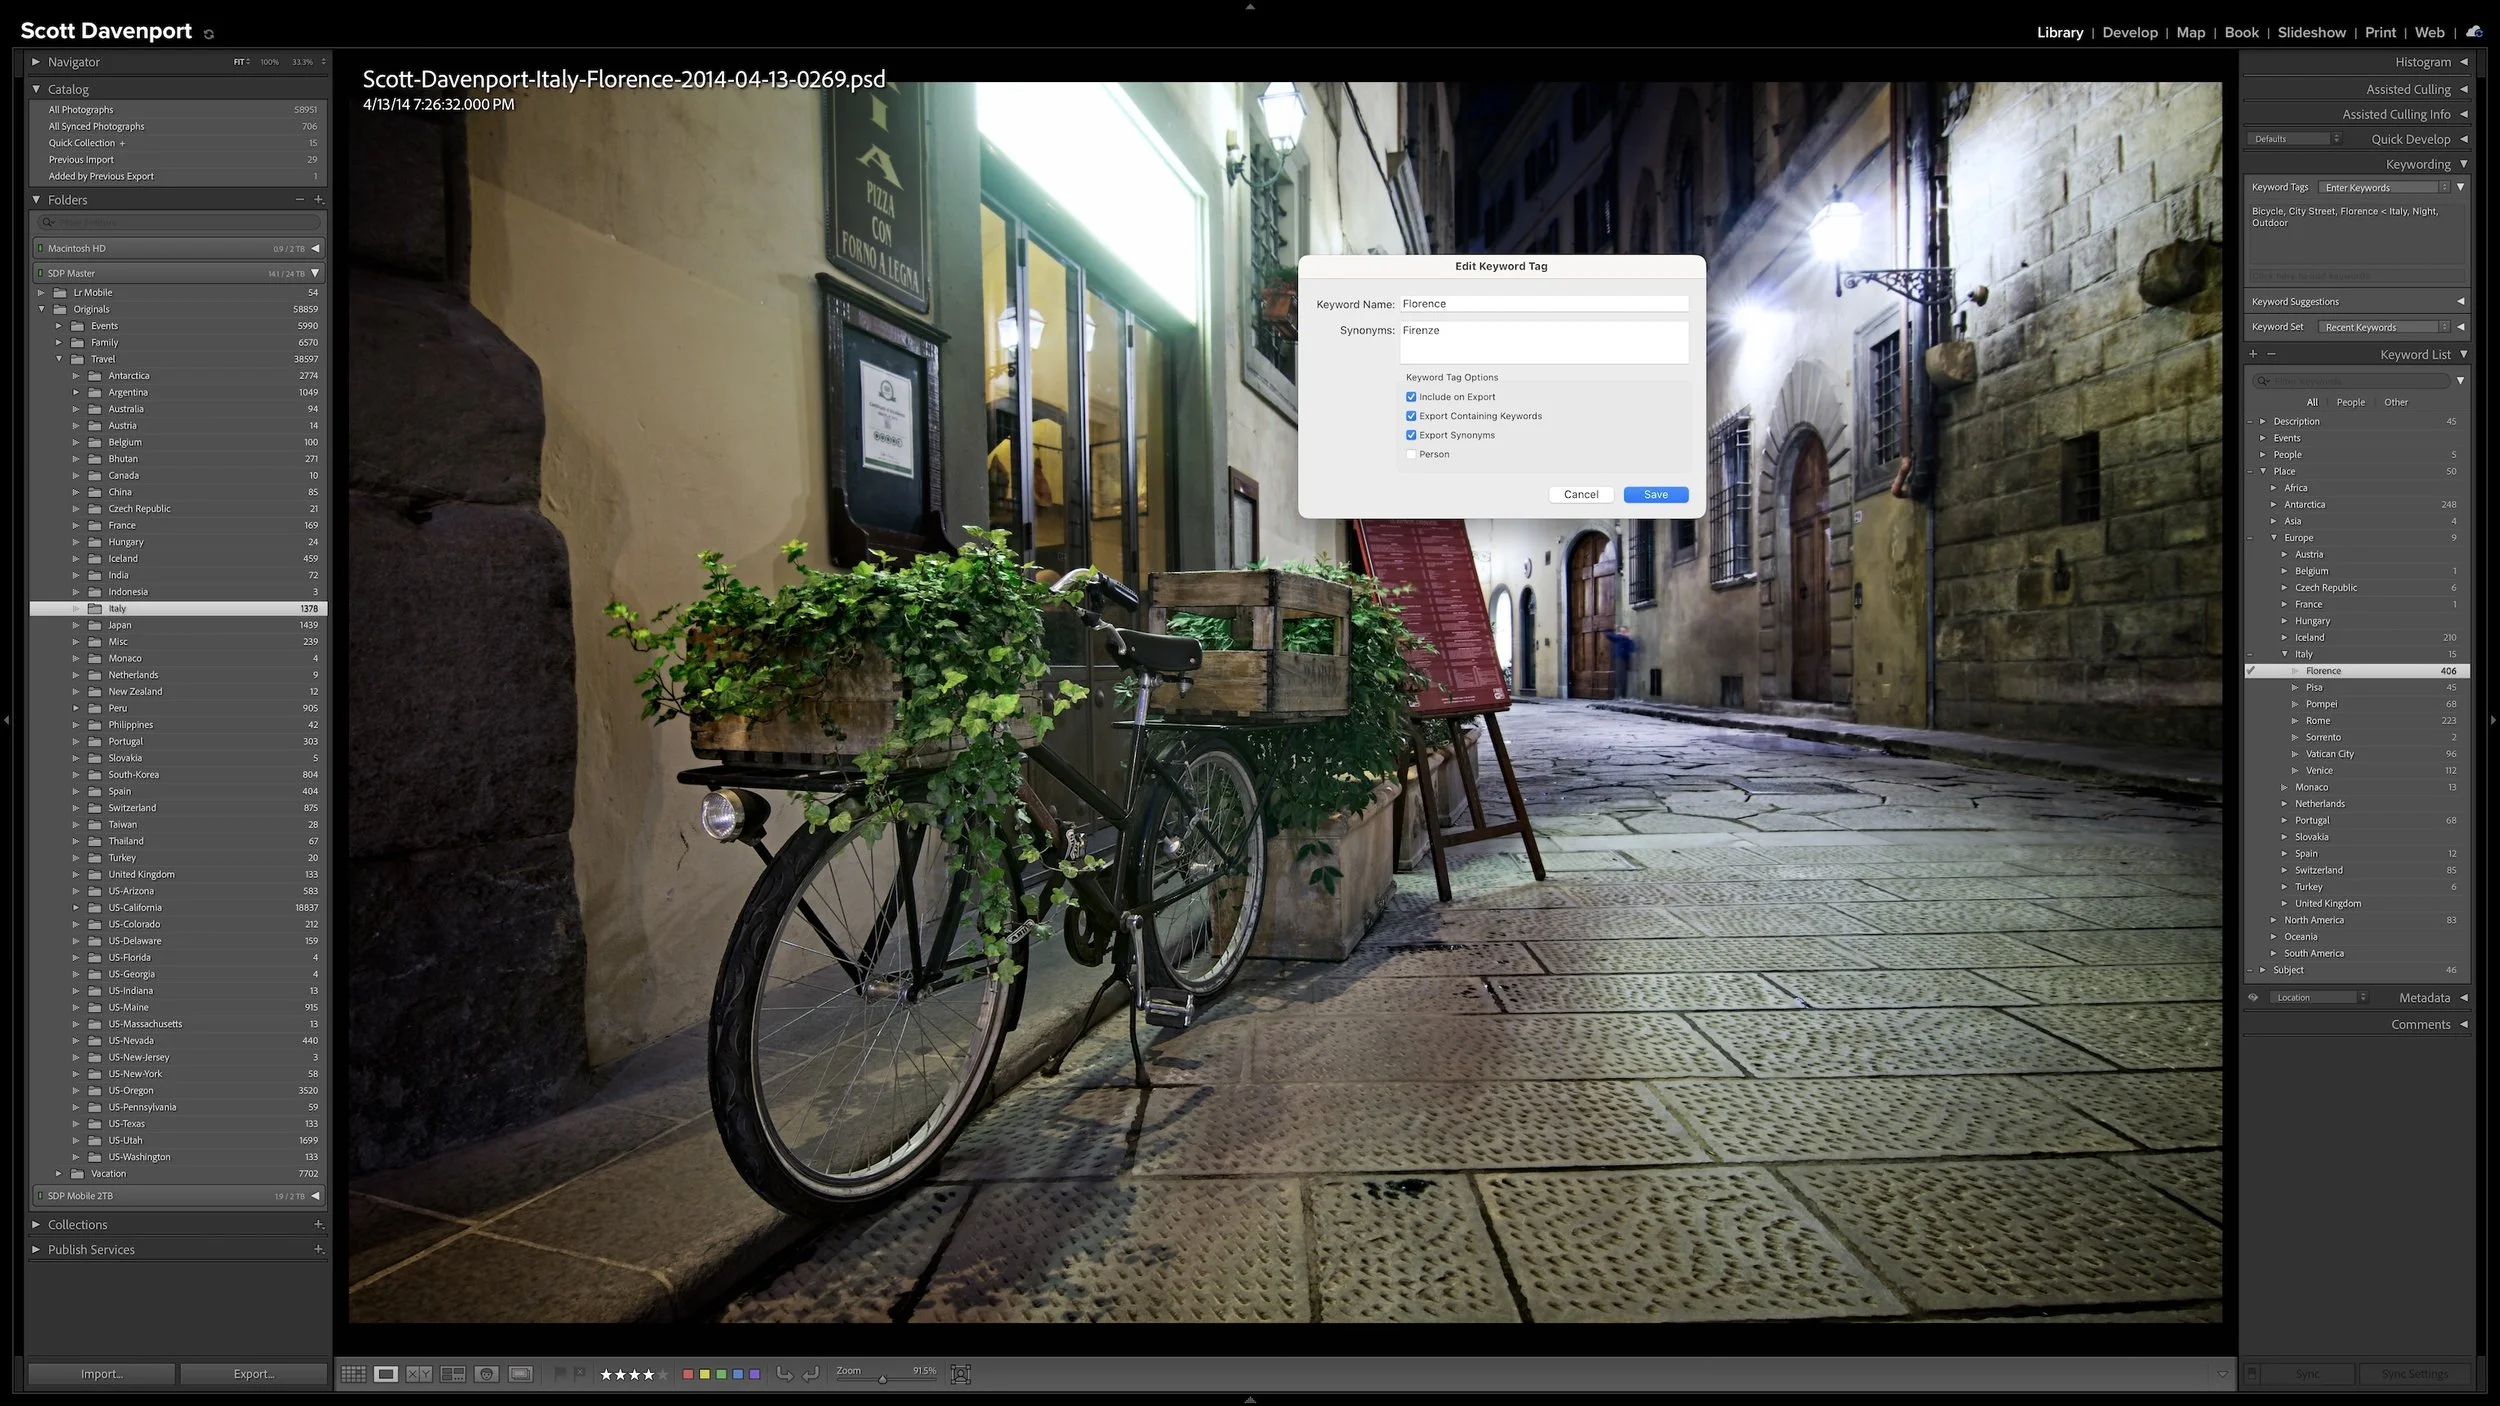
A useful keyword hierarchy connects specific details to broader ideas. When you apply a keyword for a specific location, a particular lighthouse, or a birthday celebration, Lightroom Classic can also associate the photograph with the broader places, subjects, or events that contain it.
Synonyms extend that efficiency by connecting one keyword to alternate names, related terms, or other languages. A hierarchy can give you broader and narrower ways to search your own library. I use synonyms primarily to help other people and search engines find exported photographs without requiring me to enter every variation separately.
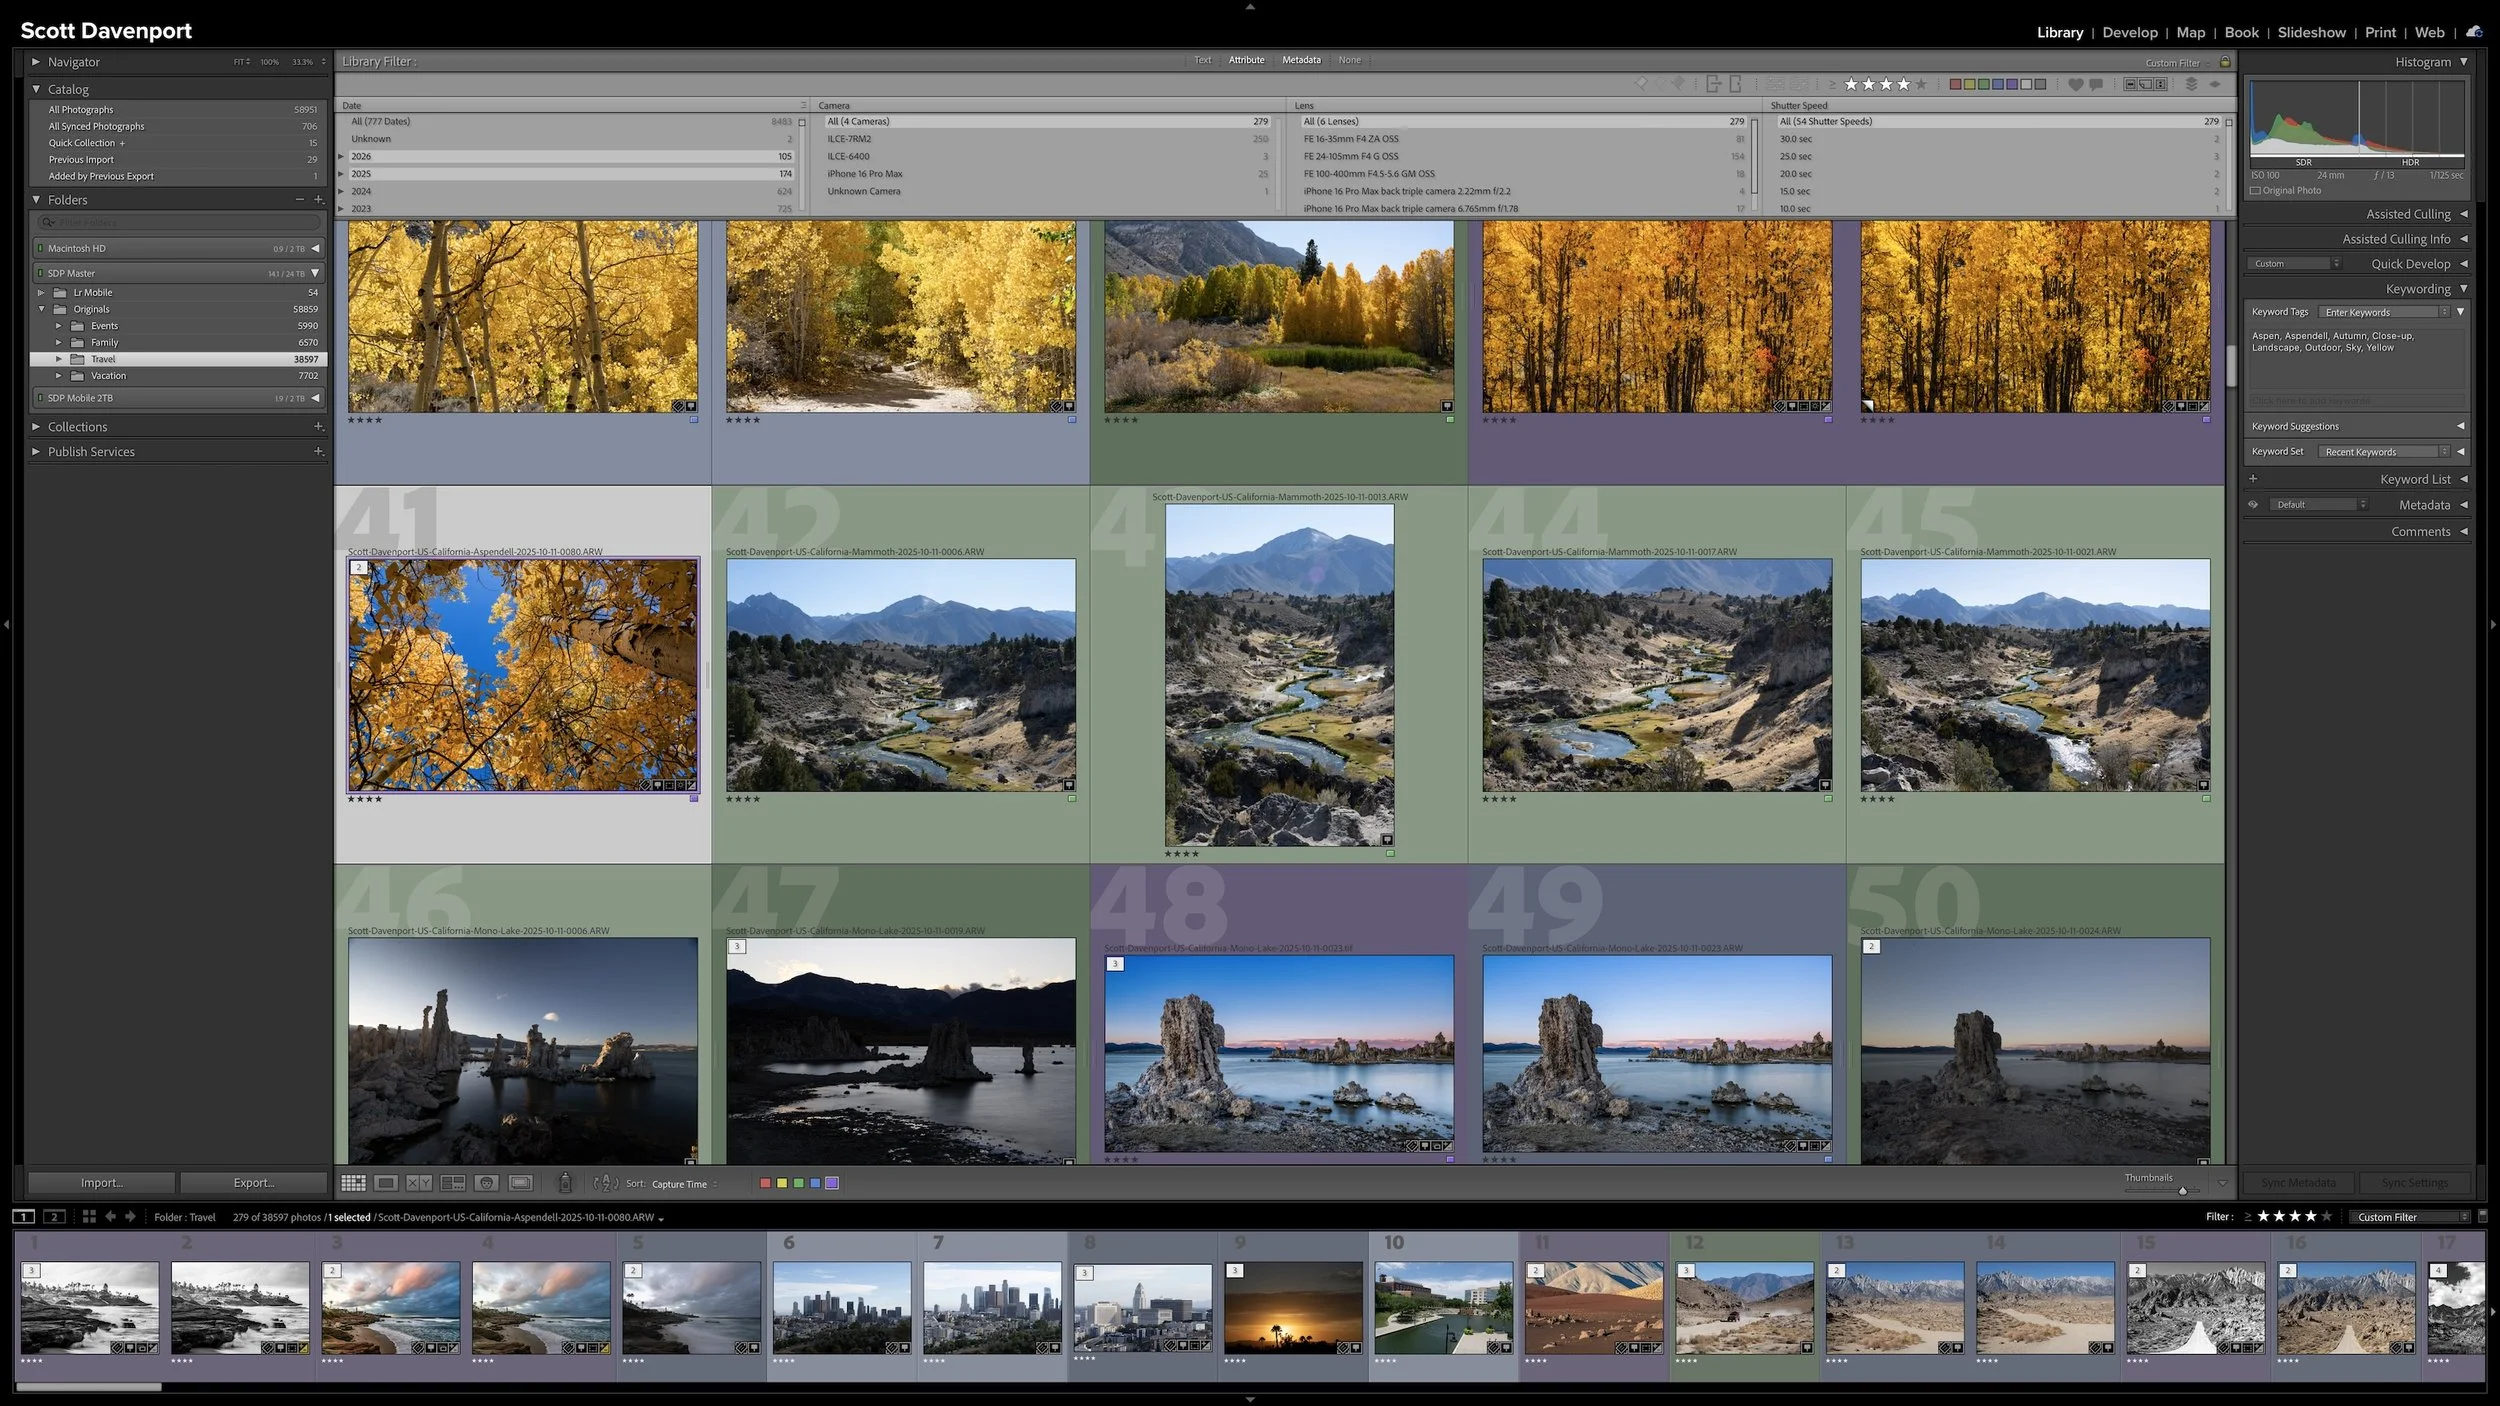
Keywording can make photographs easier to find, but it can also become an endless exercise in describing everything visible in every frame. You can keep the work manageable by asking one question: could Lightroom already find this photograph without the keyword?
The most useful keywords add information you cannot recover from capture data, ratings, location fields, or other existing metadata. That may be a subject, a familiar place name, a mood, a dominant color, or another idea you expect to search for later. The goal isn't to build the largest vocabulary possible. It is to add metadata that earns its keep.
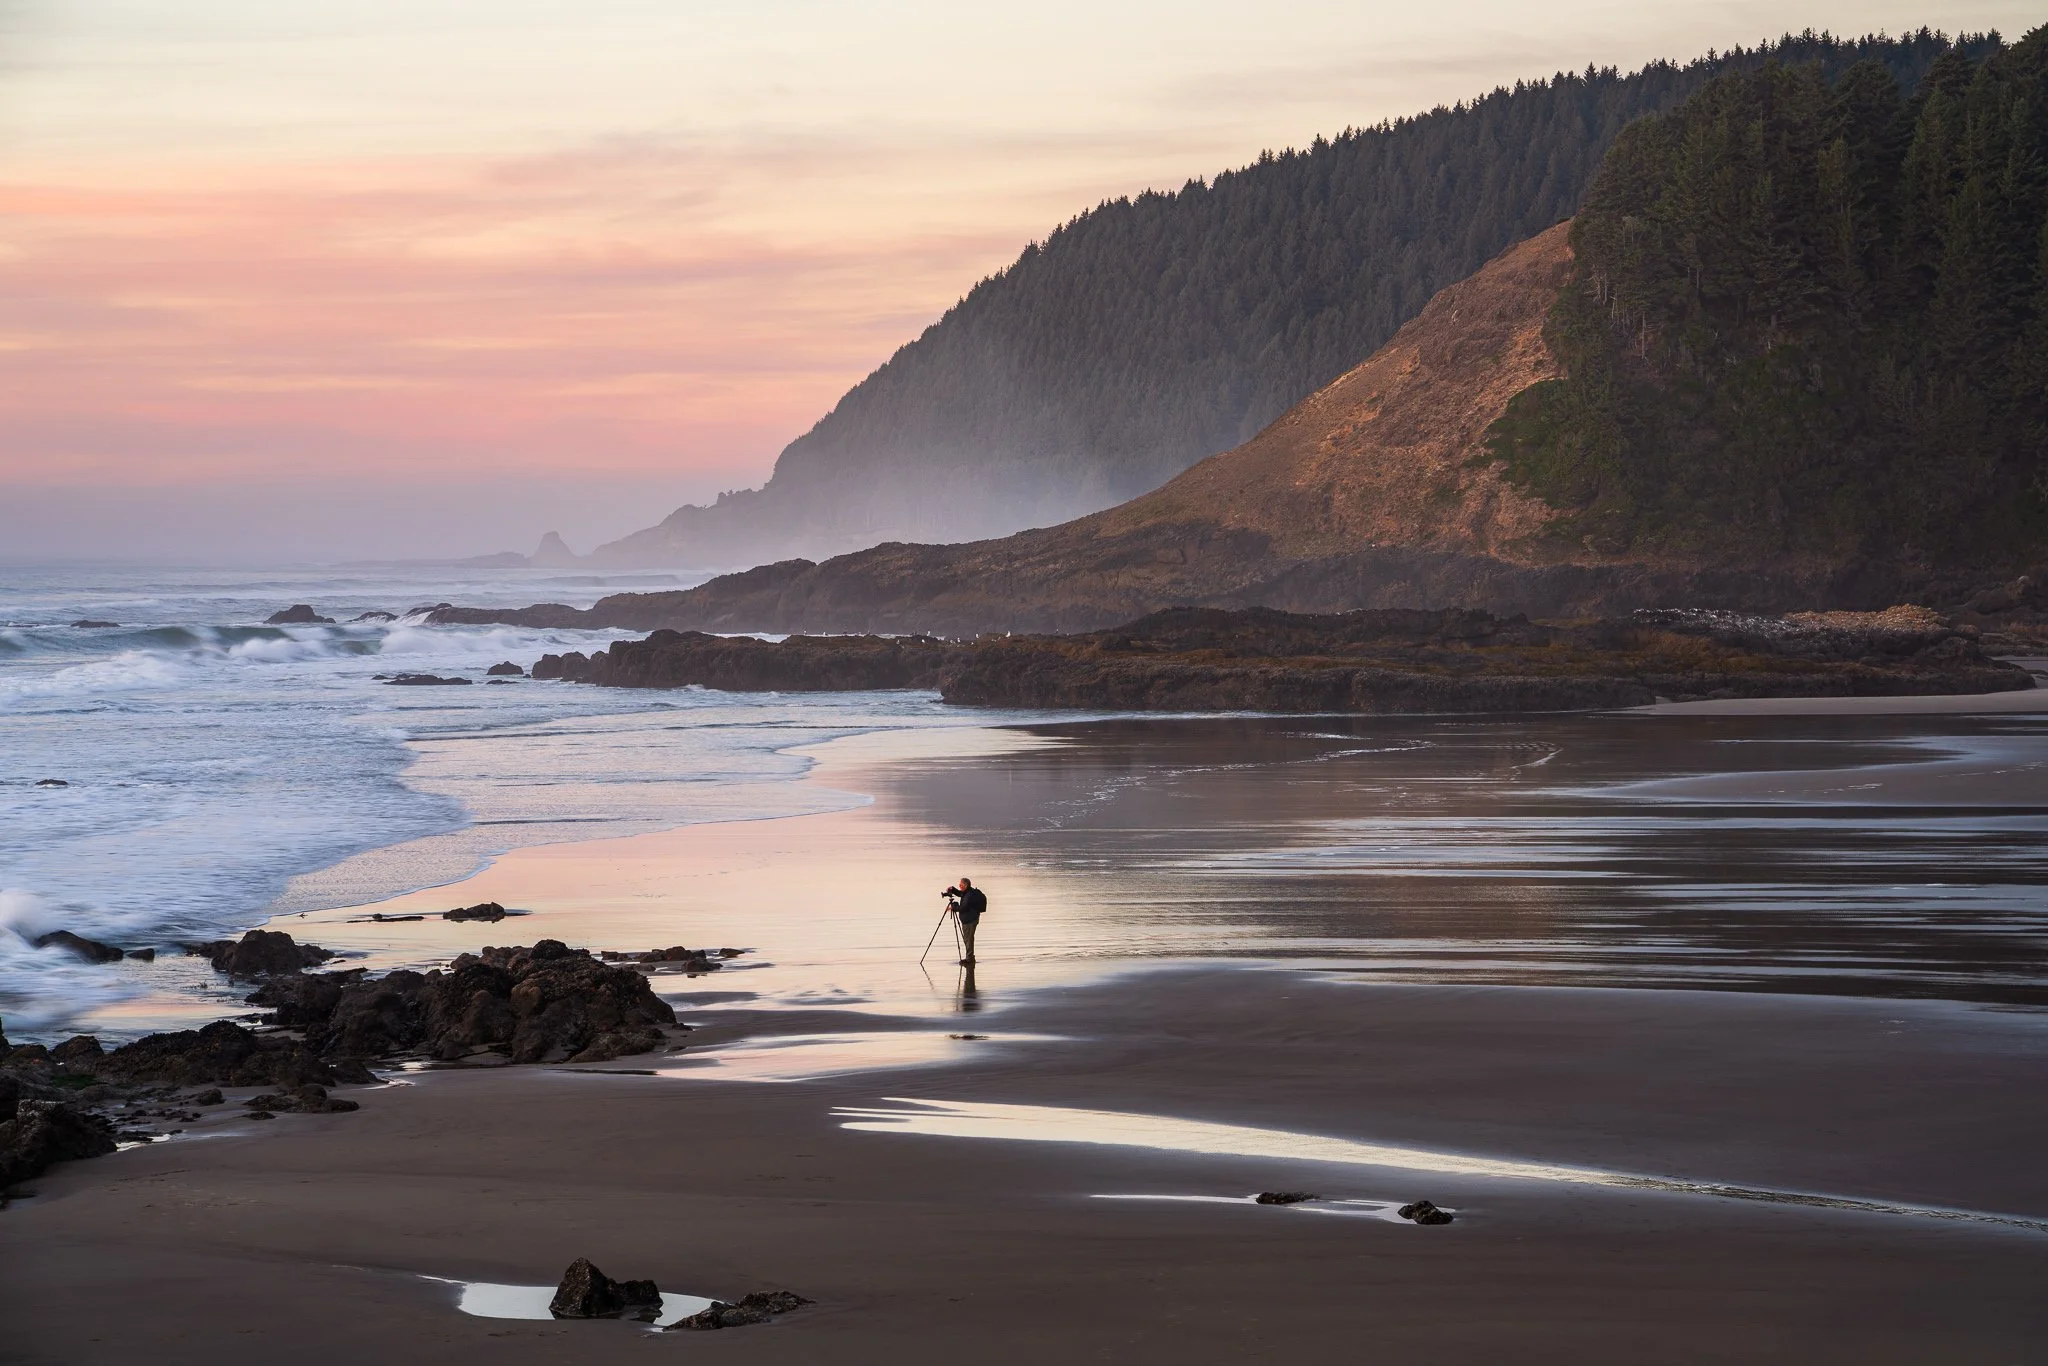
You’ve found a composition you like and settled in for sunset. Then the foreground falls into shadow, or a person steps into the scene. How do you decide whether to stay with your original frame or look for something different?
An evening on the Oregon Coast offers a useful example of how a photograph can evolve. Follow the decisions that turned a view of sunlit grasses into a quieter story about a photographer among rocks and misty headlands.
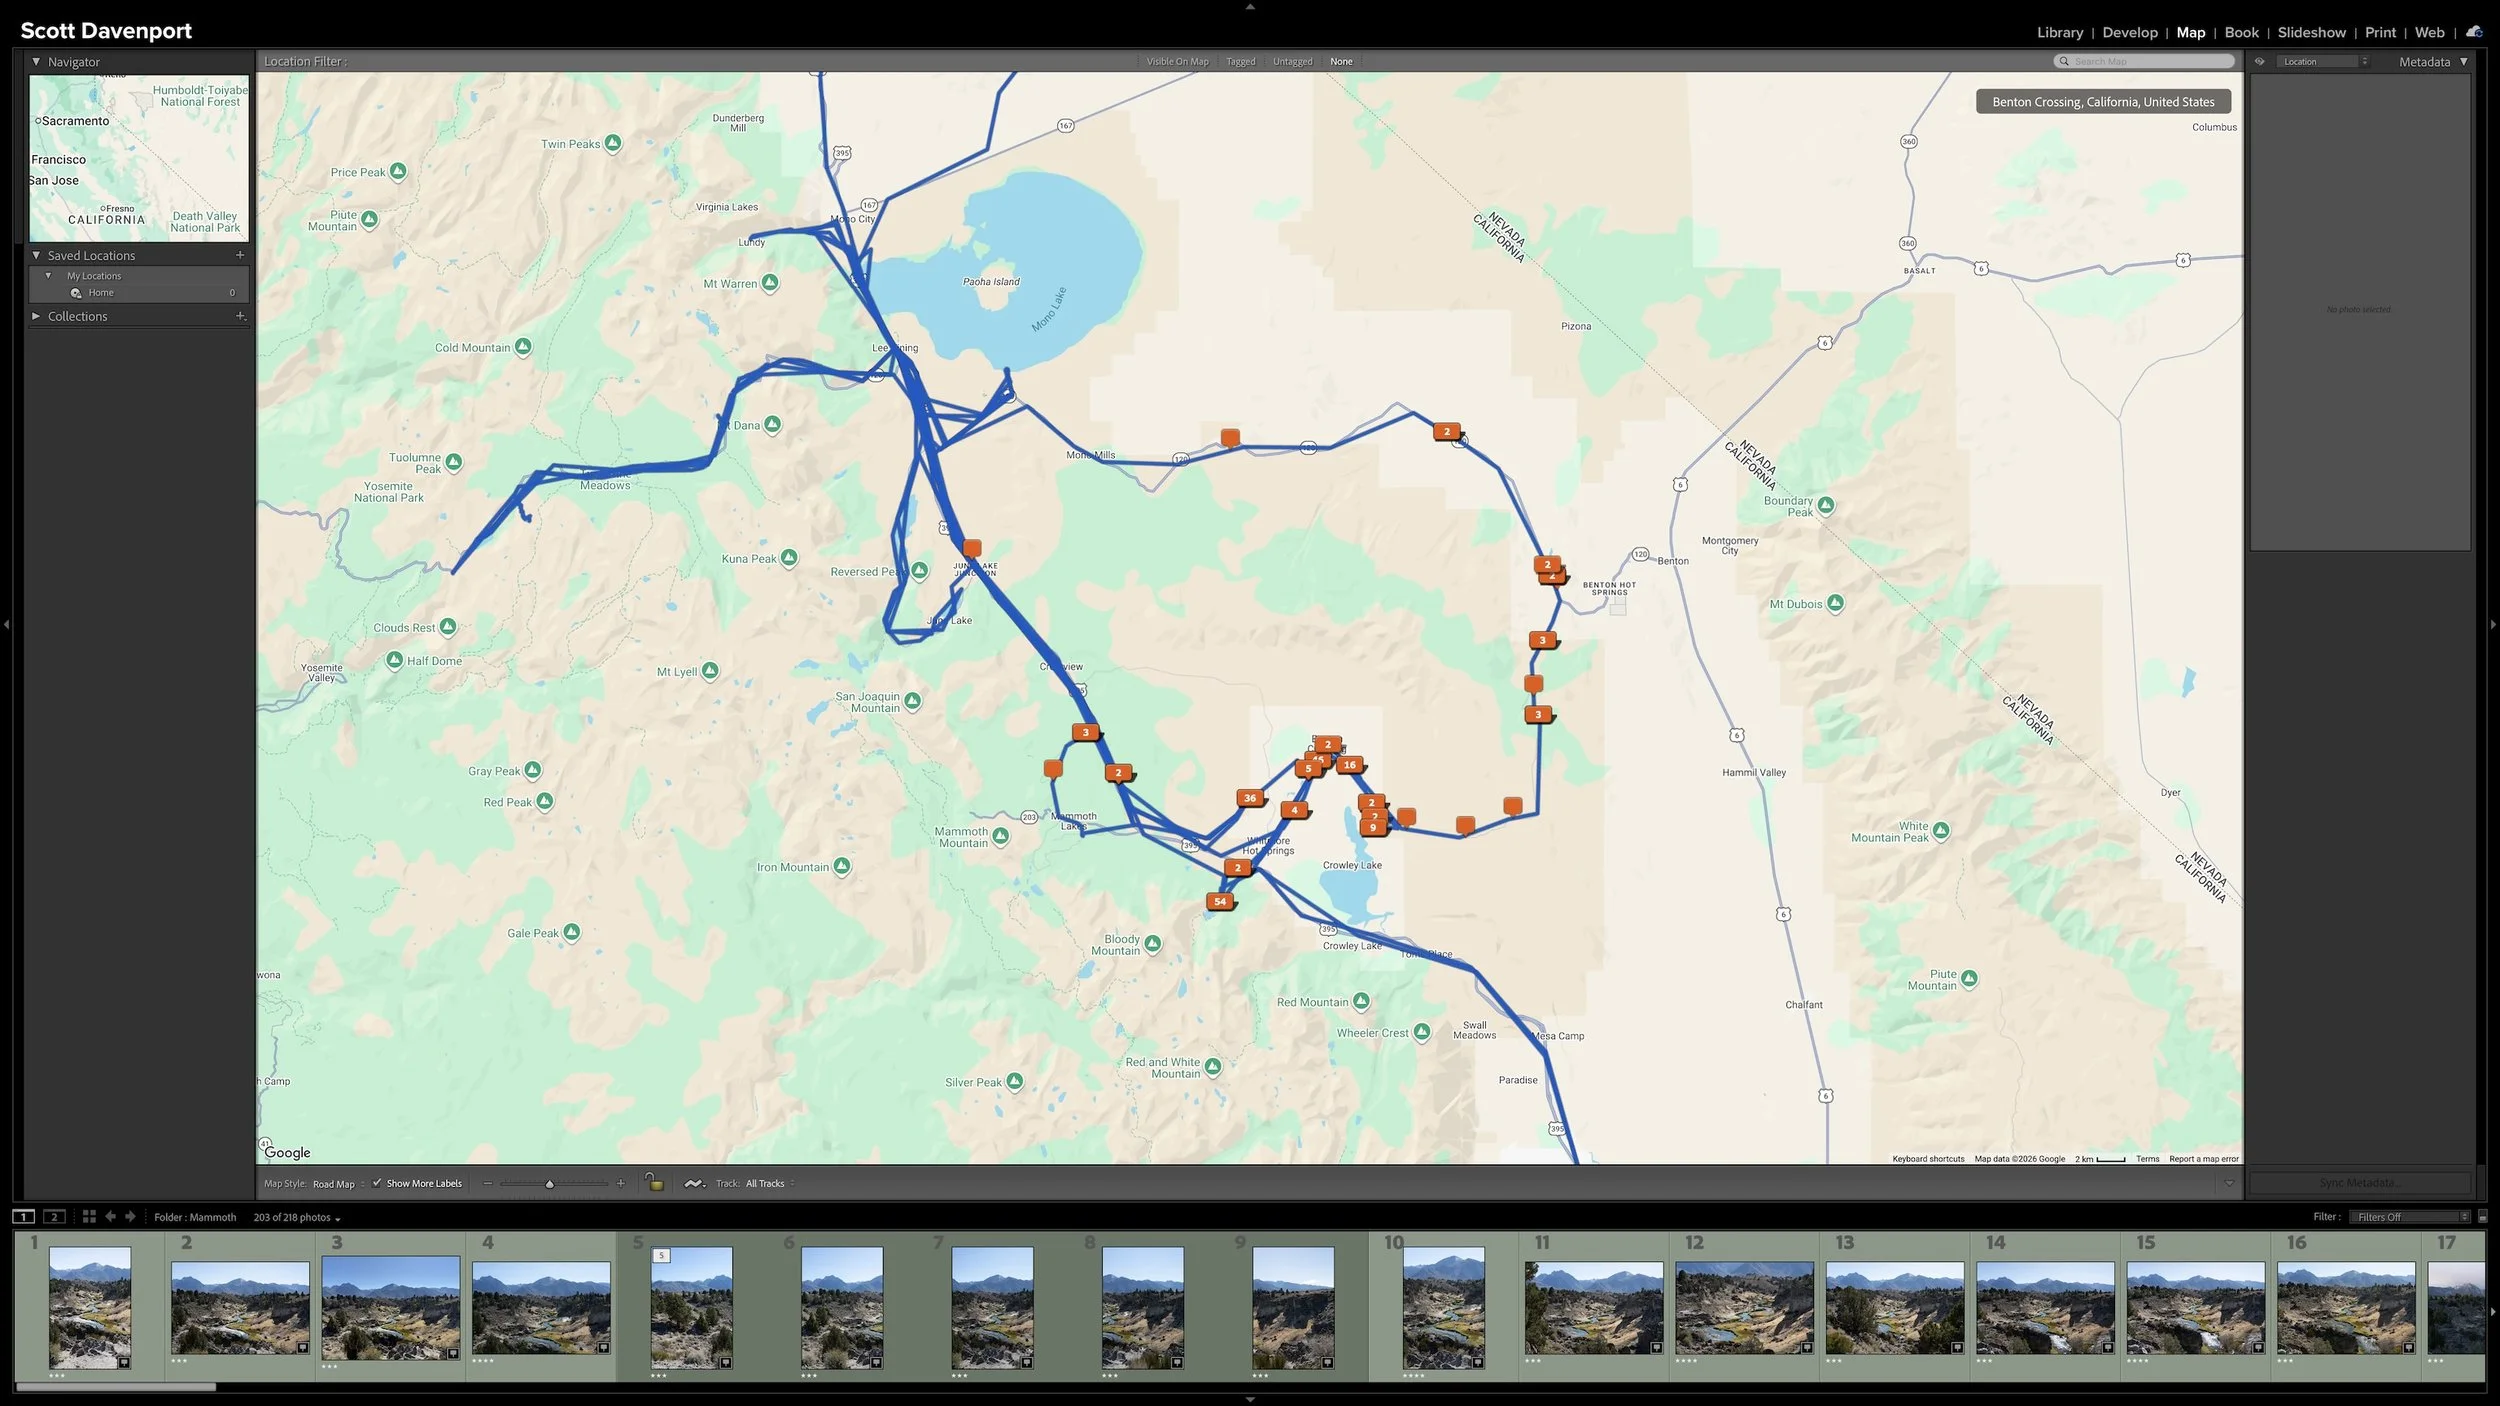
Right after a shoot, you know where you made the photographs. A few years later, that may not be nearly as obvious. Adding location information while the shoot is still fresh gives you another durable way to find photographs and understand where they were made.
You don't need to type city, state, and country into every photograph. If the camera records GPS coordinates, much of the work is already done. A GPX track log or, when necessary, Lightroom Classic's Map module provides other ways to add the location. The goal isn't exhaustive geographic metadata. It's enough useful information that you won't have to reconstruct it later.
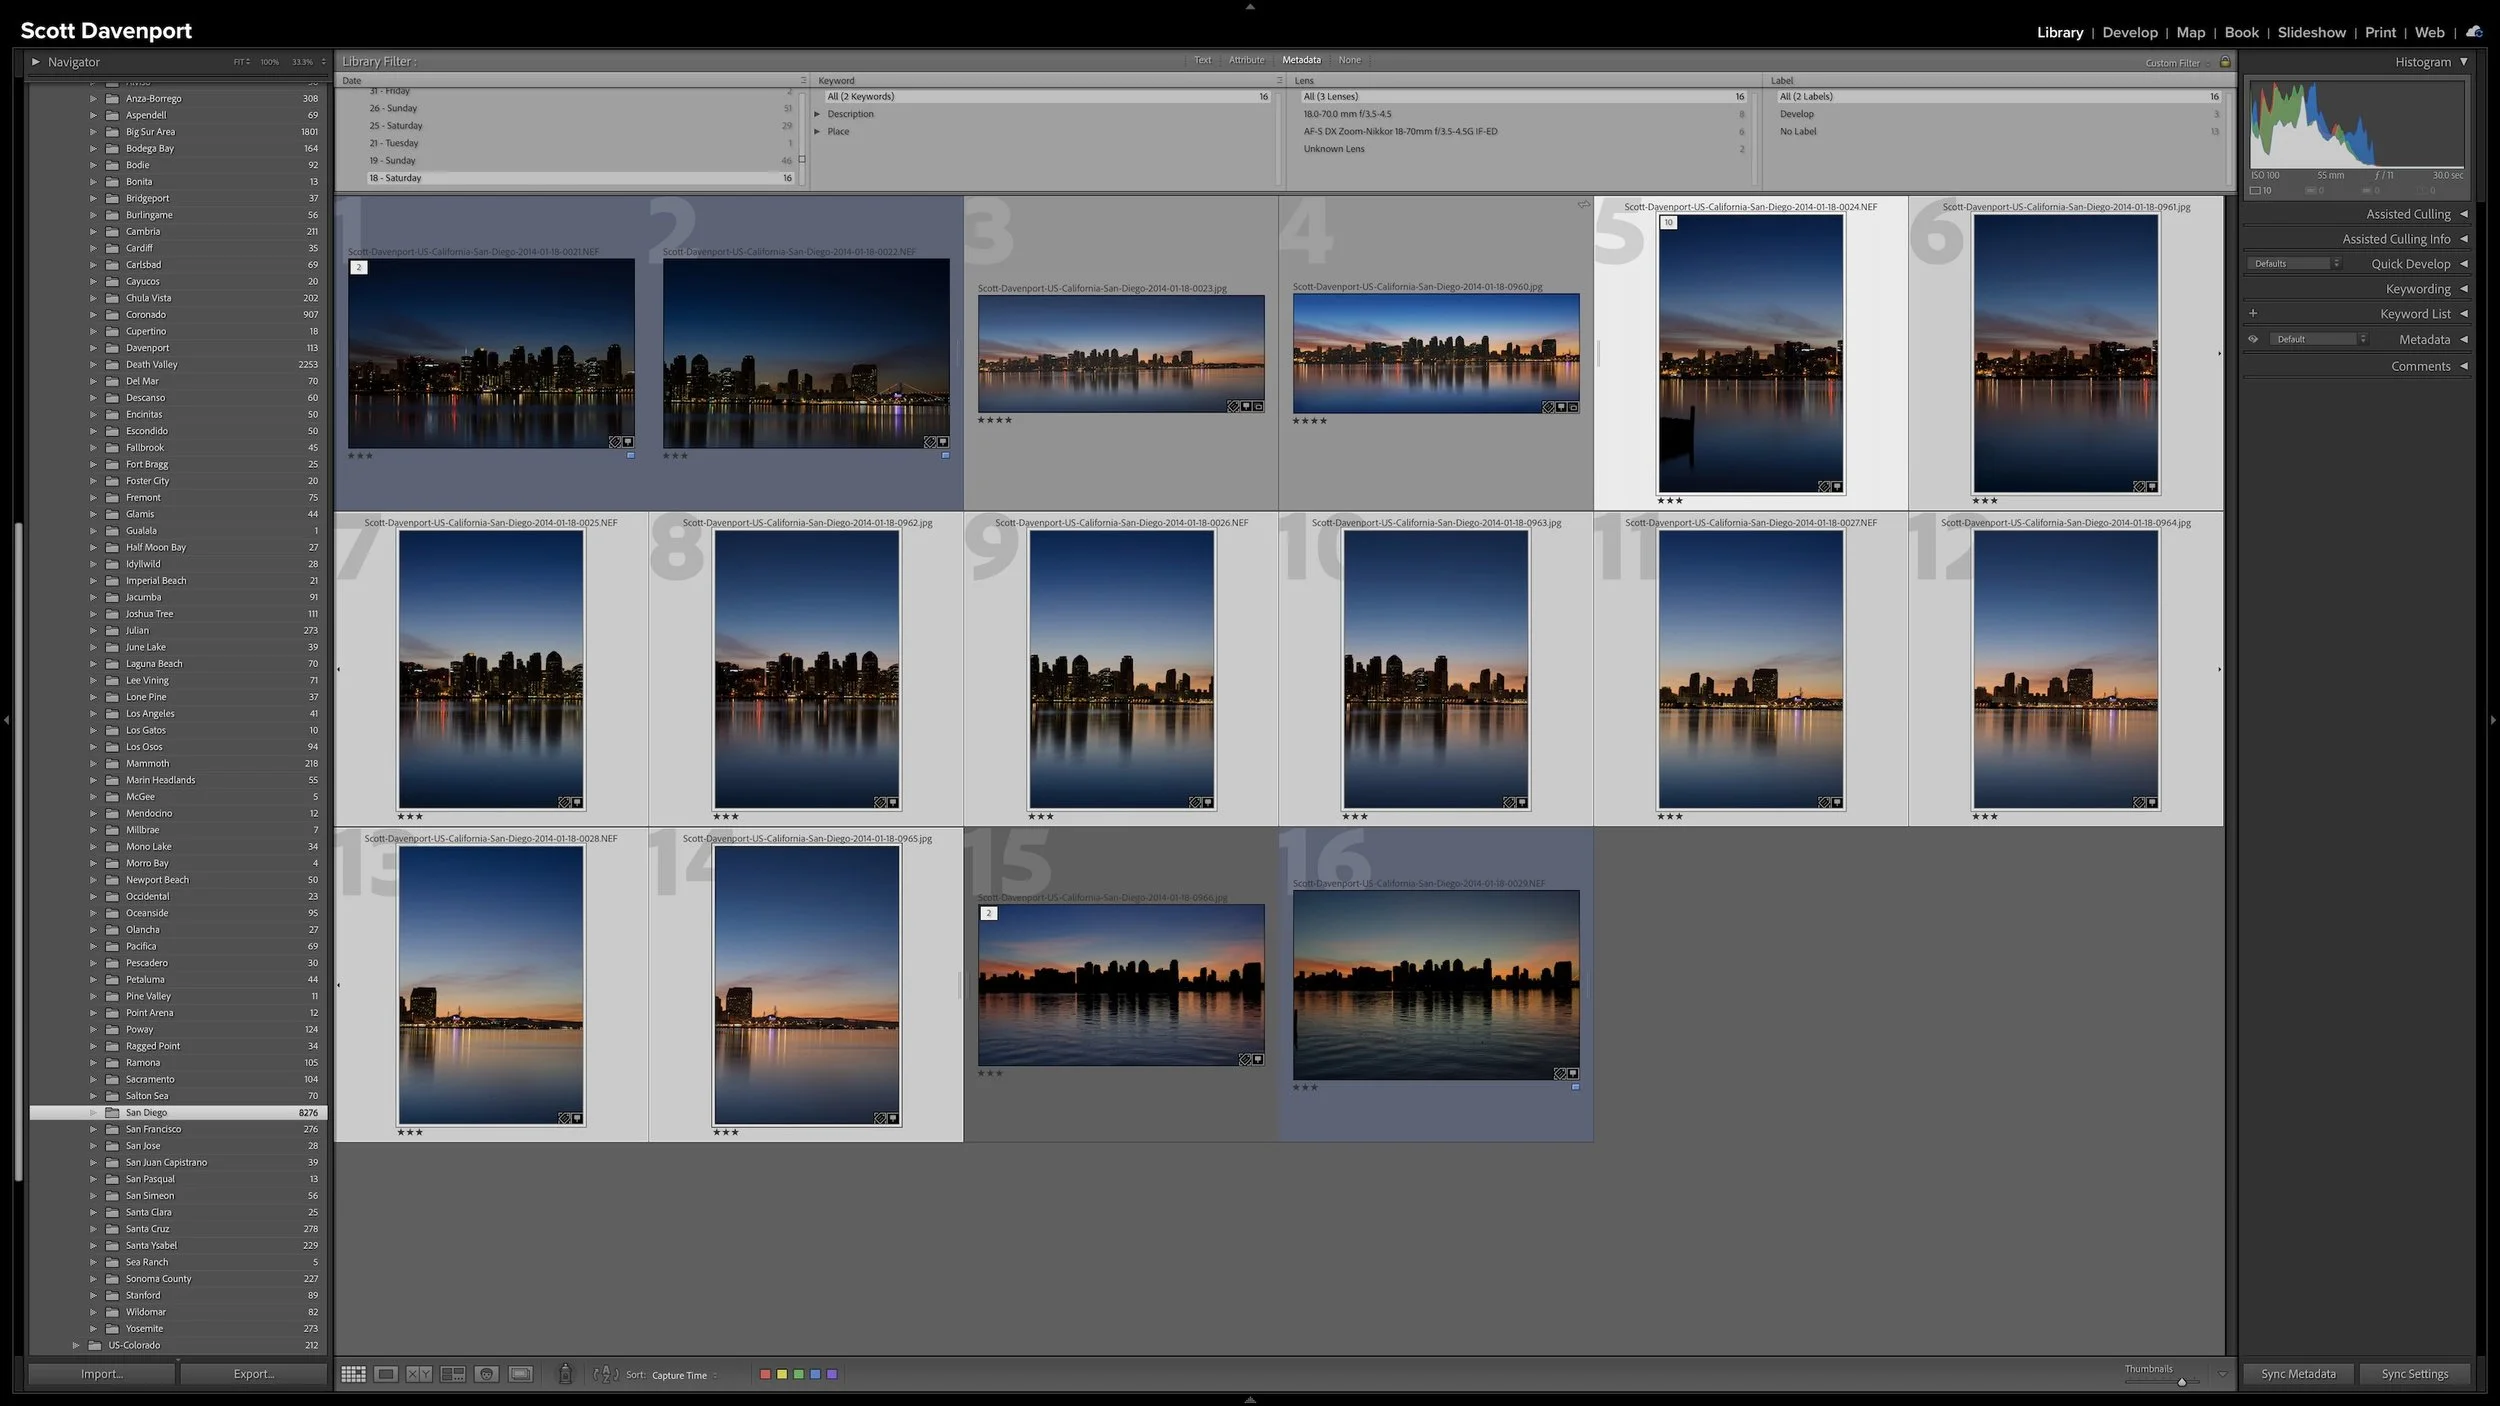
A group of photographs can belong together without every frame needing equal space in Lightroom Classic. Several variations of the same composition, panorama segments, exposure brackets, or a rapid burst can quickly fill Grid view with photographs you don't need to see individually all the time.
Stacks keep those related photographs together while letting one useful photograph represent the group. I use them so the other photographs remain available when I need them without adding unnecessary visual clutter to my catalog.
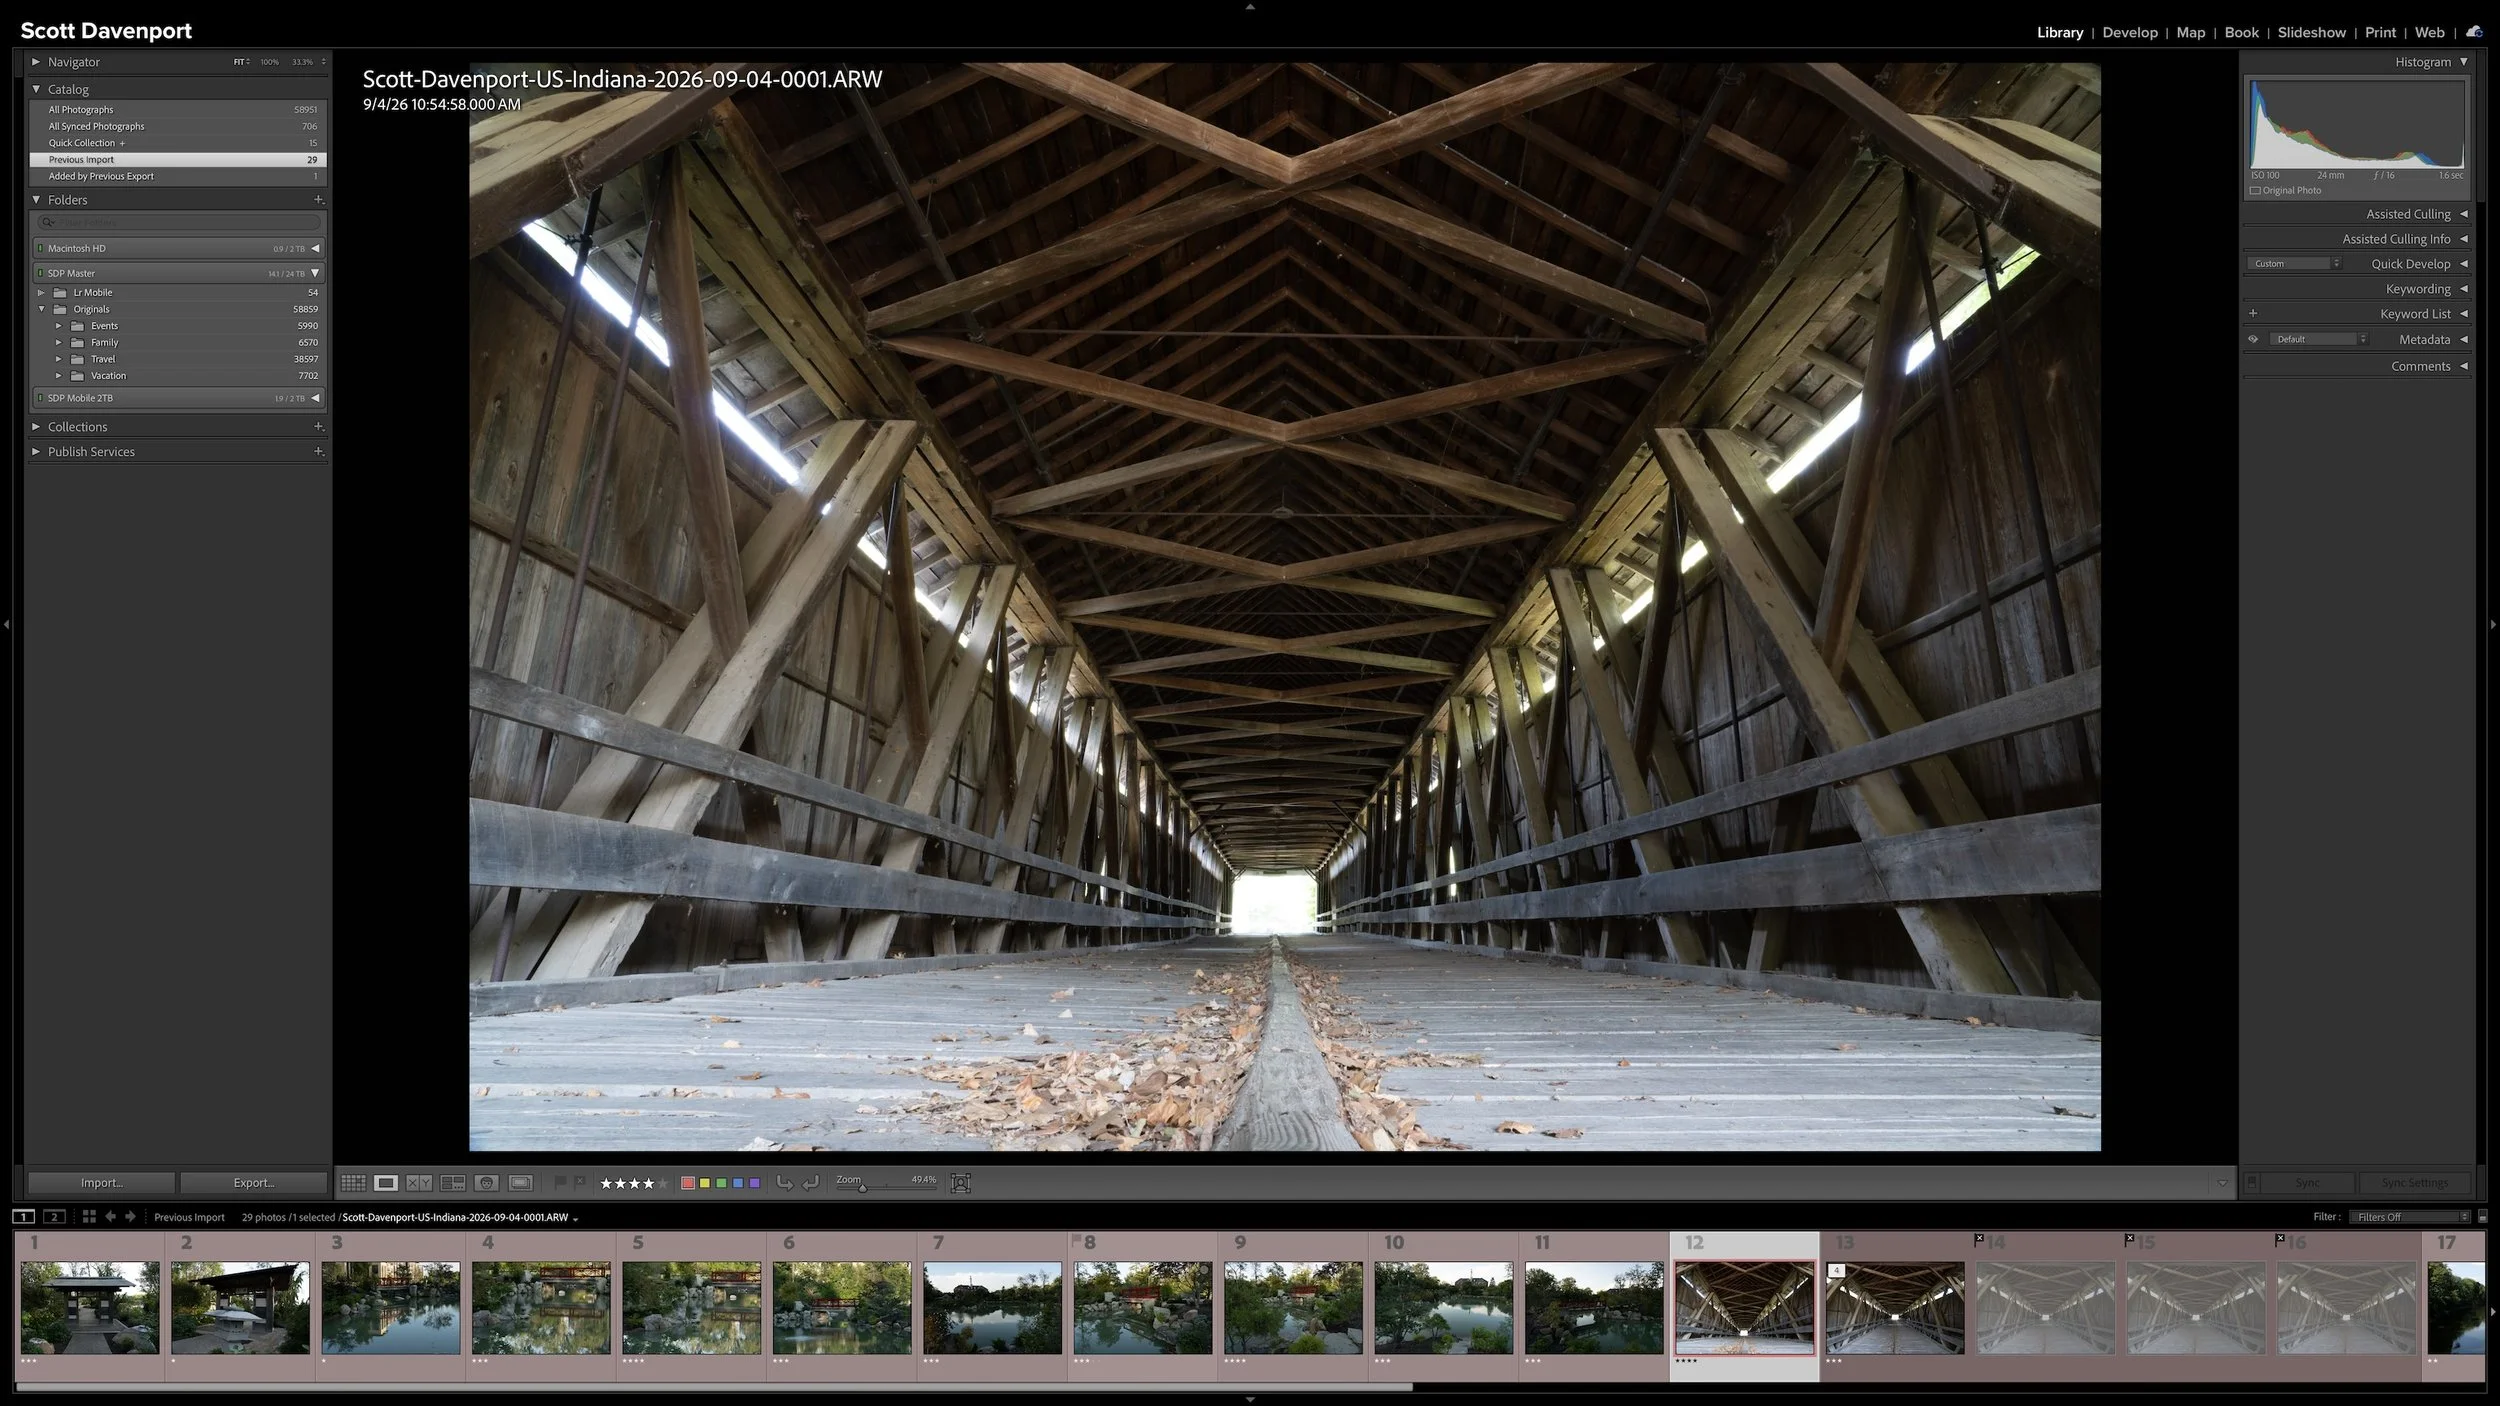
Lightroom Classic gives you five stars for rating photographs, but those stars aren't very useful if their meanings change from one shoot to another. A consistent system lets you know what a three-star or four-star photograph means without rethinking the definitions every time you rate a new group of photos.
My rating system ranges from photographs I keep primarily for sentimental reasons to photographs I consider strong enough to print. You don't need to use the same definitions I do. The important part is giving your ratings stable meanings you can apply consistently over time.
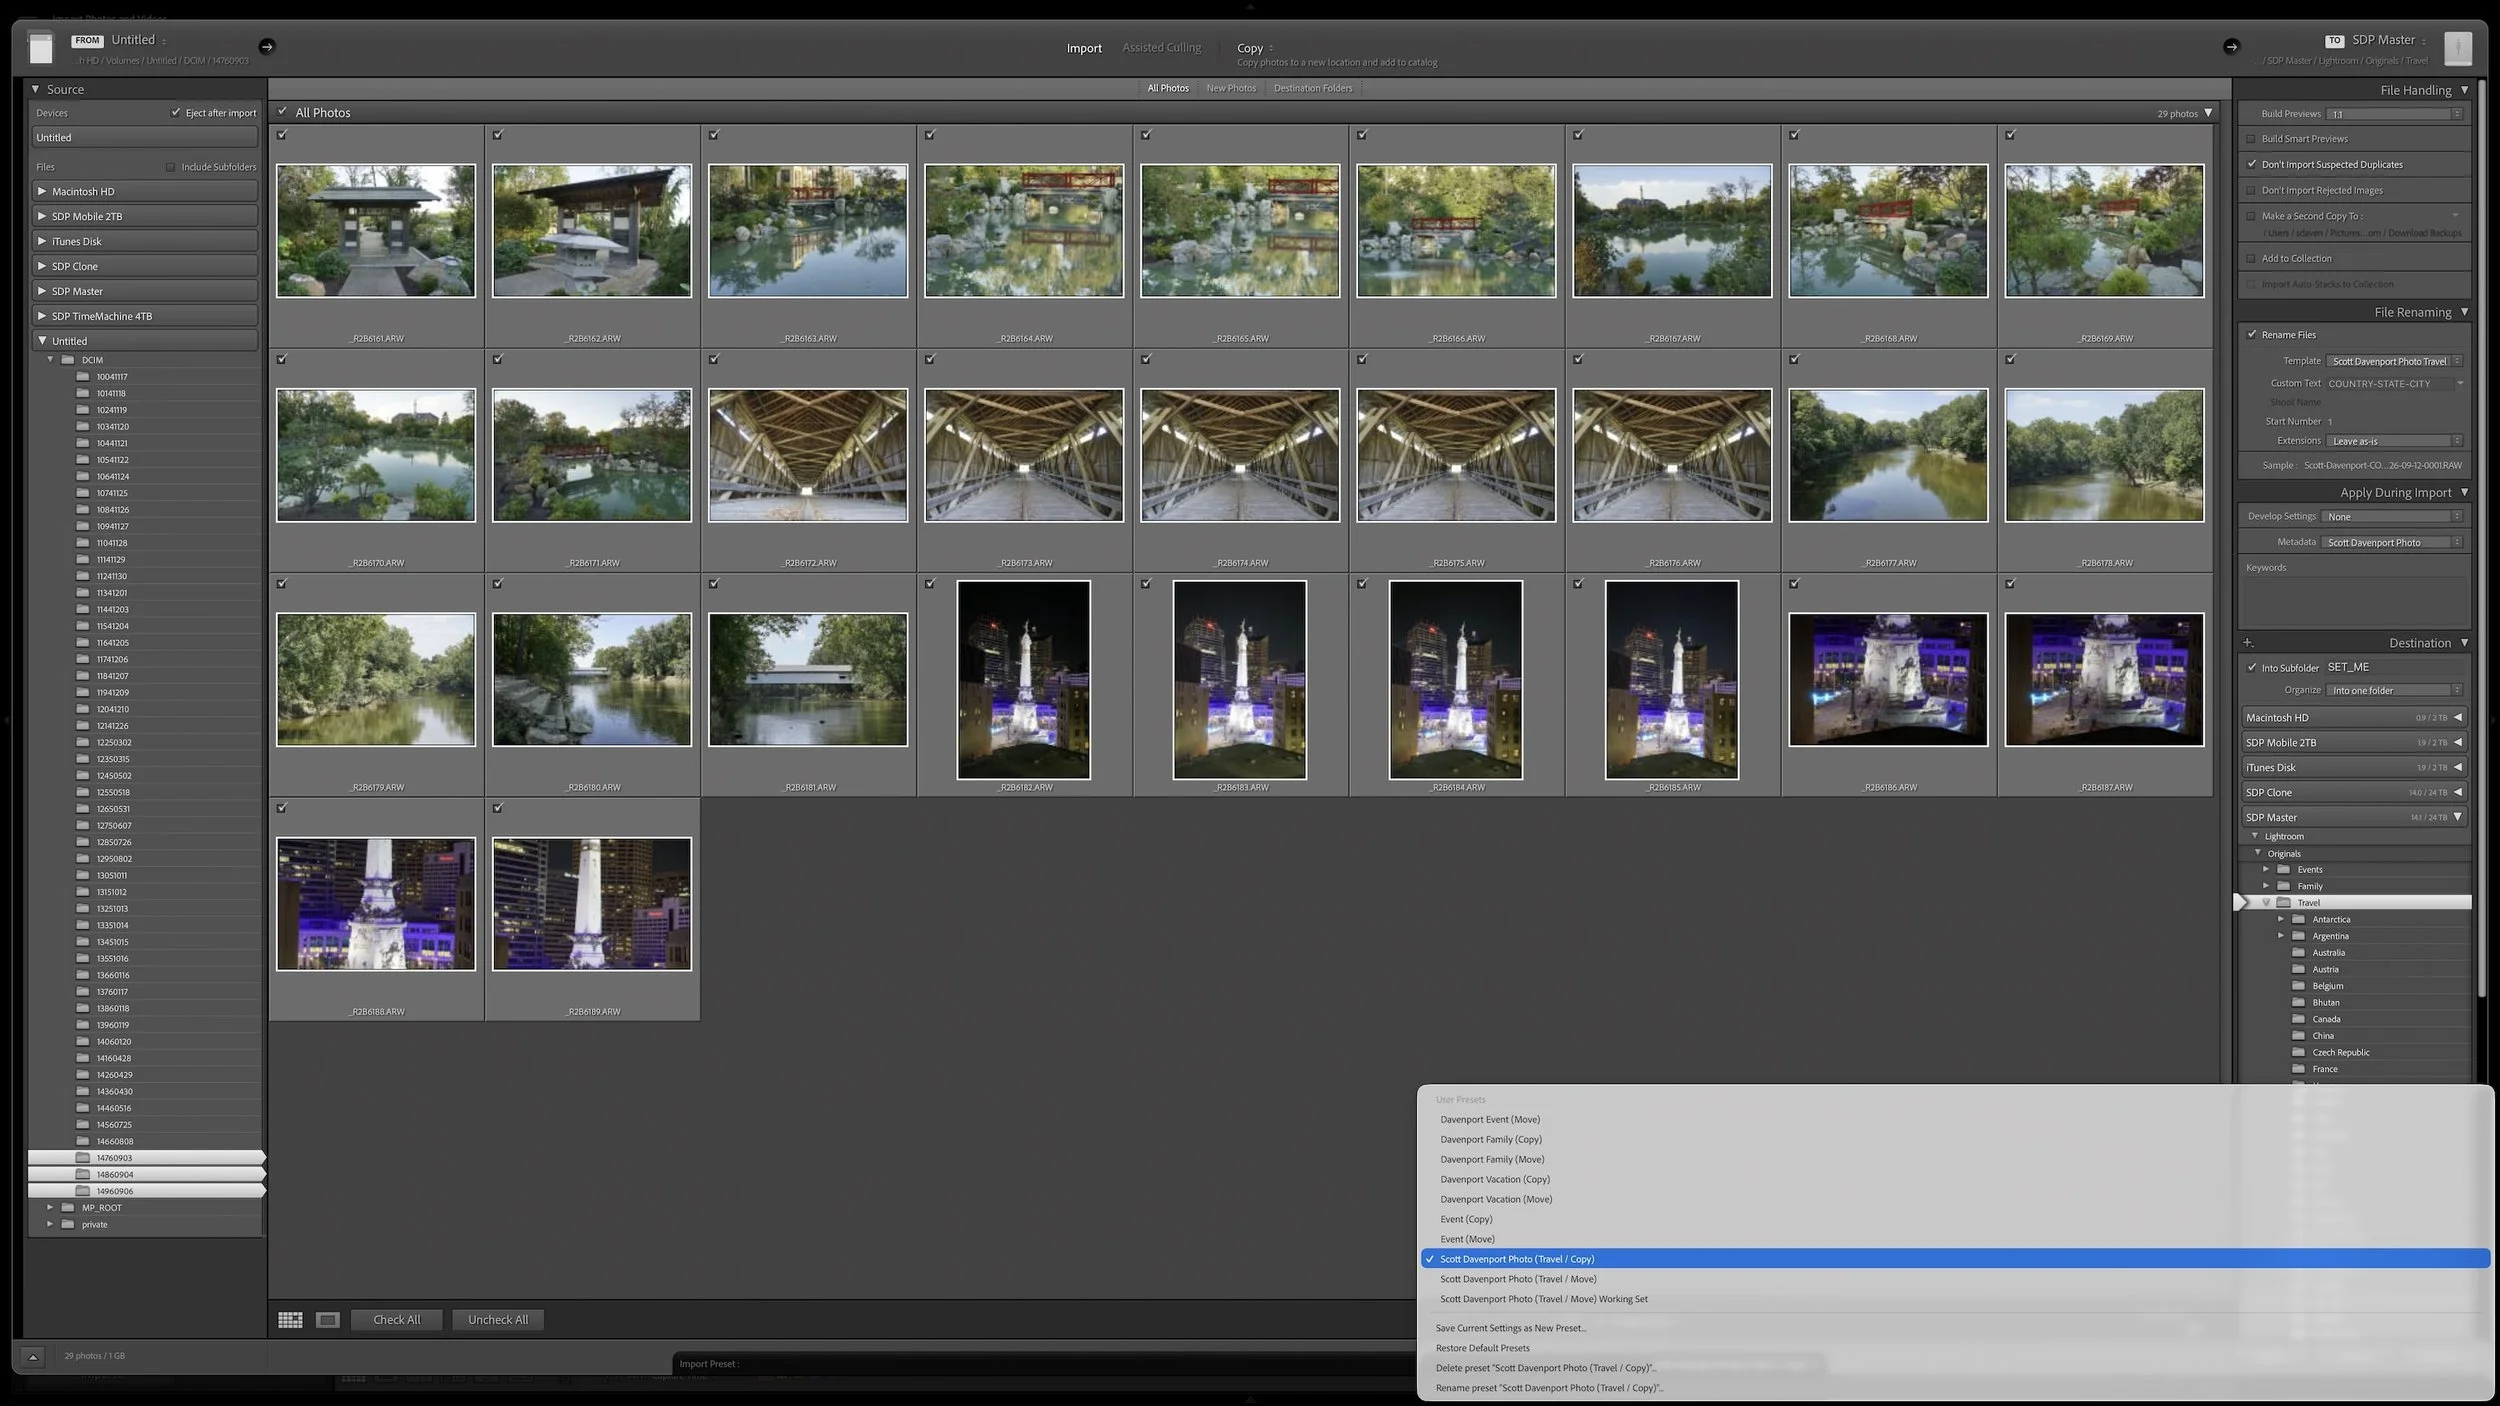
Lightroom Classic's Import dialog asks many of the same questions every time you bring in photos. Rather than rebuilding those settings for every import, you can save the choices that stay consistent in an import preset.
The preset doesn't eliminate the decisions that change from shoot to shoot. It gives you a reliable starting point, so you can concentrate on the source, destination, and other details that actually need your attention.
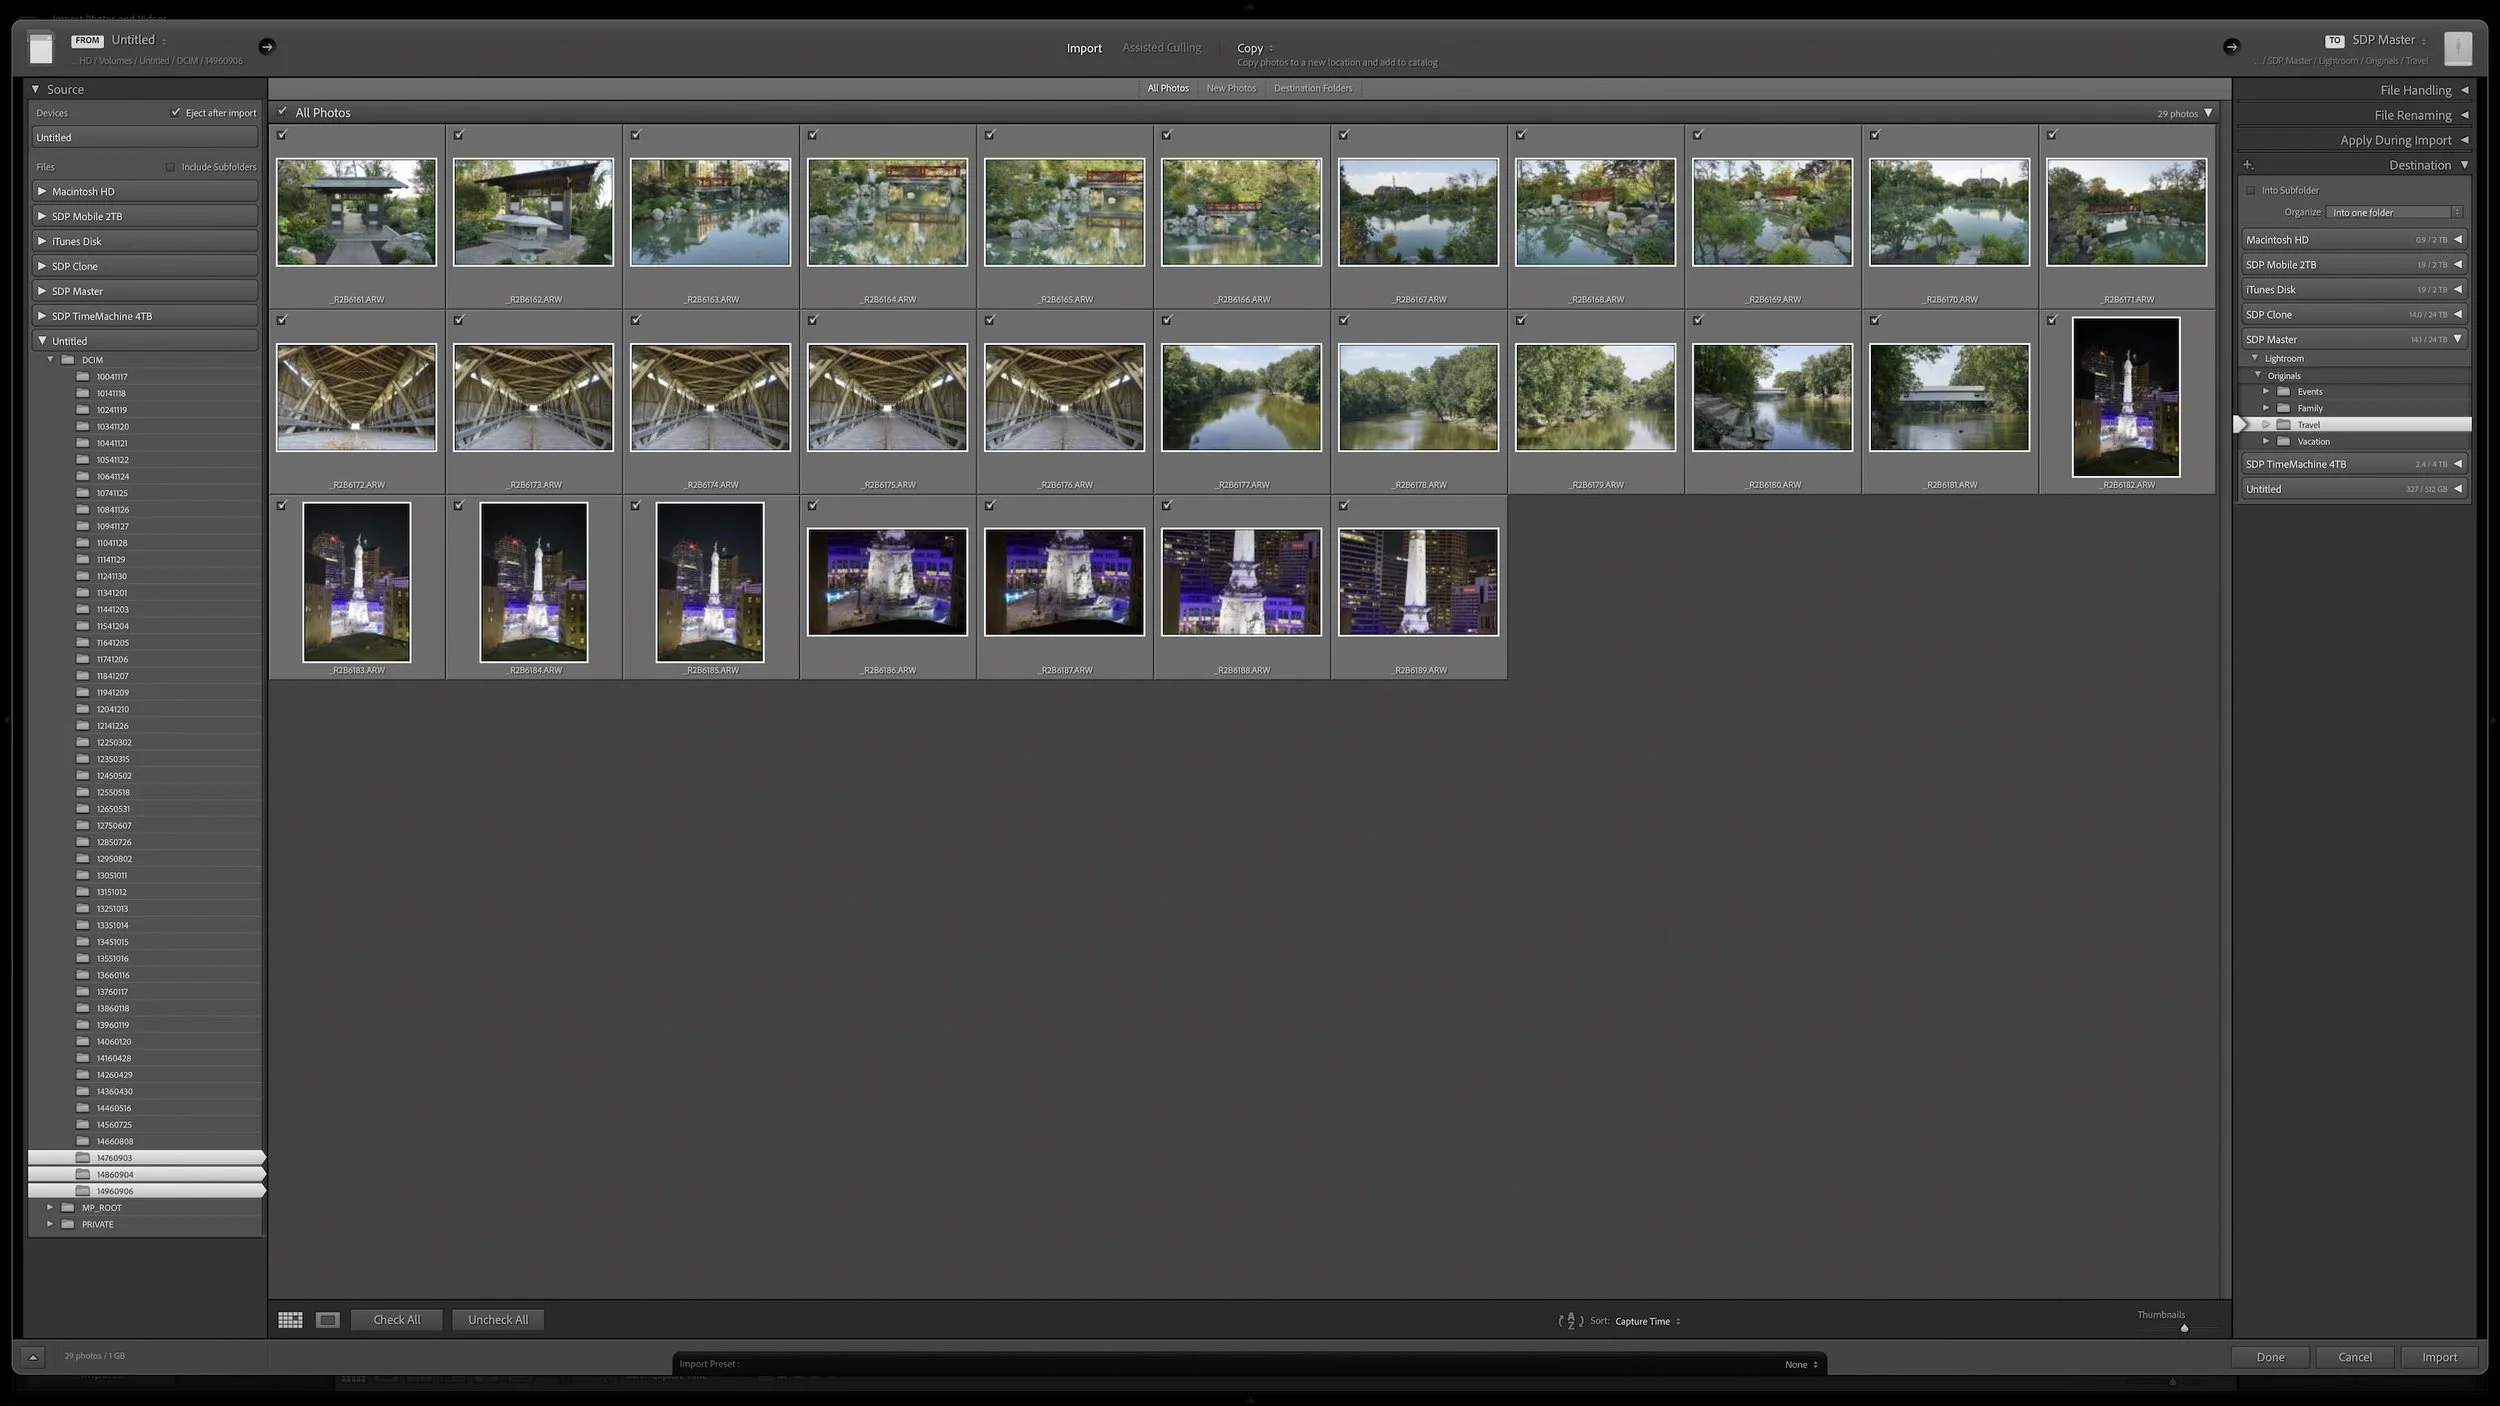
Lightroom Classic's Import dialog presents plenty of choices, but one of the most important decisions is straightforward: where are your photos now, and where do you want the original files to live after the import?
Copy, Move, and Add each handle the original files differently. Once you understand what happens to the physical files and what happens in the Lightroom catalog, choosing the right import method becomes much easier.
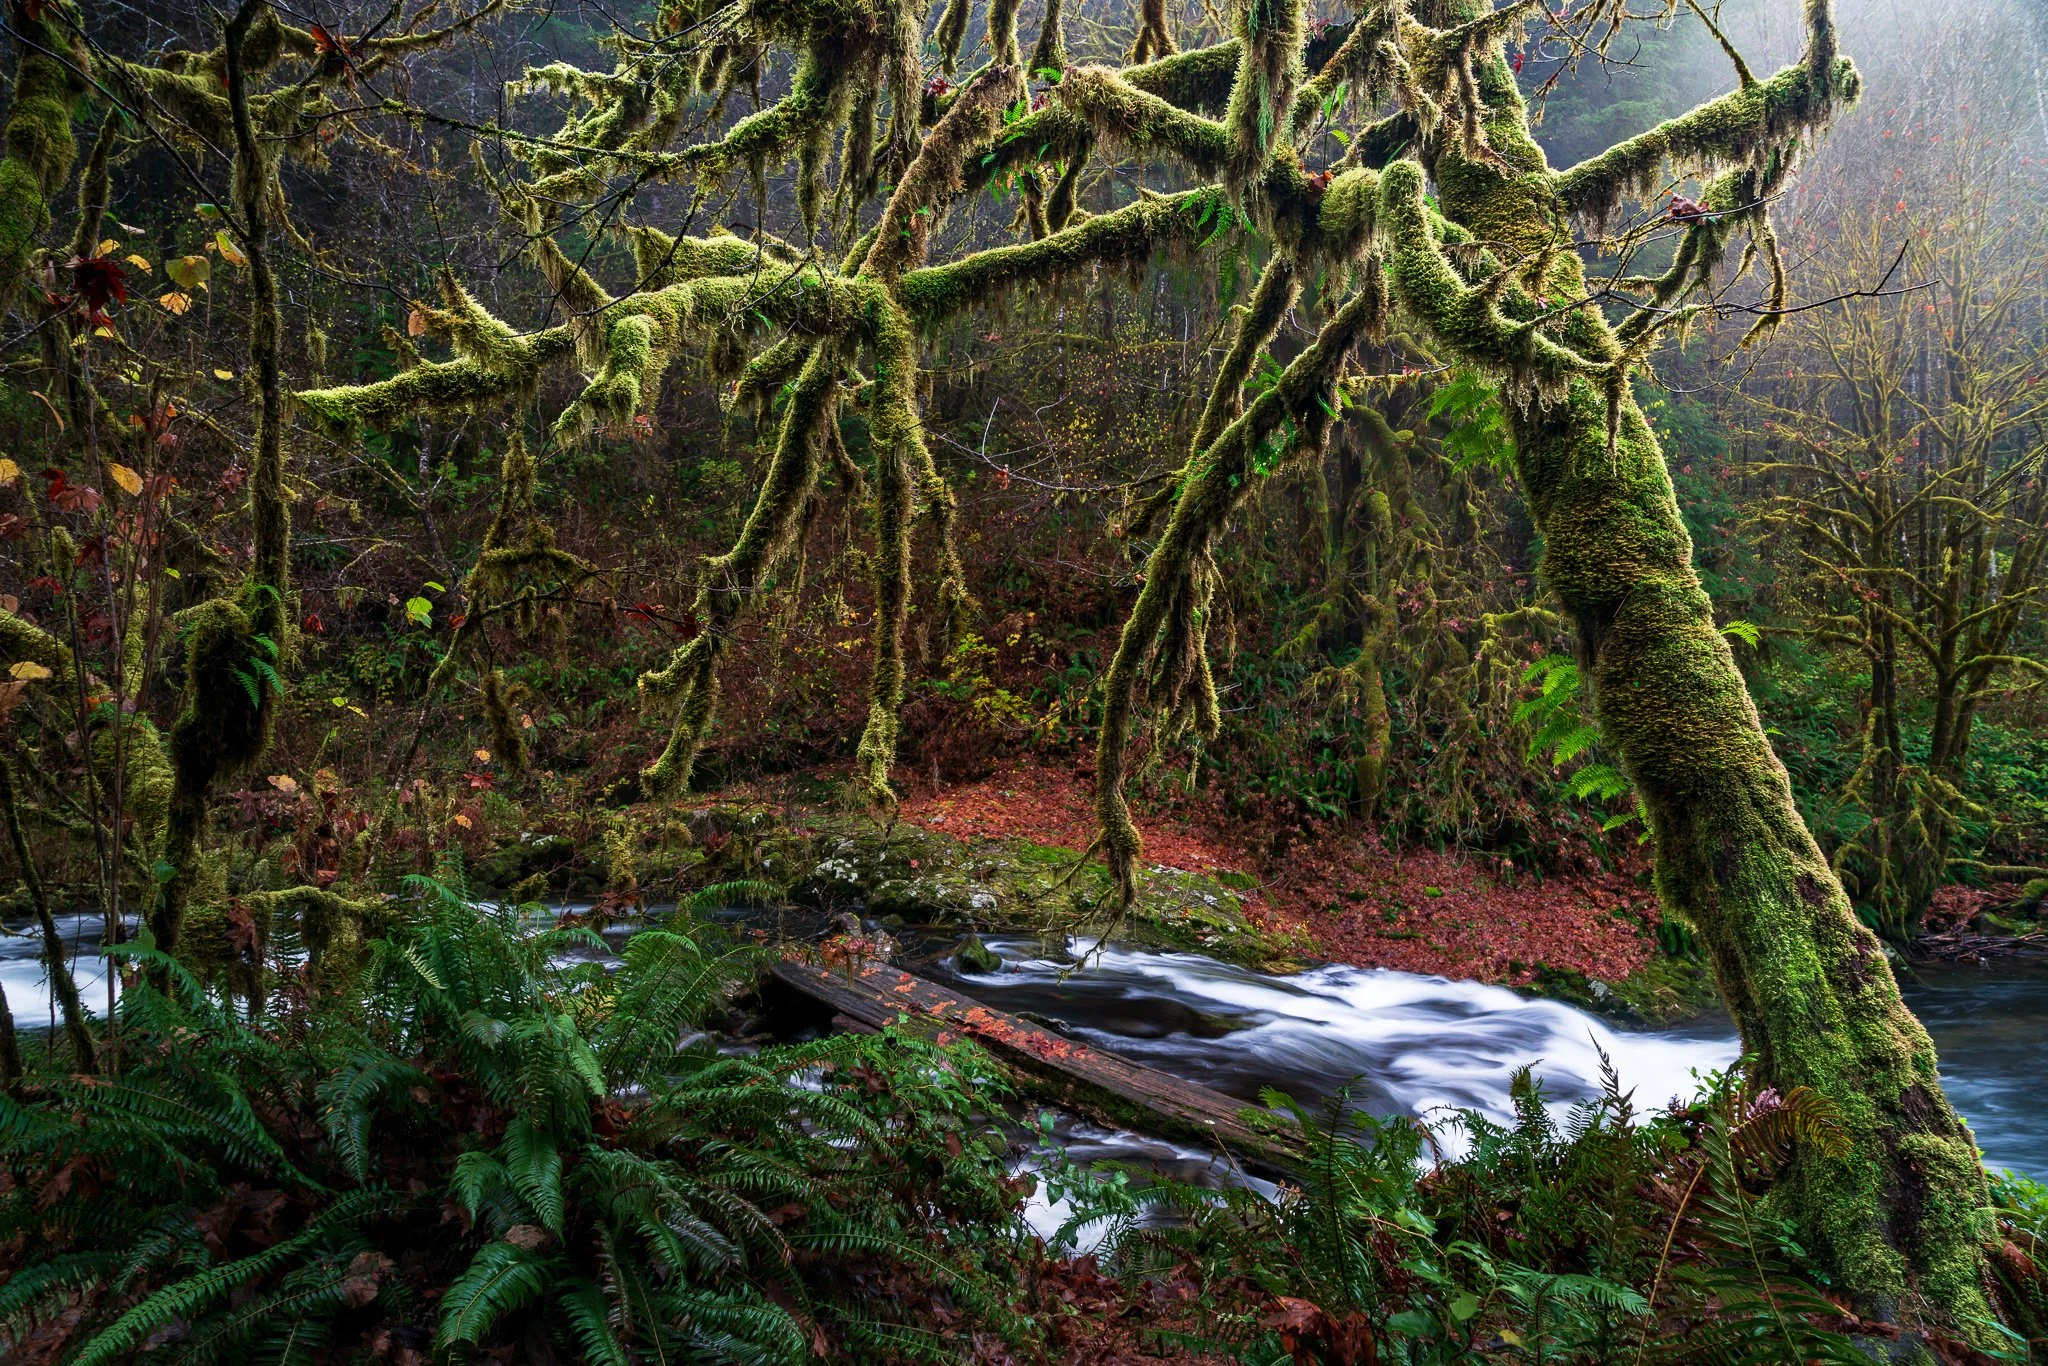
A complicated subject can take a little work to mask well. Once you've made that selection, what else can you do with it? Quite a bit, especially when you want to give your subject more separation from a busy background.
Using a mossy tree as an example, I explain how Lightroom's Duplicate and Invert lets you build several adjustments from one refined mask. You can shape the background and guide the eye while protecting the light on your foreground subject.

Great landscape photographs begin with recognizing what the light is doing. Front light can emphasize color, side light can reveal texture and form, and backlight can transform mist, foliage, and silhouettes. Once you understand those relationships, you can choose compositions that work with the conditions instead of waiting for supposedly perfect light.
Learn how to identify directional, overcast, midday, and nighttime light in the landscape—and how to adjust your viewpoint, subject, and exposure accordingly. These practical examples will help you use highlights, shadows, atmosphere, and natural layers to create clearer, more deliberate photographs.

Shape The Light – Tell Your Story
Light shapes your story, and Lightroom gives you the tools to mold it. In Mastering Light & Shadow, we’ll dive into how to read the light in your photos, control it with intention, and shape it to match the story you want to tell. You’ll walk away with practical techniques, clear workflows, and the confidence to interpret your photos and bring your creative vision to life.