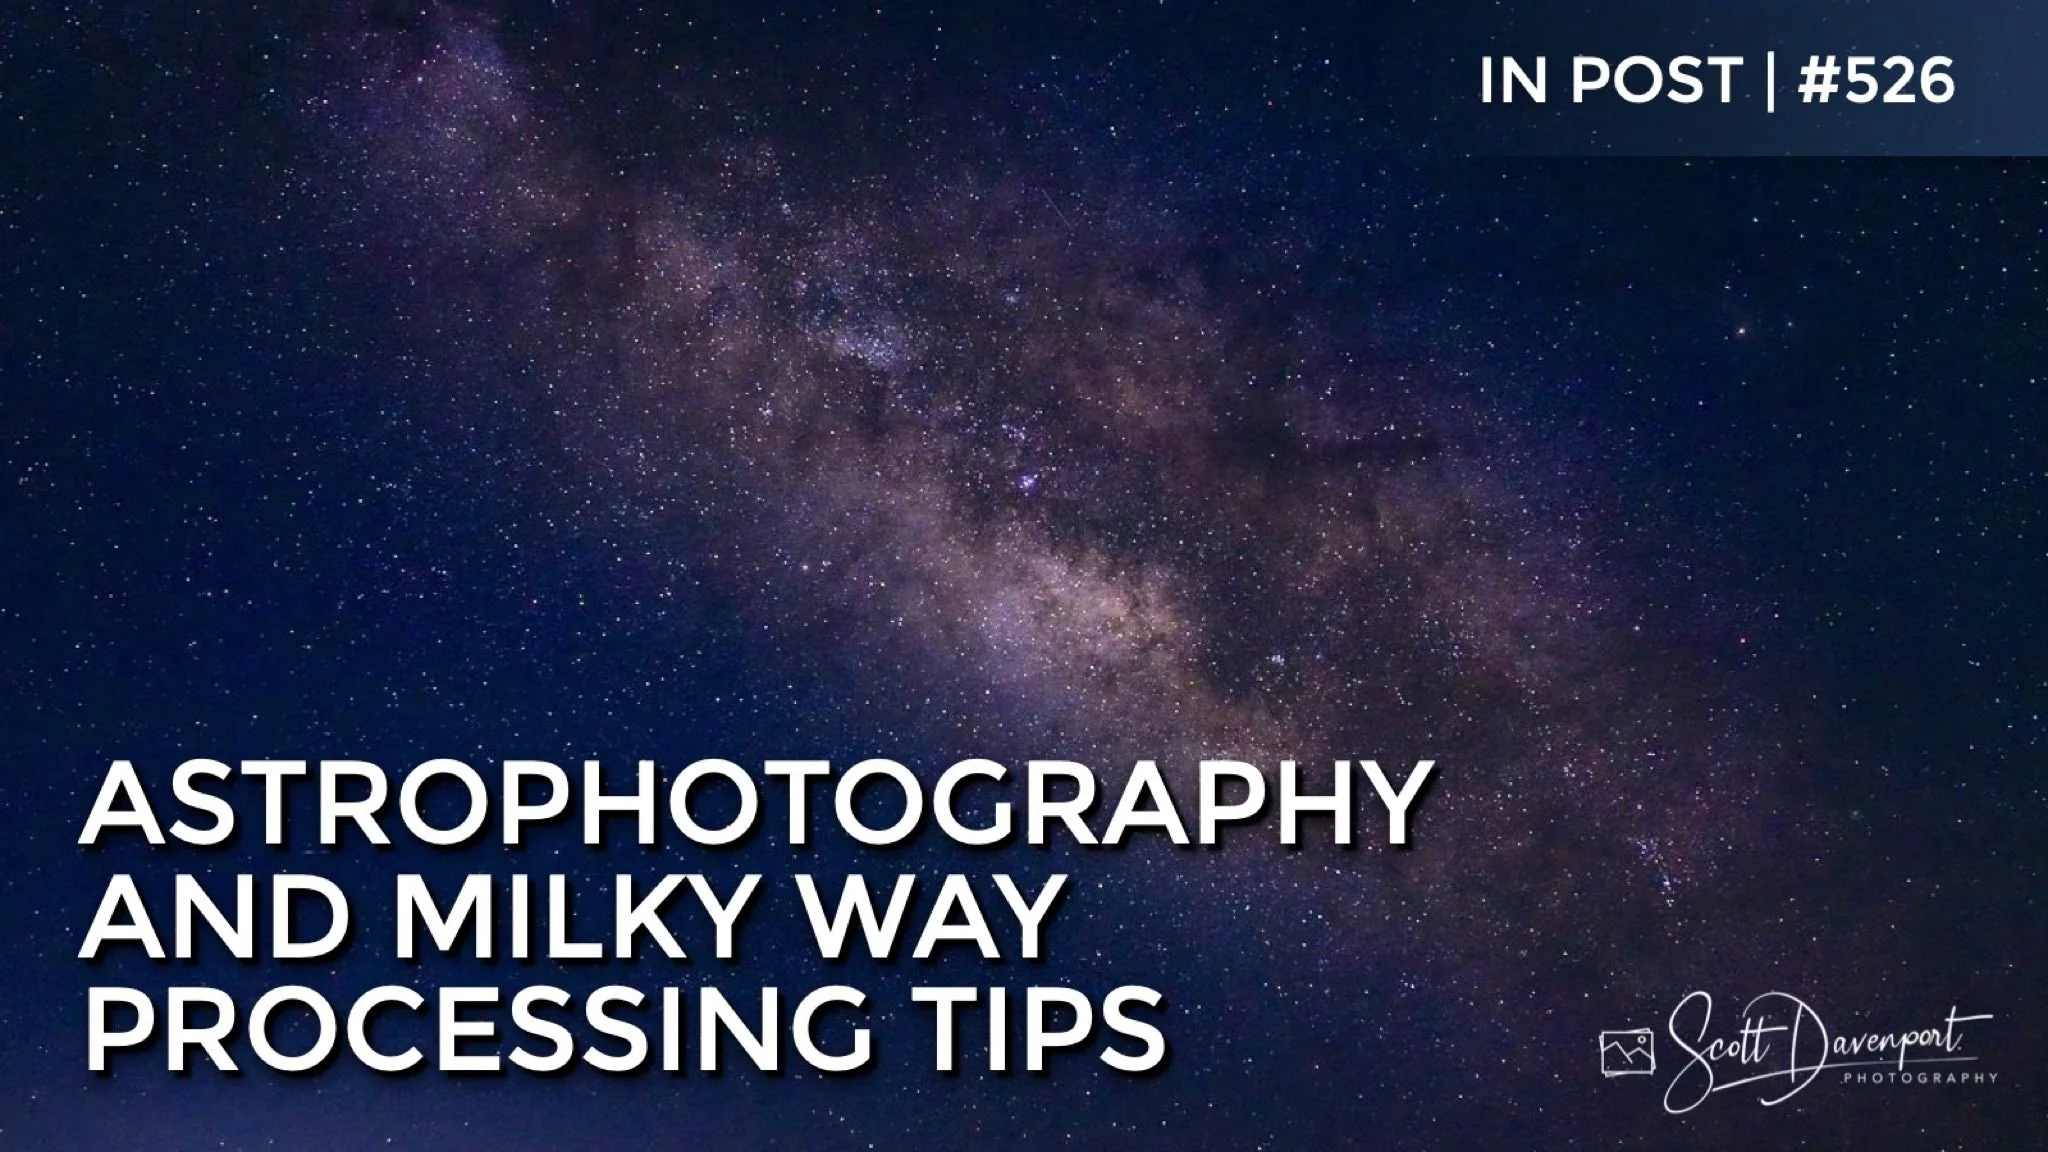
Tips For Processing Milky Way Photos - In Post #526
Photographing the Milky Way is fun and rewarding. However, the capture is only the beginning of the process. Astrophotography images will need some editing and post-processing to make the night stars and galactic core look their best. In this article, I have a few processing tips to get the most out of your night sky photos.
Tip 1 - Noise Reduction
Using a high ISO for astrophotography is a reality. ISO values of 1600 or 3200 are common - and maybe you push ISO even higher in your camera. The increased ISO helps gather more light and have more stars show in the night sky. It also means an increase in noise.
I recommend using a modern tool specifically made for noise reduction. Combating noise is always a balance between smoothing out digital noise and maintaining detail, like those pinpoint stars in the sky. The built-in noise reduction in Lightroom isn’t sufficient. There are several products on the market that address noise reduction. My tool of choice is ON1 NoNoise AI because it delivers great results while maintaining detail - and it’s incredibly fast.
Original RAW file
Noise Reduction with ON1 NoNoise AI
For ON1 Photo RAW 2022 users, you have NoNoise AI right there in your RAW processor in the Develop tab. I use ON1 NoNoise AI in my Lightroom-centric workflow. I run it as a standalone product and bring the noise-reduced DNG into my Lightroom catalog after noise reduction is applied. You can also use ON1 NoNoise as a plug-in to Lightroom. Whatever noise reduction tool you use, take care of the digital noise early in your workflow. If the noise can’t be controlled, follow-on adjustments may actually accentuate noise.
Tip 2 - Use Local Contrast And Dehaze
RAW images are typically a little flat and need a contrast boost. With astrophotography, a small adjustment on global contrast is helpful, but the real boost comes from local contrast. Local contrast will consider the various size of elements in the scene and dynamically adjust contrast. The tools and sliders for localized or micro-contrast will vary depending on what post-processing software you use. In Lightroom, use the Clarity slider and push it reasonably far. In ON1 Photo RAW, look to the Dynamic Contrast filter in Effects. For Skylum Luminar users, explore the Structure AI tool.
In tandem with local contrast, cut through haze and other atmospheric particulates with your software’s dehaze tools. These tools cut down the middle-gray filminess of the atmosphere, further revealing the night sky. In Lightroom, use the Dehaze slider in the Basic panel. ON1 users can take the Haze slider in Develop in the negative direction (negative haze is dehaze!). Luminar users can explore the Dehaze tool.
The end result is a richer, darker sky and brighter stars. Look how much clearer the Milky Way is after applying local contrast and dehaze!
Basic processing
Local contrast (Clarity) and Dehaze
Tip 3 - Localized Temperature Adjustments
This third tip is to apply localized adjustments using masks to further draw attention to the Milky Way. Different segments of the image receive different adjustments. In my Milky Way photo in this article, there are three main segments: the galactic core of the Milky Way, the night sky, and the foreground. Each receives a different treatment depending on their needs. Lightroom makes selecting a sky and, by inverting the selection, the foreground very easy. ON1’s AI Quick Mask makes sky selection simple, too. In Luminar, you’ll need to do a little more work with the traditional masking tools.
Sky
This is “Mask 1” in the screenshot below, although the slider adjustments are not shown because they are so simple. I pushed the Temperature slider toward the left (cool) side. How much will depend on your personal taste. I prefer an inkier blue tone to my night skies.
Foreground
This is “Mask 1 (Copy)” in the screenshot below. I copied the Sky mask and inverted it, giving me a mask that affects the foreground. In my scene, the foreground is a gentle contour of the land and there for context only. I decreased the Exposure slider a healthy amount, making it a silhouette. Also, the extreme shadows area had taken on a greenish color cast. I used the Tint slider to compensate for that.
Temperature treatment to the sky, darken the foreground
Galactic Core
The Milky Way itself is a third mask, shown below. The magic here is to add color contrast and enhance the warm/cool palette of an astrophotography image. Instead of using color grading, I advocate using the temperature controls. A radial mask is fine for the galactic core and the main adjustment is an increase in the Temperature slider toward the warmer side. I also chose to add an extra boost of Clarity - that’s to personal taste.
A radial mask is a natural choice to selectively apply adjustments to the Milky Way
Add warmth to the core with a localized adjustment
Conclusion
Those three tips again:
Apply Noise Reduction
Use Local Contrast And Dehaze
Localized Temperature Adjustments
Of course, you can augment and accent your astrophotography even further, adjusting color and shaping the scene to taste. Yet I’m confident these three fundamentals will help you get off to a great start.
Have fun!
Milky Way Core Over Clark Dry Lake Borrego Springs
Contact Scott to commission a print or license this image.