

Dodging and burning are essential techniques in photo editing, allowing for precise control over light and shadow to enhance depth and focus. In Lightroom, the use of luminance range masks intersected with a brush provides a highly effective way to apply these adjustments with both accuracy and ease. By leveraging the luminance range mask, users can target specific brightness values within an image, ensuring that the dodge and burn effects are applied only to the desired tonal areas. Intersecting this mask with a brush further refines the selection, allowing for manual control over where the adjustments take effect, leading to a seamless and natural-looking result.
This method not only streamlines the editing process but also prevents unwanted spillover into unintended areas, a common issue with broader dodge and burn applications. The ability to selectively brighten or darken parts of an image without affecting surrounding tones ensures improves the story and strength of your photo. I use the combination of luminance range masks and brush intersection all the time. You get professional-grade results with minimal effort
Black And White, Fire Canyon Arch, Valley Of Fire
Contact Scott to commission a print or license this image.


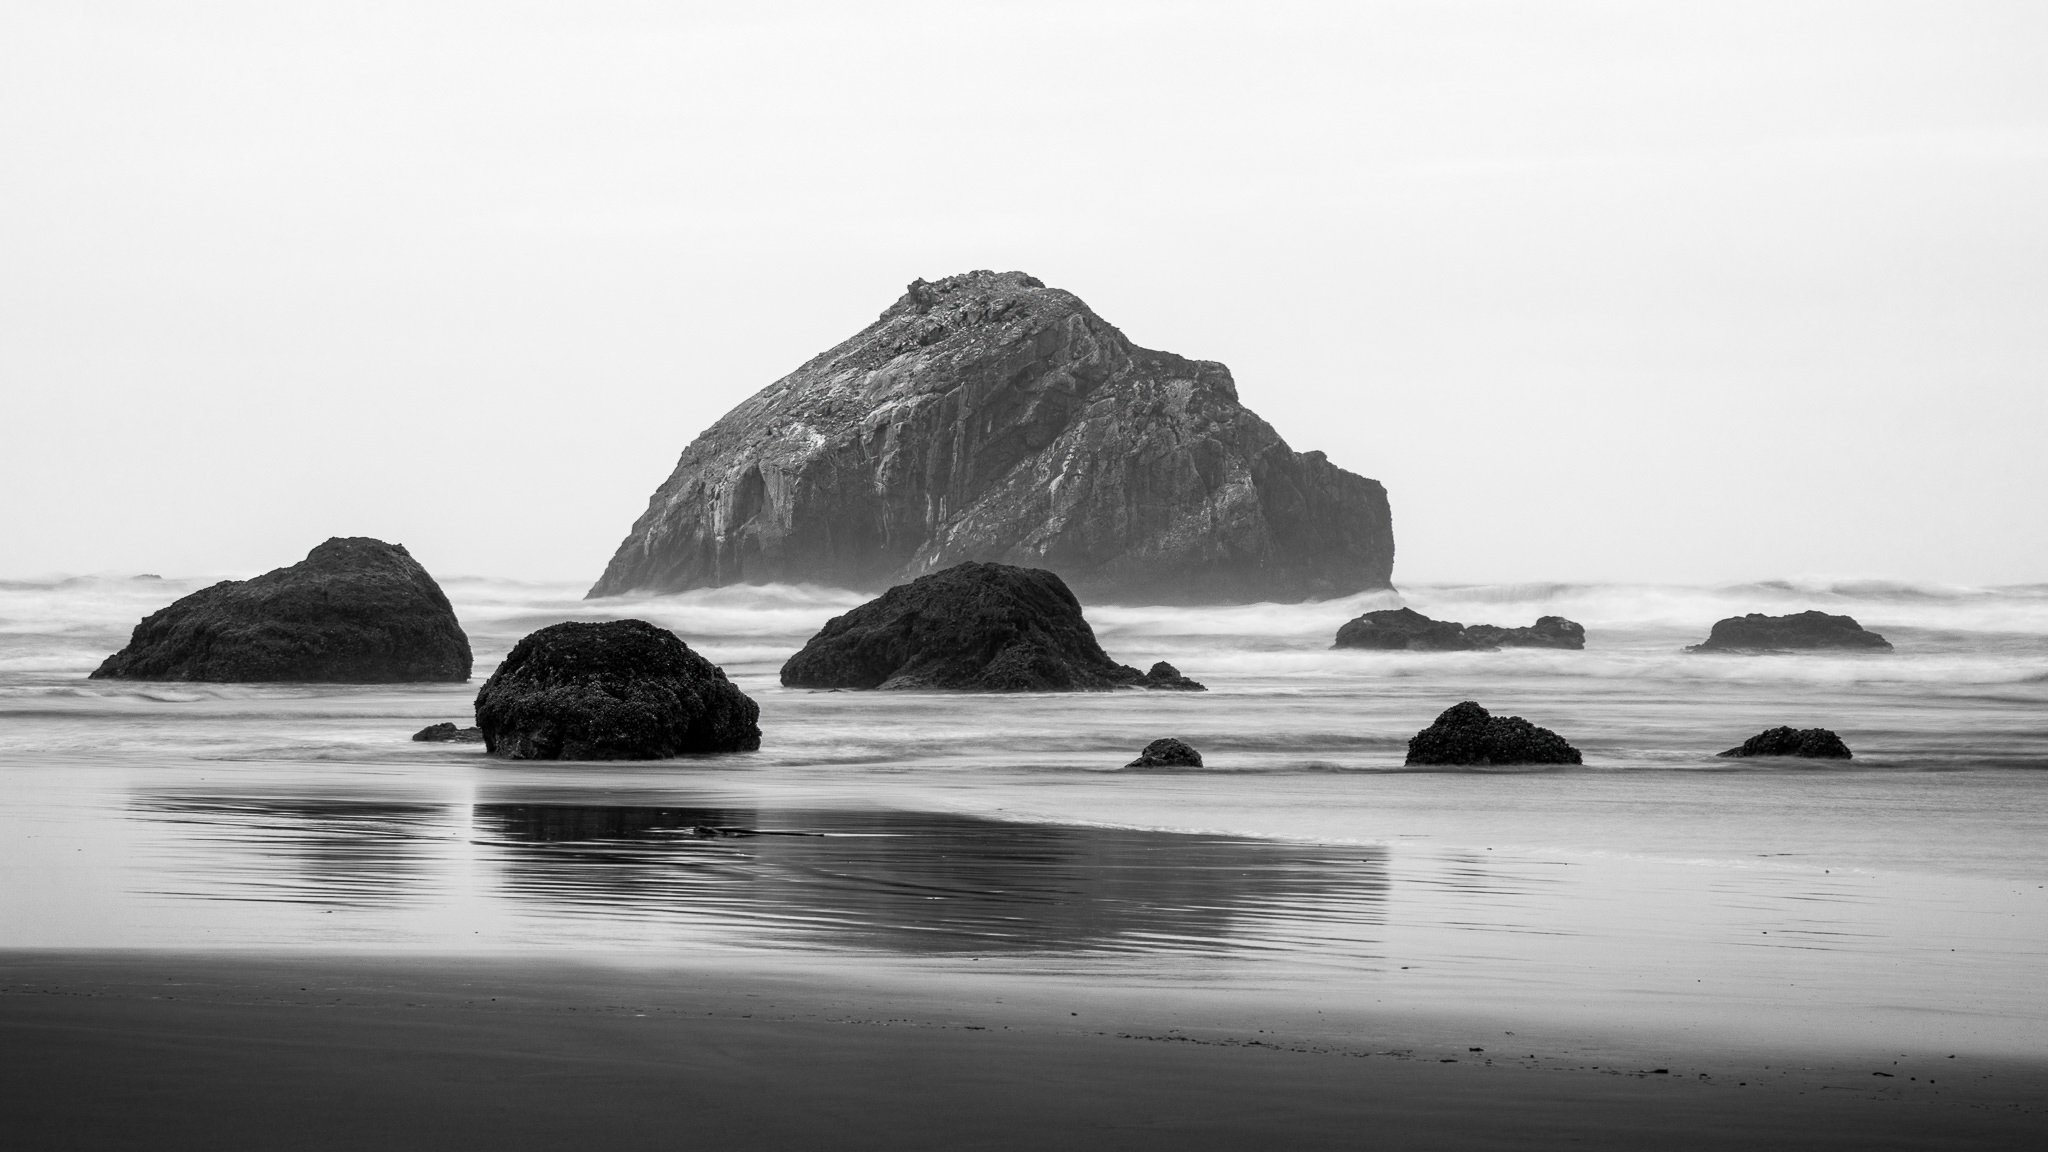


Supercharge your dodging and burning by intersecting a luminance range mask with a brush. Get professional-grade results with minimal effort.