The Split Tone Filter - ON1 Photo RAW
If you are trying ON1 Photo RAW, the ON1 plug-ins like ON1 Effects or ON1 HDR, or upgrading your ON1 software to a newer version, please consider using my affiliate link. There is no extra cost to you and it helps support ON1 tutorials like this one. Ready to buy? Use the offer code SDP20 at checkout and SAVE 20%!
What Is A Split Tone?
A Split Tone is a two-toned treatment for an image. It is a classic color grading tool. Choose a color tint for the highlights, choose another for the shadows, and set the transition between them. It sounds very simple - and the technique is quite simple.
Yet don’t let simplicity fool you.
A split tone can dramatically change the mood and temperament of your photo. I like using split tones on travel photos, and sometimes landscape photos if the conditions are right. In this article, we look at the the Split Tone filter in ON1 Effects and how to create color gradings with split tones.
The Split Tone Filter Controls
At the top of the Split Tone filter, like with all filters in ON1 Effects, there is an overall Opacity control and several built-in styles. There are several sliders specific to the Split Tone filter:
Hue: Set the color of the tint. There is one Hue slider for the Highlights and a separate Hue slider for the Shadows.
Amount: Set the intensity (or saturation) of the selected hue. Again, there are separate Amount sliders to control the Highlights and Shadows independently.
Balance: Bias how the highlight tint and shadow tint blend together.
Working with the sliders in the Split Tone filter is usually not a top-to-bottom affair. After choosing a Hue for your shadow and highlight tints, it is common to adjust and refine the Amount sliders as you fine-tune the look. As you adjust sliders, watch your photo. The numbers of the sliders don’t matter - the look of your photo does. The Balance slider biases the tinting toward shadows or highlights. Moving it to the left adds more of the shadow tint, and moving it to the right adds more of the highlight tint.
At the very bottom of the filter is a Mode control. This changes the blending mode of the Split Tone. There are even more blending options in the gear menu (just like all filters in ON1 Effects). Most of the time, the Color option is fine. You can audition other modes by hovering over their choices. As with the values of the sliders, there is no correct or incorrect mode for a split tone. Use the one that works best for your image.
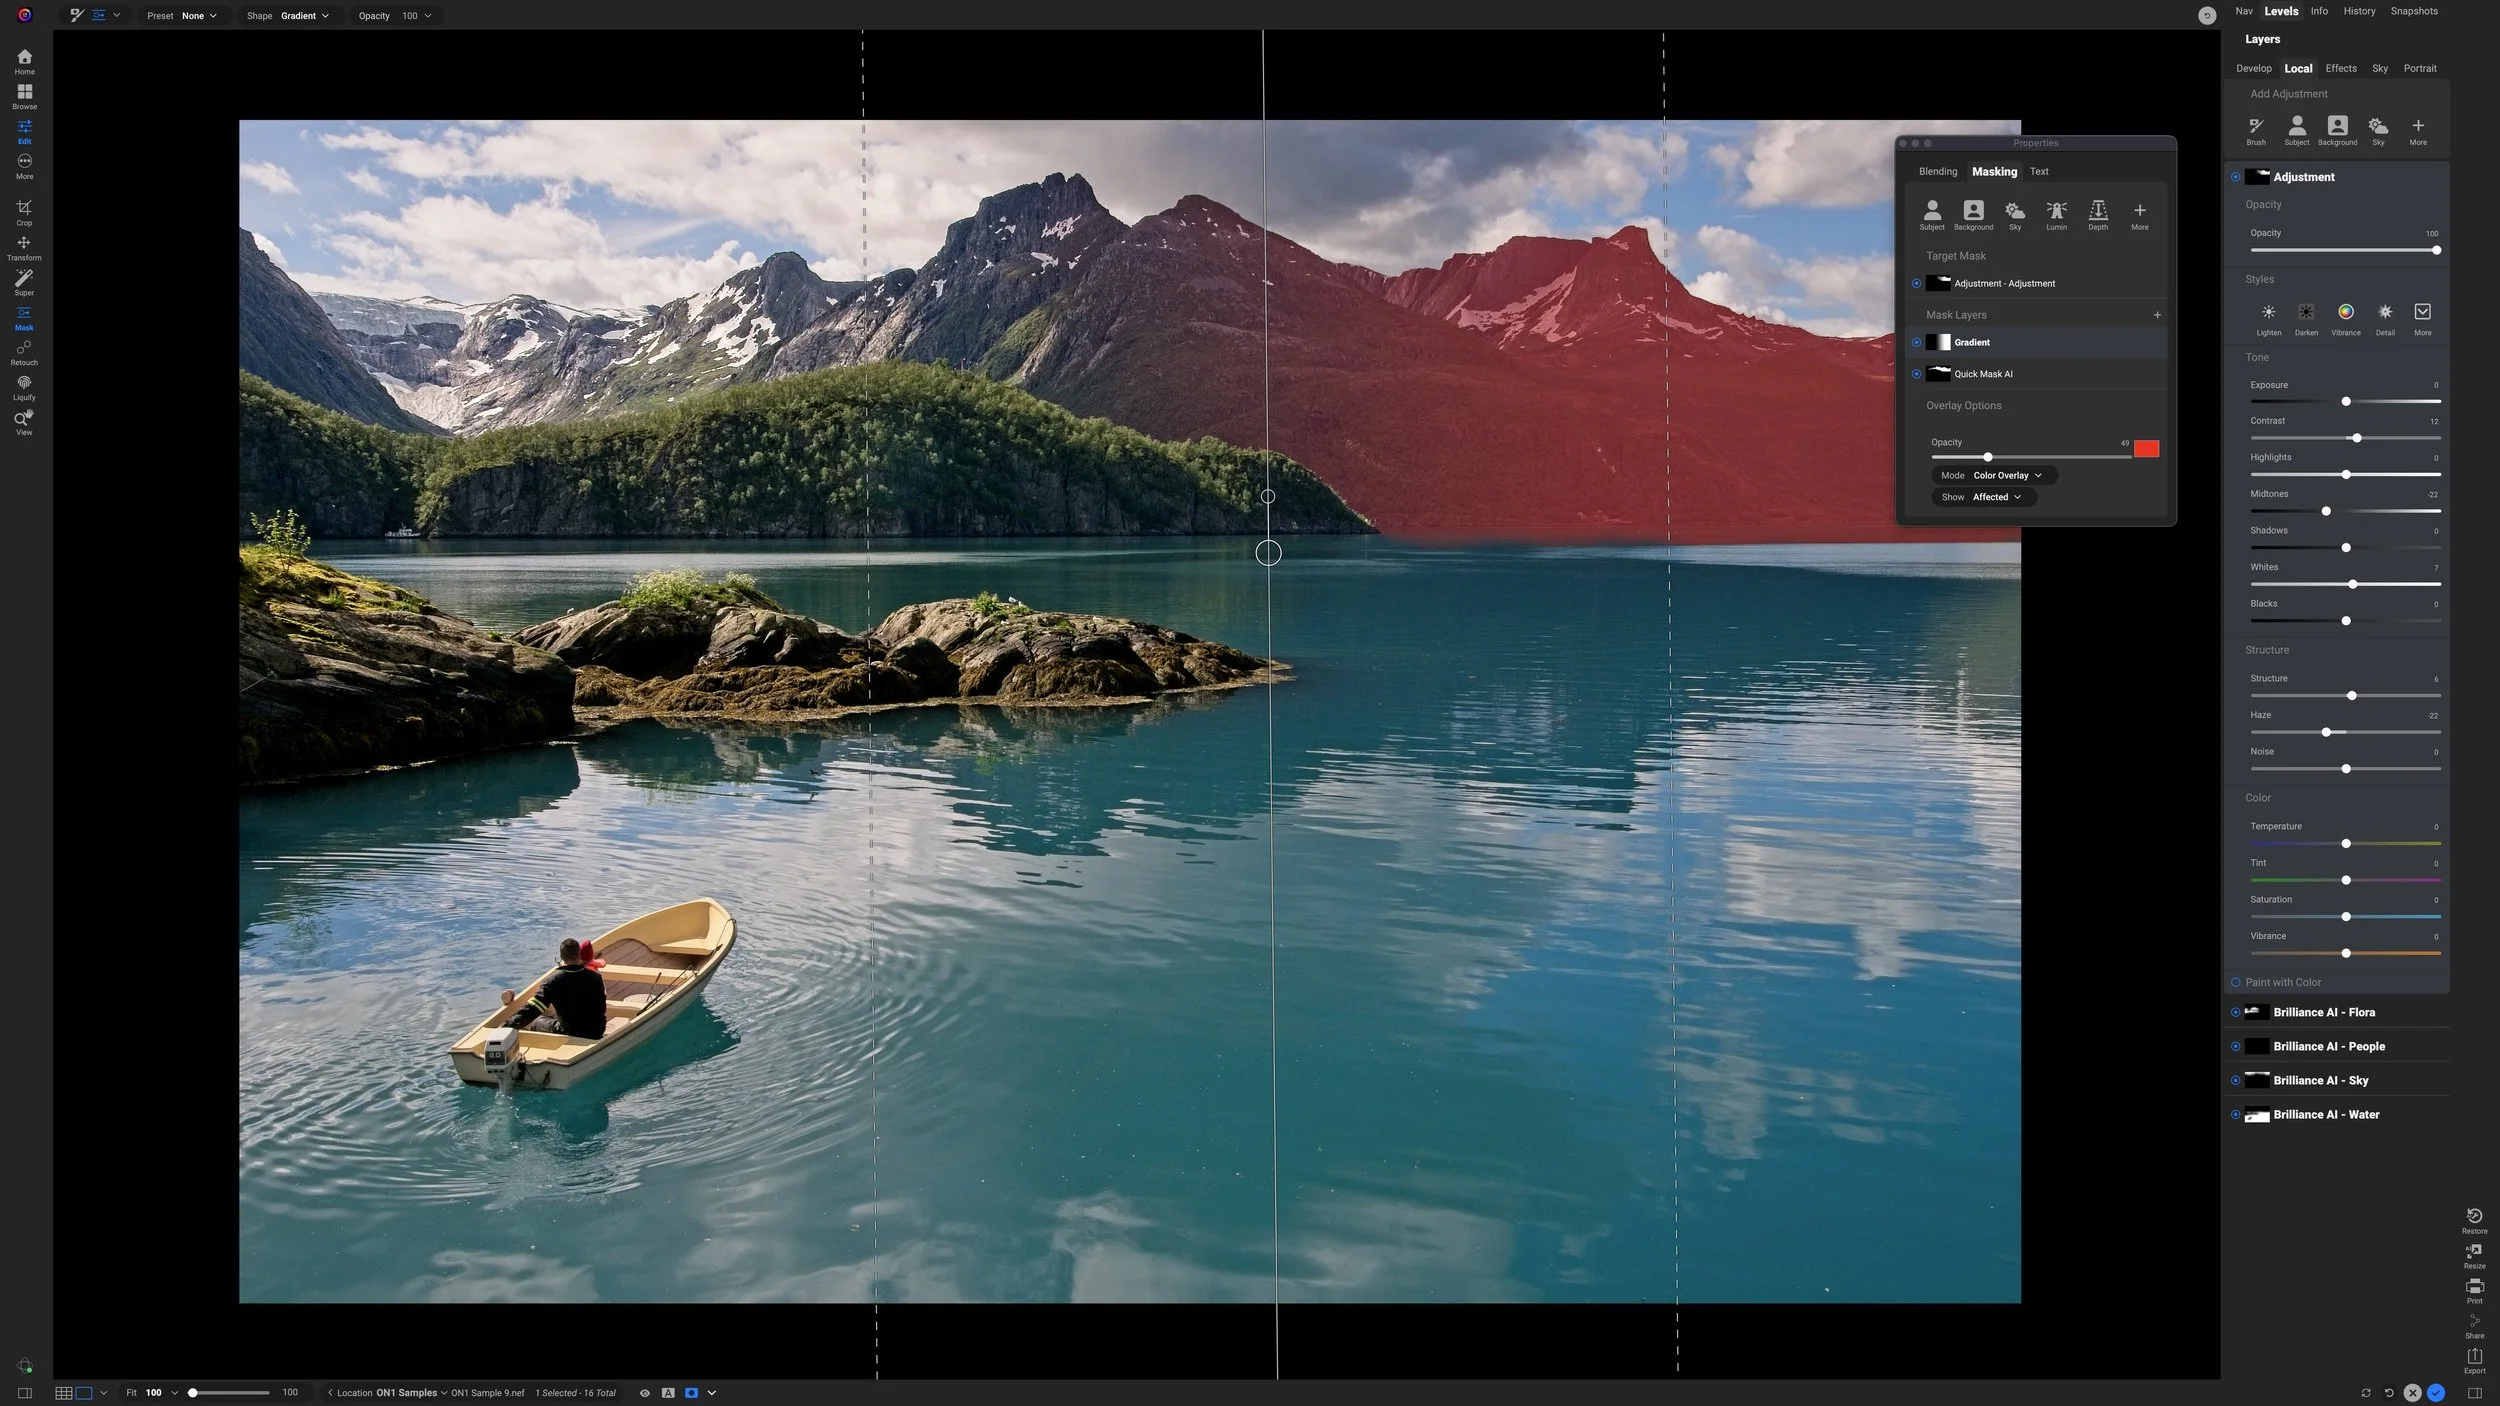
A split tone applies one tint to the shadows and another to the highlight, with a transition between them. Different tonal regions take on a different tint.
Control intensity with the Hue and Amount sliders. Adjust the transition with the Balance slider.
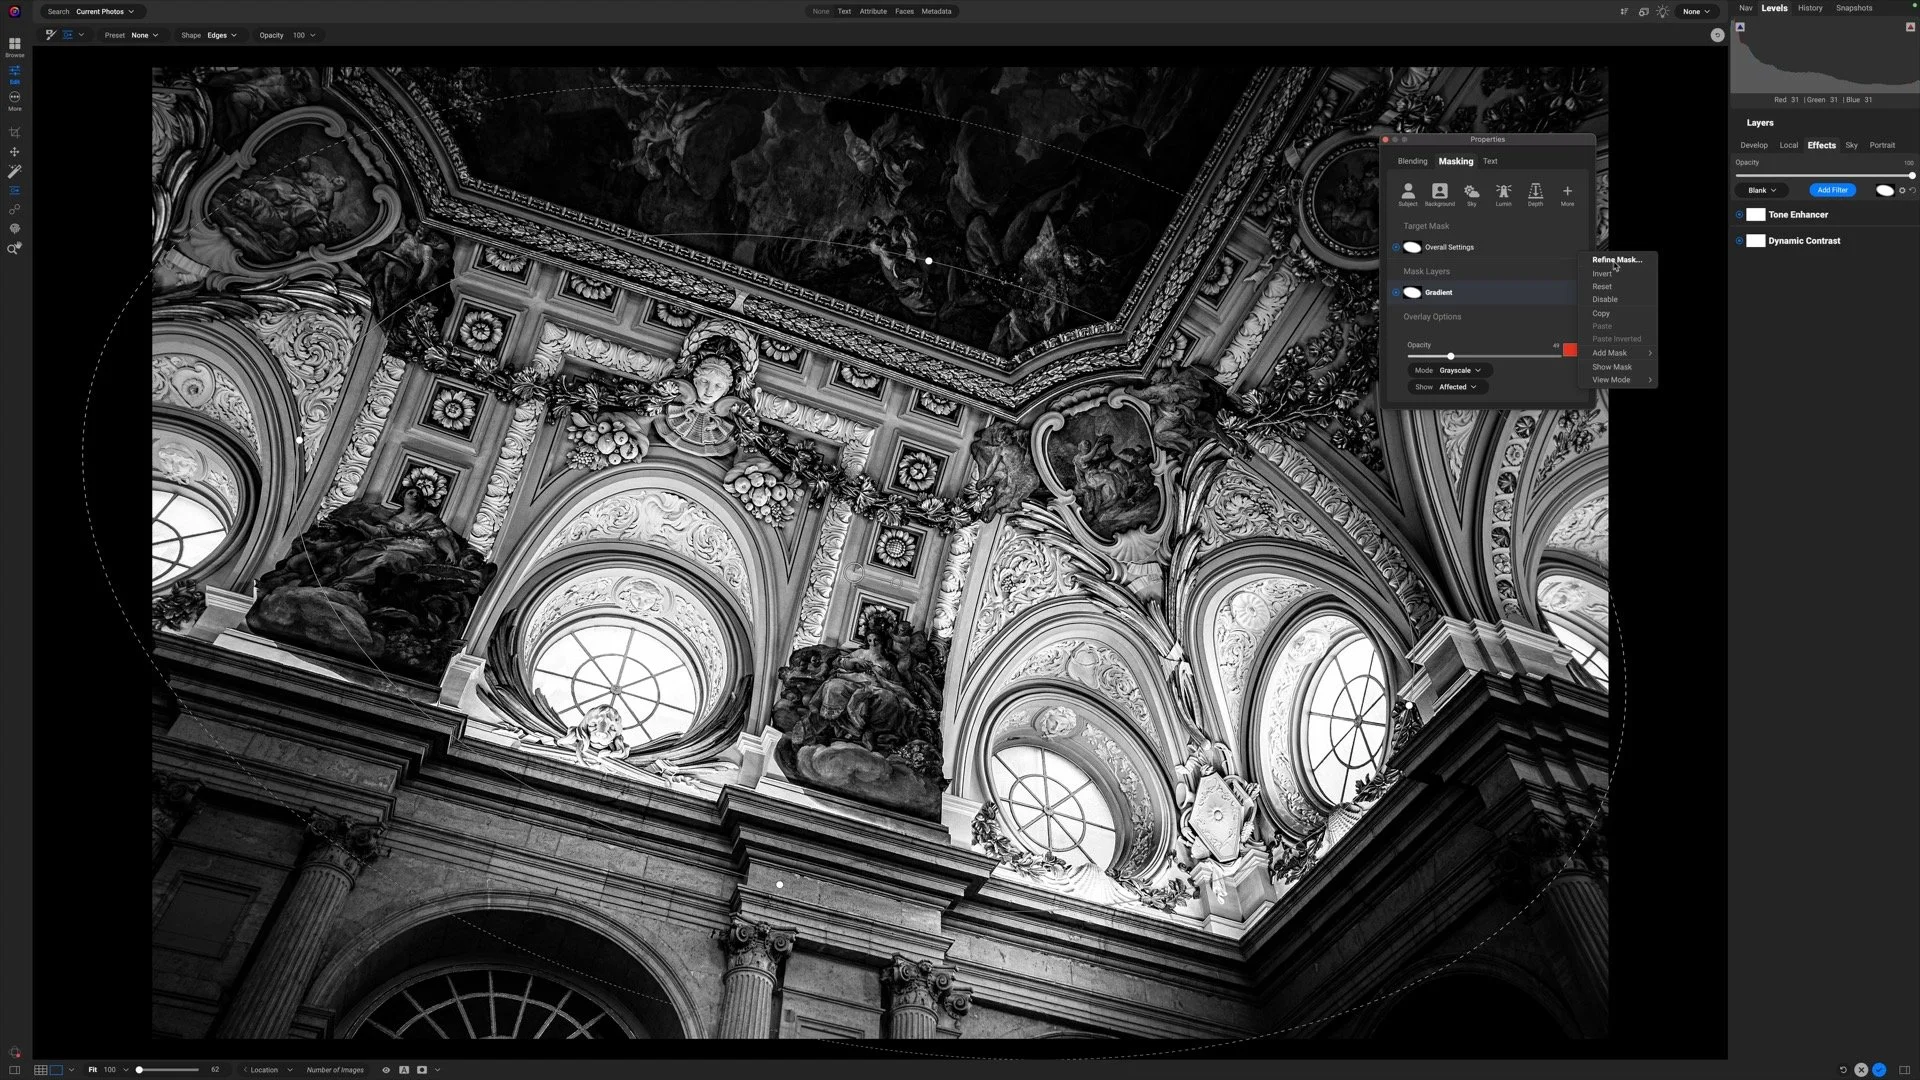
The Mode popup changes the blending mode and can more directly affect shadows or highlights. Notice the shadows are richer in this example compared to the prior screenshot.


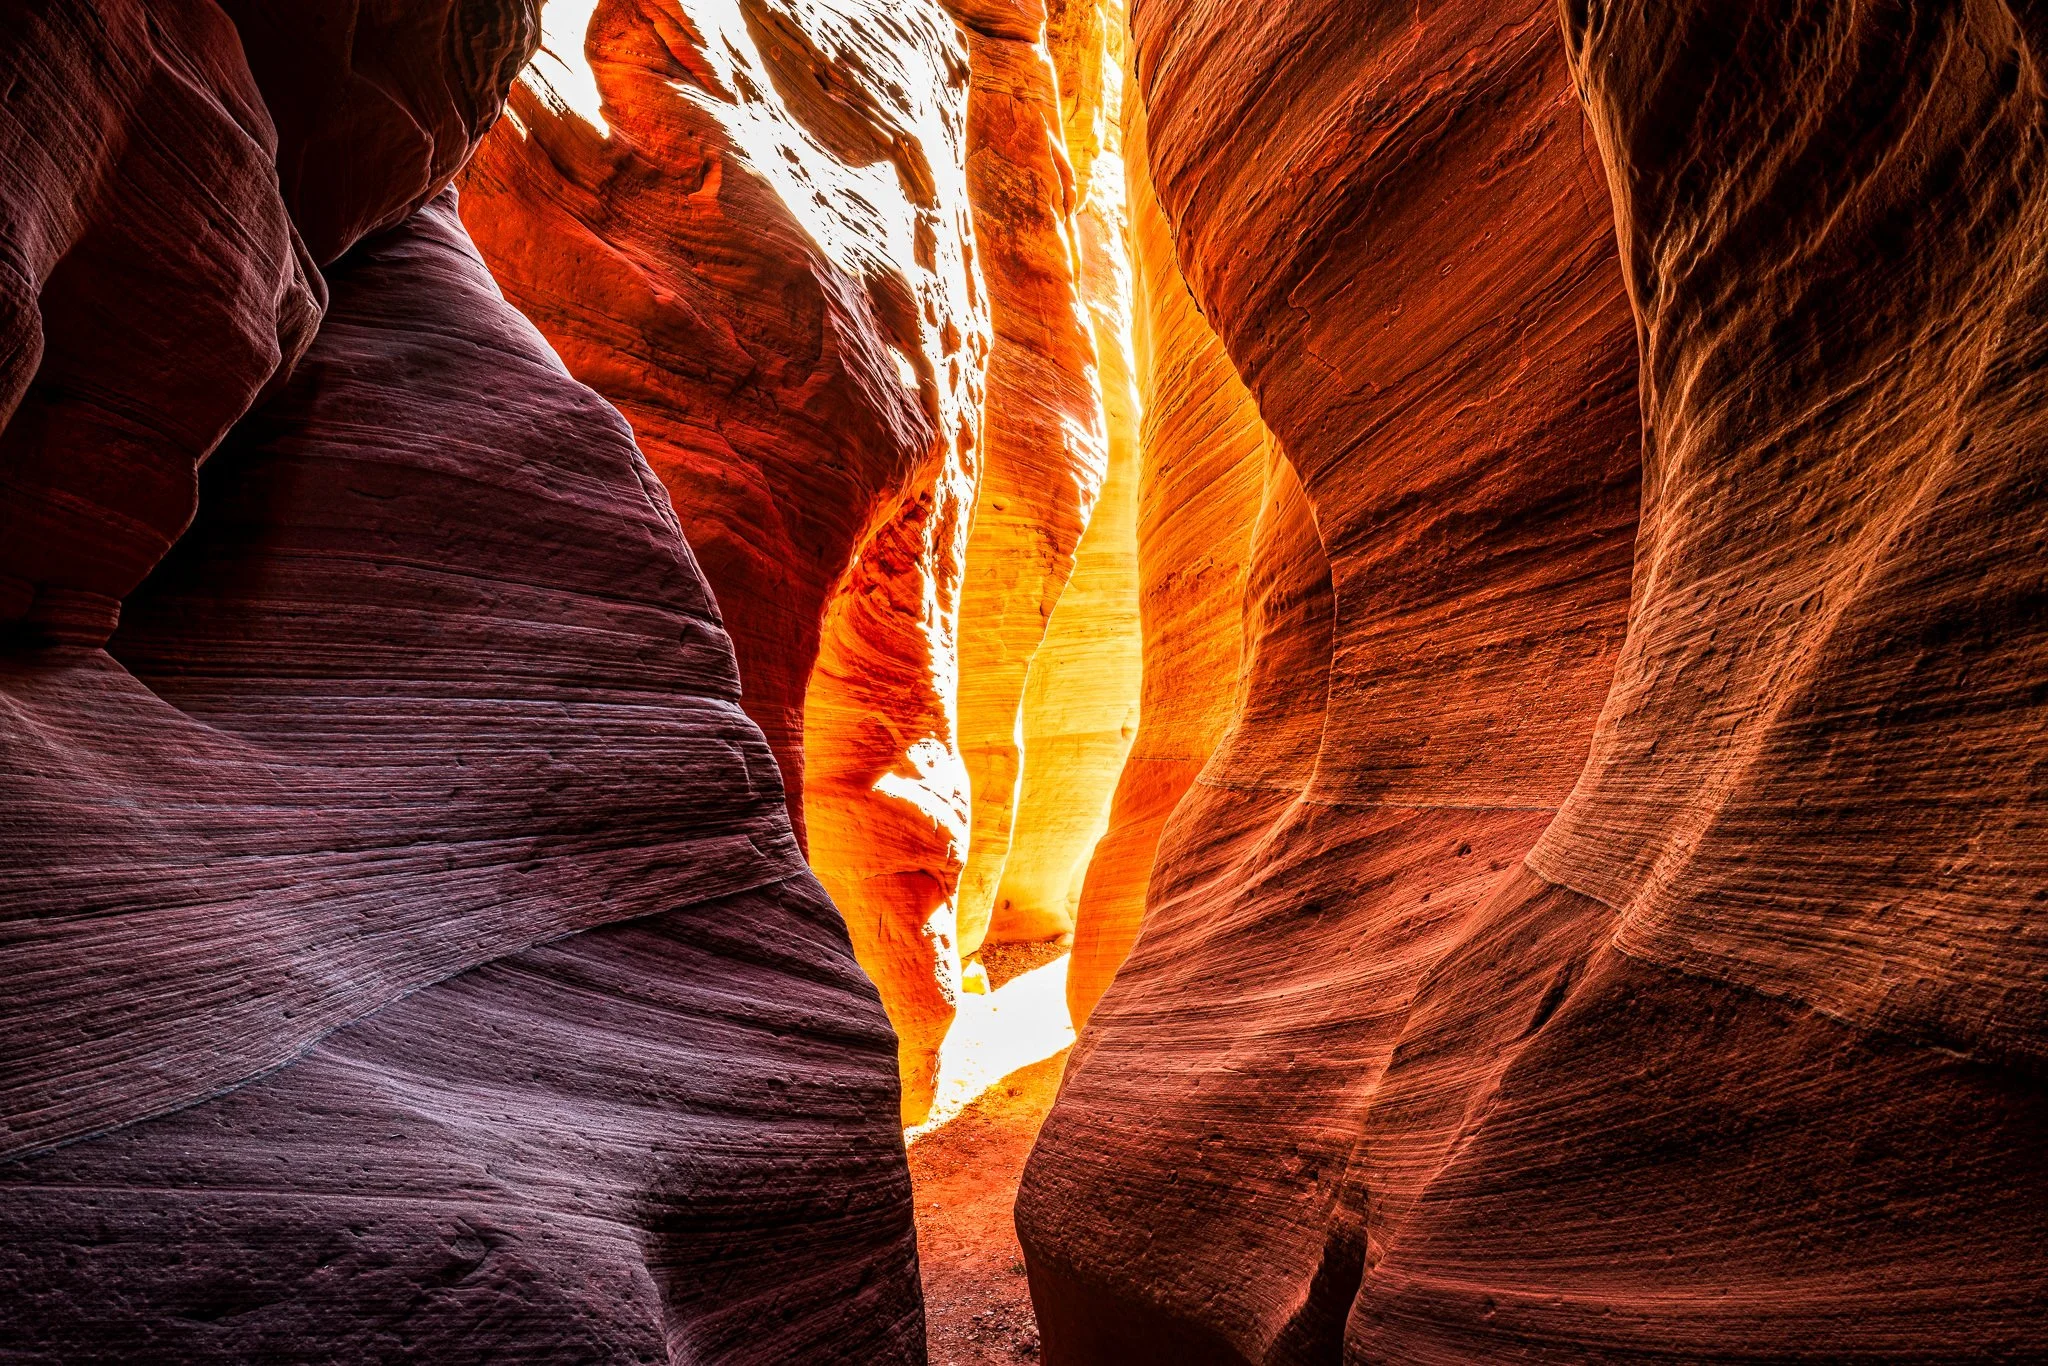
A Classic Warm/Cool Split Tone
A classic split tone look is a warm/cool tone, a warmer tint to the highlight and a cooler tint to the shadows. The default settings for the Split Tone filter is a muted version of warm/cool tinting. You can, of course, modify that to dial in the exact look and feel for your image. The screenshots below show an example of a modified warm/cool split tone treatment. A cool teal Hue is chosen for the shadows and a warm orange Hue for the highlights. Each is set to a moderate Amount and the Balance slider is adjusted to taste to refine the look.
Watch the video at the top of the article to see the process in action.

Pedestrian In The Rain In Florence Italy
Contact Scott to commission a print or license this image.
More Split Tone Ideas
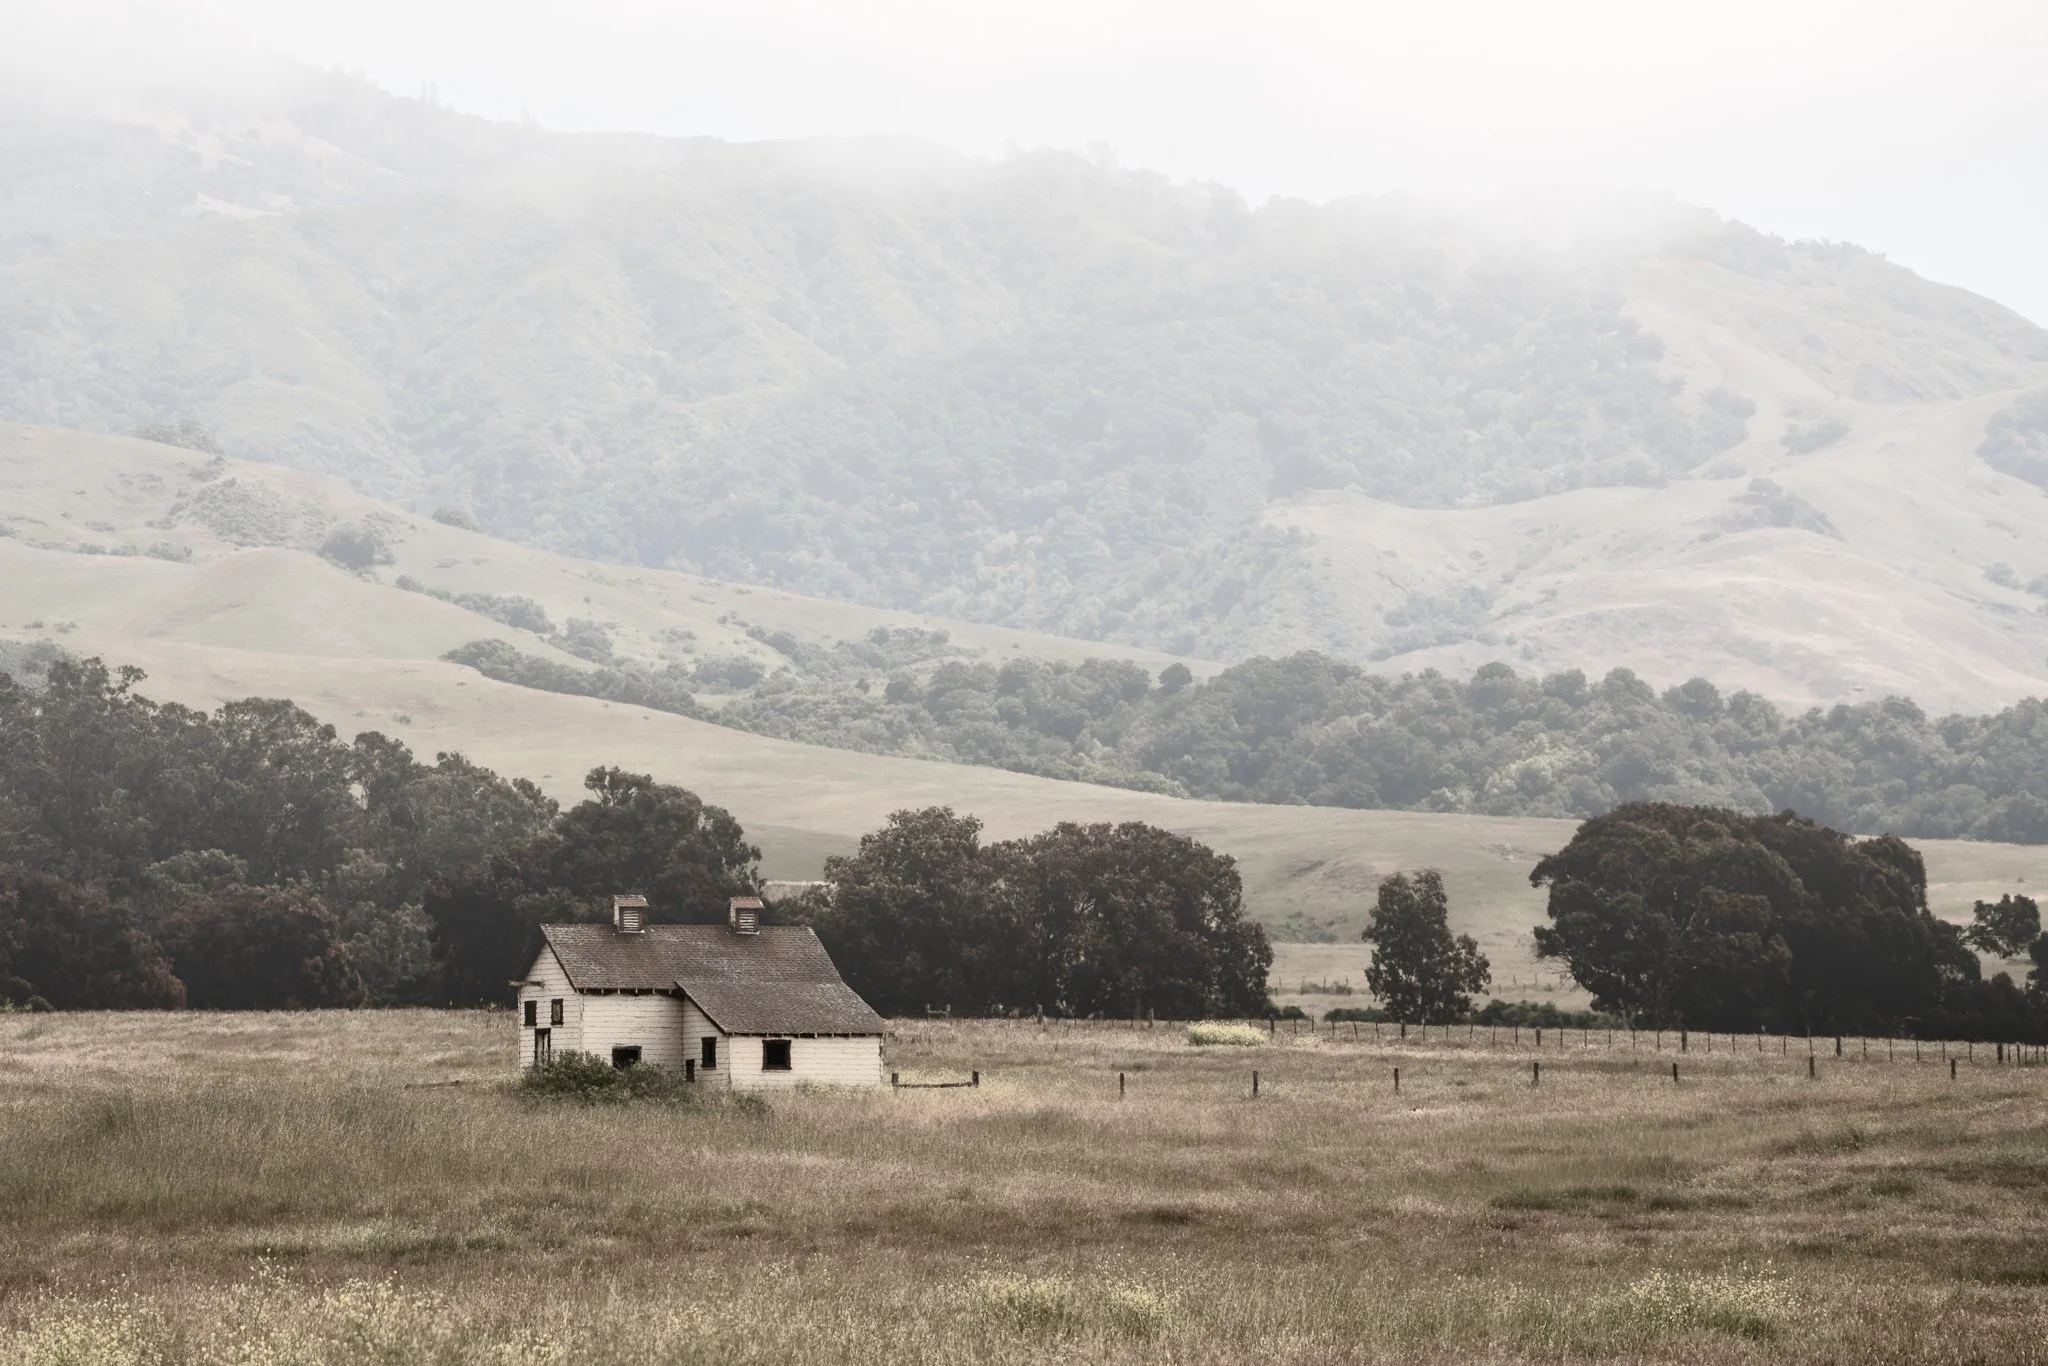
For landscape scenes, photos taken on overcast days are good candidates for a split tone treatment. Split tones can also work well in landscapes with a lot of soft, diffused light. Also, you don’t need to choose colors on opposite ends of the color wheel, like with a classic warm/cool treatment. Try using colors that are more similar in tone for more subtle tinting and gradation through a scene. Lastly, you don’t even need to choose two colors. You can leave the highlights or shadows unaffected by setting its Amount slider to zero.