The Sun Flare Filter - ON1 Photo RAW
If you are trying ON1 Photo RAW, the ON1 plug-ins like ON1 Effects or ON1 HDR, or upgrading your ON1 software to a newer version, please consider using my affiliate link. There is no extra cost to you and it helps support ON1 tutorials like this one. Ready to buy? Use the offer code SDP20 at checkout and SAVE 20%!
A sun flare happens when shooting into the sun or other light source, light a street lamp or flashlight. Sometimes these flares are unwanted. Other times, they add mood and ambiance to a photo. The Sun Flare filter in ON1 Effects gives photographs the tools to accentuate light sources already in a photo or to shape a style and signature look all their own.
The Sun Flare filter (loosely) has four sections of controls:
Flare Selection: choose the type of flare to apply
Tone & Color: adjust the tonality of the flare
Transform: position and scale the flare
Sunshine: adjust your underlying photo
When I work with the Sun Flare, I do not work top to bottom through the controls. I bounce around a little bit. I’ll describe my Sun Flare workflow in this article.
Step 1 - Choose A Sun Flare
There are three types of flares in the Sun Flare filter: Bokeh, Sun Flare, and Sun Star. Select one using the Type popup menu. Within each type, the Texture popup includes a variety of flares to choose from. The Bokeh flares deliver a feeling of photographing past a set of lights close to the camera, or through a pane of glass dotted with water droplets. These often look good on portrait and lifestyle photos. The Sun Flare types are a mix of a traditional looking camera lens flare, with a bright flare and several “sub flares” and directional off-camera flares with a few shafts of light. The Sun Stars are overlays of sunbeams emanating from a singular point of light.
Selecting a flare for your photo is a subjective thing. A general guideline is choosing a flare that makes sense for your scene. For example, a photo captured on an overcast day or in more flat, uniform lighting will likely look better with a Bokeh flare or a diffused Sun Flare. A Sun Star would probably feel awkward because the scene does not have a strong directional light source. Also, when selecting a flare, mind the shape of the flare more than the color or tint of the flare. You can adjust the tonality of the flare later.
Step 1 - Choose a sun flare that suits your photo. You can audition the types of flares by hovering over them in the popup menus.
Step 2 - Use the Transform controls to position the sun flare overlay on your image.
Step 2 - Position The Sun Flare
Next, jump down to the Position controls. In almost every scene, the flare needs to be repositioned slightly. The Scale slider increases the size of the flare overlay and the icons beneath the slider allow you to rotate the flare in 90-degree increments and flip the flare horizontally and vertically. Fit to Canvas is selected by default, which scales the flare to fit your photo size. You can turn off this option, although be aware if your original photo is smaller and the flare overlay is large, not all of the flare. may appear in the frame. Also note the crosshairs next to the Transform label. Click this and then drag the flare around your photo to reposition it.
Pro Tip - When using the crosshairs, zoom out with Command-minus (macOS) or Control-minus (Windows) to more easily adjust the position of the flare.
My suggestion is to use the icons to rotate and flip the flare until it is close to where you want it. Then use the crosshairs to refine the position as needed.
Step 3 - The Tone & Color controls adjust the tonality of the flare. Refine the flare to better match the coloring of your scene.
Step 3 - Adjust The Sun Flare Tonality
Once the flare is positioned, go to the Tone & Color controls and adjust the tonality of the flare to best match your image. There are three controls:
Brightness: Increase or decrease the brightness of the flare.
Saturation: Enrich or mute the color of the flare.
Hue Shift: Adjust the color tint of the flare
The flare in the overlay has its own brightness and color intensity. These controls let you alter the flare to better suit your scene. For example, you can desaturate a warm flare to better suit a cooler toned photo.
You can also more radially re-tint a flare for stylistic purposes.


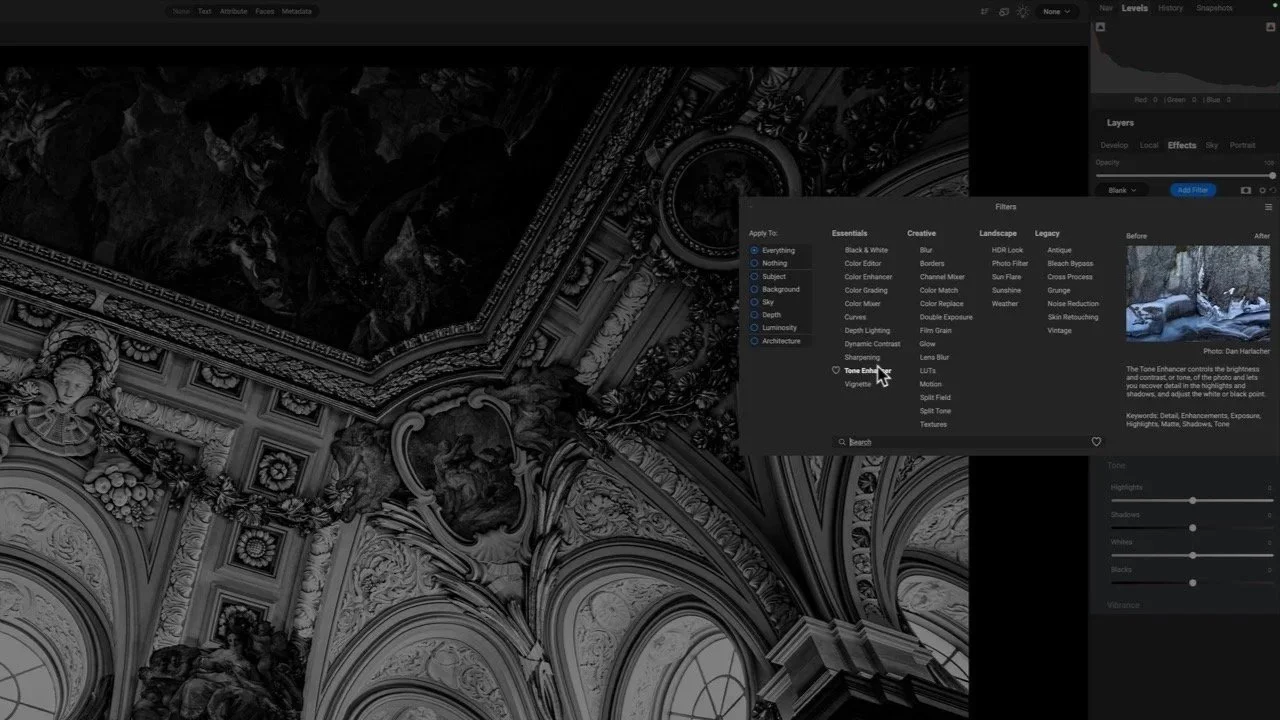
Step 4 - Add Sunshine
Another area to refine the look is the Sunshine controls. These are similar to the Sunshine filter in ON1 Effects. Sunshine adds warmth and optionally a soft glow to a photo. Colors are enriched a little and contrast gets a pop. The results are similar to a scene with golden sunlight.
Amount: Adjust the amount of Sunshine to add to the photo.
Warmth: Adjust the temperature of the photo.
Saturation: Enrich or mute the color in the photo.
Fade: Add haze and open the shadows, washing out colors.
These controls modify your photo and do not modify the flare itself.

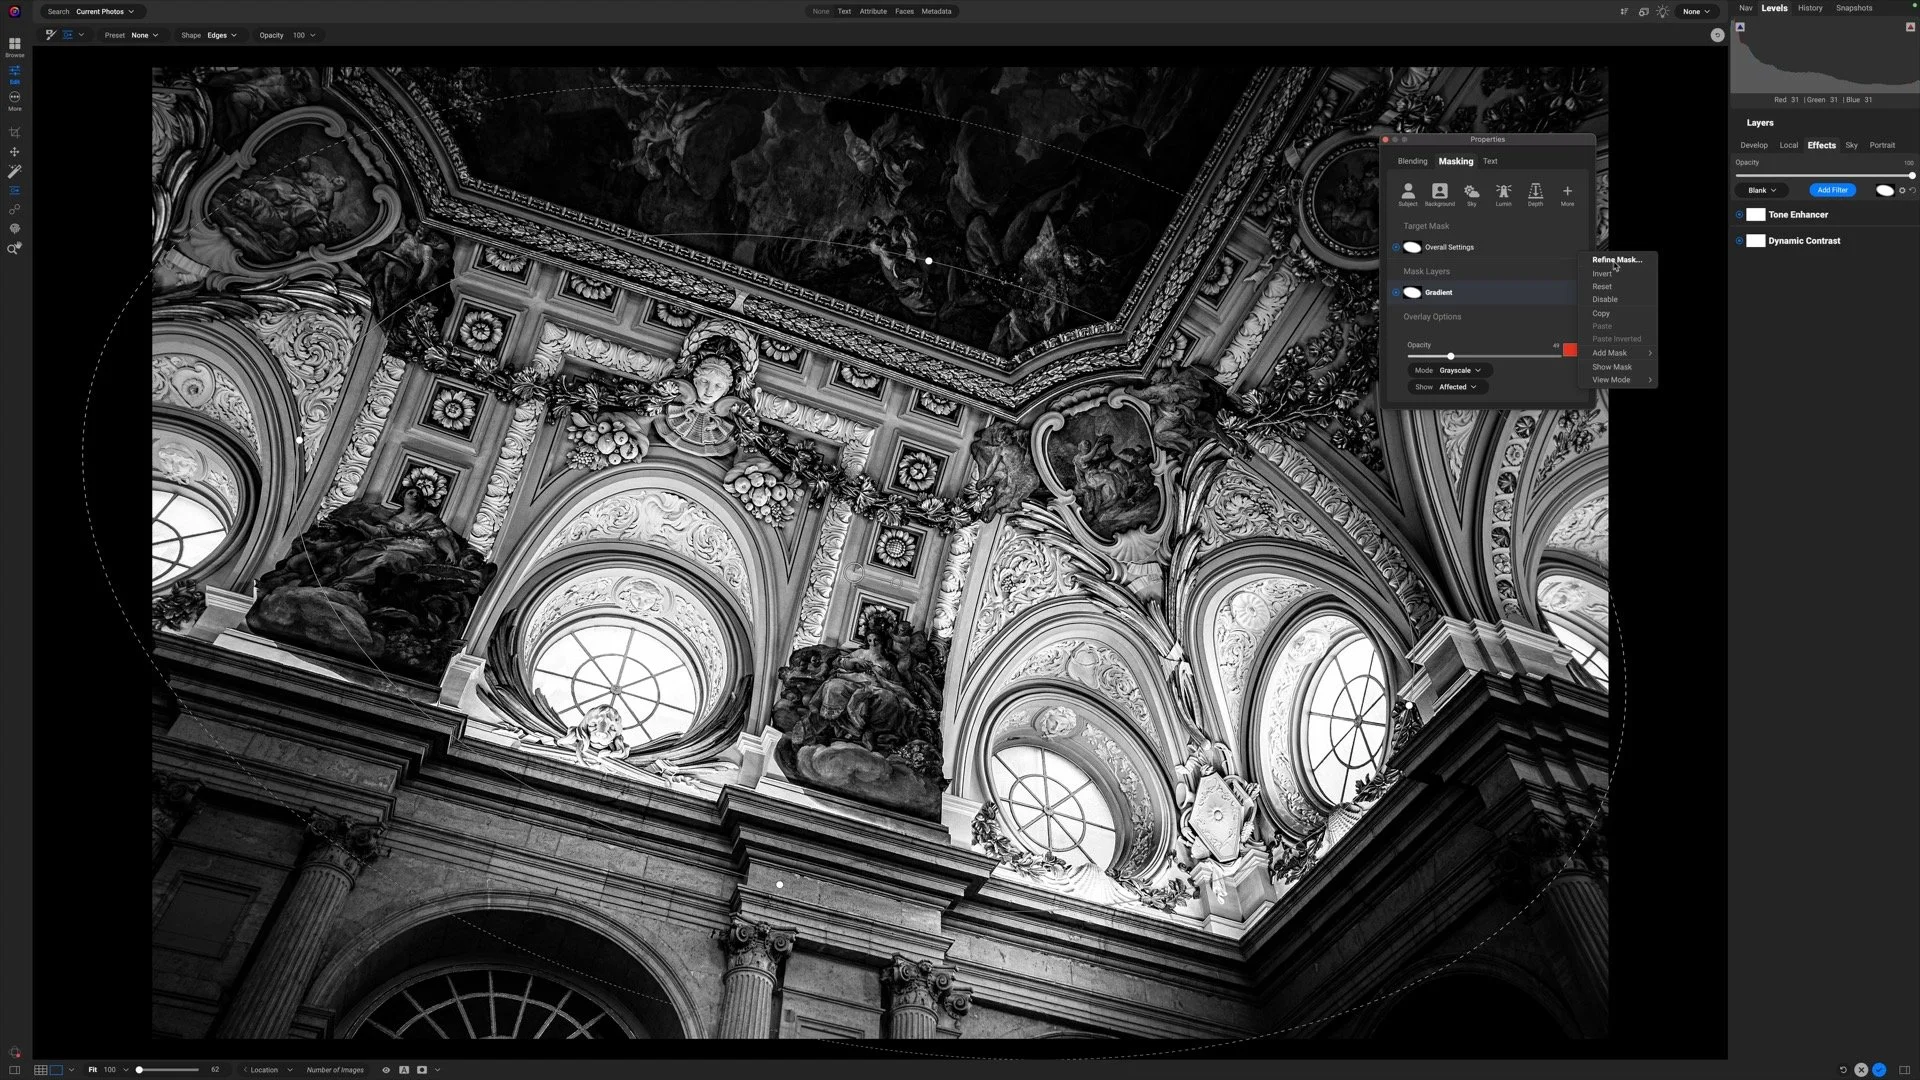
A Luminosity Mask is a convenient and easy way to naturally blend a Sun Flare into a landscape scene. Also use the Density control in the masking area.
The one-two punch of a Luminosity Mask with a partial Density works wonders with the Sun Flare filter.
Step 5 - Refine With The Masking Tools
Don’t overlook the power of the masking tools. Use the masking tools in ON1 to refine the sun flare, downplay segments of it, or have it better blend with your scene. A one-two punch recipe I use with my landscape photos is to first apply a Luminosity mask to the Sun Flare filter, then lower the Density of the mask to a partial strength. The result is a nuanced and natural blend of the sun flare with my photo.

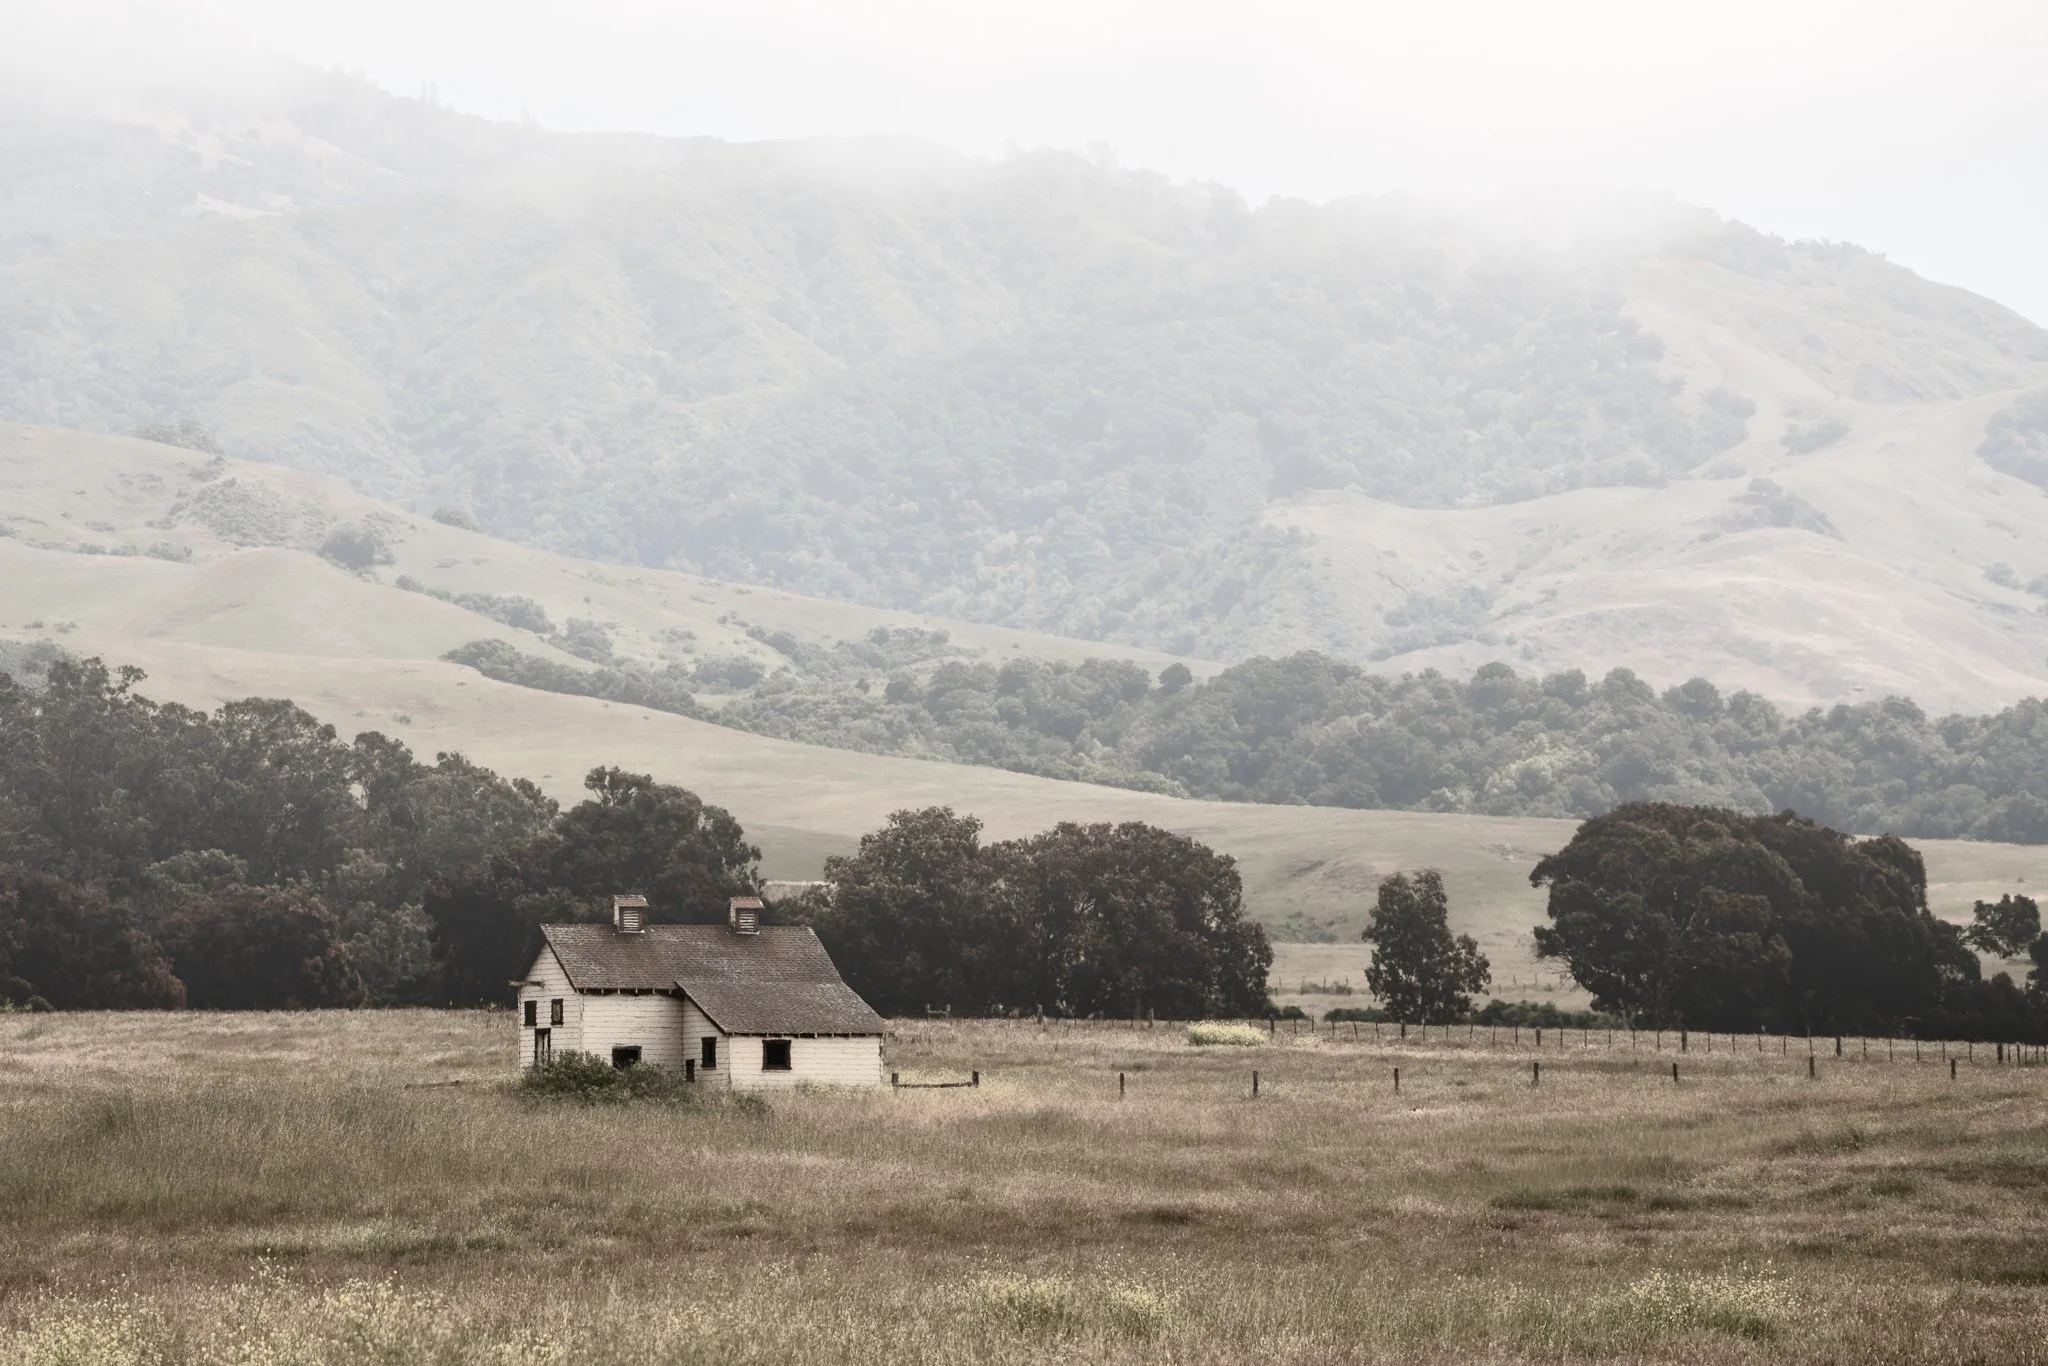
Selectman's House Acadia National Park Maine
Contact Scott to commission a print or license this image.
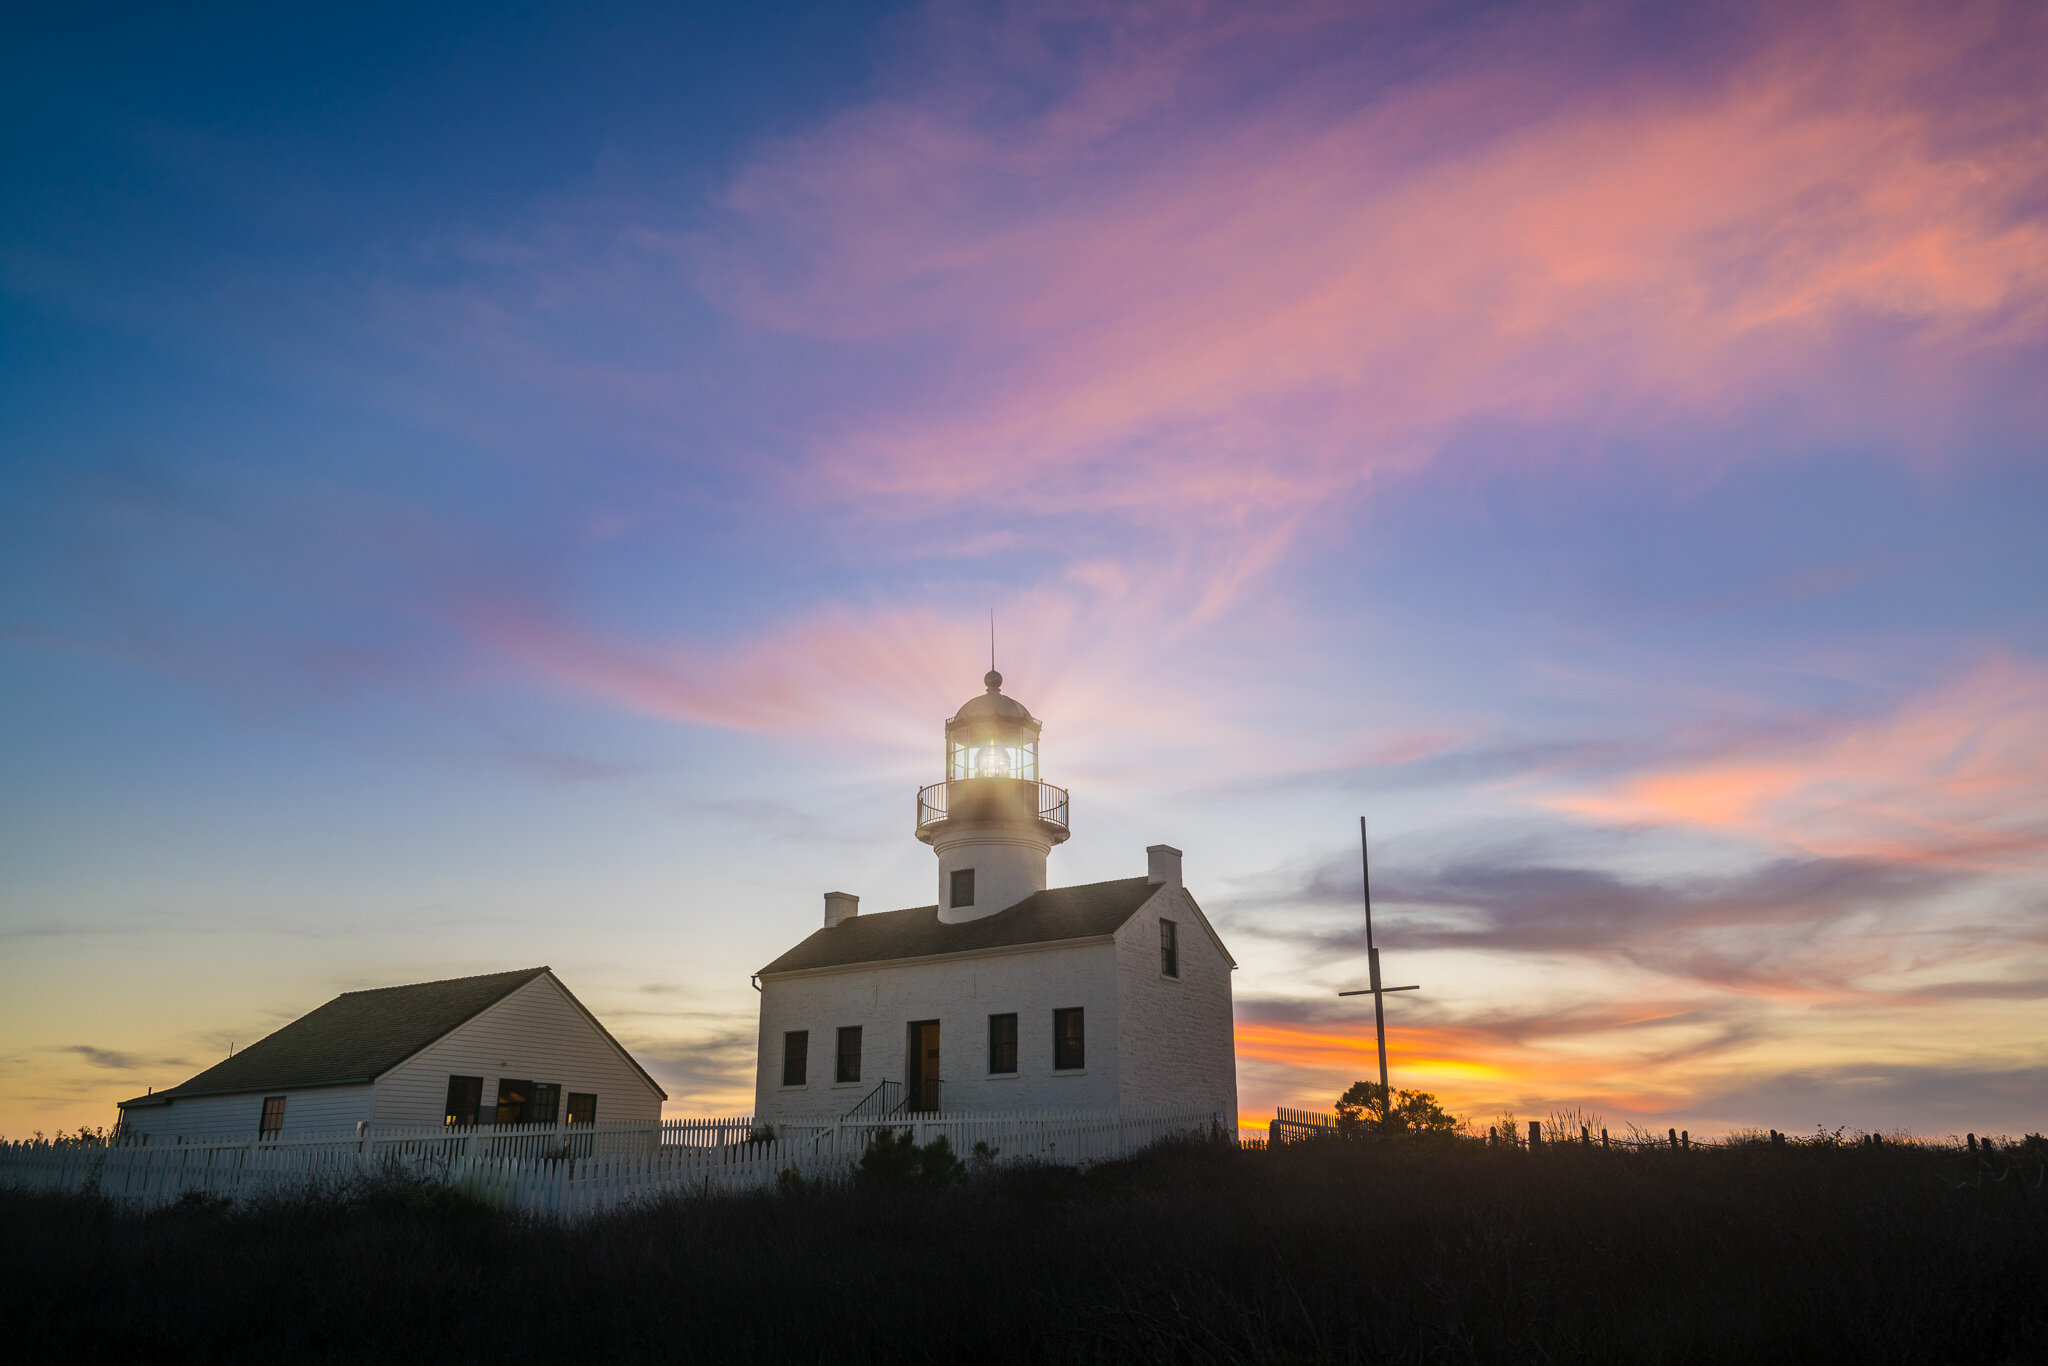
Point Loma Lighthouse At Sunset
Contact Scott to commission a print or license this image.