The Curves Filter Explained - ON1 Photo RAW 2021
If you are trying ON1 Photo RAW 2021 or upgrading from a prior version, please consider using my affiliate link. There is no extra cost to you and it helps support Photo RAW tutorials like this one. Ready to buy? Use the offer code SDP20 at checkout and Save 20%!
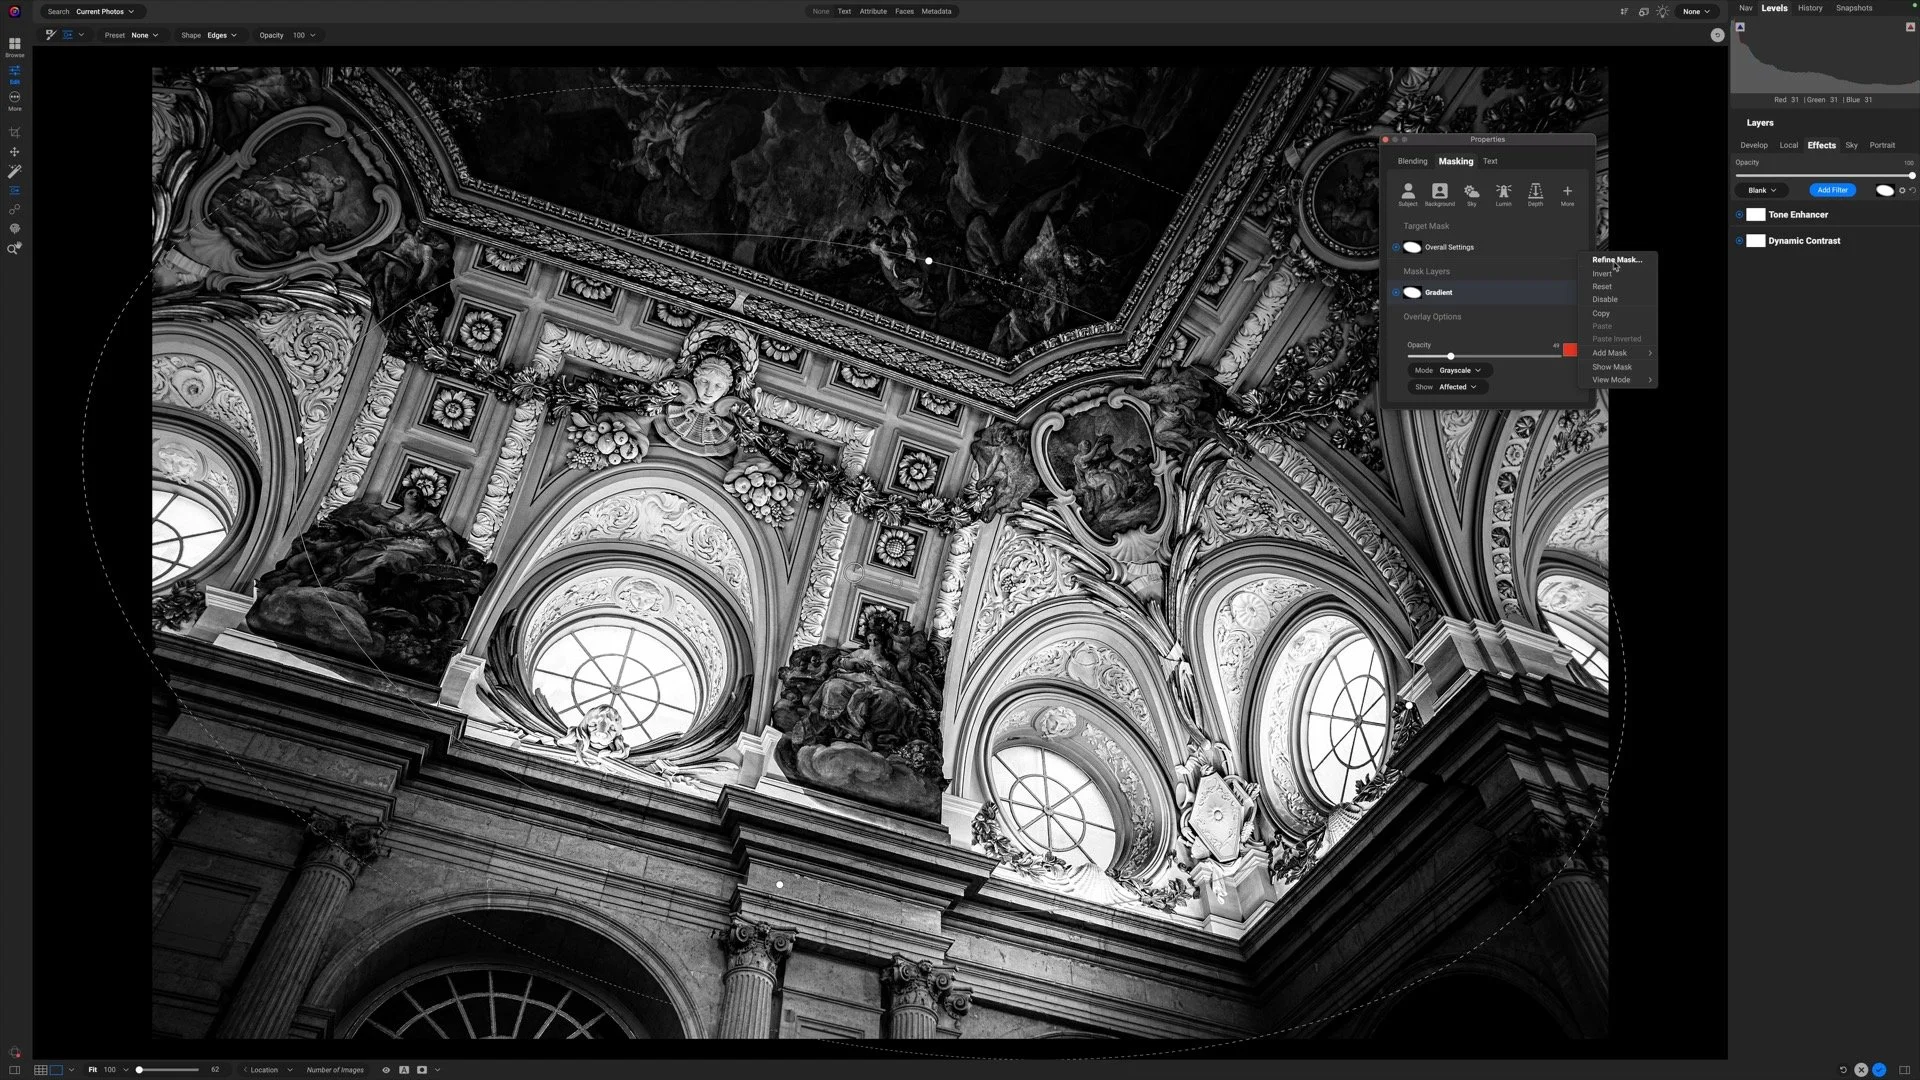
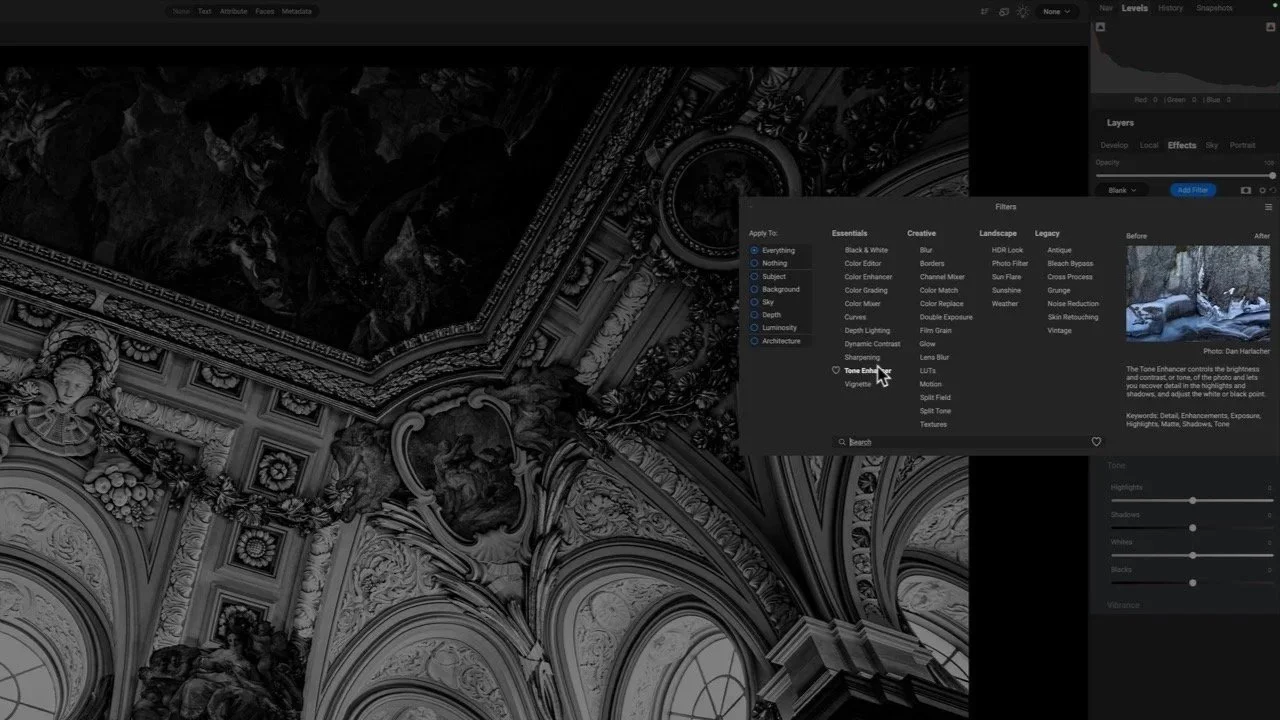
A Curves tool is a classic tool for photo editing. Why? Because curves controls are so versatile. The Curves filter in ON1 Photo RAW puts you in control. You can adjust light and shadow with extreme precision in Curves. You can make creative color grading or fix color casts with Curves. Partner a Curves tool with the powerful masking and blending options in ON1 Photo RAW and you have immense power packed into a single filter in Effects.
A powerful tool like Curves comes with a little bit of a learning curve (sorry … I couldn’t resist!). This article will explain how to read the Curves graph, how it relates to the histogram, and show a few examples of how curves can change the look of your images.
The Histogram in ON1 Photo RAW
The Histogram
If you’re not familiar with the histogram, or need a quick refresher, the histogram shows the spread of brightness levels in your scene. It is a visual distribution of the dark and light tones in your image. The left side of the histogram is the shadows, with the far left edge being pure black. The right side of the histogram is the highlights, and (you guessed it!) the far right edge being pure white. If your photo has clipped shadows or blown highlights, those tones fall off the edges of the histogram.
ON1 Photo RAW presents both the luminance and RGB values in the histogram. White is overall luminance and the colors are the RGB values — the red, green and blue channels. Hover your cursor over your photo and the numeric values at the bottom of the histogram change. The numbers show the RGB values of the pixels beneath your cursor. Other colors that are displayed, such as yellow, cyan and magenta, are where the primary colors mix.
There’s no “correct” or “perfect” histogram shape… it’s all relative to the mix of tones in your scene.
The default Curves filter in ON1 Photo RAW
The Curves Filter
The Curves filter is in the Effects module and added to the filter stack just like any other filter. By default the All tab is selected, which controls tone. Let’s start with tone. Actually, let’s take one step back and answer a fundamental question. How do we read the tone curve?
The lower left corner is pure black and the upper right corner is pure white. These points correspond to the left and right edges of the histogram. The X axis of the Curve is the tonal spread in your image, from black on the left to white on the right. It’s just like the base of your histogram. The Y axis of the Curve is how bright or dark a given tone is. You can think of the “height” of a point on the curve like the peaks and valleys in the histogram. Notice the shading on the X and Y axes. The shading starts at black in the lower left corner and progresses toward white along both axes. That can help you remember the orientation of the tone curve.
By default, the relationship is linear. A middle gray value on the X axis matches that same middle gray value on the Y axis. Curves allow us to change those relationships and increase or decrease brightness of specific tonal regions.
Adjusting The Curve
When I am working with the tone curve, I mentally divide the tone curve into 4 regions — from left to right there’s the shadows, the lower-midtones, the upper-midtones, and the highlights. Changing the curve in the lower left area, for example, will affect the shadows (the far left side of the histogram). You might like 5 regions, or 3 regions. That’s fine. The key point is this:
The Curves controls relate directly to the histogram.
The shadows are on the left and the highlights on the right. Adjusting different areas of the Curves tool affects the corresponding area of the histogram. You can shift a histogram to the left or right, force separation of tonal regions, and even redefine what pure black and pure white mean.
To adjust the curve, click on the white diagonal line. A new control point is added. Click and drag the point anywhere in the Curves filter. First, position it within the tonal region you want to affect (the X axis). Next, raise or lower the control point to brighten or darken the tones in that region. Moving a control point p and/or to the right makes tones brighter, and moving it down and/or to the left makes tones darker.
As you move the point, the once diagonal line takes on a smooth arced shape. It curves, and that’s where the name of the tool comes from. A curve can have many control points.


A Contrast S-Curve And A Matte Look
How about a real-world example. A classic Curves adjustment is a gentle boost of contrast using a so-called S-Curve. The technique is simple. Choose a point in the shadows area and pull it down gently. Choose another point in the upper midtones or highlights area and drag it upward. The tool smoothly connects the points, creating a S-shaped slope.
How about a matte look. This look has a charcoal and chalky feel. Shadows aren’t quite black, they are more a deep gray. Similarly, the highlights aren’t pure white. First, click on the pure black point - yes! you can change this point. Drag the pure black point upward on the Y axis. This redefines pure black to be a deep gray. The shadows open up a little and take on a charcoal tone. Do the same for the white point. Pull the control point in the upper right down the Y axis a little, dulling the brightest highlights to an off-white. You can also apply the same S-curve to a matte look for some additional contrast.
Less is more with curves adjustments. Small changes have a big impact.
Notice the changes in the histogram. In both of these examples, the “valley” in the middle of the histogram got a little deeper. Why? The boost of contrast shifts midtones either more toward shadows or more toward highlights, leaving fewer in the middle. For the matte adjustments, notice the left and right edges of the histogram no longer reach the edges of the histogram base. The black and white points have been redefined by the Curves adjustment.
A classic S-Curve with the Curves filter. Shadows are deepened slightly and upper-midtones are brightened slightly.
A matte look with the Curves filter. Notice the pure black and pure white points have been changed for a charcoal and chalky faded look to deep shadows and bright highlights.
The Color Curves
There are also individual curves for the red, green, and blue channels. Each channel can be manipulated uniquely. The color channels are useful to address overall color issues in your photo or for artistic styling. Knowing your color wheel will help you make the most of the color channels. Each channel controls its namesake color and what's opposite it on the color wheel.
A warm/cool color adjustment using the Blue channel in the ON1 Photo RAW Curves filter
Red: control reds vs. cyans
Blue: control blues vs. yellows
Green: control greens vs. magentas
Raising the curve of a color channel boosts that color in the photo and de-emphasizes the opposite color. For example, raising the blue curve will reduce yellows in the photo. And vice versa. You can raise blues in the highlights and reduce blues (add yellow) in the shadows using multiple control points.
In this example, I set several control points on the blue curve. Notice the blue curve is pulled down in the shadows and lower midtones. This removes blue from the shadowy areas of the scene and, more importantly, adds yellow. The foreground is more in shadow and the grasses take on a warmer, inviting look. Conversely, the blue curve is increased slightly in the upper midtones and highlights, adding extra blue tinting to the sky. The sky is mostly highlights. The additional control points, like the one near the center, provide extra control for the transition from adding yellow to adding blue.
All of that in a single curve control - powerful!
A Twilight Look With Curves
You can do combinations of color adjustments, too. For example, if the red and blue curves are increased, you're amplifying purple (the mix of red and blue). A favorite curves recipe of mine is for a twilight look. For my landscapes, I often like a touch of purple and magenta, those tones we get at the bookends of the day. You can create a twilight look with Curves, using small adjustments to the Red, Green, and Blue curves. Here is the simple recipe:
Raise the Red curve slightly
Lower the Green curve slightly
Raise the Blue curve slightly
That’s it. The result is a lovely twilight look. Under the covers, the increase in Red and Blue amplify purple. The decrease to Green adds magenta, furthering the purple-y twilight look. Remember, curves are a push and pull the named color channel and its opposite color.
You can, of course, modify this recipe and bias the control points more toward highlights or shadows, depending on what makes sense for your photo.
Twilight Curve Step 1 - Raise the red curve slightly
Twilight Curve Step 2 - Lower the green curve slightly
Twilight Curve Step 3 - Raise the blue curve slightly
Curves Are Powerful!
I hope this article gives you a taste of the power of curves. Although there are many other filters in ON1 Photo RAW to adjust contrast and color, the Curves filter still has a place in post-processing workflow. The masking tools and blending options in ON1 Photo RAW are 100% compatible with the Curves filter. Combining the power of curves with targeting masking means you have precision control over the tones and colors in your photos.
And don't forget! You can add multiple Curves adjustments to the filter stack. If you need one type of Curves adjustment for one area of your photo, and a different type for another - no problem! ON1 Photo RAW lets you do that. Have fun!
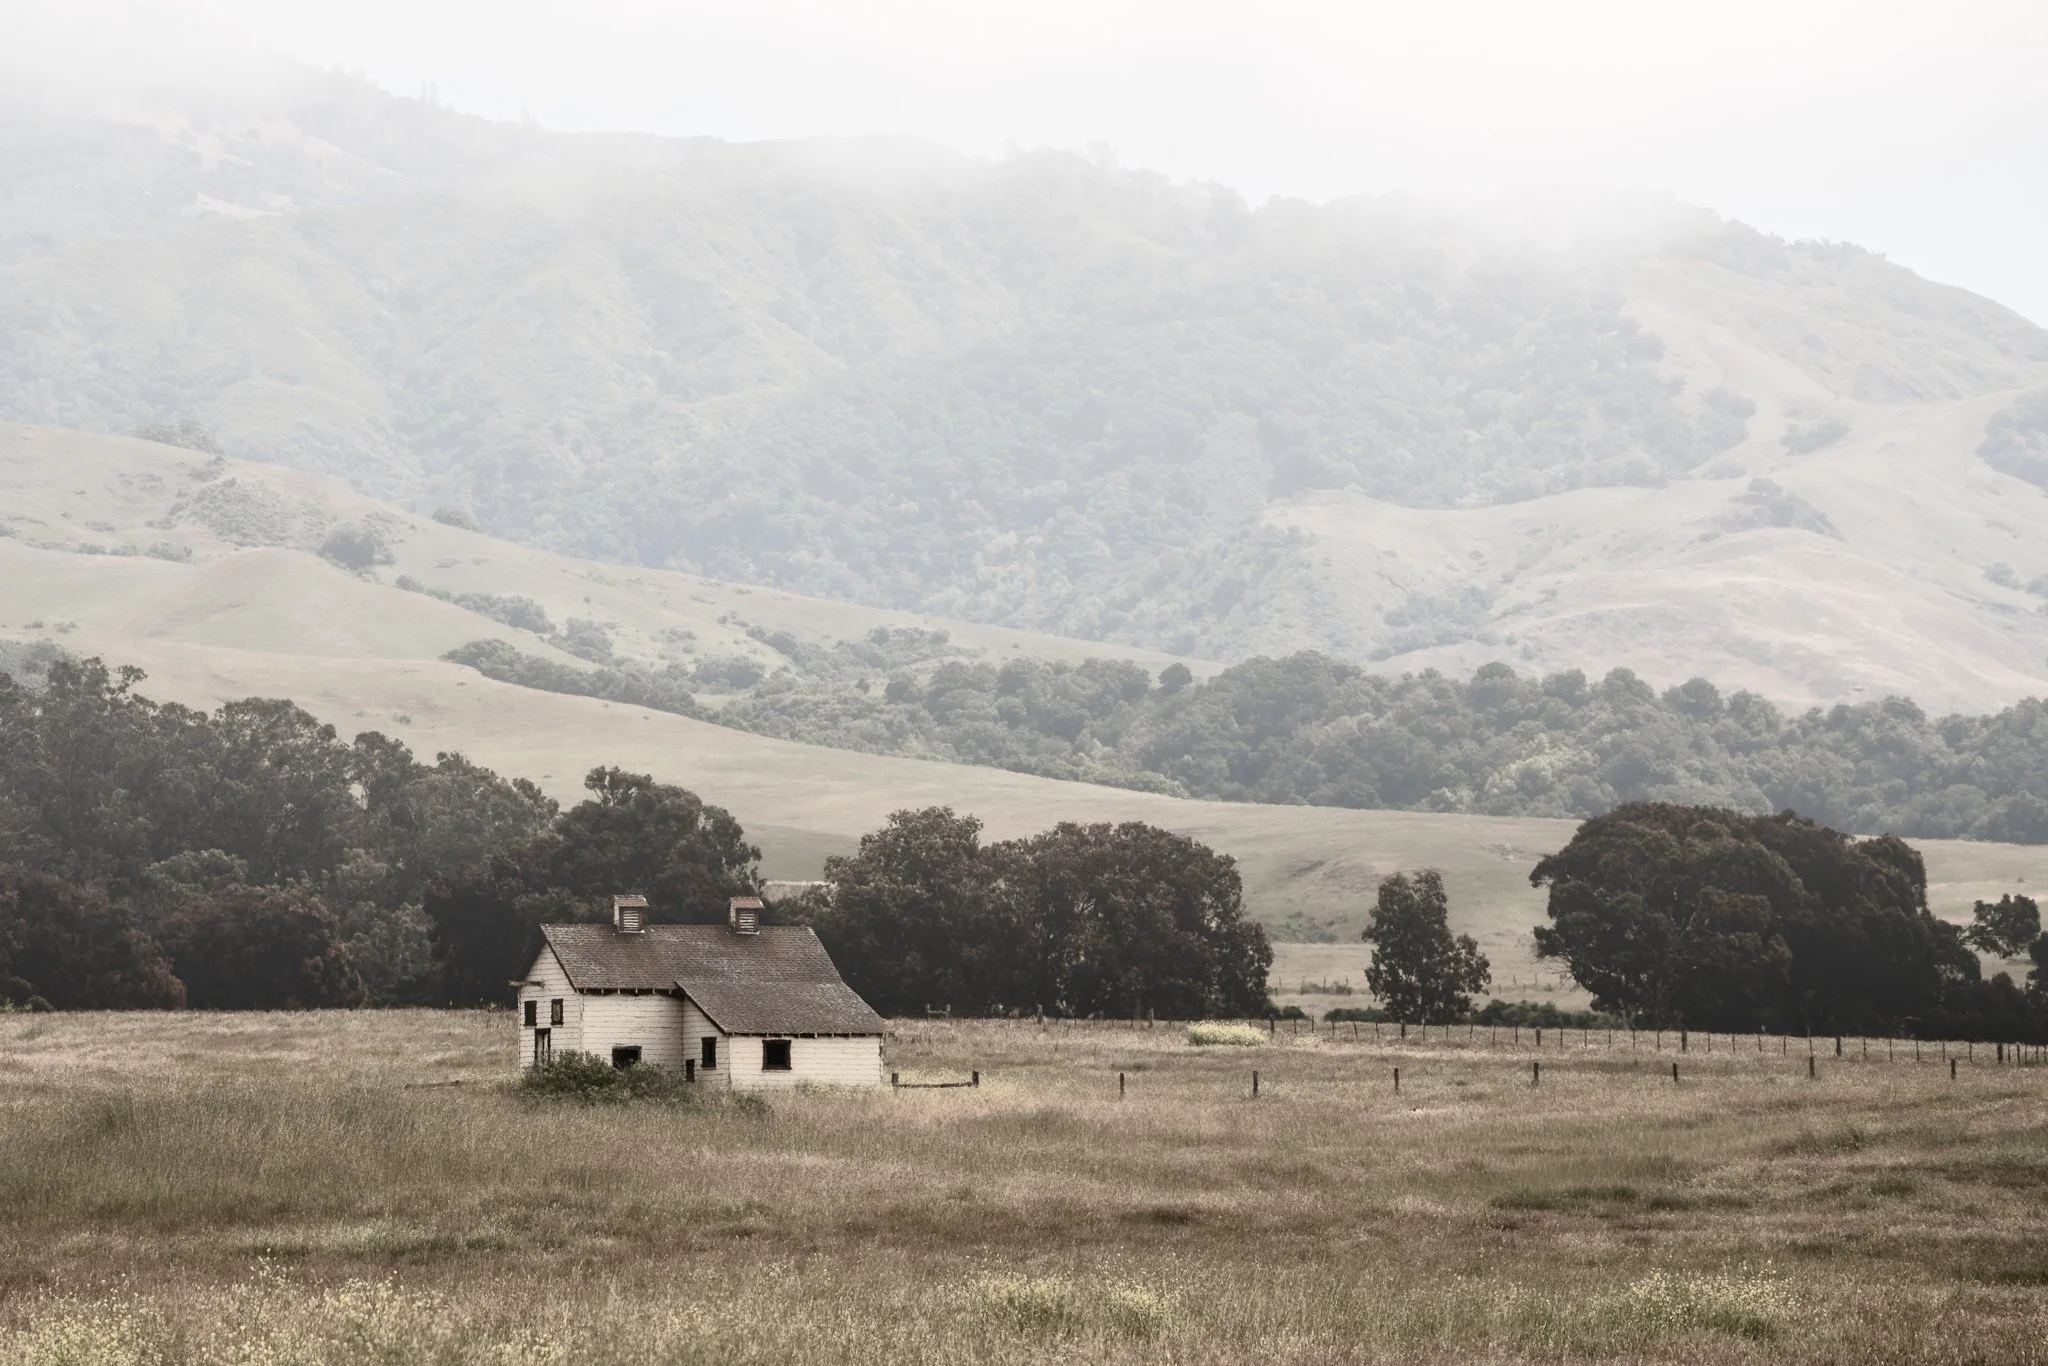
Barn In Iceland
Contact Scott to commission a print or license this image.