
Lone Ranch Beach Black & White
Contact Scott to commission a print or license this image.
I have been spending more time looking at older photos than capturing newer ones of late. It is surprising how the photographic eye changes over the years. I'm finding images in my library that I’d either overlooked or passed by before that now, with fresh eyes - and maybe a tad more wisdom - have merit and are worth finishing in post.
I enjoyed pulling out more contrast, crisper whites, and deeper blacks in this photo of Lone Ranch Beach, from one of my earliest visits to the Oregon Coast. I’m looking forward to this November to host a couple of landscape photo workshops in Oregon.
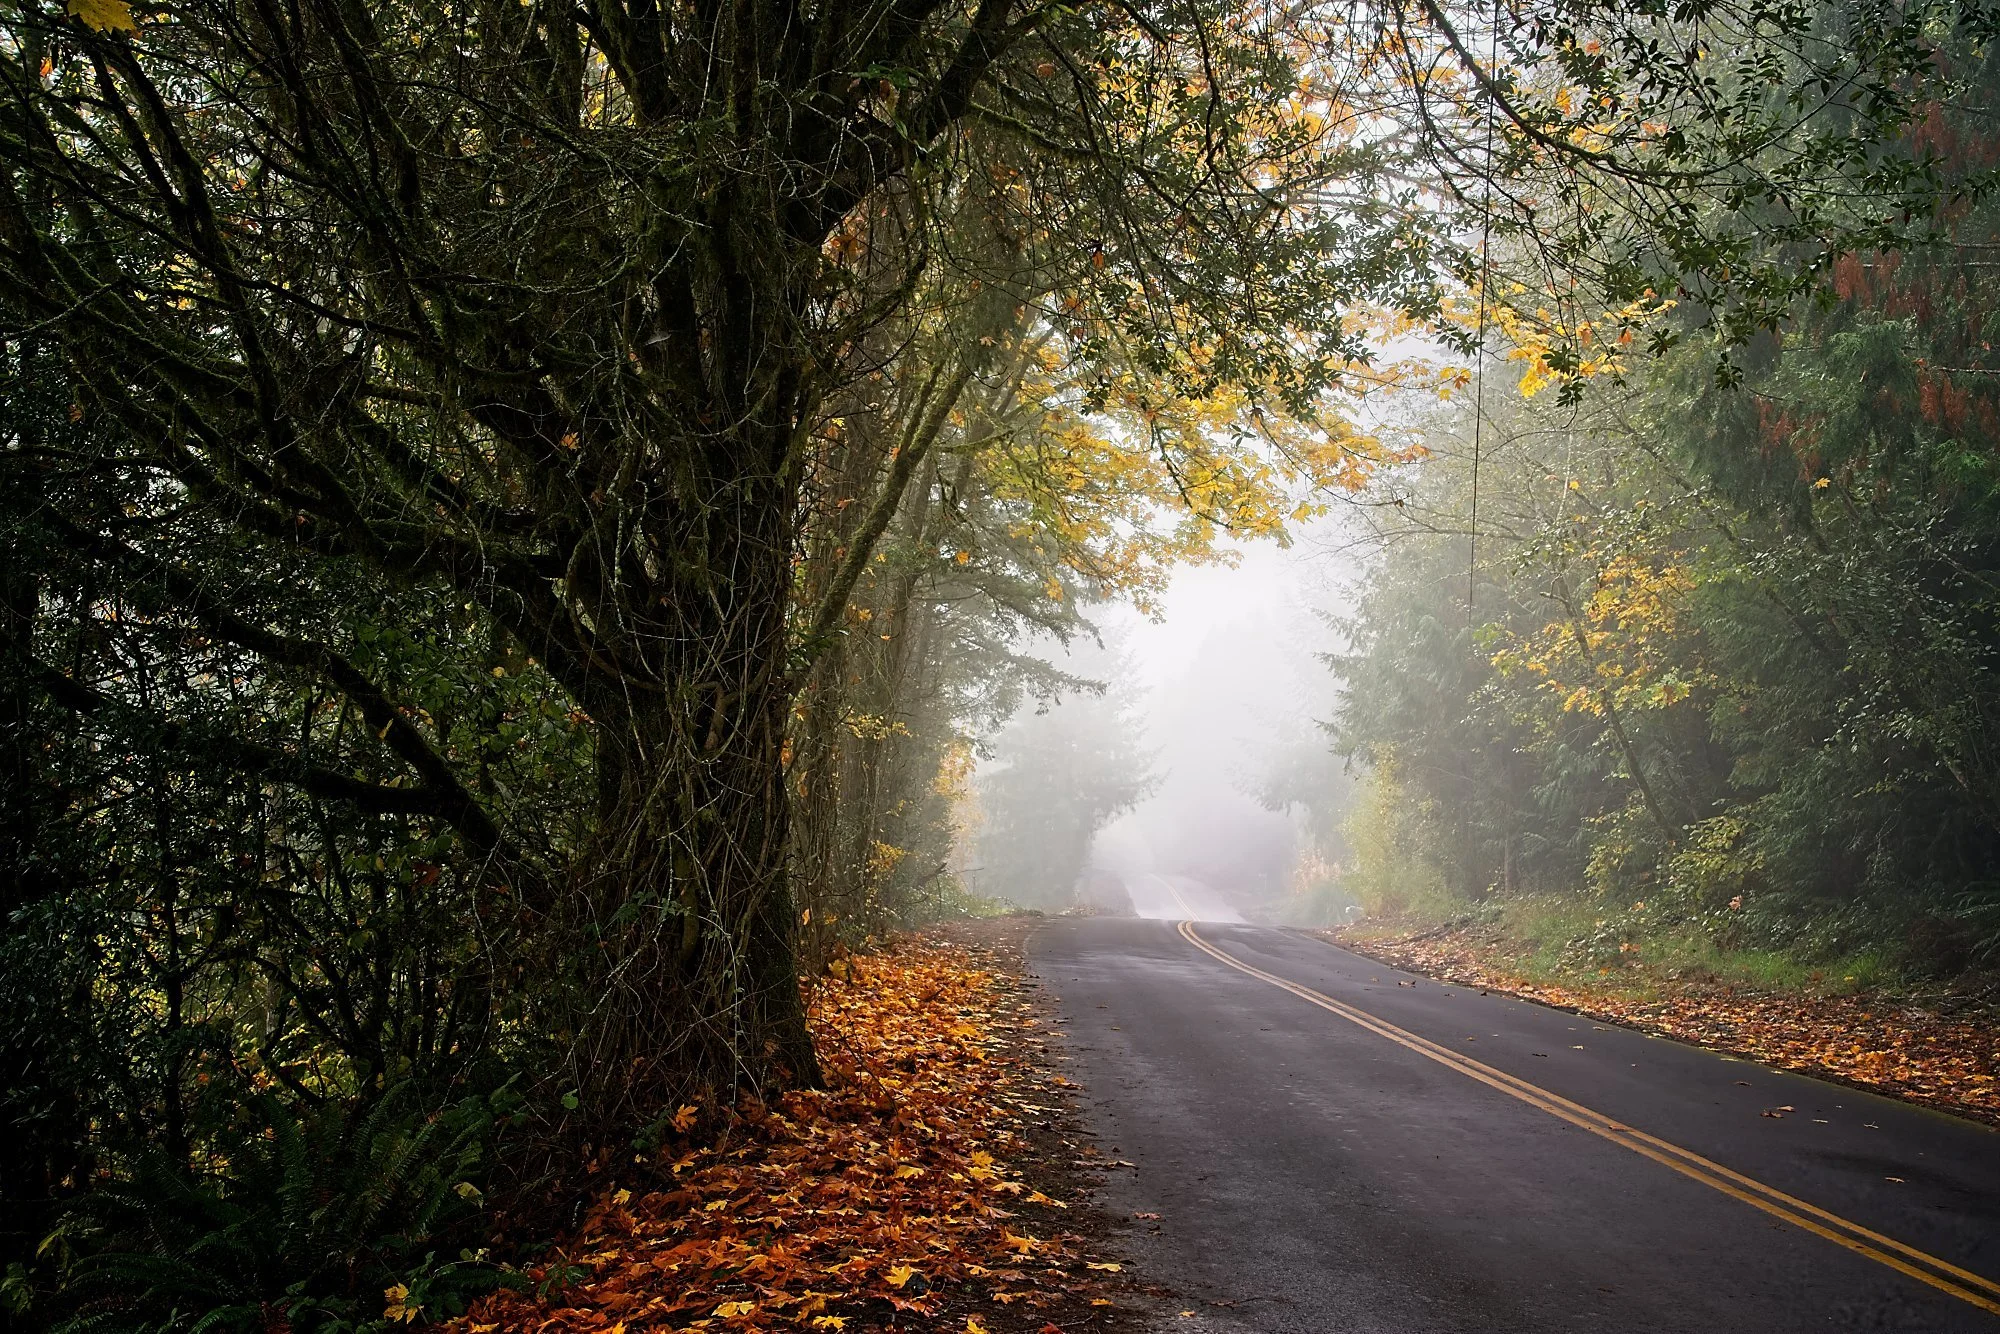
A quick AI selection can get you most of the way to a good mask. The work that’s left might be a patch of gravel the selection missed, a group of trees that picked up too much contrast, or a rock face you want to darken without touching the brighter stone around it.
ON1 Photo RAW 2027 makes that refinement easier by putting Add, Subtract, and Intersect right where you’re editing. Three landscape examples show how I decide what a mask needs and which tool will get me there.
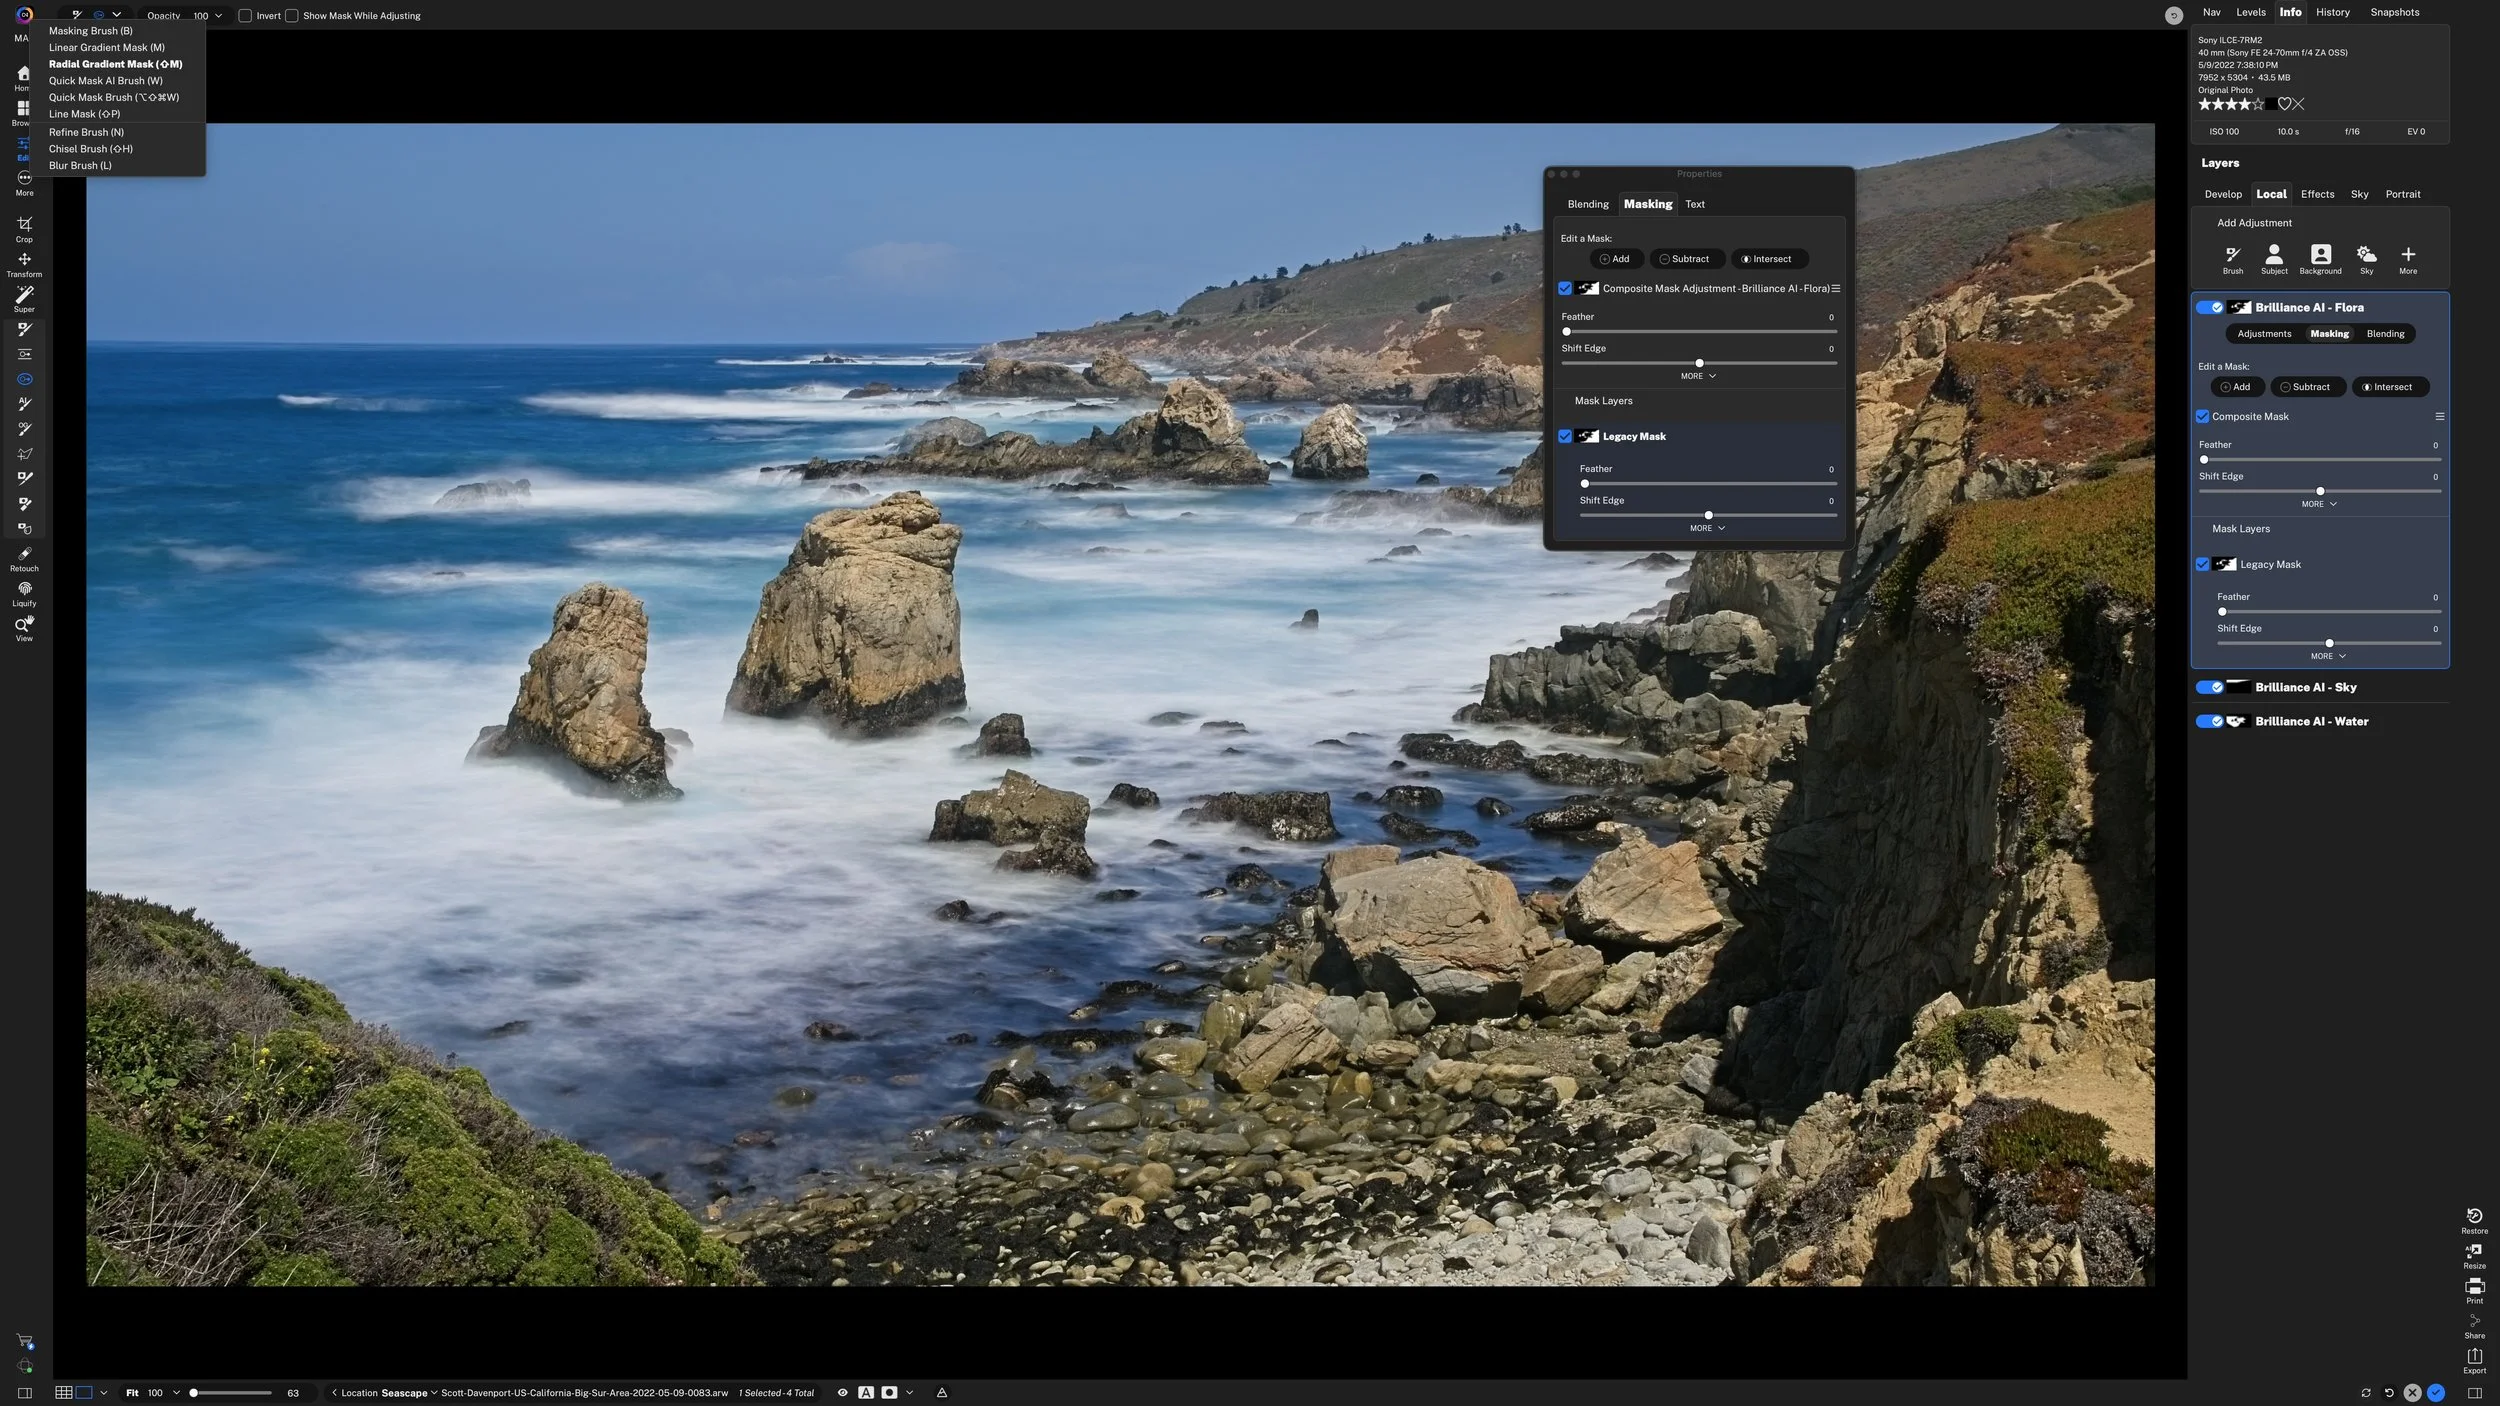
Looking for the Masking Bug in ON1 Photo RAW 2027? Its controls are now split between two tools, Linear Gradient and Radial Gradient. You can also click and drag either gradient directly on the photo to shape it as you place it.
Mask properties have moved closer to the edit, too. You can refine the full mask or an individual mask layer right inside a local adjustment or Effects filter, with Add, Subtract, and Intersect in plain sight.
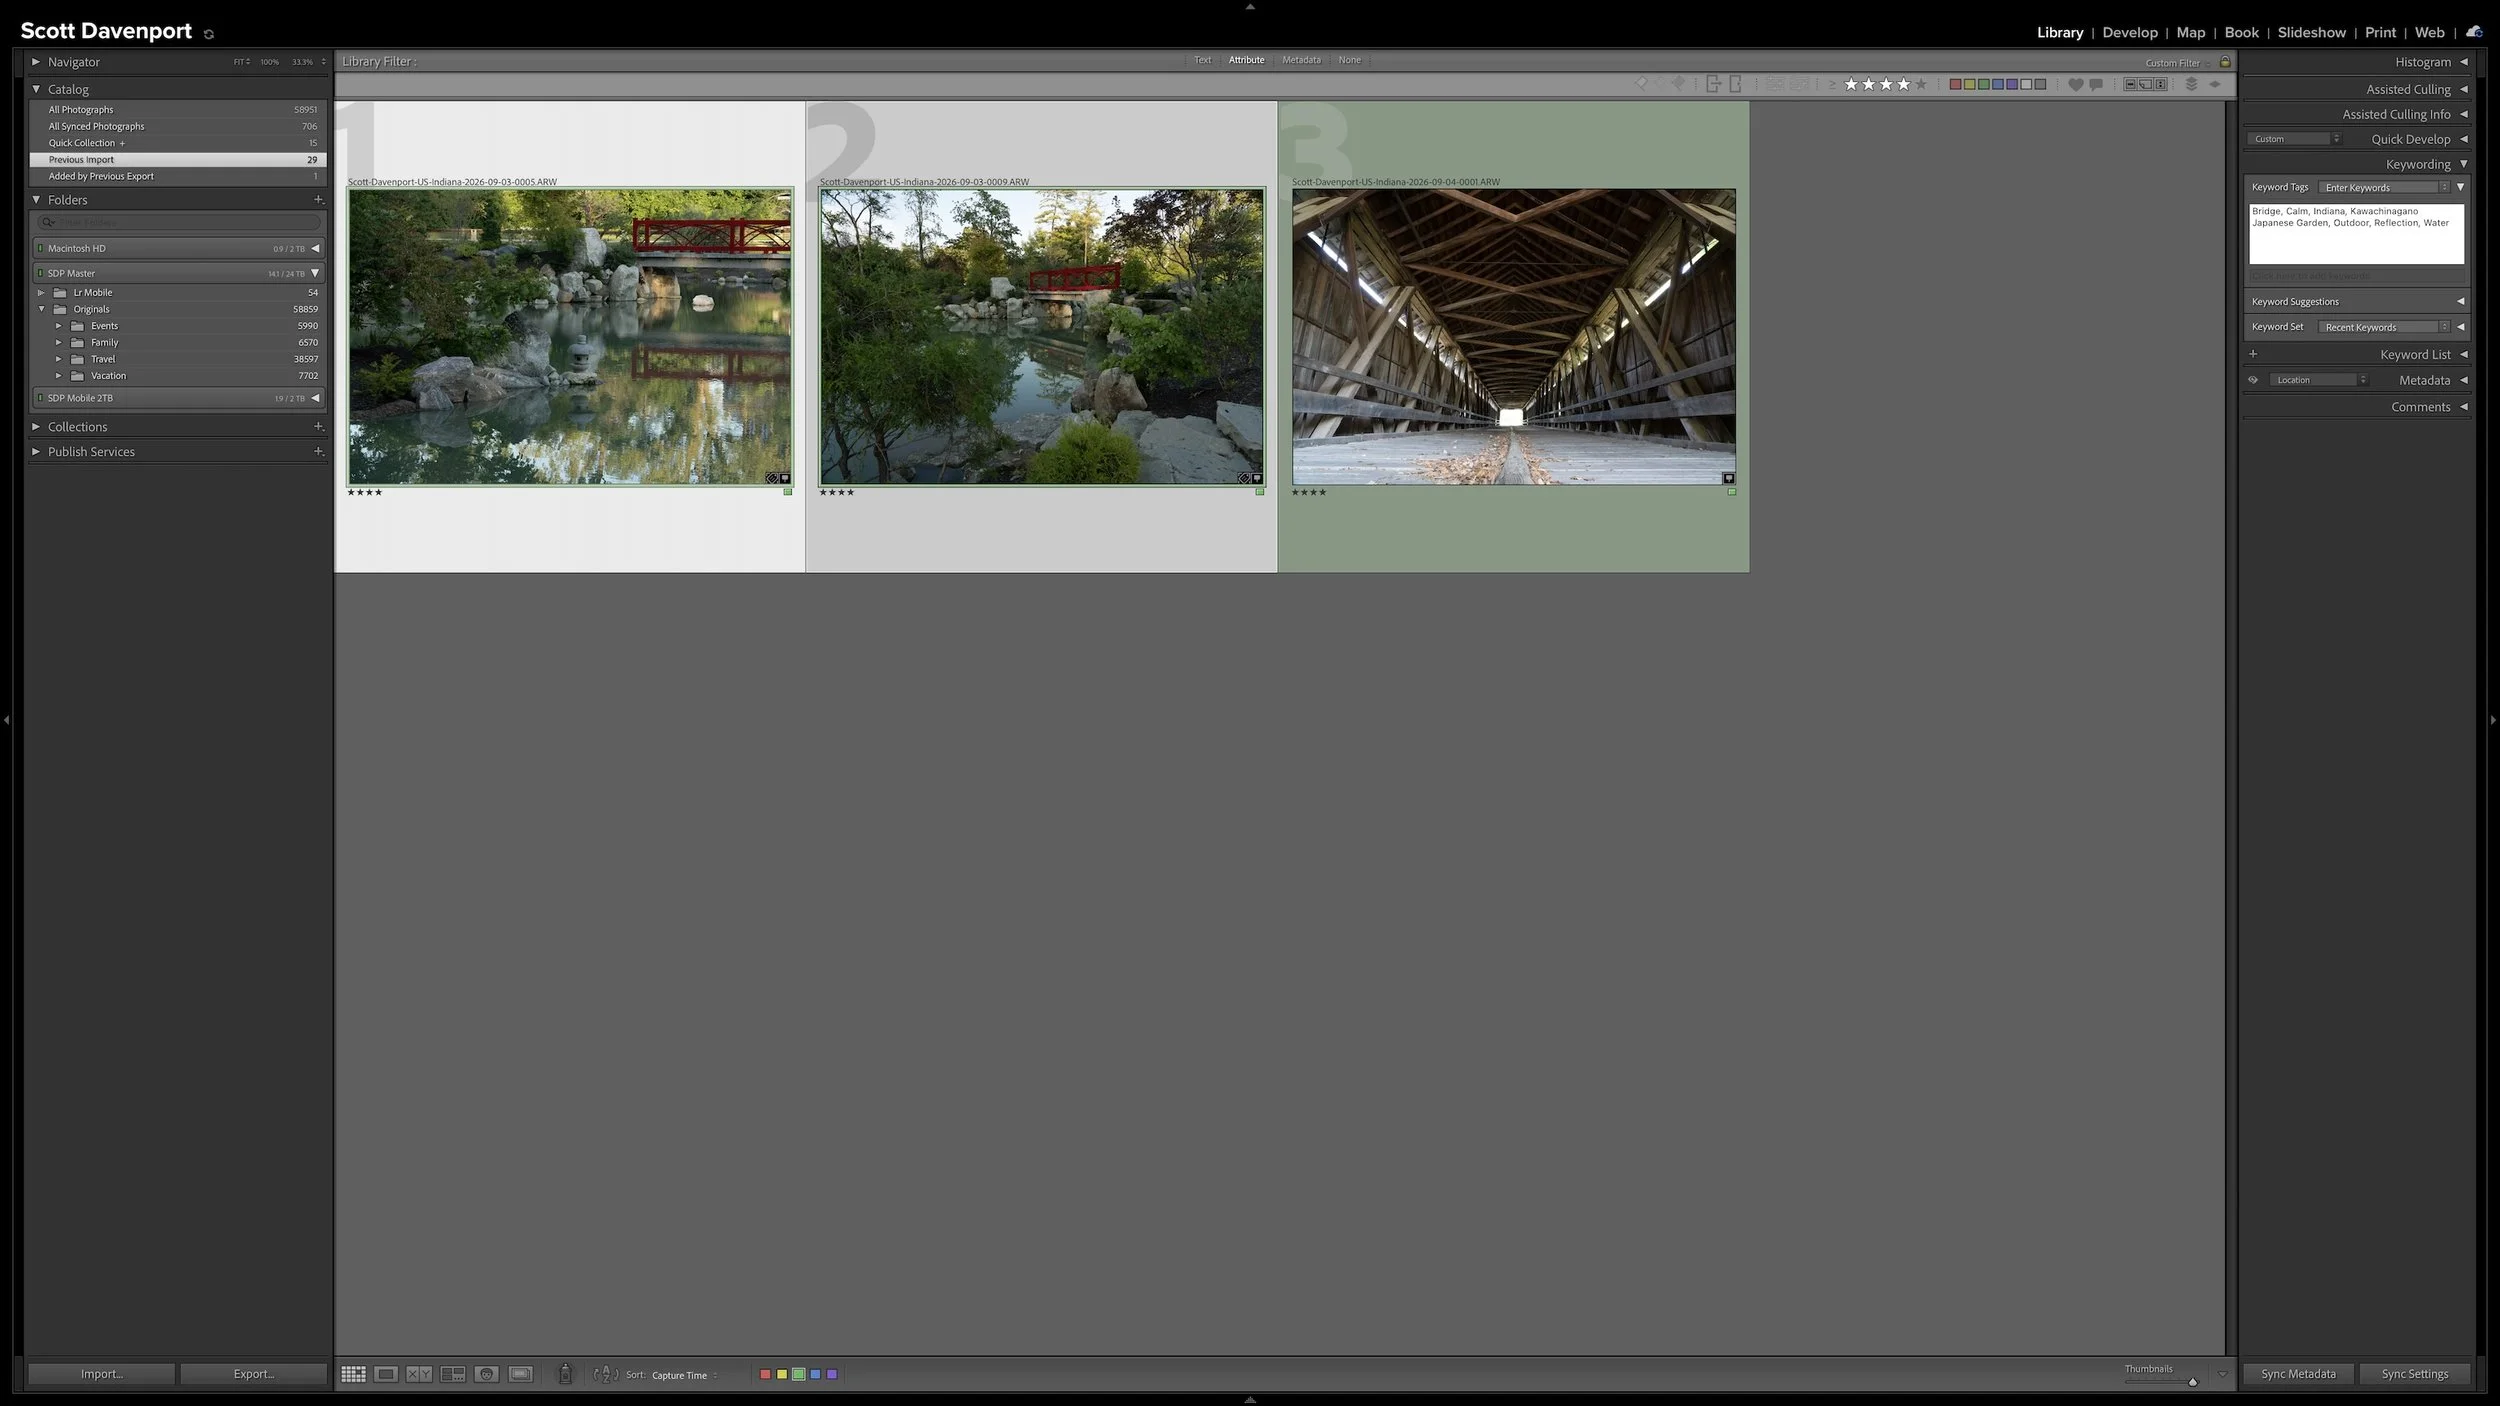
Every photograph I import receives some initial attention, but that doesn't mean every photograph needs the same amount of work. Rating, stacking, and adding shared location information can happen broadly and efficiently across a shoot.
As my workflow moves into keywording, developing, and sharing, I concentrate more effort on the best photographs from the shoot. This narrowing protects my time without deleting photographs, closing doors, or preventing me from reconsidering an image later.
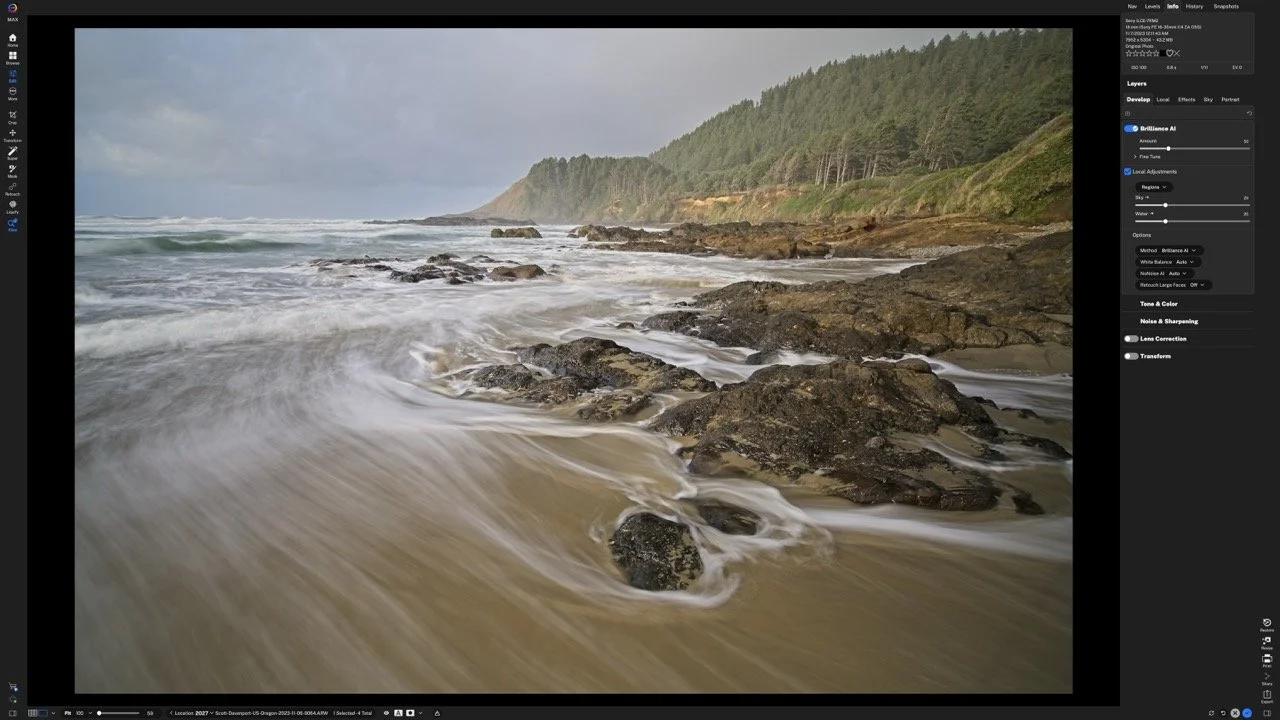
Does a new RAW processing engine make a practical difference to your editing? My comparisons in ON1 Photo RAW 2027 show a welcome improvement in the starting image, with richer color and contrast before I move a slider.
That stronger foundation also has me taking another look at Brilliance AI. Here’s how to compare the RAW engines on your own photos, what I’m seeing in my results, and why existing edits deserve a little care.
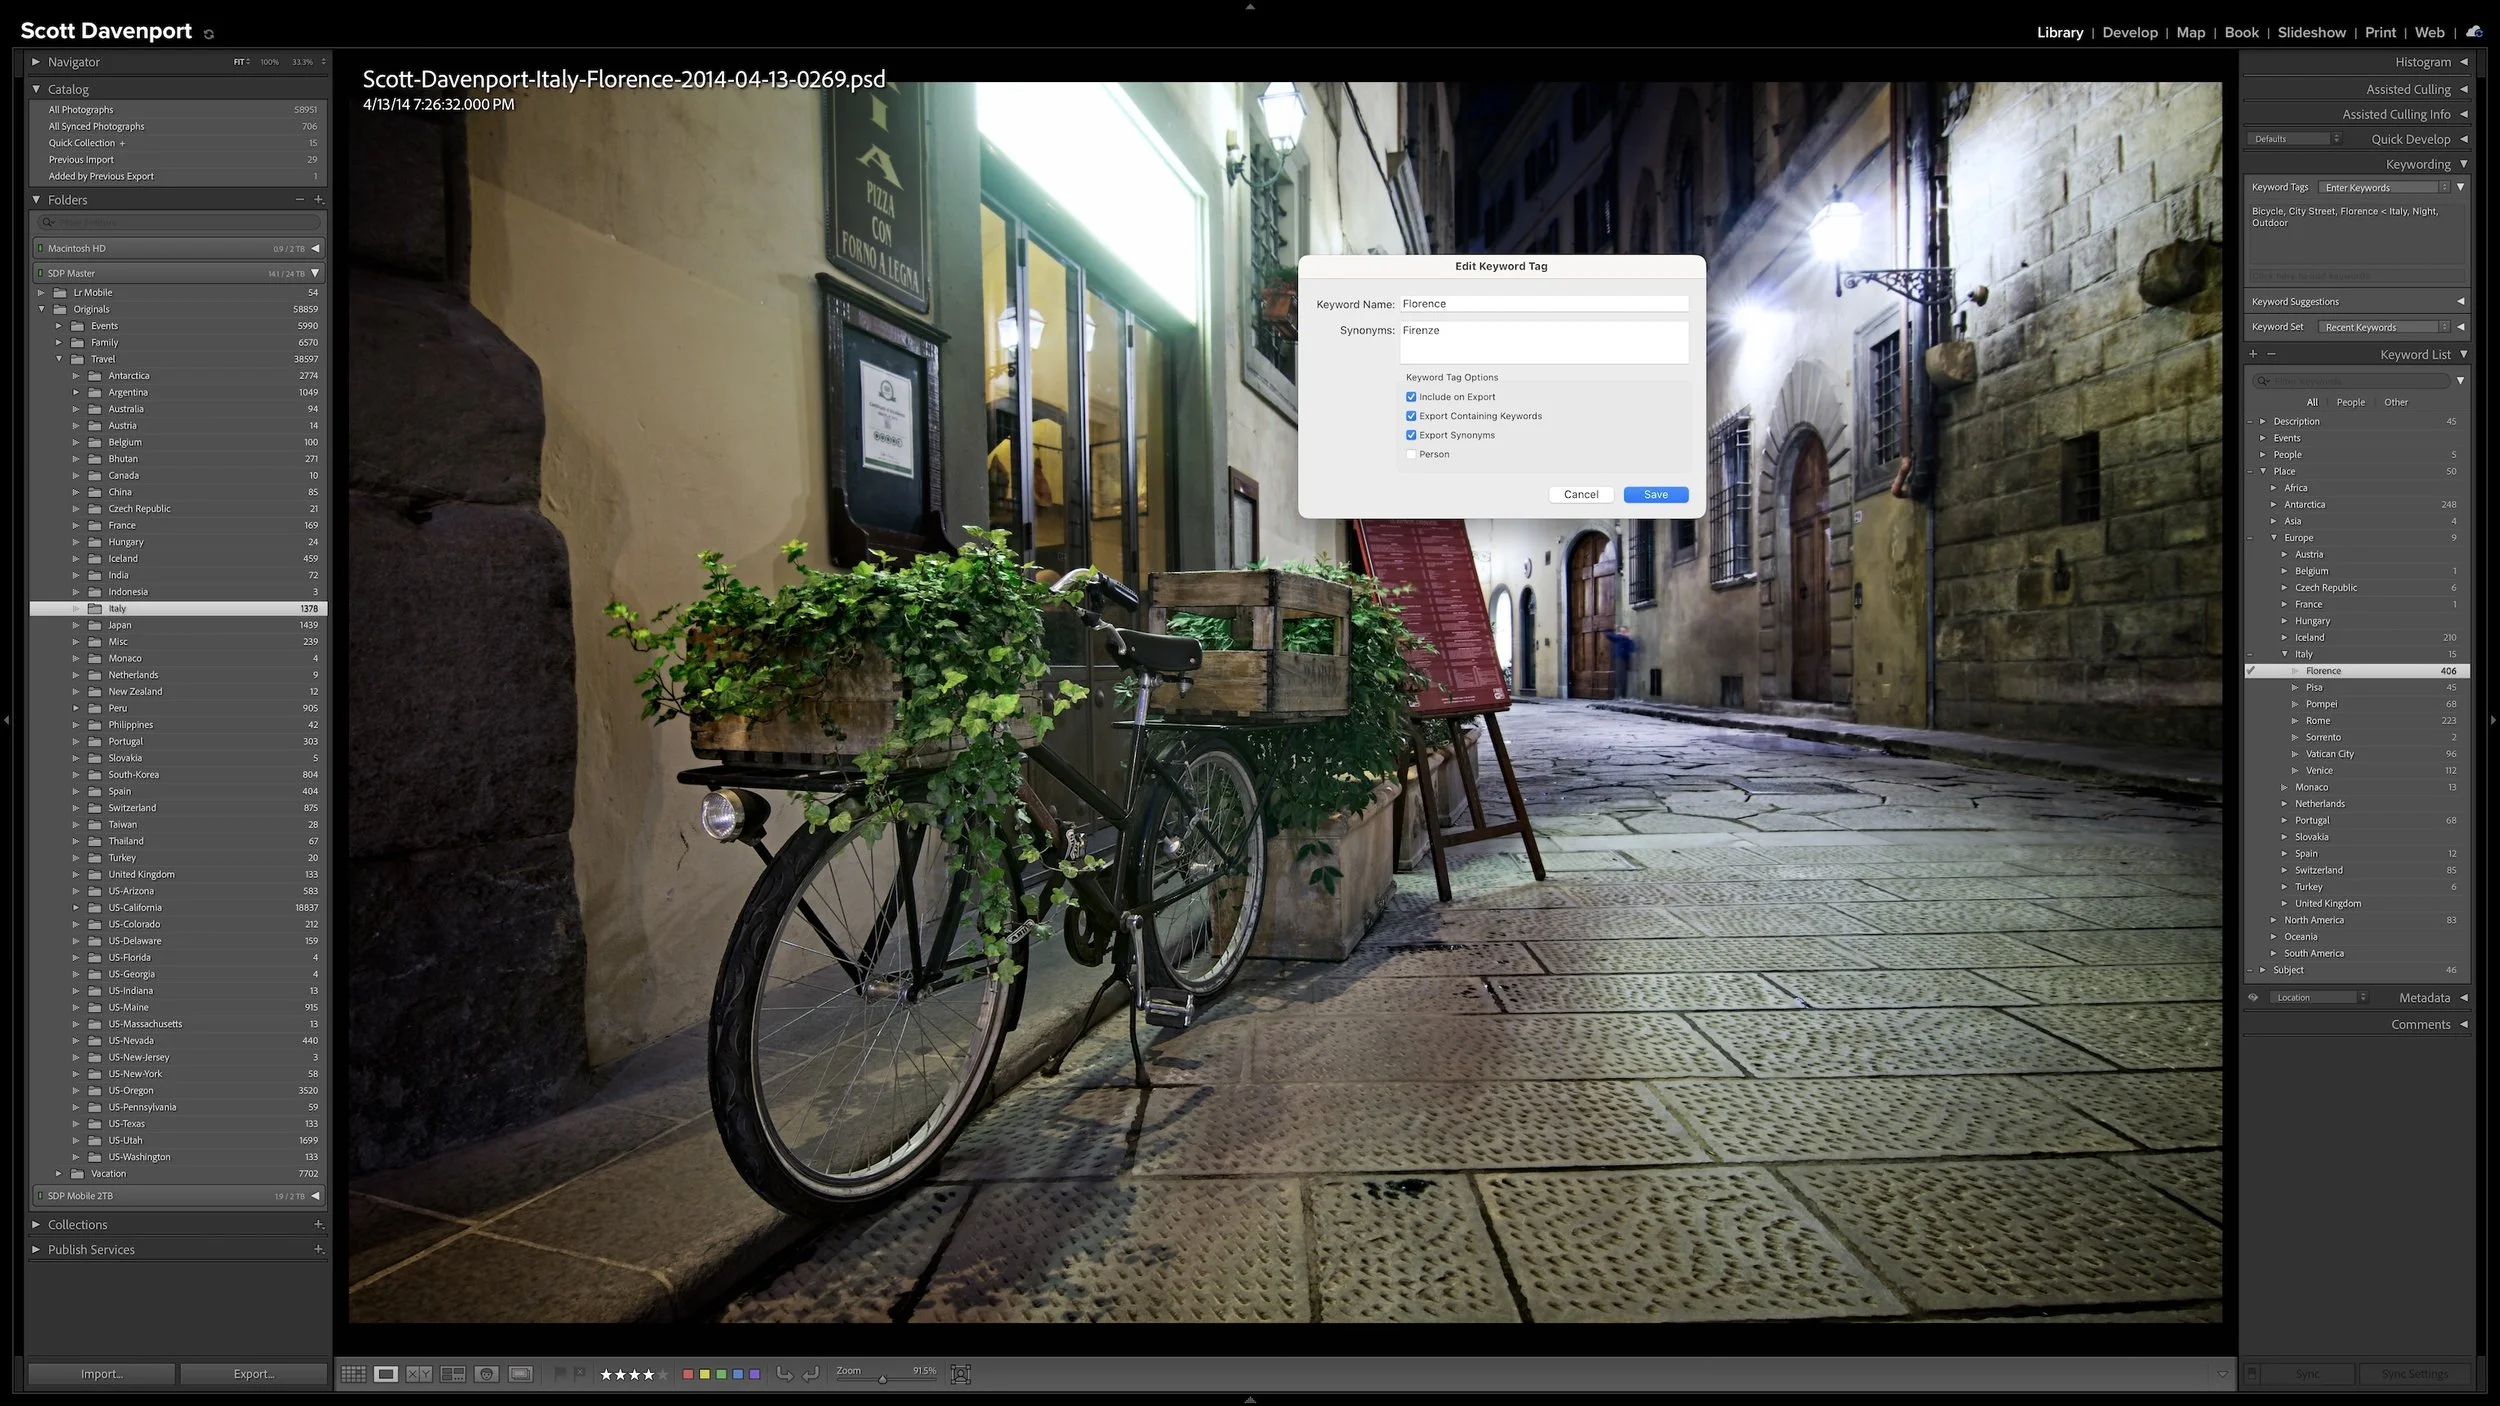
A useful keyword hierarchy connects specific details to broader ideas. When you apply a keyword for a specific location, a particular lighthouse, or a birthday celebration, Lightroom Classic can also associate the photograph with the broader places, subjects, or events that contain it.
Synonyms extend that efficiency by connecting one keyword to alternate names, related terms, or other languages. A hierarchy can give you broader and narrower ways to search your own library. I use synonyms primarily to help other people and search engines find exported photographs without requiring me to enter every variation separately.
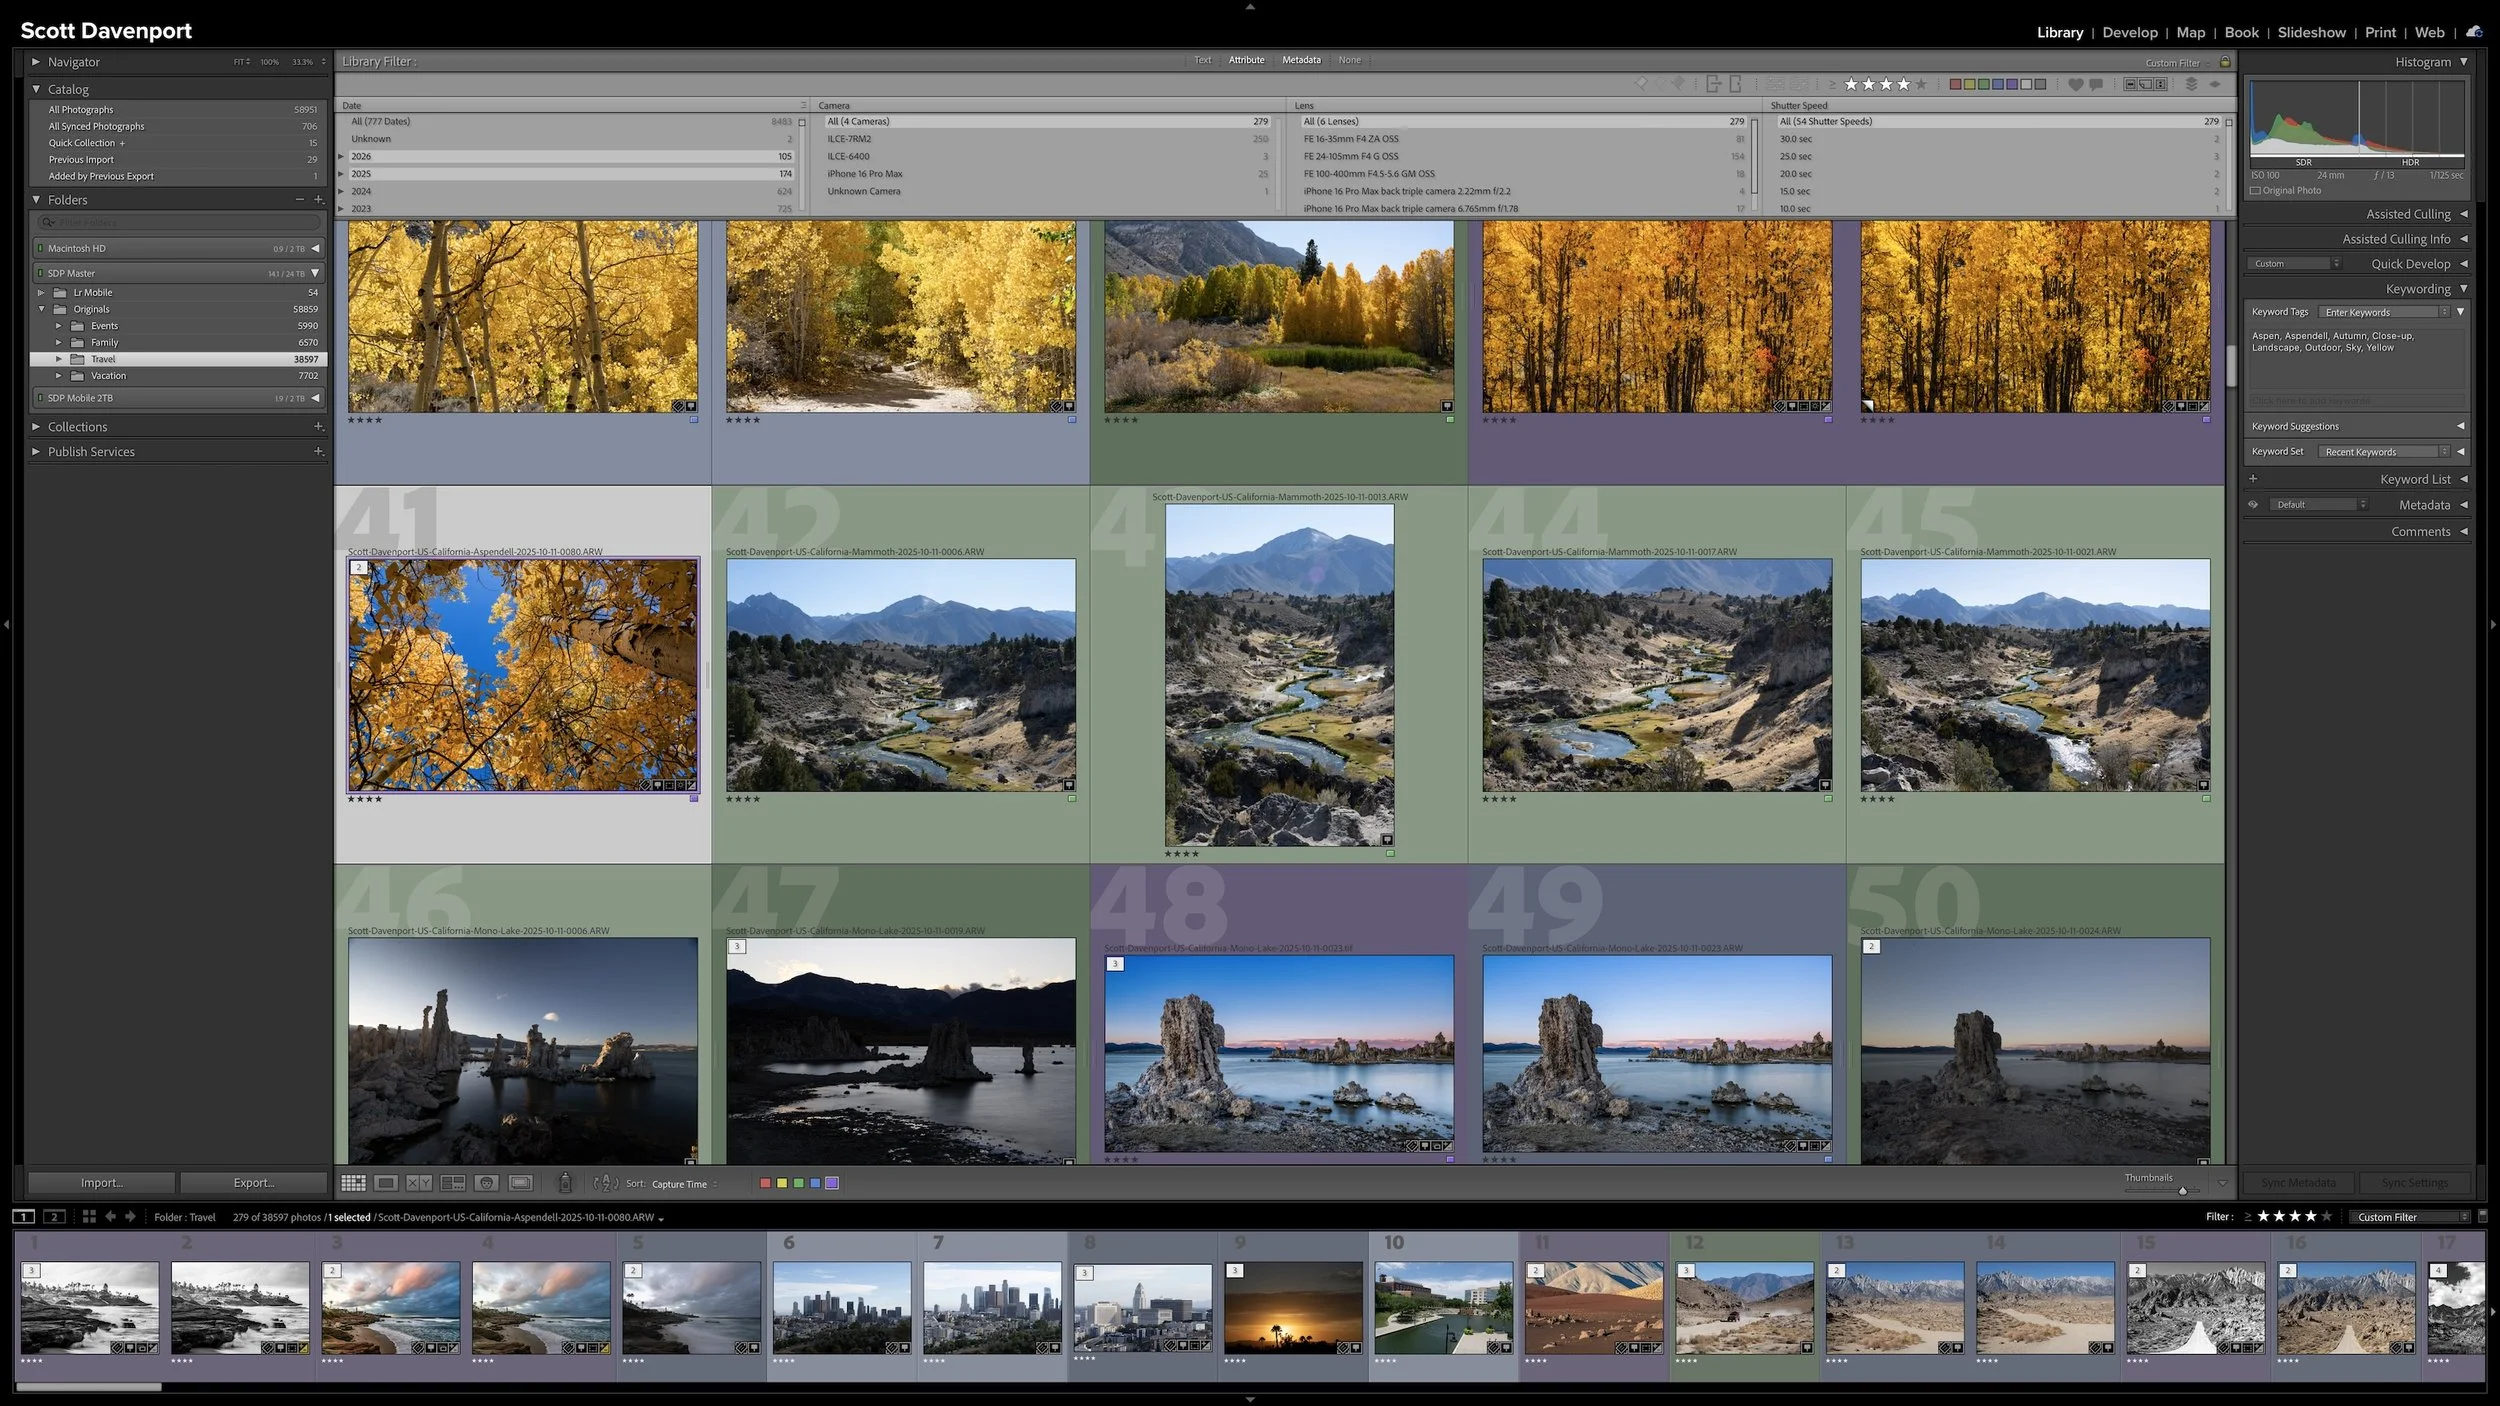
Keywording can make photographs easier to find, but it can also become an endless exercise in describing everything visible in every frame. You can keep the work manageable by asking one question: could Lightroom already find this photograph without the keyword?
The most useful keywords add information you cannot recover from capture data, ratings, location fields, or other existing metadata. That may be a subject, a familiar place name, a mood, a dominant color, or another idea you expect to search for later. The goal isn't to build the largest vocabulary possible. It is to add metadata that earns its keep.
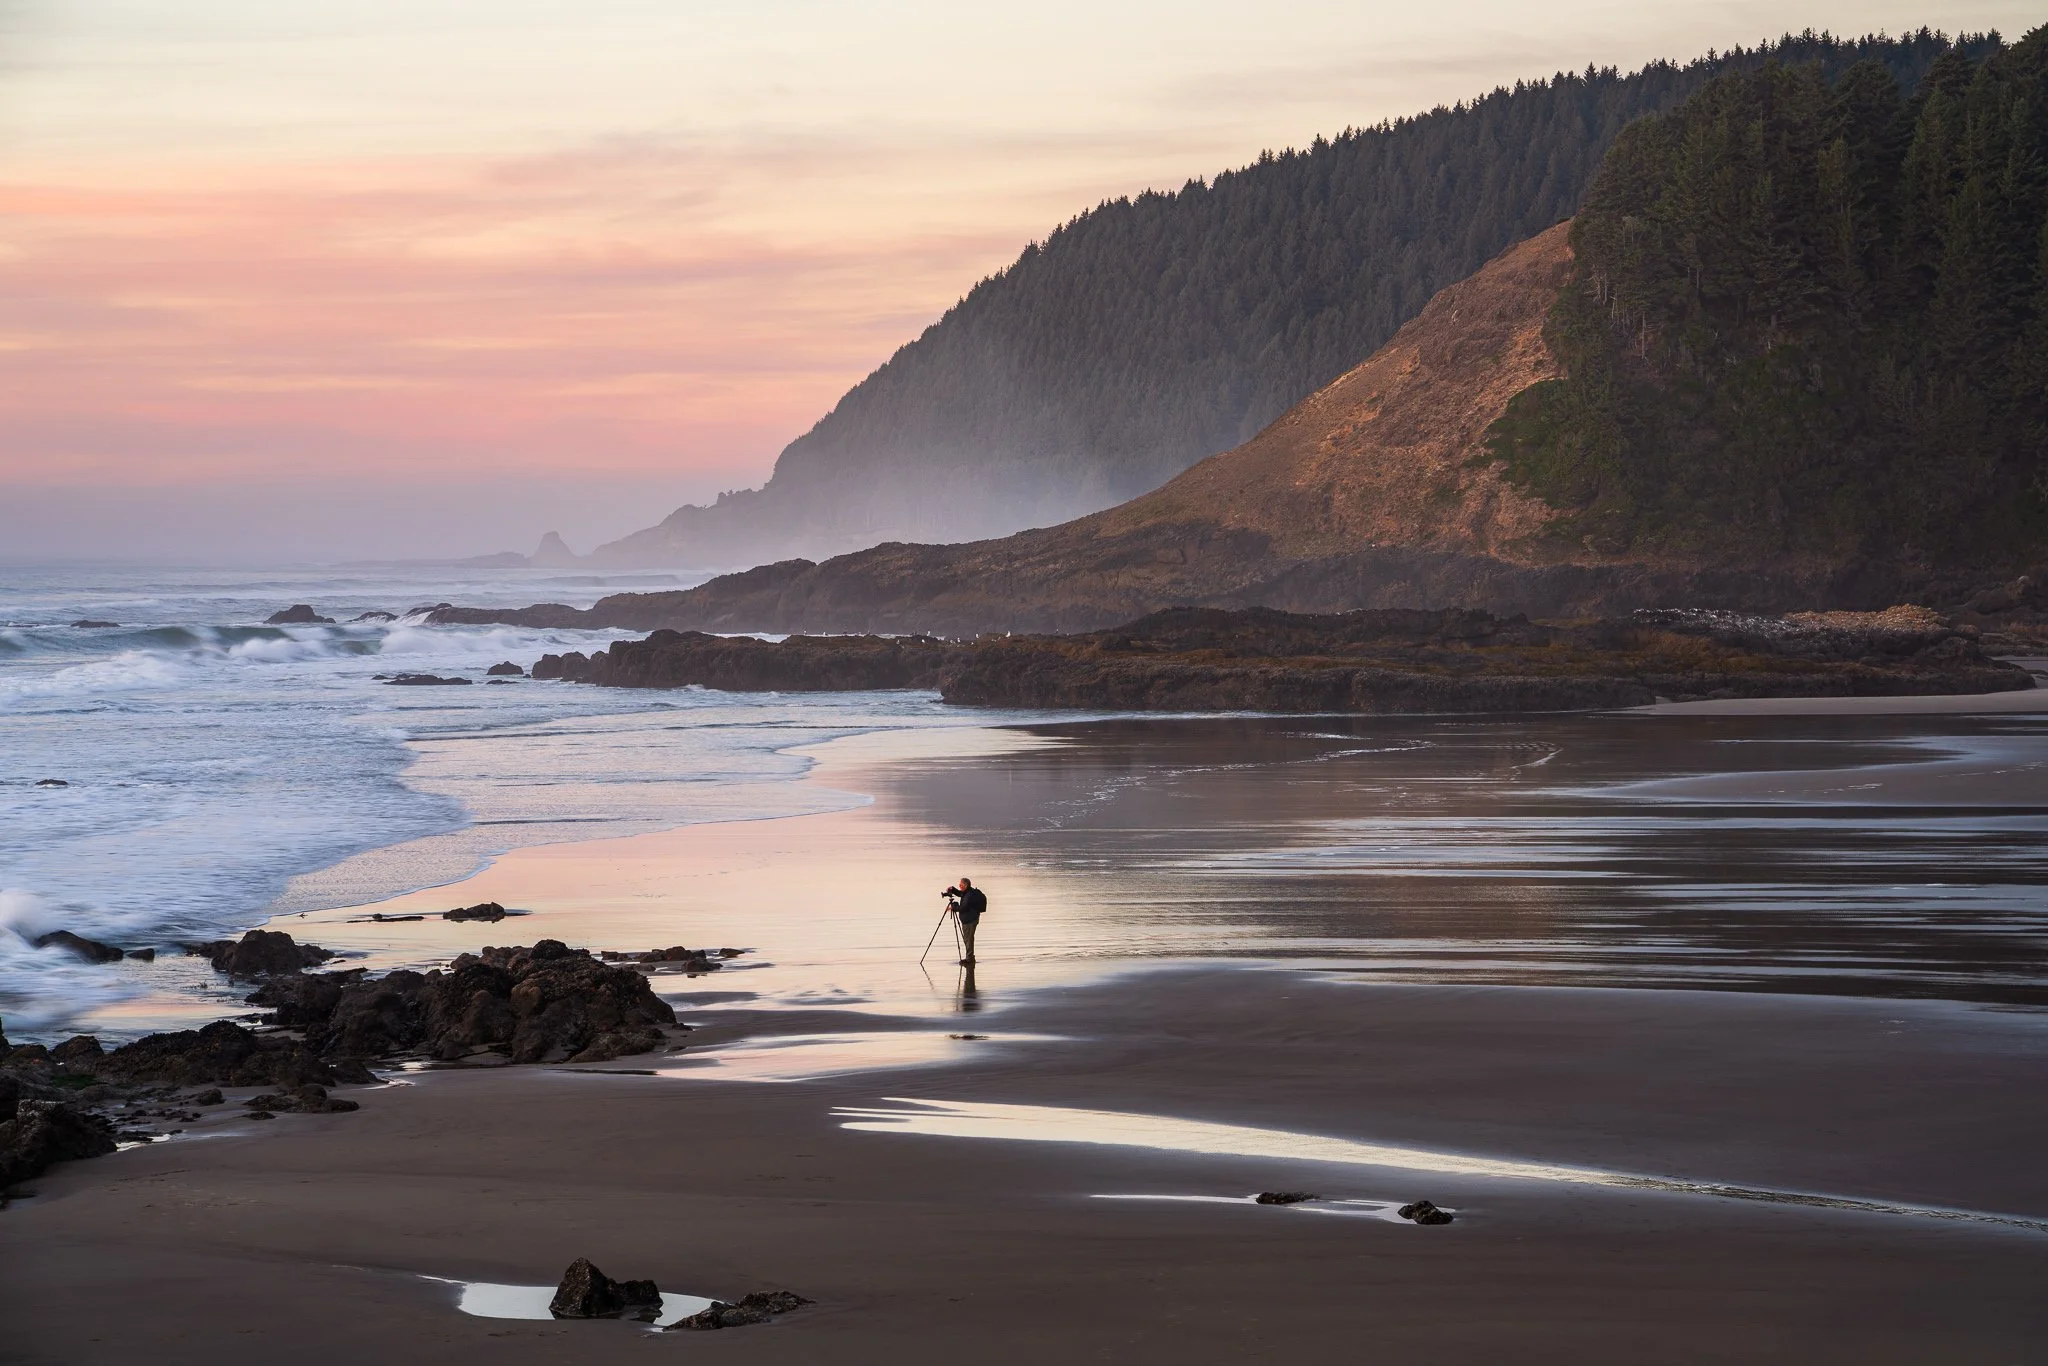
You’ve found a composition you like and settled in for sunset. Then the foreground falls into shadow, or a person steps into the scene. How do you decide whether to stay with your original frame or look for something different?
An evening on the Oregon Coast offers a useful example of how a photograph can evolve. Follow the decisions that turned a view of sunlit grasses into a quieter story about a photographer among rocks and misty headlands.
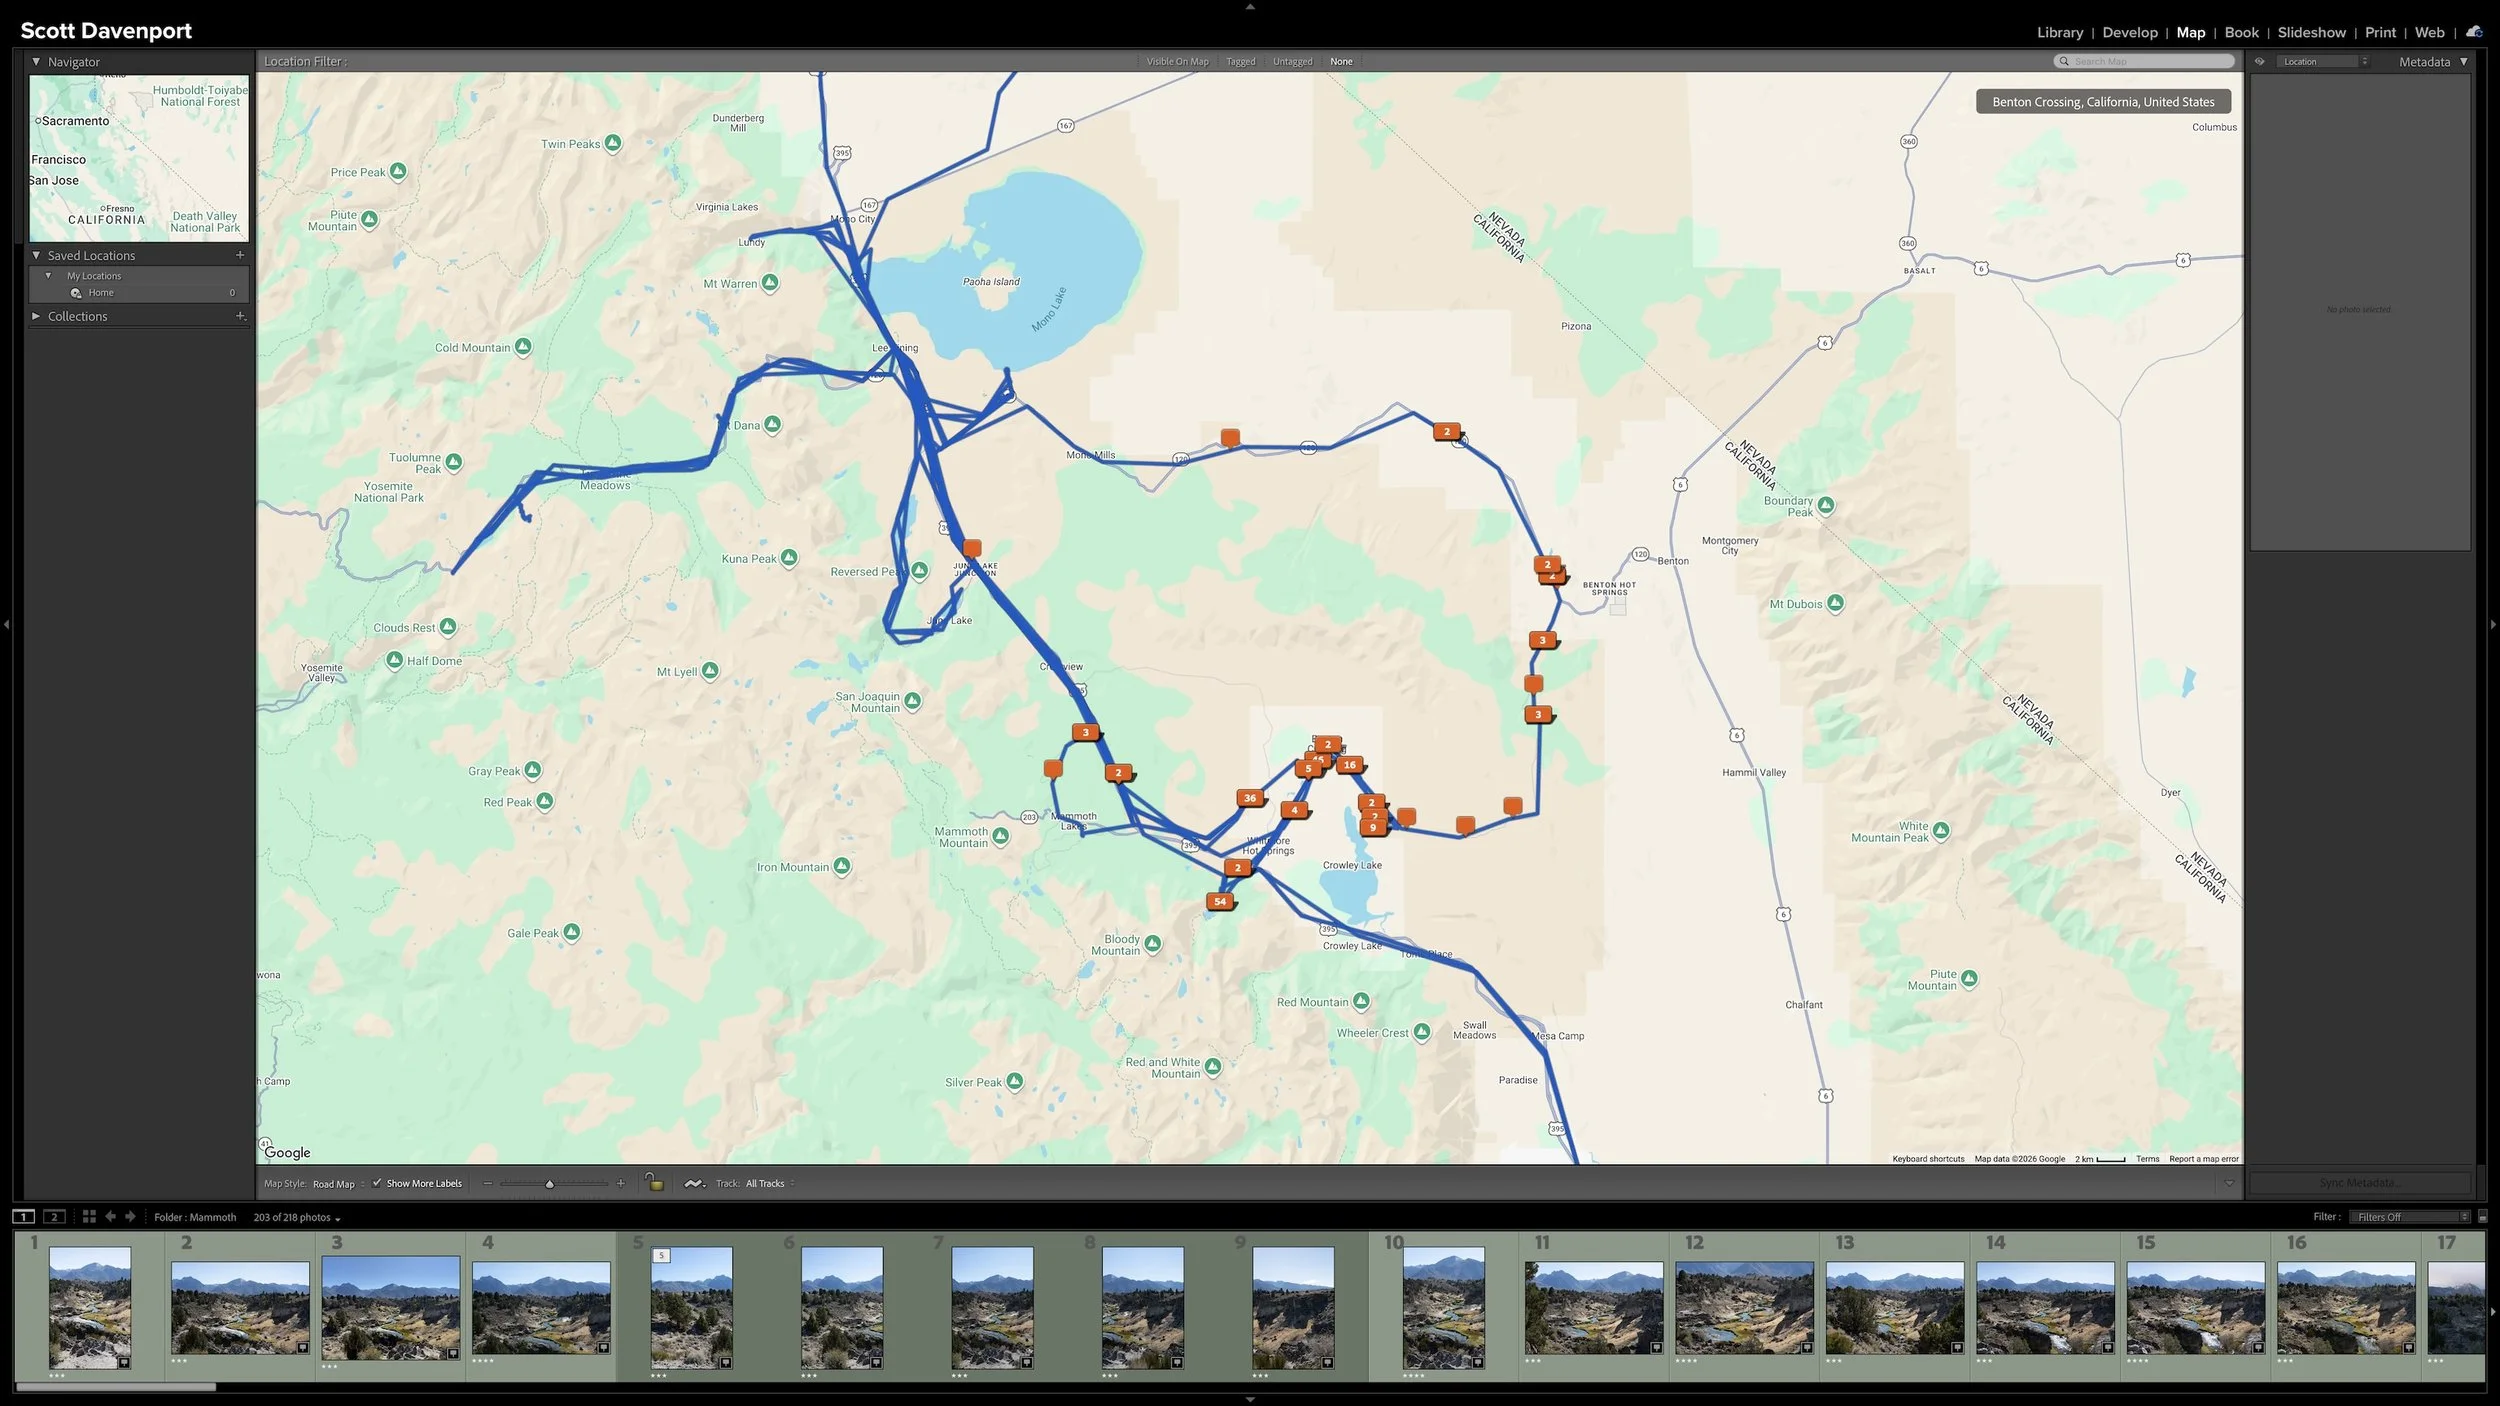
Right after a shoot, you know where you made the photographs. A few years later, that may not be nearly as obvious. Adding location information while the shoot is still fresh gives you another durable way to find photographs and understand where they were made.
You don't need to type city, state, and country into every photograph. If the camera records GPS coordinates, much of the work is already done. A GPX track log or, when necessary, Lightroom Classic's Map module provides other ways to add the location. The goal isn't exhaustive geographic metadata. It's enough useful information that you won't have to reconstruct it later.
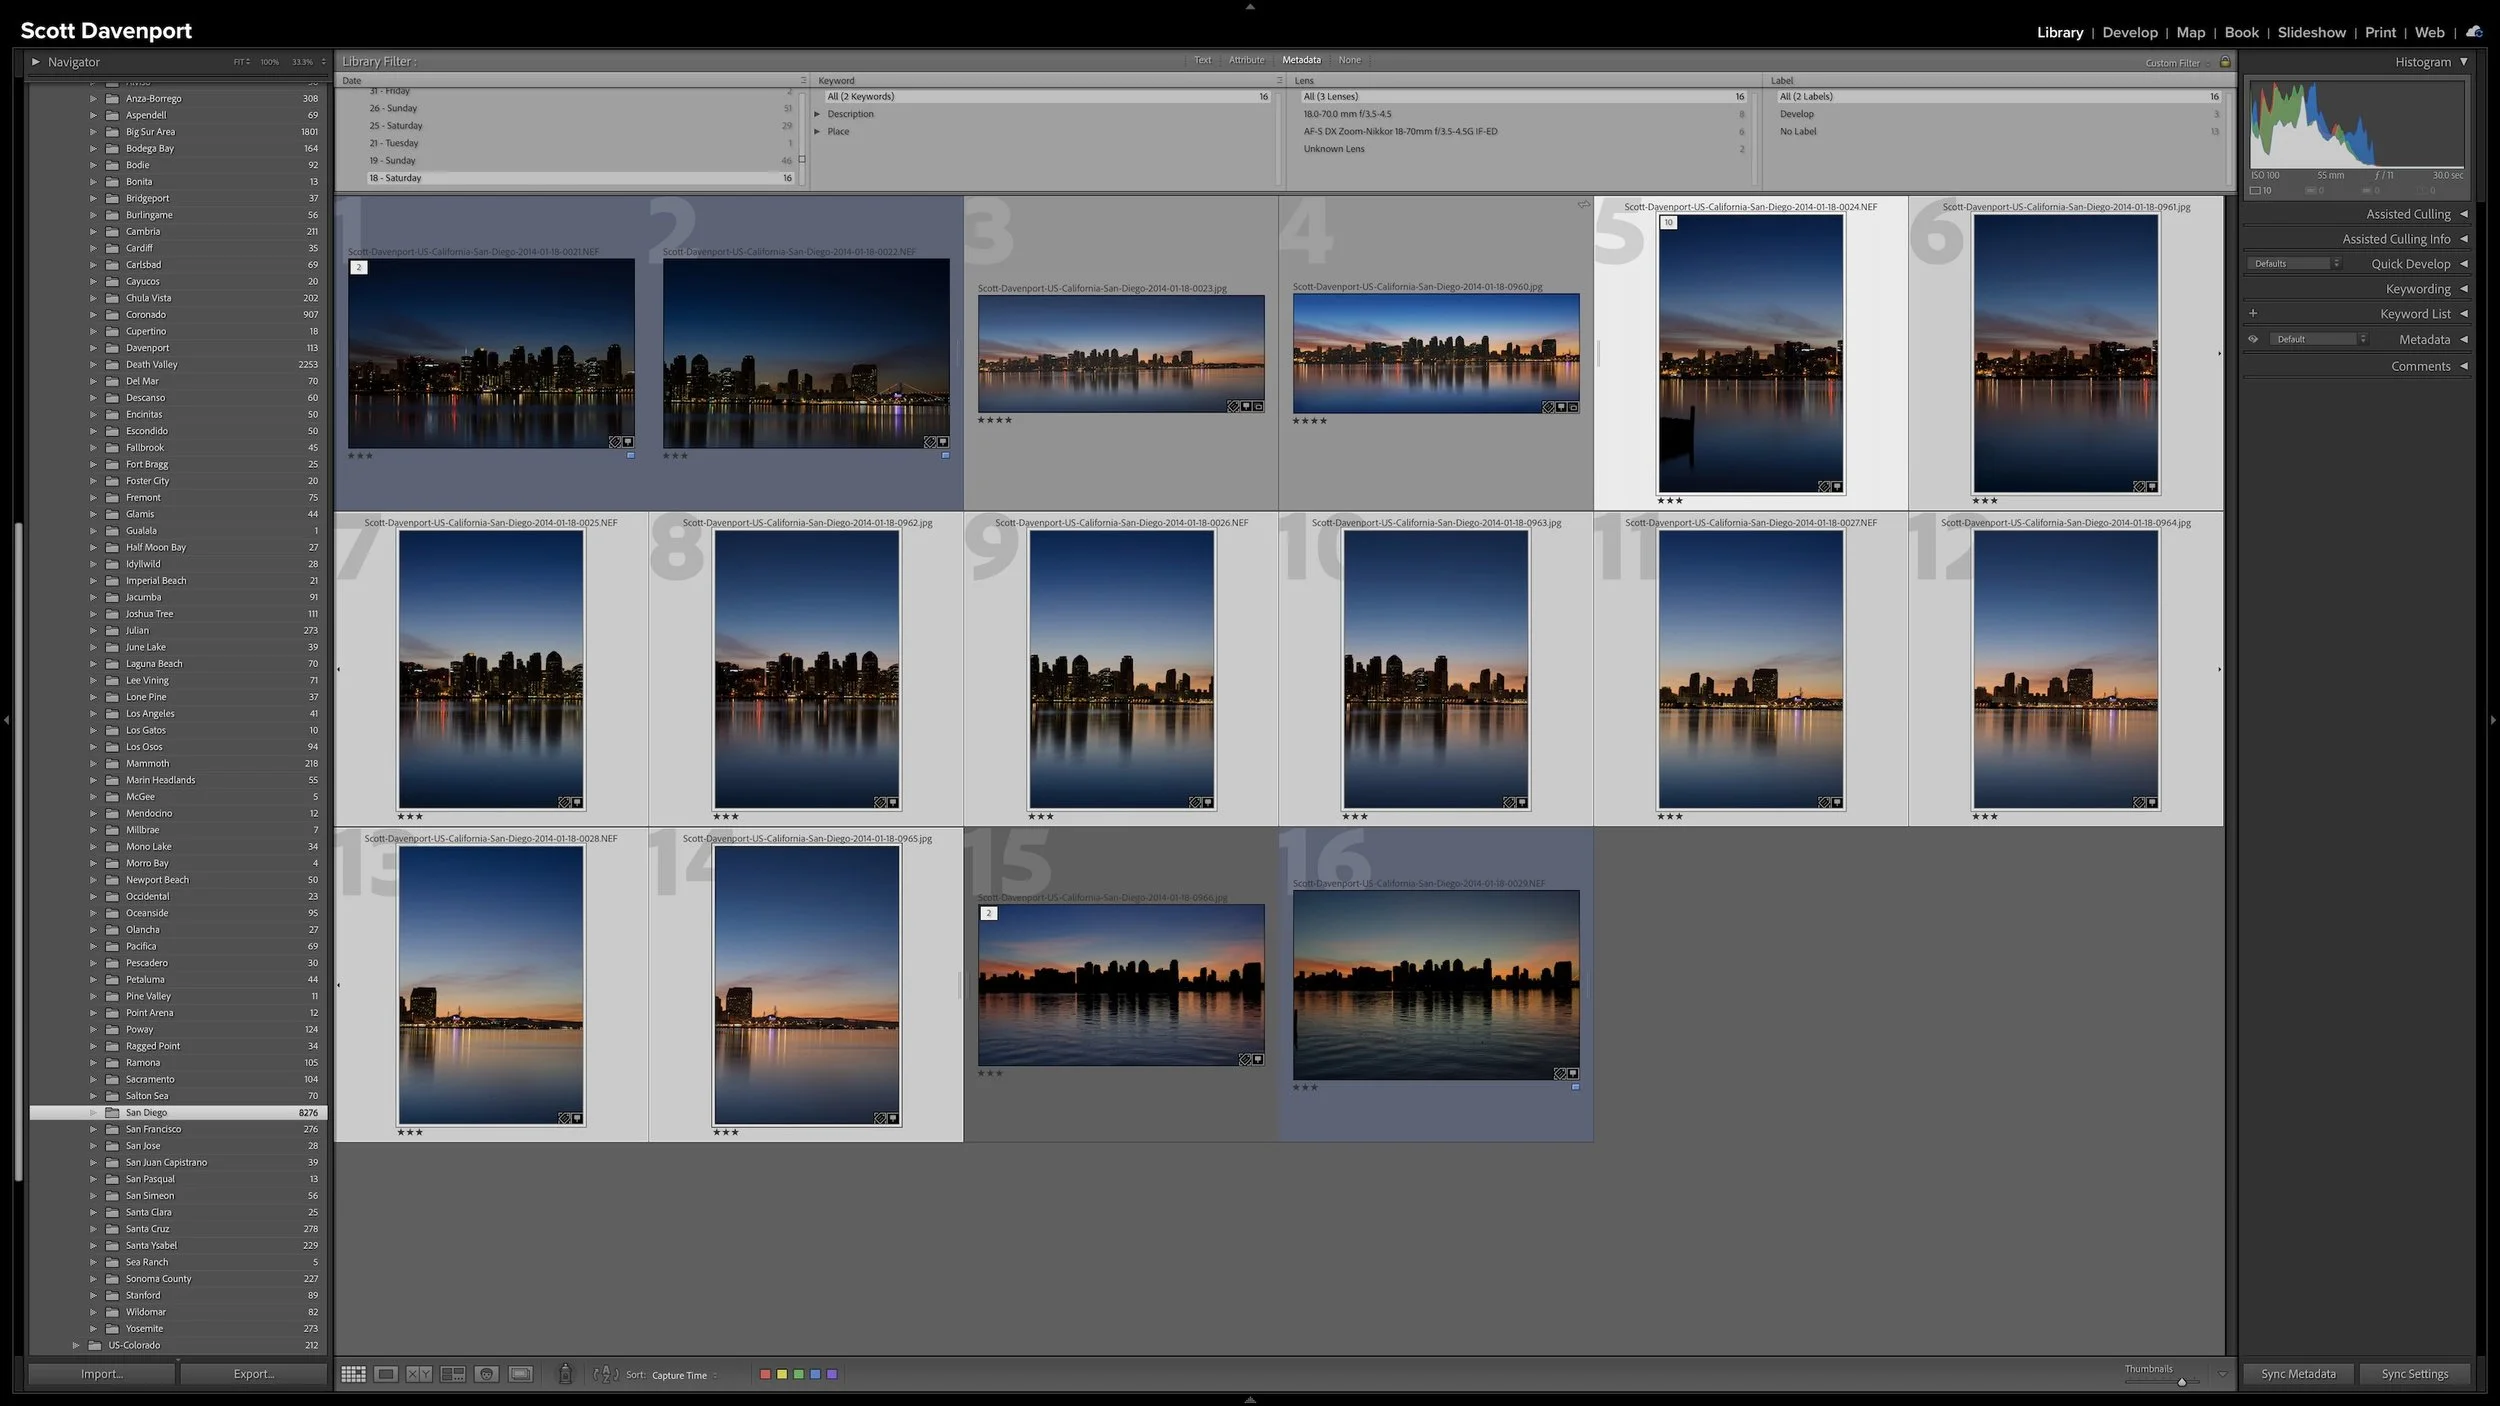
A group of photographs can belong together without every frame needing equal space in Lightroom Classic. Several variations of the same composition, panorama segments, exposure brackets, or a rapid burst can quickly fill Grid view with photographs you don't need to see individually all the time.
Stacks keep those related photographs together while letting one useful photograph represent the group. I use them so the other photographs remain available when I need them without adding unnecessary visual clutter to my catalog.

Organizing a photograph and making it searchable are important parts of asset management, but they aren't the end of the photograph's journey. The strongest images still need the creative attention that turns a RAW file into a finished photograph and prepares it for an audience.
Developing, preparing an output, sharing, and marking the work complete are four distinct decisions. Keeping those decisions inside the workflow helps you know what each photograph needs next without treating an exported file as a replacement for the original.