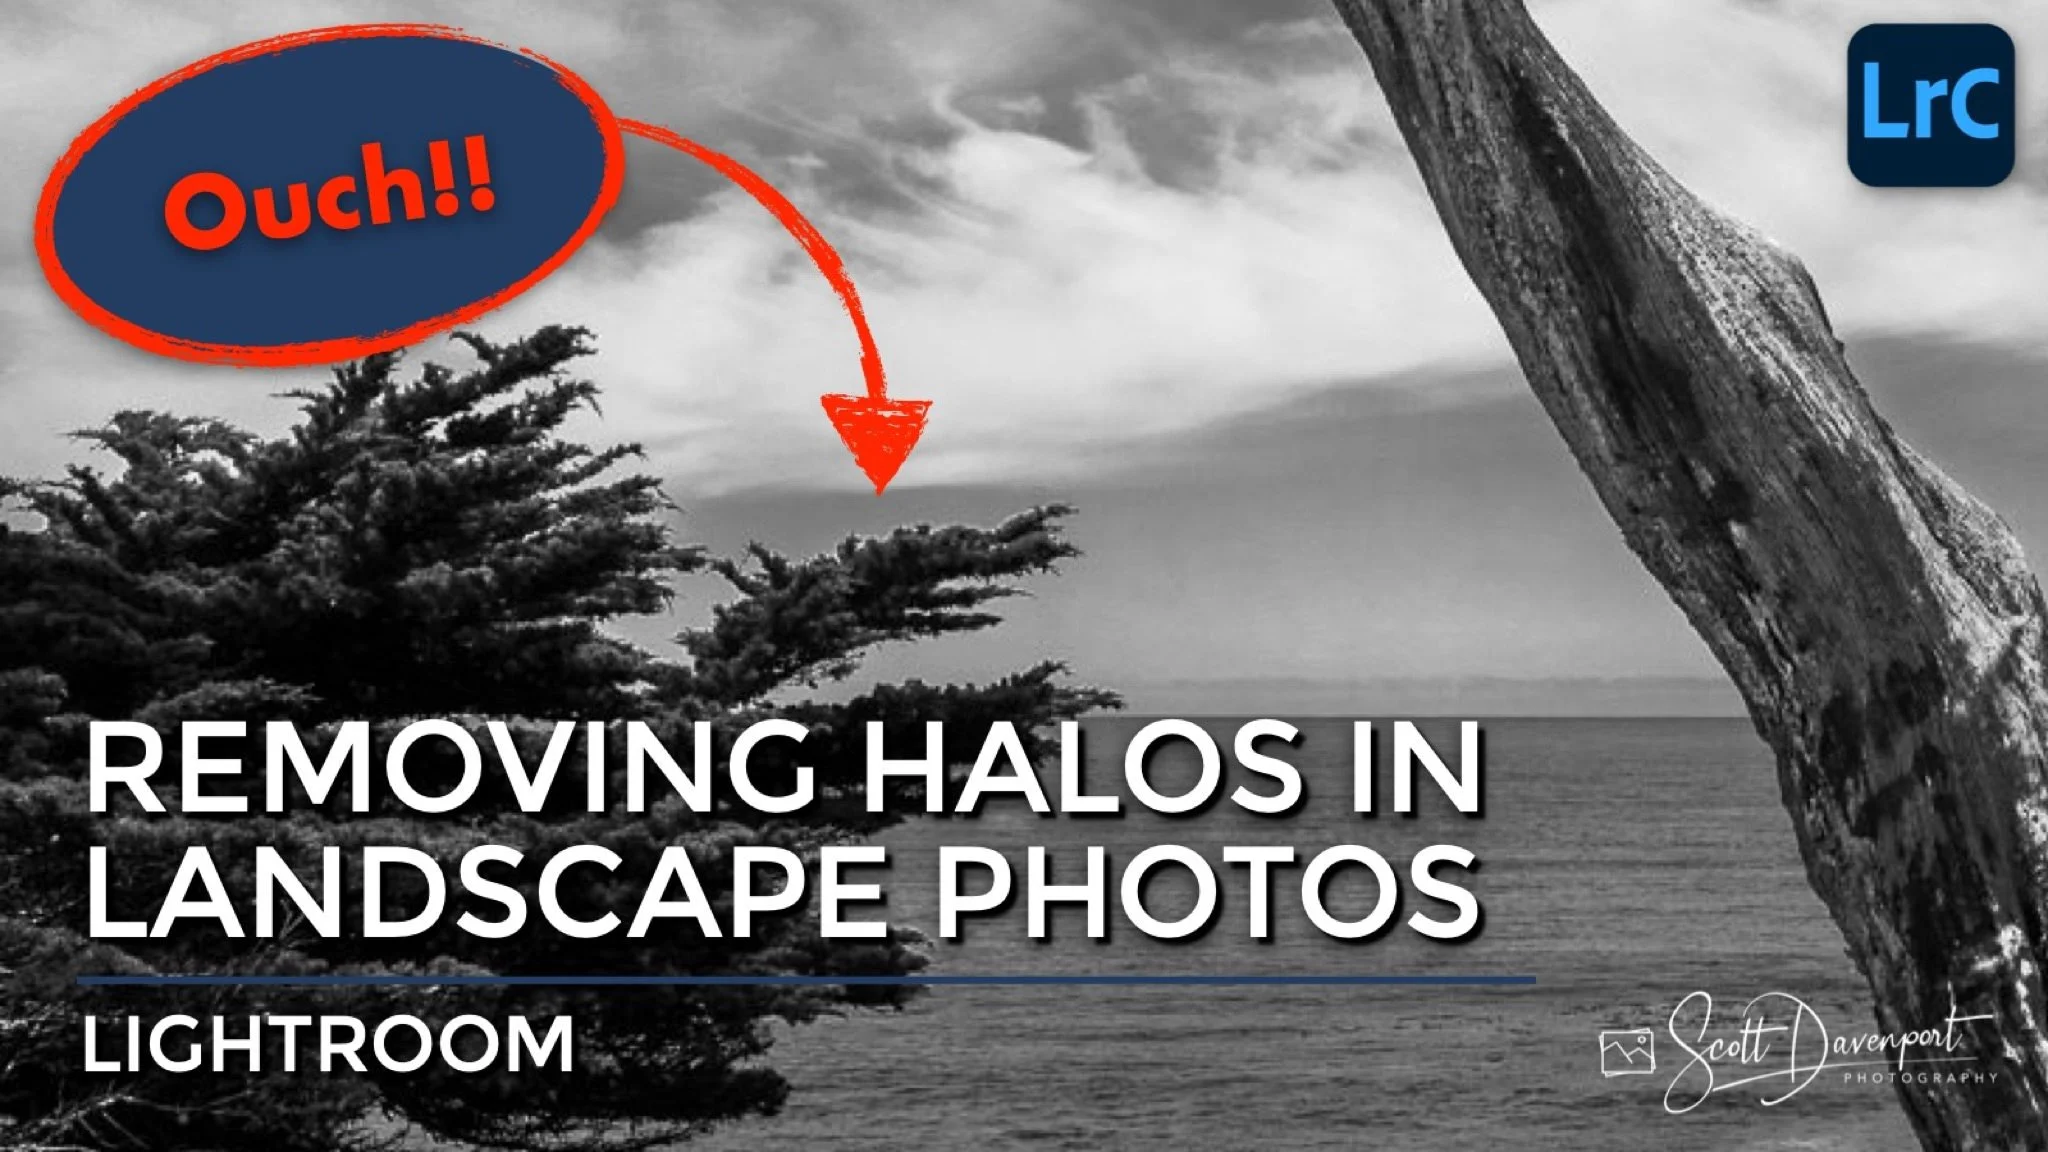
How To Deal With Halos In Landscape Photos
Landscape photography is synonymous with dynamic range. Deep shadows and bright highlights are present in the scene, and high contrast edges are common. These extremes of light and shadow is what make for the most compelling landscape images. They are also a recipe for a nasty side effect - halos.
What Is A Halo?
A halo is a bright band of pixels outlining a high contrast edge. They are most exaggerated at high contrast edges, where there is an abrupt change from dark to light or vice versa. A halo can appear in color and black & white imagery. In the example below, there is an unattractive halo around the dark tree at the left edge of the frame.
When we process landscape photos, it is typical to increase contrast. Adjustments such as clarity and texture are used to bring out the details in your scene by increasing local contrast. This also exaggerate halos. The more you add clarity and texture, the more pronounced the halo becomes.
A halo is a brighter band of pixels outlining a high contrast edge. They can happen in color and black and white images.
Finding The Cause Of A Halo
As you process your landscape photo, you may start to see halos appear. Sometimes a halo appears immediately and other times it may not be apparent until several adjustments have been made. There is no quick shortcut to finding the cause of a halo. Fortunately, Lightroom makes it easy to turn off and on various adjustments to see which has the most pronounced impact creating a halo. You can also use the Lightroom history, although I prefer to toggle off and on the adjustment panels. That’s a faster workflow for me.
For the photo above, I had set my camera profile, done basic adjustments and a black & white mix, and added several masks to the scene. Several of my masks involved contrast adjustments, dodging and burning, and the general push and pull of light and shadow. When I noticed the halo around the trees at the left, I needed to chase down the major cause.
I walked through each of the panels I’d adjusted, toggling them off and on to see if each was a notable contributor to the halo. I proceeded as follows:
Turned off all masks. The halos remained, so I re-enabled the masks.
Reset the black & white mix. The halos remained, so I did an Undo and reverted to my black & white mix.
Double-clicked the Presence label in the Basic panel. This reset the Clarity and Texture sliders. The halos remained, so I hit Cmd-Z to undo that change.
Double-clicked the Tone label in the Basic panel. This reset all of my basic adjustments (exposure, blacks, whites, shadows, highlights). The halos remained, so I undid that change.
What’s left? The camera profile. I switched the profile from B&W 04 to Adobe Color. The halos were gone!
I’d found the cause - the camera profile. A camera profile is the initial interpretation of the raw. I like the B&W 04 profile because it is a high contrast profile and creates punchy black and white images. In this case, the contrast is too much and produces a halo.
Pro tip: At each step, if disabling the panel or resetting the adjustments did not have an affect on the halo, re-enable the panel or returned the sliders to their prior setting. You set them for a reason to get your photo the way to want it. If the changes aren’t a contributor to the halos, keep them.
How To Fix A Halo?
As noted earlier, halos happen at high contrast edges. In general, the contrast at these edges needs to be reduced. Reducing contrast for the photo overall can work, however it will also change your photo. Reducing contrast, clarity, or texture may not give you the image you want. In my example, the camera profile itself introduced the halo. I tried reducing the strength of the profile - which did work to reduce the halo - but it also left my photo flat and lifeless.
Halo with a camera profile applied at 100%
Halo reduced when the camera profile is lowered to 50% strength. However, the photo has lost its punch.
You can try using a brush and paint in a reduction of contrast along an edge - although that can be problematic because it calls for intricate brush work. There is an easier way!
Remove A Halo With A Luminance Range Mask And Brush
My preferred method to reduce - and sometimes eliminate - a halo is to use a luminance range mask and a brush. It’s a 3 step process and you can see it in action at the 06:40 mark in the video accompanying this article.
Create and refine a luminance range mask. It is best to turn on your mask overlay while doing this. Add the luminance range mask and then work the range and feather controls in the masking panel. Your goal is to get the halo highlighted with the mask overlay. There will be other tones in the photo selected - that’s OK.
Intersect the range mask with a brush. Use the Intersect option in Lightroom’s masking area and choose a Brush. Then, with a small brush size, paint over just the high contrast edge with the halo. Because you have a luminance range set as well, only the halo is affected by the mask.
Adjust the sliders for the mask. Finally, start working the sliders of the mask to reduce the halo. There is no single recipe for which sliders will address the halo. I suggest working visually. Start by lowering Exposure or Contrast and see the impact on the halo. Sometimes it’s pulling down Highlights or Whites. Adjust the sliders and minimize the halo.
Pro tip: Use different masks to address halos in different areas of your photo. The settings for one halo edge may not apply to all halo edges in your image.

A brush intersected with a luminance range mask lets you paint over high contrast edges and target only the halo. (Note: The mask overlay makes the scene appear darker.)

After removing the halos with the luminance range plus brush combination. Much, much better!!
Conclusion
All things being equal, we wouldn’t make such strong adjustments that trigger halos. Sometimes that is unavoidable lest the entire image lose its punch and power. When needed, Lightroom does have the tools available to reduce and remove halos. It does require some effort, yet the luminance range and brush combination make it workable. And when the final image is done, totally worthwhile.