
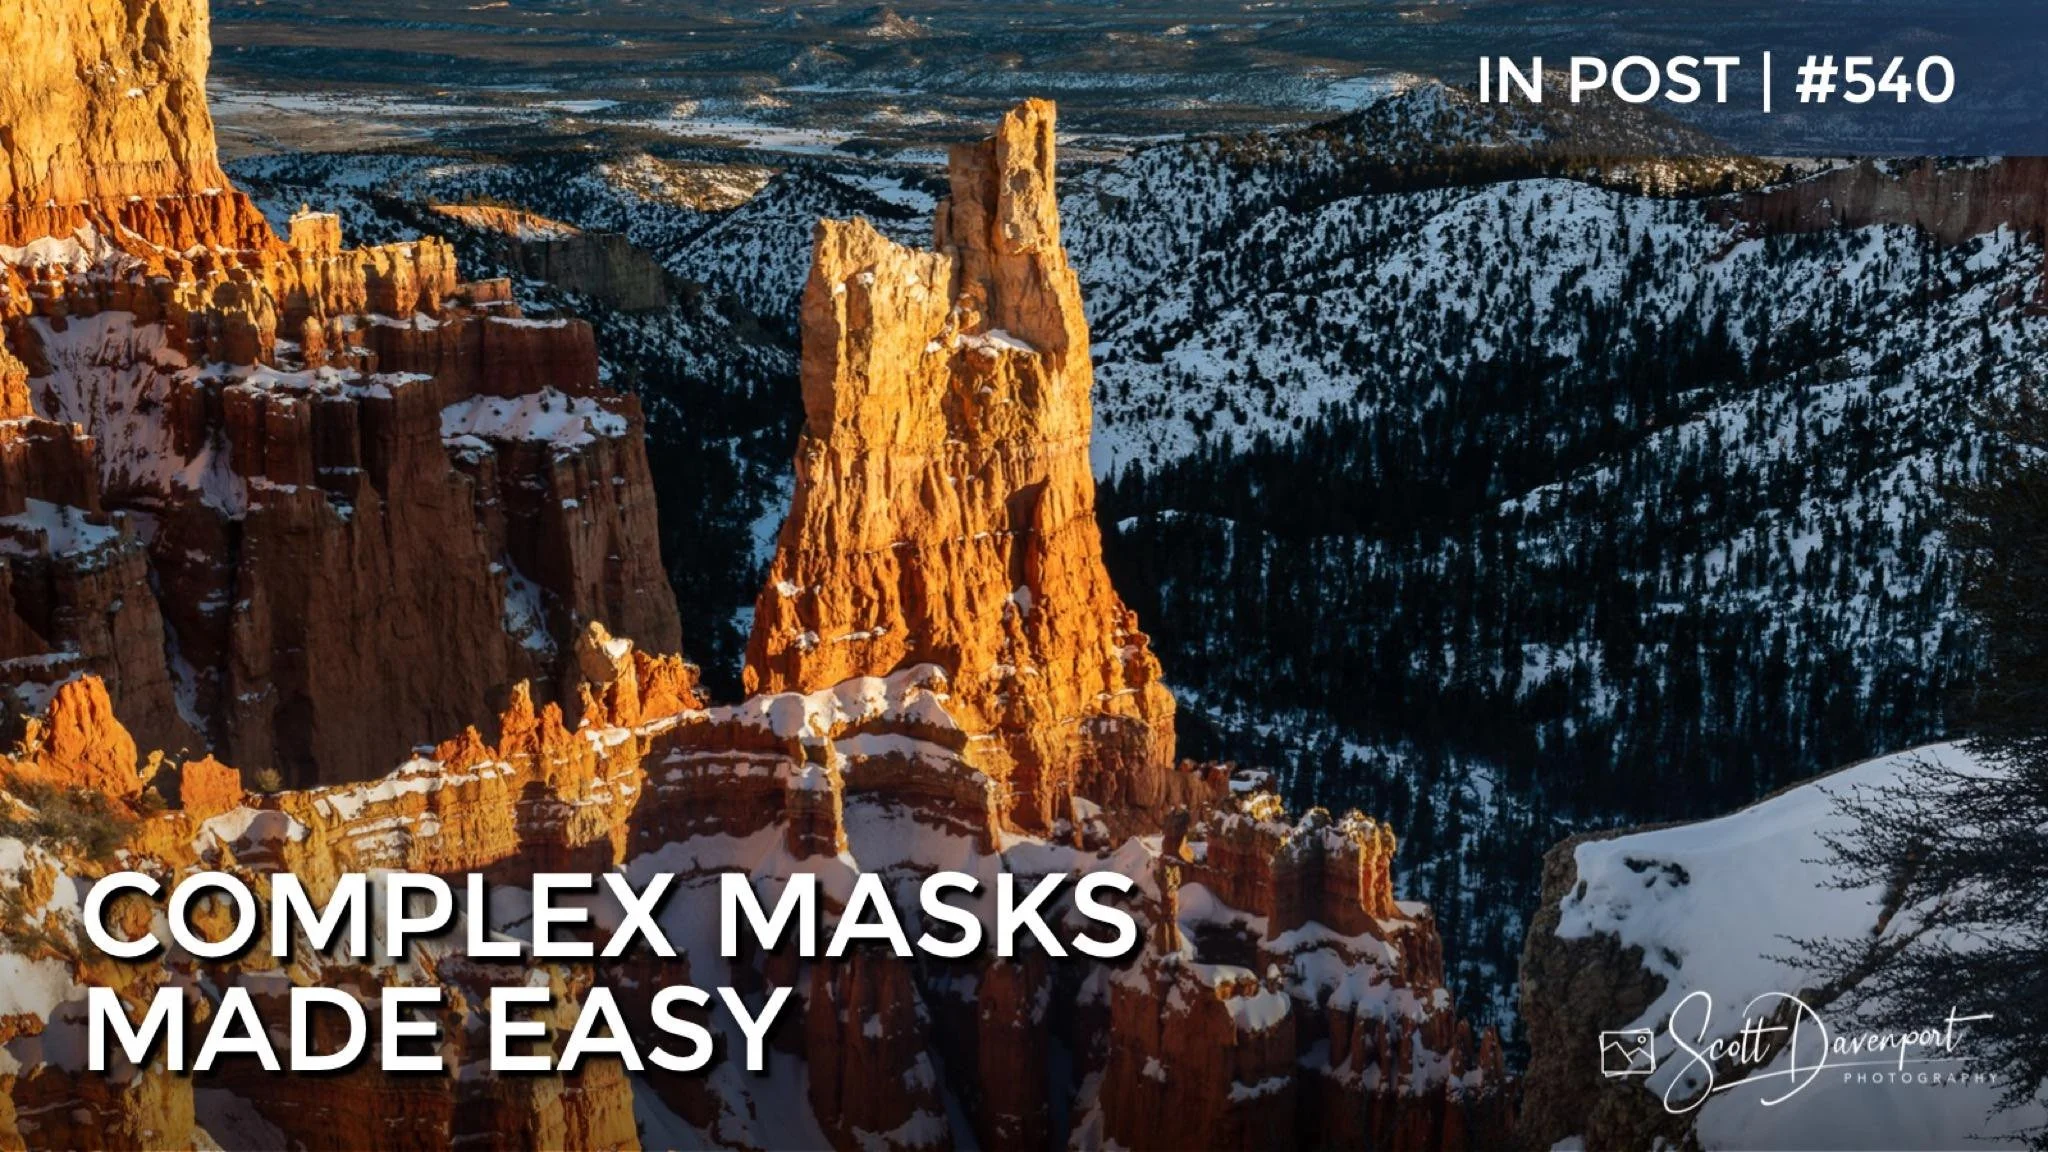
The series of photos I captured in Bryce Canyon in Utah share a common theme. The show in shadowed areas has a heavy, blue color cast. Using the masking tools in Lightroom have made it easy to make complex selections and correct just the areas of my photo I want to.
Here is one example from Paria View on a clear sky day. The right side of the photo is in shadow and that bright blue sky is throwing down a heavy blue color cast. After a general warming on the right side of the image, I used a series of masks to target adjustments to the snow:
Add a gradient mask to cover roughly the right half of the photo
Intersect the gradient with a luminance range mask, using the eyedropper to sample the snow in the shadows. This eliminated the bright tones of the main subject and the sky from the selection.
Intersect again with a color range mask, also sampling the snow in the shadows. This removed the orange tones of the rocks from the selection.
Subtract a gradient mask from the upper part of the photo to temper the effect in the background.
Two simple gradients and two (more or less) point-and-click range masks and the snow in shadow was targeted. A simple increase in Exposure and decrease in Saturation brightened the snow and moved it toward the whiter tone I wanted.
Watch the video to see the technique in action.
Paria View In Snow
Contact Scott to commission a print or license this image.


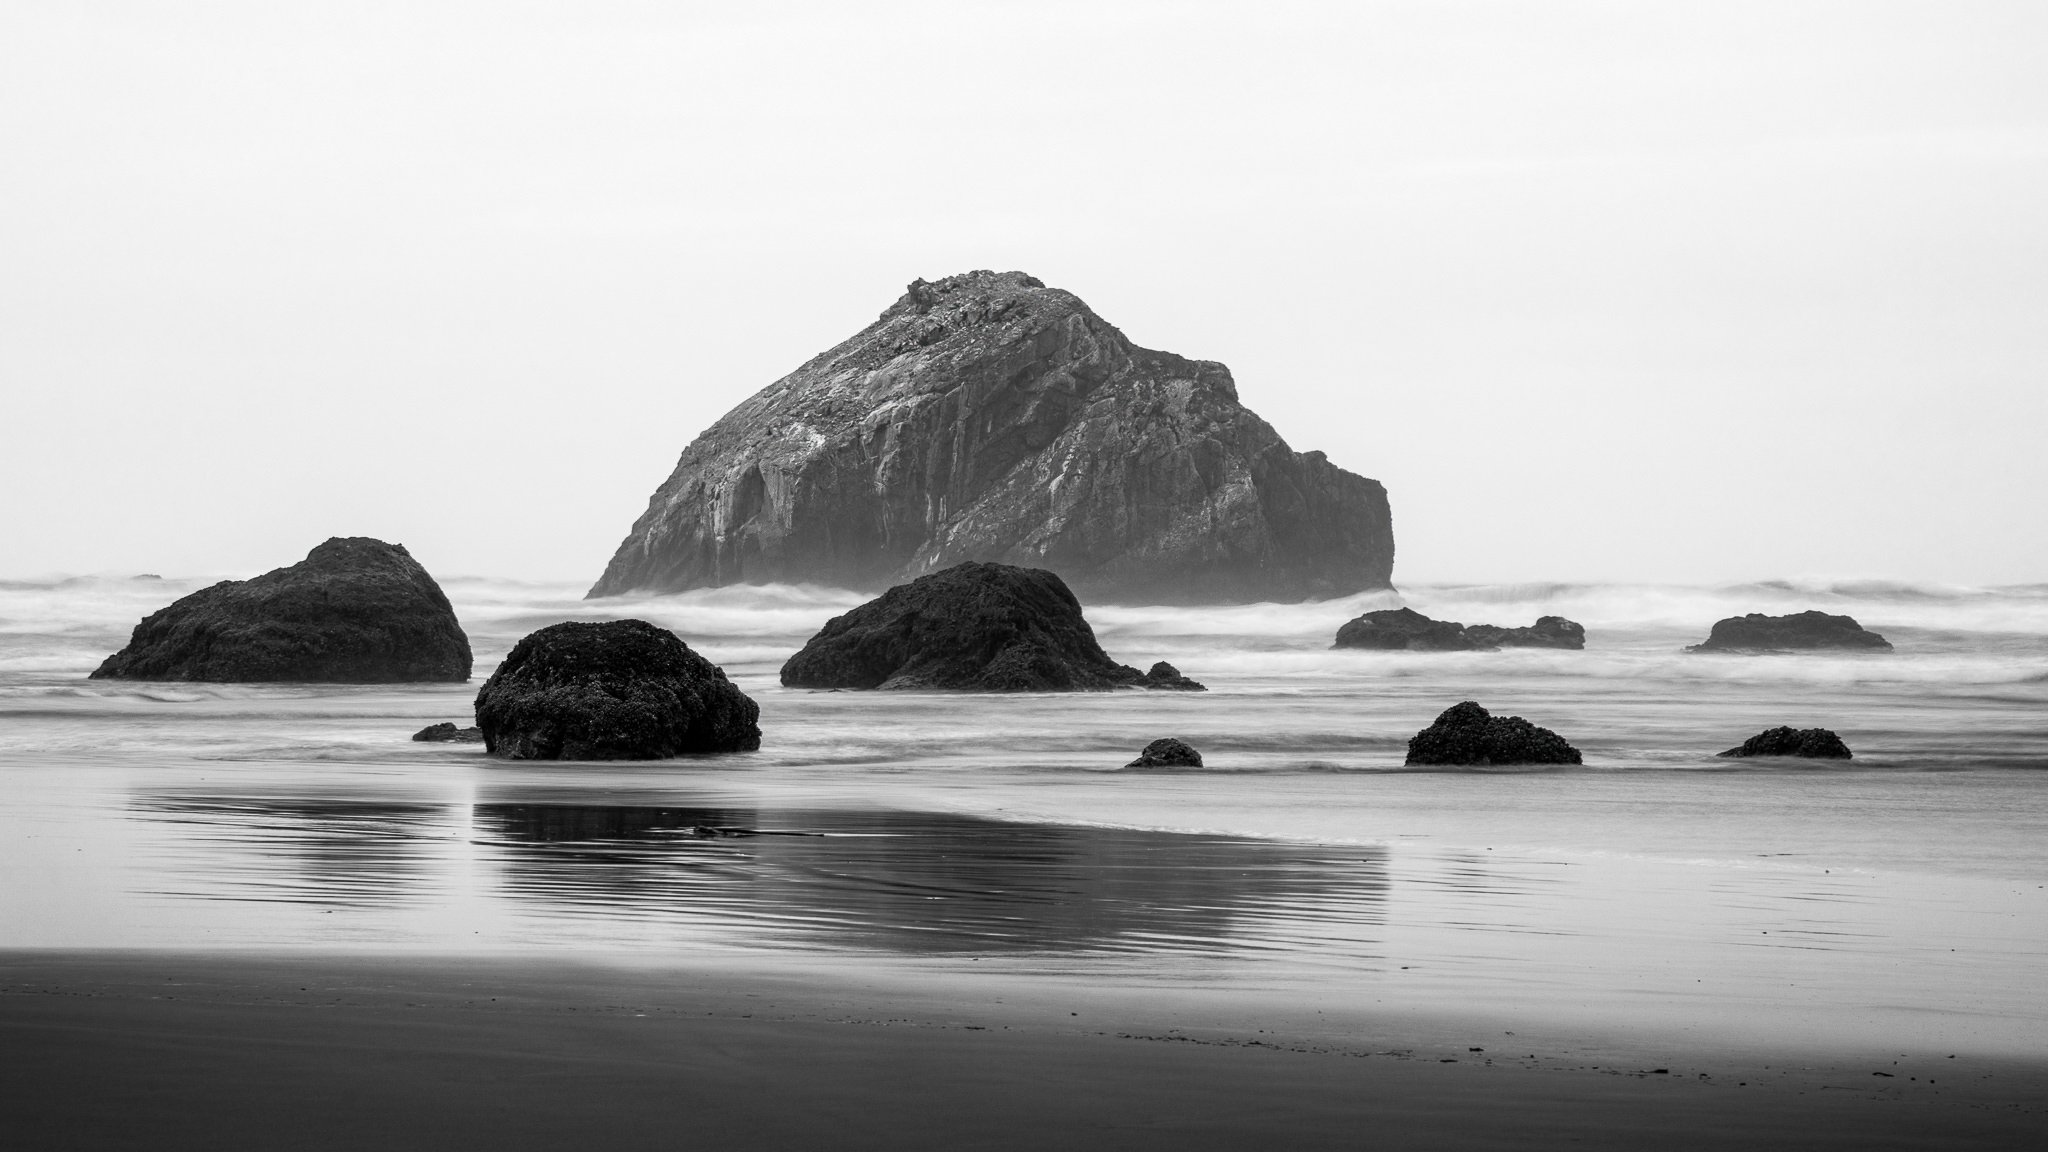


Supercharge your dodging and burning by intersecting a luminance range mask with a brush. Get professional-grade results with minimal effort.