3 Steps To Export From ON1 Photo RAW To JPEGMini
If you are trying ON1 Photo RAW, the ON1 plug-ins like ON1 Effects or ON1 HDR, or upgrading your ON1 software to a newer version, please consider using my affiliate link. There is no extra cost to you and it helps support ON1 tutorials like this one. Ready to buy? Use the offer code SDP20 at checkout and SAVE 20%!
JPEGMini compresses your JPEG images impressively well while maintaining high quality. I’ve used it in my workflow for several years now. ON1 Photo RAW 2022 refreshed the export controls and you can now connect your export workflow with other applications, like JPEGMini. In 3 steps, create an export workflow to produce small, high quality JPEGs that are perfect for social media, websites, and email.
Step 1 - Set Up JPEGMini For Hands-Free Workflows
The first step is to configure JPEGMini to work best in automated, hands-free workflows. Launch the JPEGMini app and open its preferences. Make sure the Optimize Originals setting is selected and the “Warn me before replacing photos” checkbox is disabled. Click Apply.
With these settings, JPEGMini will process JPEG files and store the compressed version of them in the same folder with the same name as the original. You control the destination folder and file naming in the ON1 export settings.
Step 1 - Configure JPEGMini to work for automated, hands-free workflows.
Step 2 - Set Up The ON1 Export Settings
Open the ON1 export panel and configure your export settings as you normally would. Set the output name, the destination folder, any resize options or watermarks you might want, etc. The File Type (of course!) needs to be JPEG. You can set the Quality slider all the way to 100 when you use JPEGMini.
Return to the Destination section and configure ON1 export to run JPEGMini as part of your export workflow. In the After Export options, enable the button next to Open In. Click the popup menu to the right of Open In and choose Send to Other Application. Navigate to the JPEGMini application on your computer and select it. JPEGMini is now an option in the menu and is set as the selected application.
Finally, click the Save Preset button in the lower left of the export window to save your settings. For future exports, you can simply select your preset to export.
Step 2 - In the Destination section of the ON1 export window, visit the After Export options. Choose Open In and add JPEGMini as the application to run. Save these options as part of an Export Preset.
Step 3 - Export Your Photos!
You’re ready to export your photos and have them compressed by JPEGMini! Click the Export button and let the tools go to work. JPEGMini is launched automatically by ON1 and
Under the covers, ON1 first exports a JPEG like it normally does, storing the output file in the folder and with the name you specified in your export settings. Then, ON1 launches JPEGMini telling it where those JPEGs are. JPEGMini runs through them and compresses them further without noticeable loss of quality.
JPEGMini also reports on how much storage space is saved. The photo I used for the screenshots in this article was compressed by an impressive 67%!
Step 3 - Export your JPEGs from ON1. JPEGmini will run and compress the files further automatically as part of your export.
Bamboo Forest In Kyoto
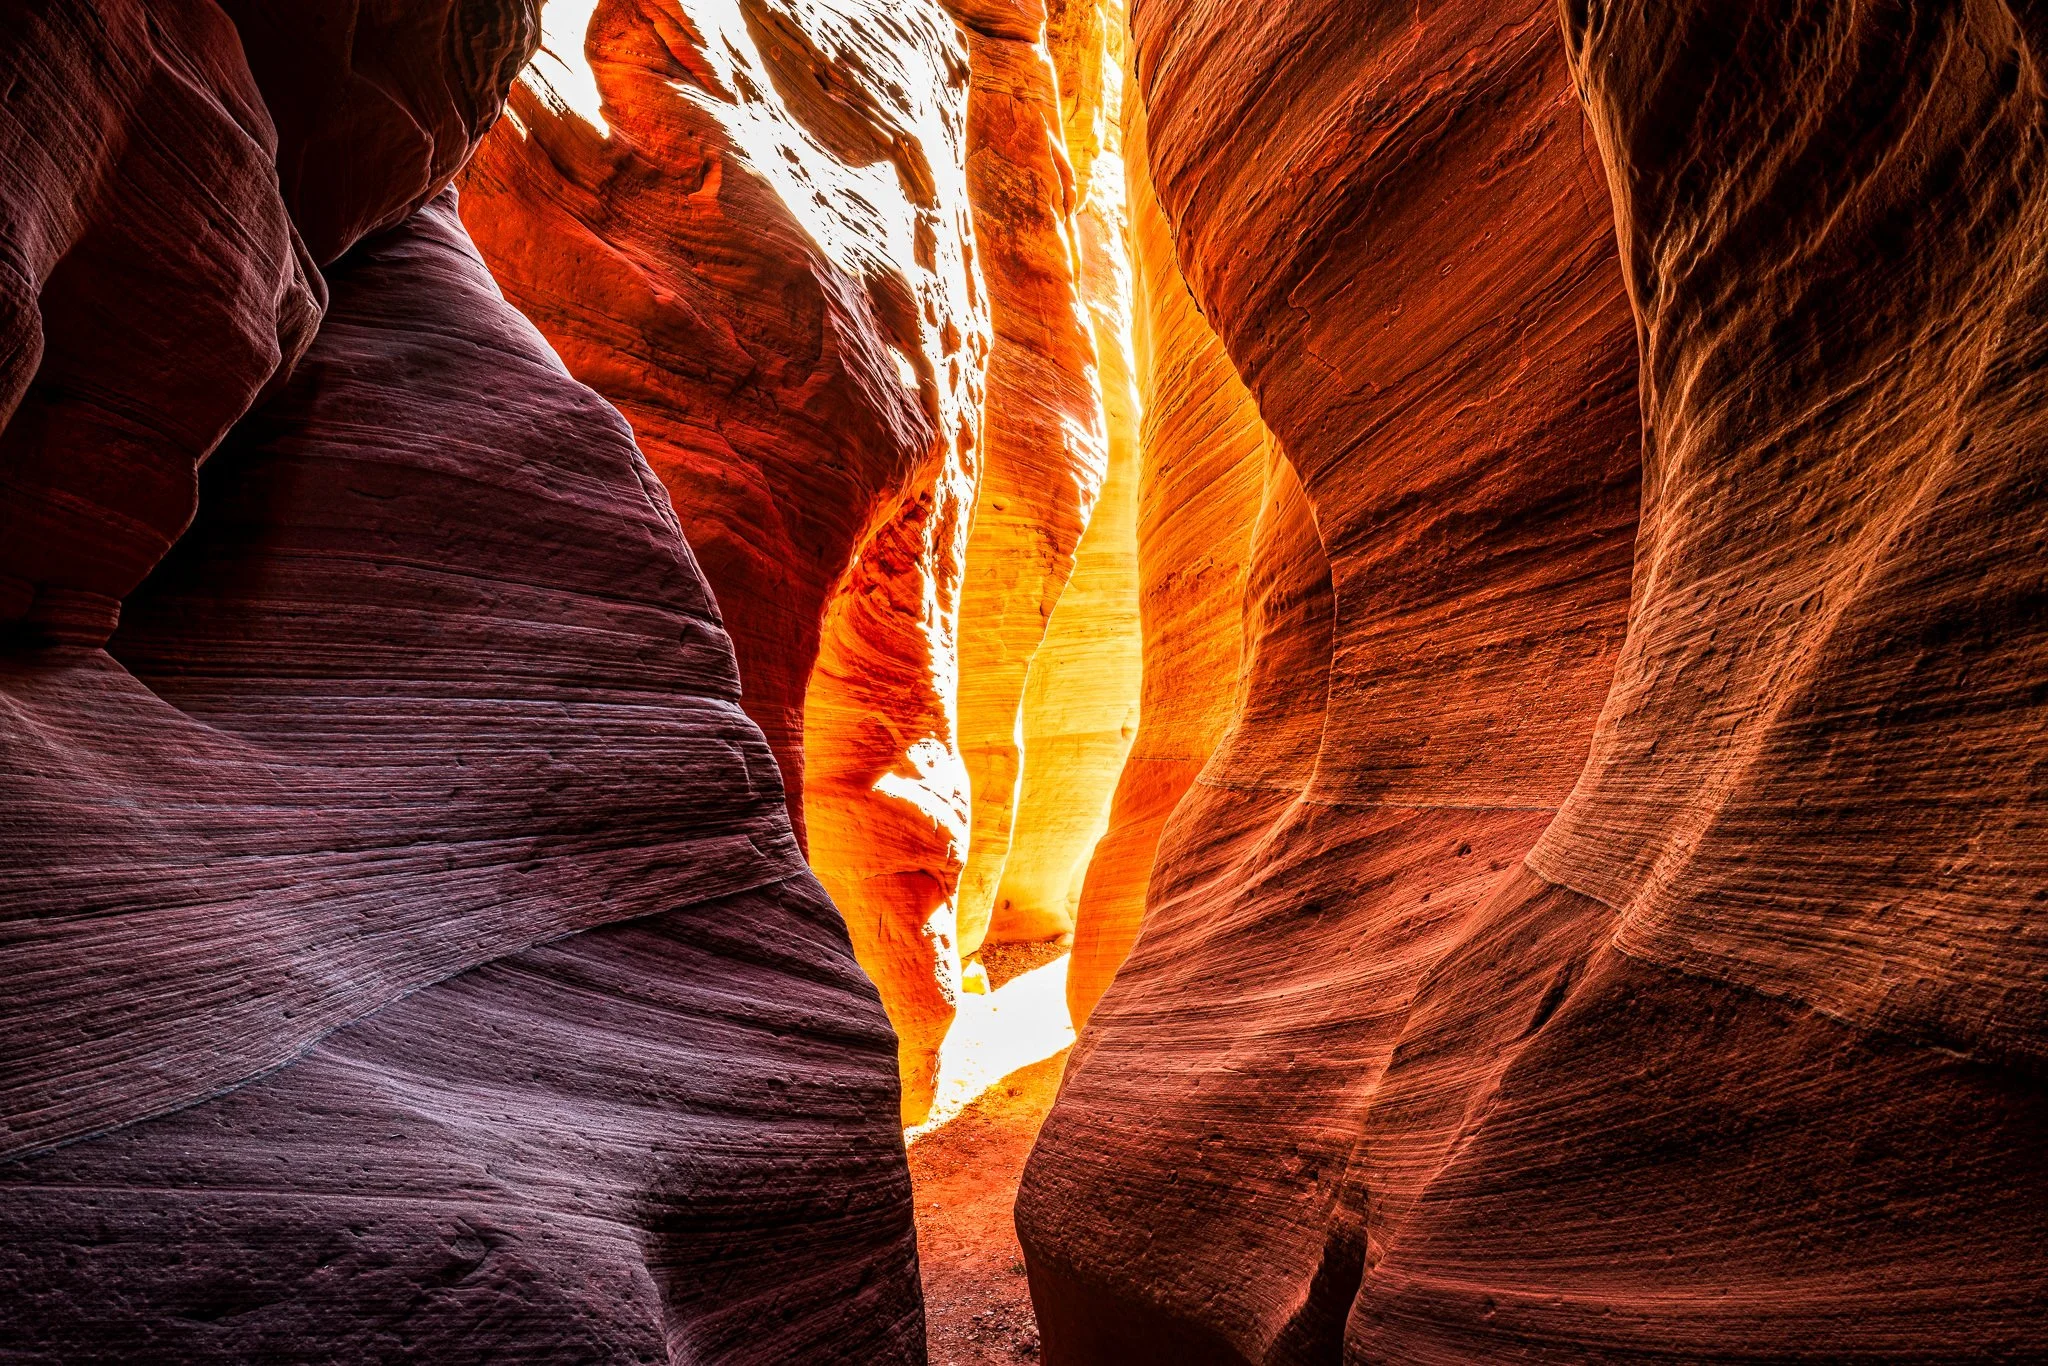
Contact Scott to commission a print or license this image.
