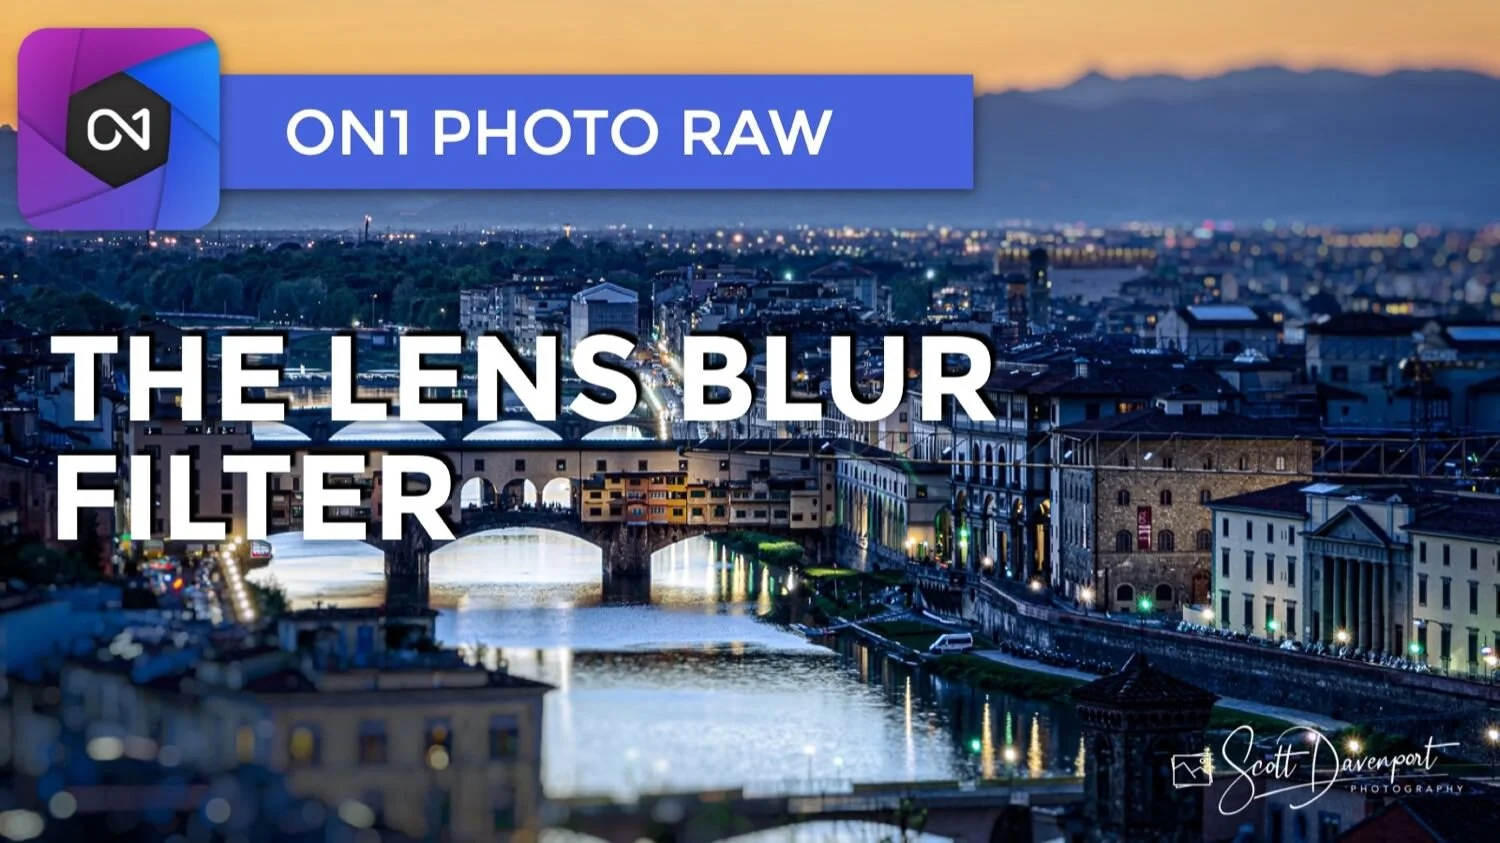
The Lens Blur Filter In ON1 Effects
If you are trying ON1 Photo RAW 2021, the ON1 plug-ins, or upgrading from an older version, please consider using my affiliate link. There is no extra cost to you and it helps support ON1 tutorials like this one. Ready to buy? Use the offer code SDP20 at checkout and SAVE 20%!
The Lens Blur filter creates blurring effects that simulate a shallower depth of field. This filter adds bokeh to a scene, including controls over the shape and number of sides the bokeh shapes have. Lens Blur is useful for portrait work and food or product photography. The tilt-shift style is also helpful for certain cityscape scenes.
Lens Blur And Masking
It’s rare that you’d add a Lens Blur effect to your entire photo, so be prepared to use your masking tools with this filter. Many of the built-in styles add a mask automatically. Styles like Tilt Shift and Sides use a reflected gradient to blur opposite edges of a photo. Other styles like Soft Vignette include an oval-shaped mask. The Bokeh styles do not apply a mask by default.
Lens Blur Controls
The Lens Blur filter has three sections of sliders. At the top, the Amount slider controls the overall intensity of the blur and the Optic Quality slider adjusts the smoothness or coarseness of the blurred areas. Like all filters in ON1 Effects, the Lens Blur filter has an overall Opacity slider (above the styles) that can lower the strength of the effect. I don’t advocate using Opacity to control the blur strength because the results usually have artifacts or look smudgy. Use the Amount slider instead.
In the Aperture section, the two controls, Sides and Curvature, control the shape of the bokeh. Try this as an experiment to see how the two sliders work. Lower the Curvature slider to 10 or less. Next, change the value of Sides. You’ll see the shape of the bokeh change. A value of 3 makes a triangle, 4 makes a diamond, 5 makes a pentagon, and so on. Raising Curvature rounds the individual sides of the bokeh, given you complete control over stylized bokeh shapes or smooth bokeh balls.
At the bottom are four other sliders. Blooming is the most specific to Lens Blur, adjusting the brightness of the bokeh. The other sliders, Brightness, Contrast, and Noise adjust the entire image and do exactly what you’d expect they do. Brightness adjusts the exposure of the photo, Contrast adds contrast, and Noise adds grain to the image.
ON1 Effects Lens Blur: Set the overall strength and smoothness with the Amount and Optic Quality sliders
ON1 Effects Lens Blur: Adjust the bokeh shape with the Sides and Curvature sliders
ON1 Effects Lens Blur: Refine bokeh brightness and image tone with the Blooming, Brightness, Contrast, and Noise sliders
A Portrait Example Of Lens Blur
The various Bokeh styles work well with portraits - just be prepared to do some masking. The Center shaped gradient Masking Bug works well with portraits. Position the center of the mask over your subject’s eye. That’s where you want the photo to be sharpest. Then, shape and feather the mask to create a smooth blend from sharp to blurred.
The mask will likely need some cleanup. The Lens Blur filter does not have evaluate a photo for subjects and their relative depth. In this example, after adding a simple Center-shaped mask, the background over my subject’s left shoulder is still crisp. It should be softer and blurred because it is not on the same focal plane as her eye. The opposite is true for the foreground. The feathered mask added blur to her sweater, which did not look right. More manual masking is needed to clean it up and remove some of the blur from the foreground.
Lens Blur is a useful tool. Yet you the photographer need to remain mindful of what should and shouldn’t get blurred. Areas of a photo are roughly on the same plane as the focus point should not be blurred, and vice versa.
ON1 Effects Lens Blur: Try the Center shaped masking bug for portraits with the center on your subject’s eyes.
ON1 Effects Lens Blur: Manual masking is usually necessary with the Lens Blur filter and portraits. You the photographer need to understand the depth relationship among your subjects and the plane of focus you want.


A Food Photography Example Of Lens Blur
The Lens Blur filter is readily usable for food photography. Often, food photos are singular subjects, or surrounding objects are reasonably close by. Less cleanup masking is needed. In this photo of some Belgian chocolates, a simple Center-shaped mask is all that’s needed to emphasize the primary subject and draw the viewer’s eye.
ON1 Effects Lens Blur: The Center masking shape works great for close-ups like food photography.
A shallow depth of field simulated with the Lens Blur filter in ON1 Effects.
Contact Scott to license this image.
ON1 Effects Lens Blur: Create a miniature look and feel with the Tilt Shift style.
A Cityscape Miniature Look With Lens Blur
Easily create a miniature model look with the Tilt Shift style in the Lens Blur filter. This style adds a Reflected Gradient shape to your photo. Position and adjust each side of the gradient independently. With elevated photos like cityscapes, the scene takes on a miniature look at feel.
Like all looks with the Lens Blur filter, you have complete control over the shape and softness of the bokeh. Also, the manual masking controls can be used in conjunction with the Reflected Gradient. In this photo of Florence, Italy, after adjusting the gradient to follow the river, I used a masking brush to reduce the strength of the blur in the lower right corner.

Florence Italy At Dusk
Contact Scott to commission a print or license this image.