If you are trying ON1 Photo RAW, the ON1 plug-ins like ON1 Effects or ON1 HDR, or upgrading your ON1 software to a newer version, please consider using my affiliate link. There is no extra cost to you and it helps support ON1 tutorials like this one. Ready to buy? Use the offer code SDP20 at checkout and SAVE 20%!
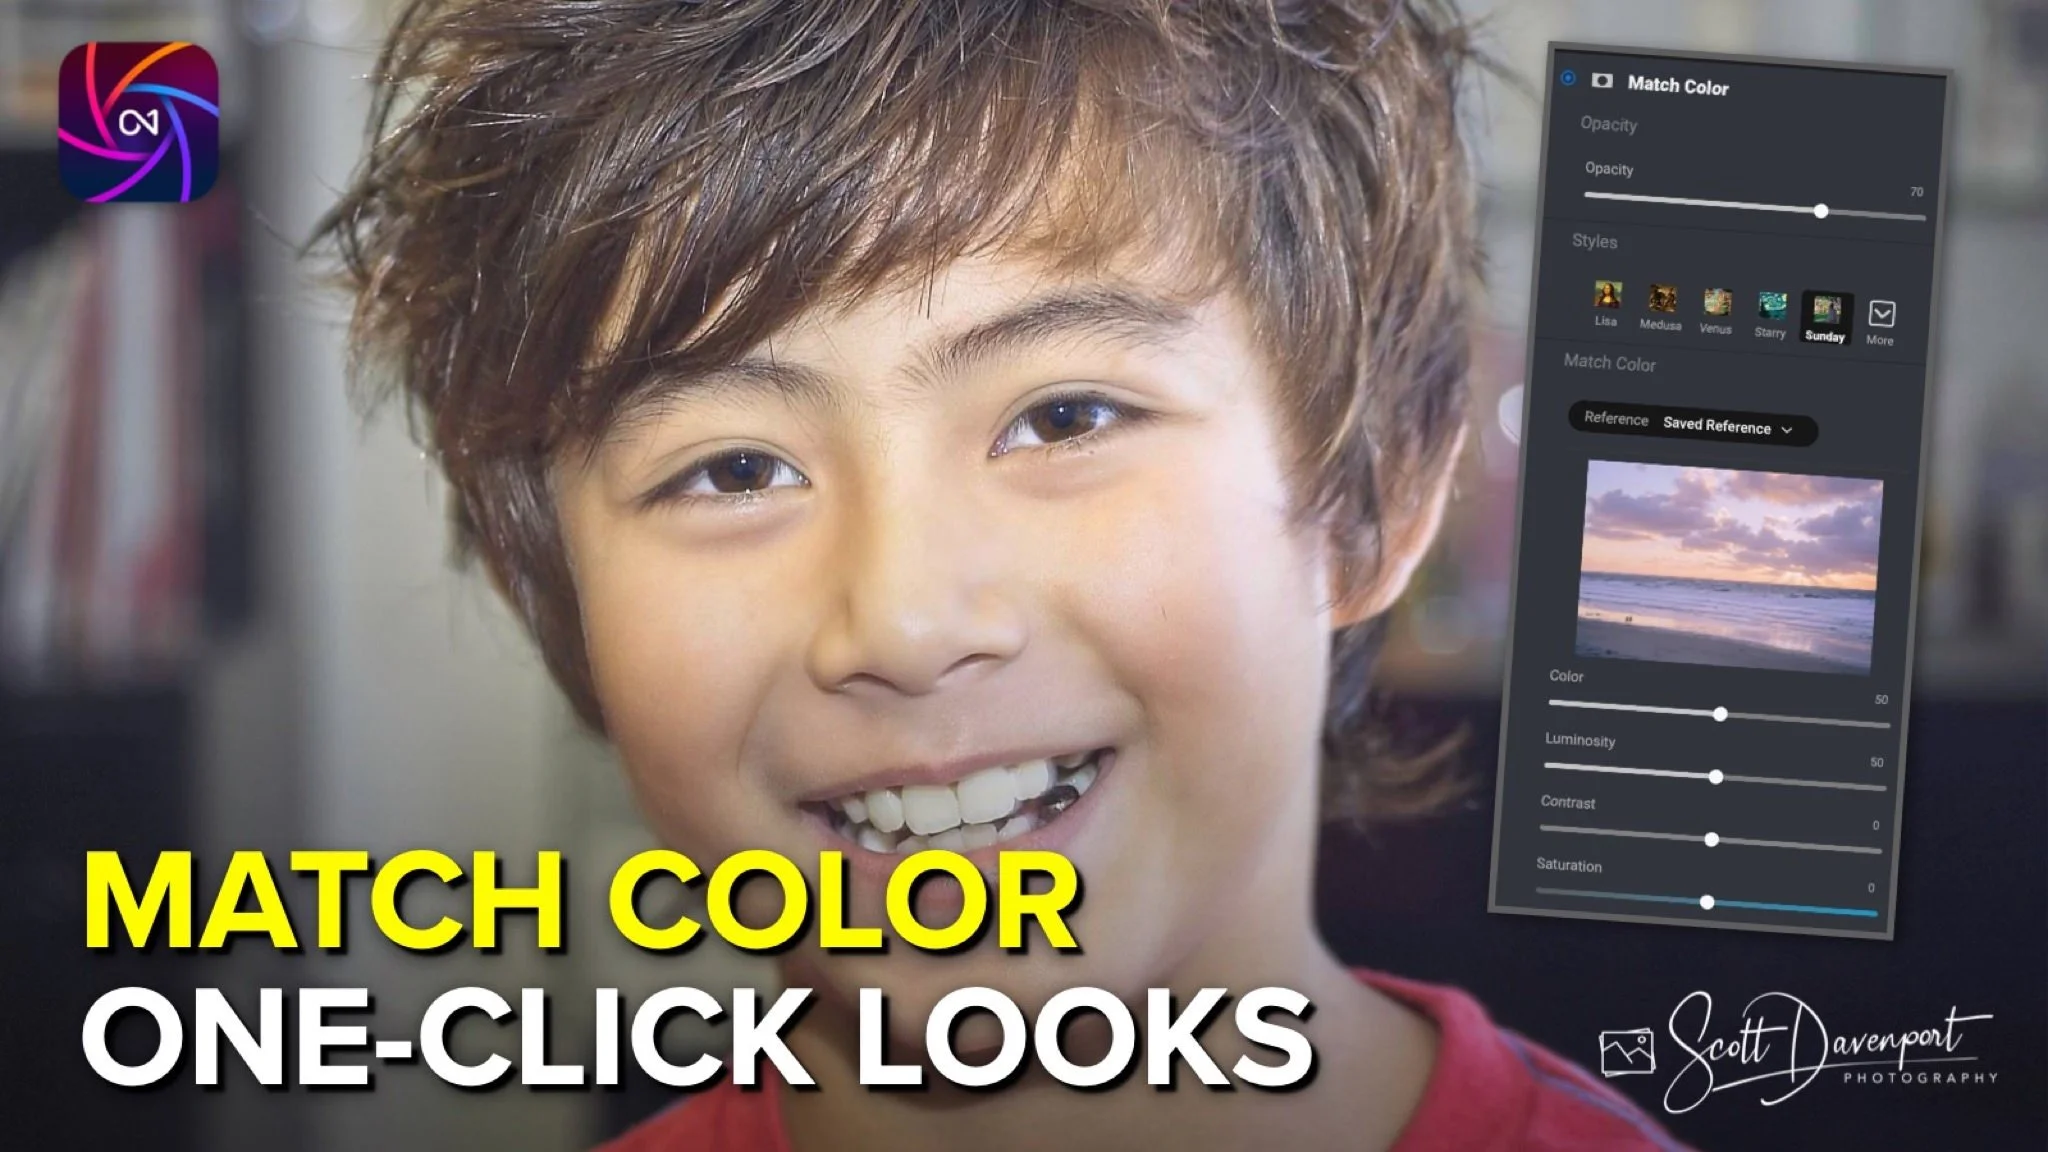
The Match Color filter is new in ON1 Photo RAW 2025 and makes mimicking the look of other photos a one-click operation. This filter analyzes the color palette in any reference photo and color grades your image to match. It’s the perfect filter to copy a look from another photo or to align colors across images for smoother composites.
Using Match Color is simple. Select a reference photo that has the color palette you want to mimic. The reference photo can be one of the built-in styles, another layer, or any photo on your computer. Match Color analyzes the colors in the reference and applies a complex color grading to your image to match the look. You can refine the look using the Color, Luminosity, Contrast, and Saturation sliders in the filter.
Watch the video tutorial in this article for a full description of the controls and to see Match Color in action.
A portrait before using Match Color
Match Color applies the pastel tones from a beach scene to the portrait
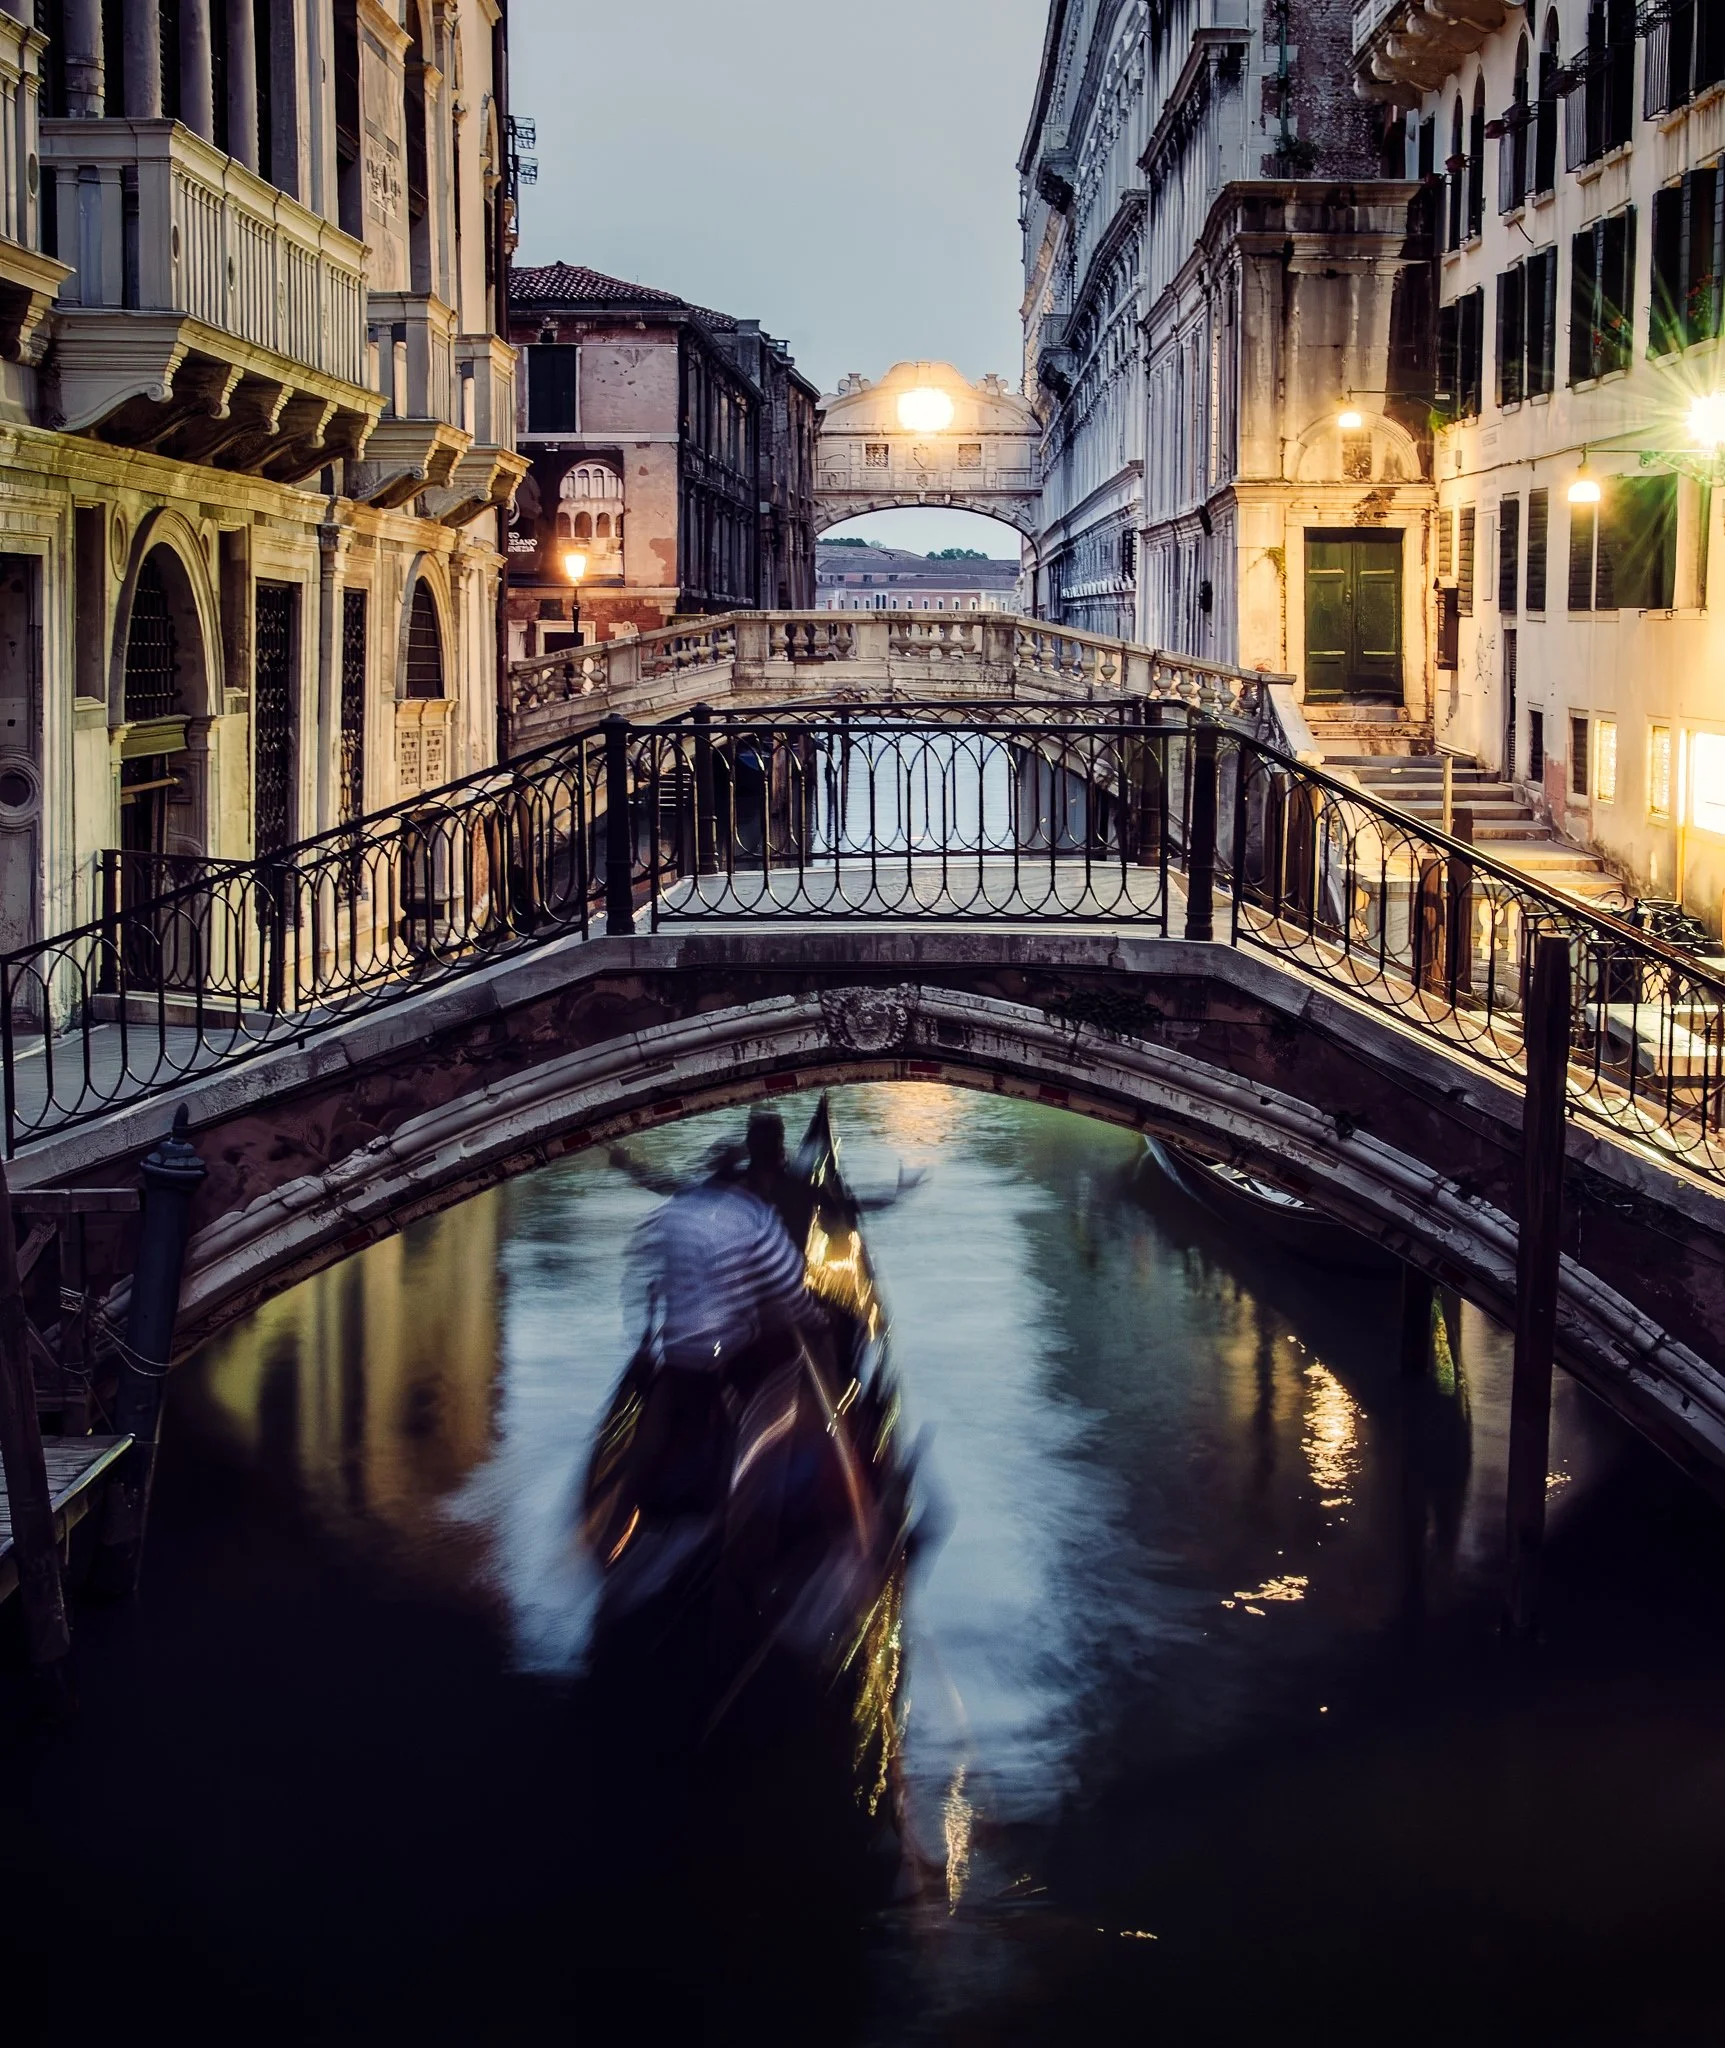
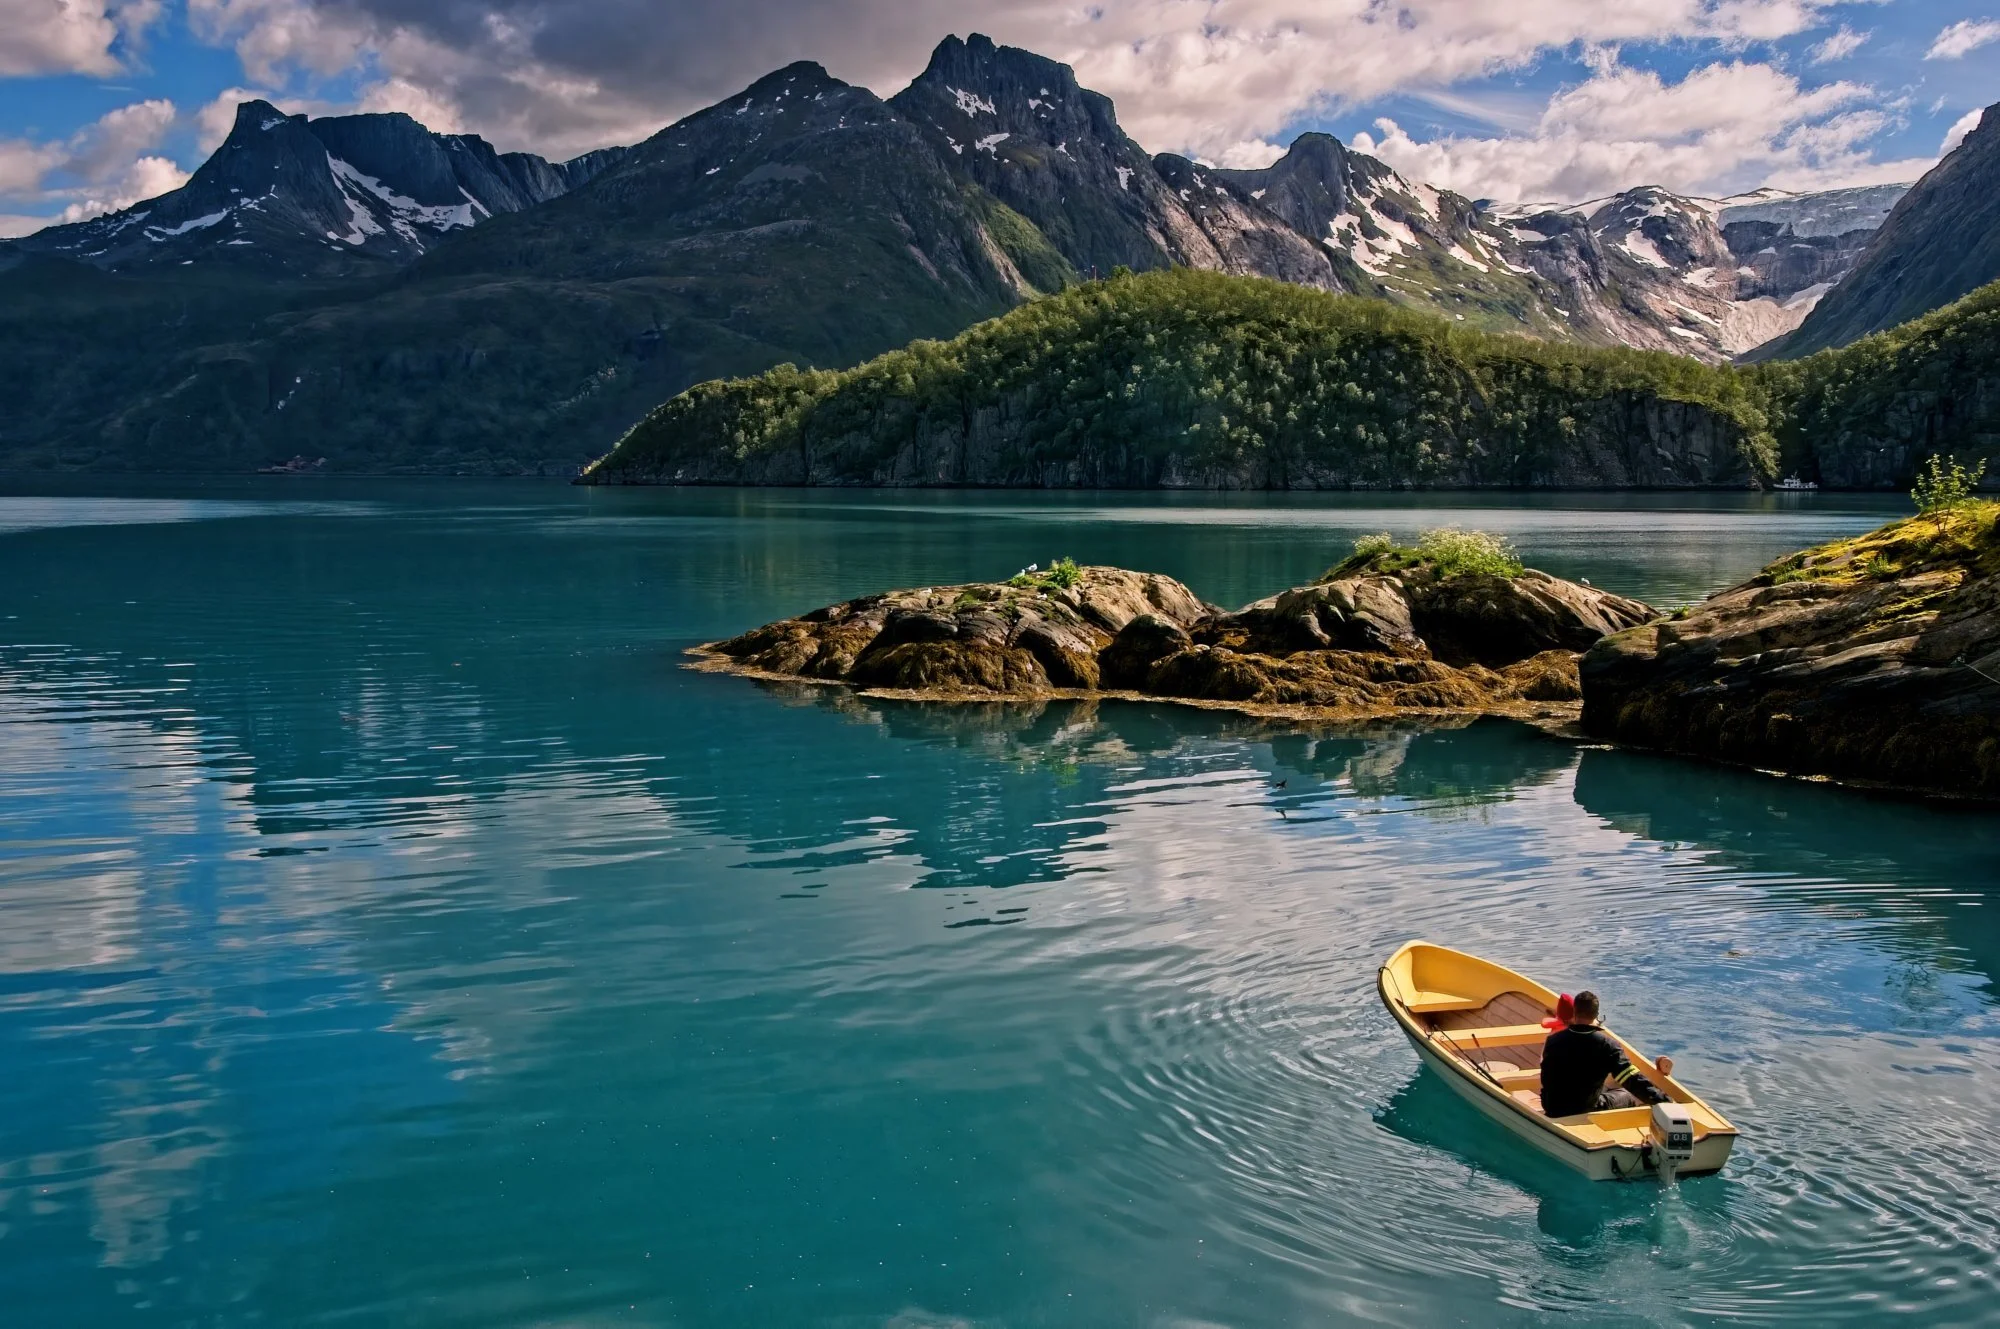
Tack Sharp can correct camera shake remarkably well, but applying it across an entire photograph can sharpen areas you intentionally want to keep soft. Water, reflections, and moving subjects can quickly lose their natural character.
By combining Tack Sharp with layers and masks in ON1 Photo RAW, you can correct softness selectively. This approach preserves intentional motion while sharpening the stationary parts of the scene that need help.
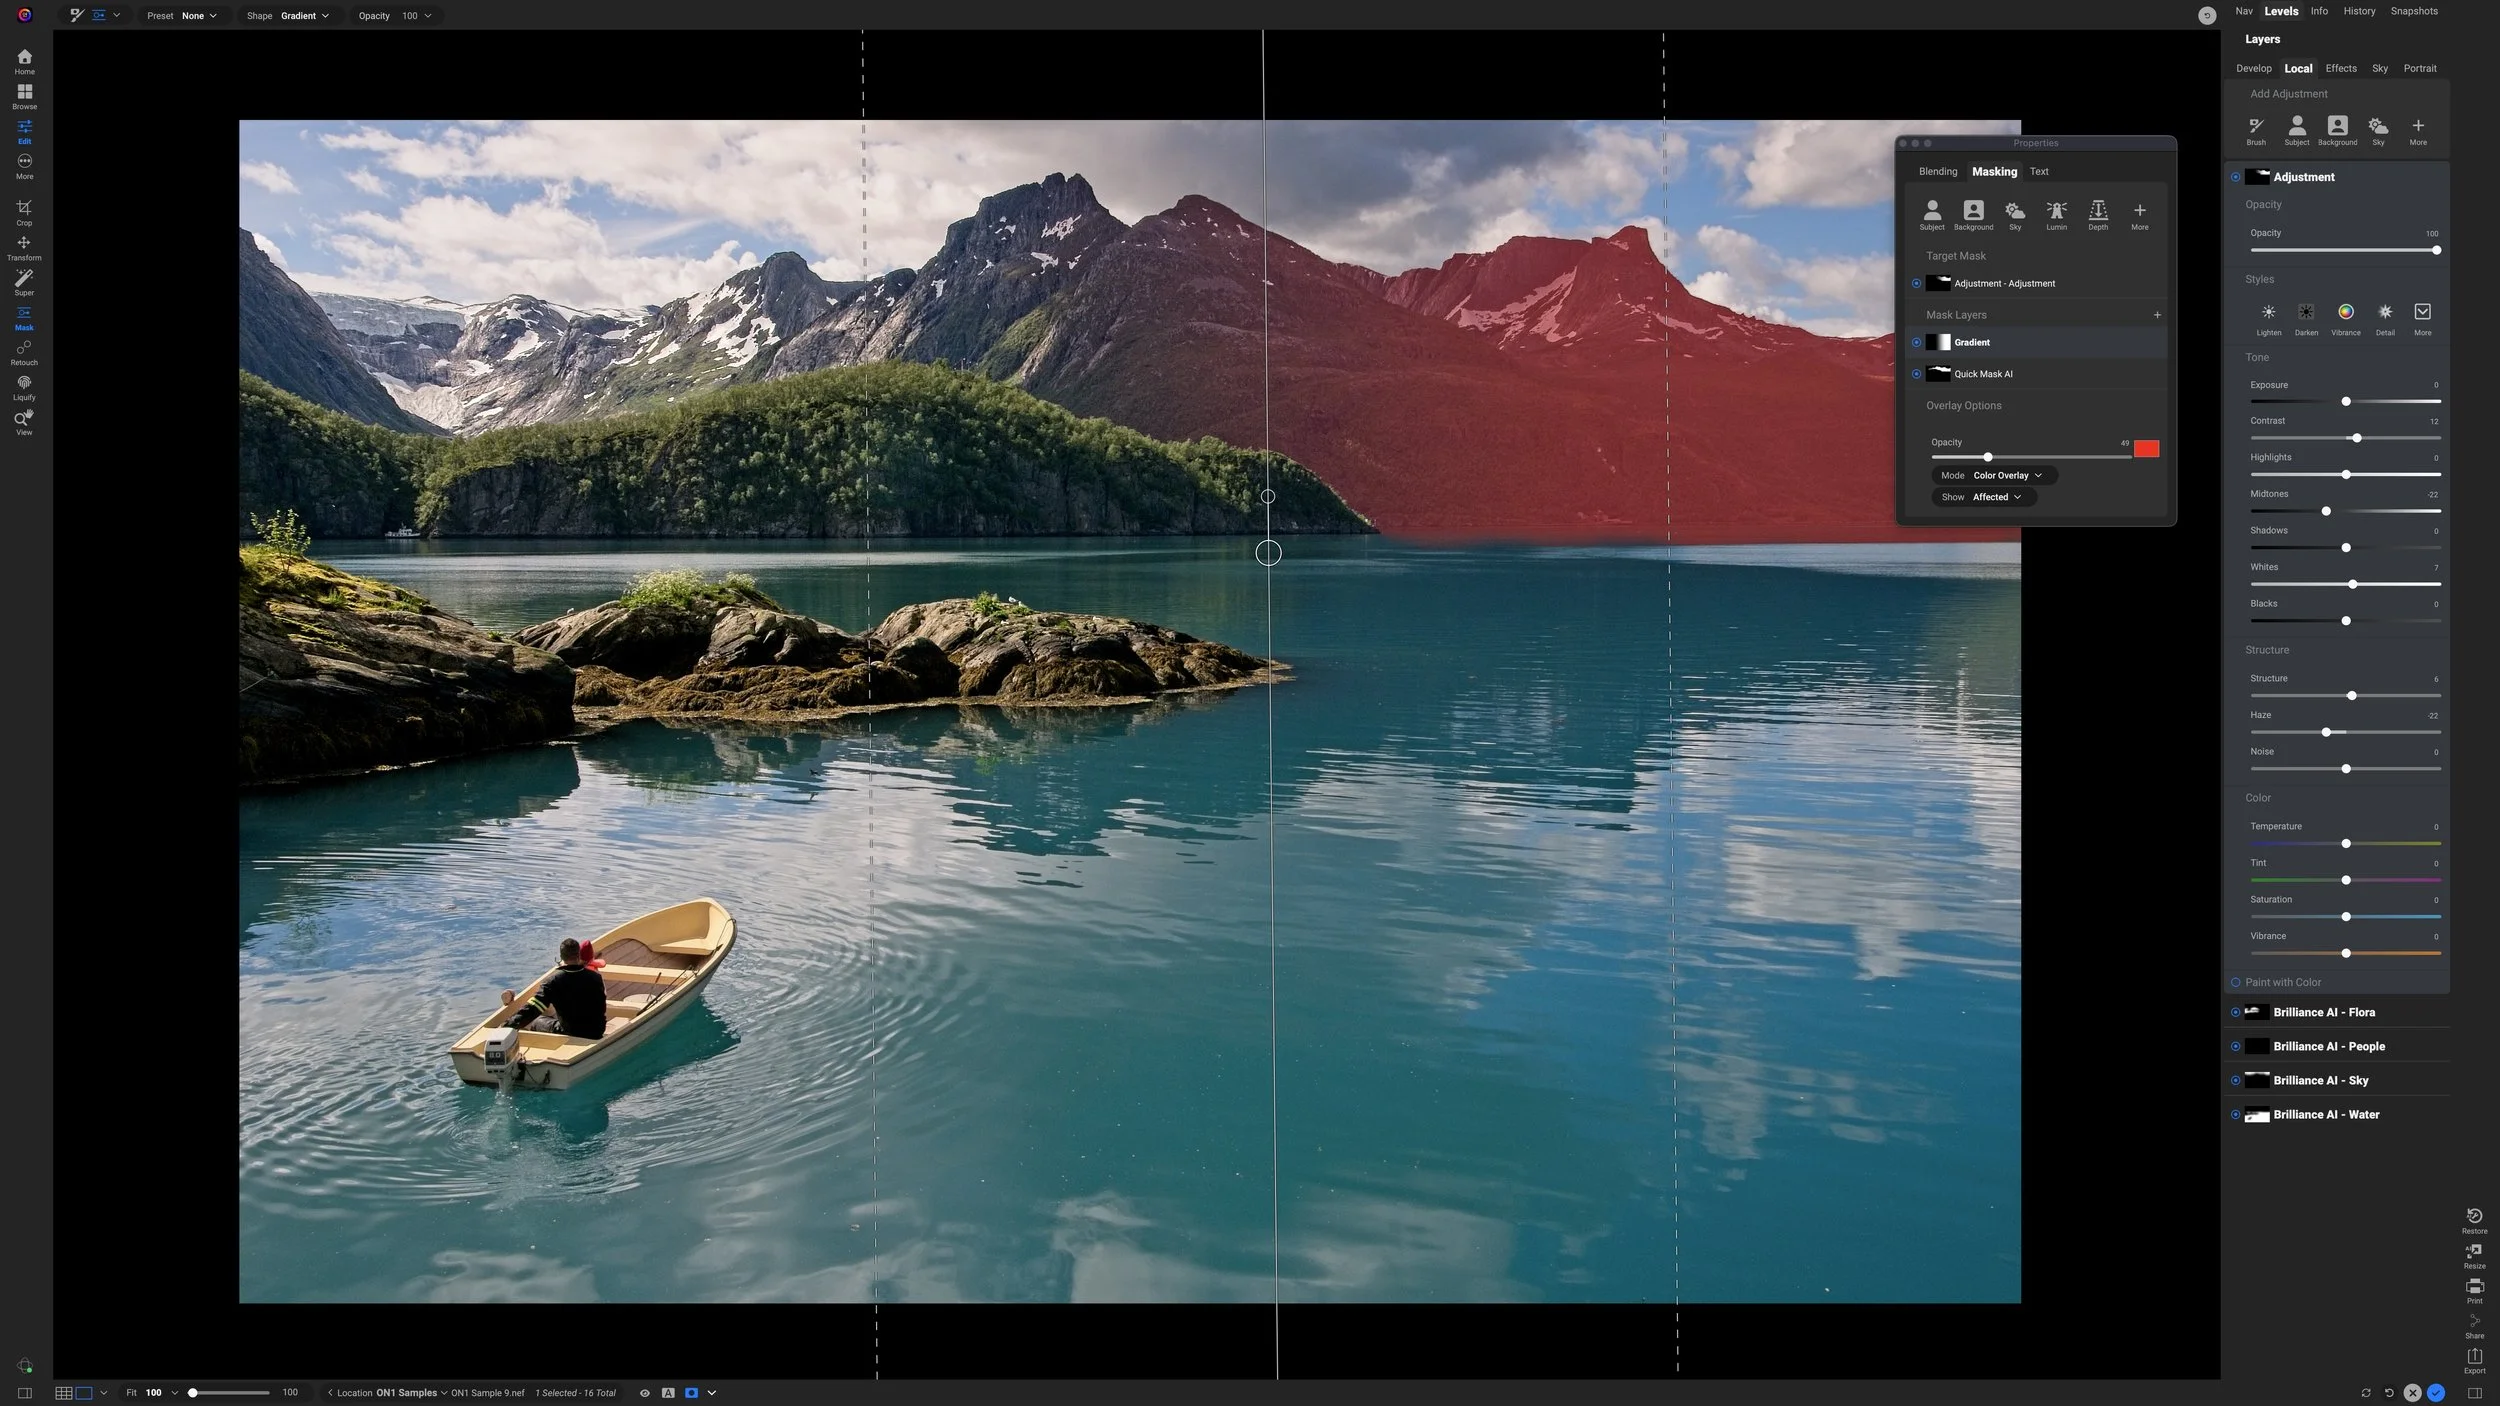
What if your mask selects the right subject, but you don’t want the adjustment applied evenly across all of it?
In this tutorial, I combine an AI mask with a gradient using Intersect mode in ON1 Photo RAW. The result keeps the adjustment confined to the mountains while letting its strength fade naturally across the scene.
The ON1 Masking Panel generates more questions than almost any other feature in Photo RAW. Here's the funny thing: most photographers don't actually need to use it.
A subtle color shift can completely change the mood of a landscape photo. In this new ON1 Effects tutorial, I build a cool-toned Winter Chill look that better matches the cold, misty feeling of the scene.
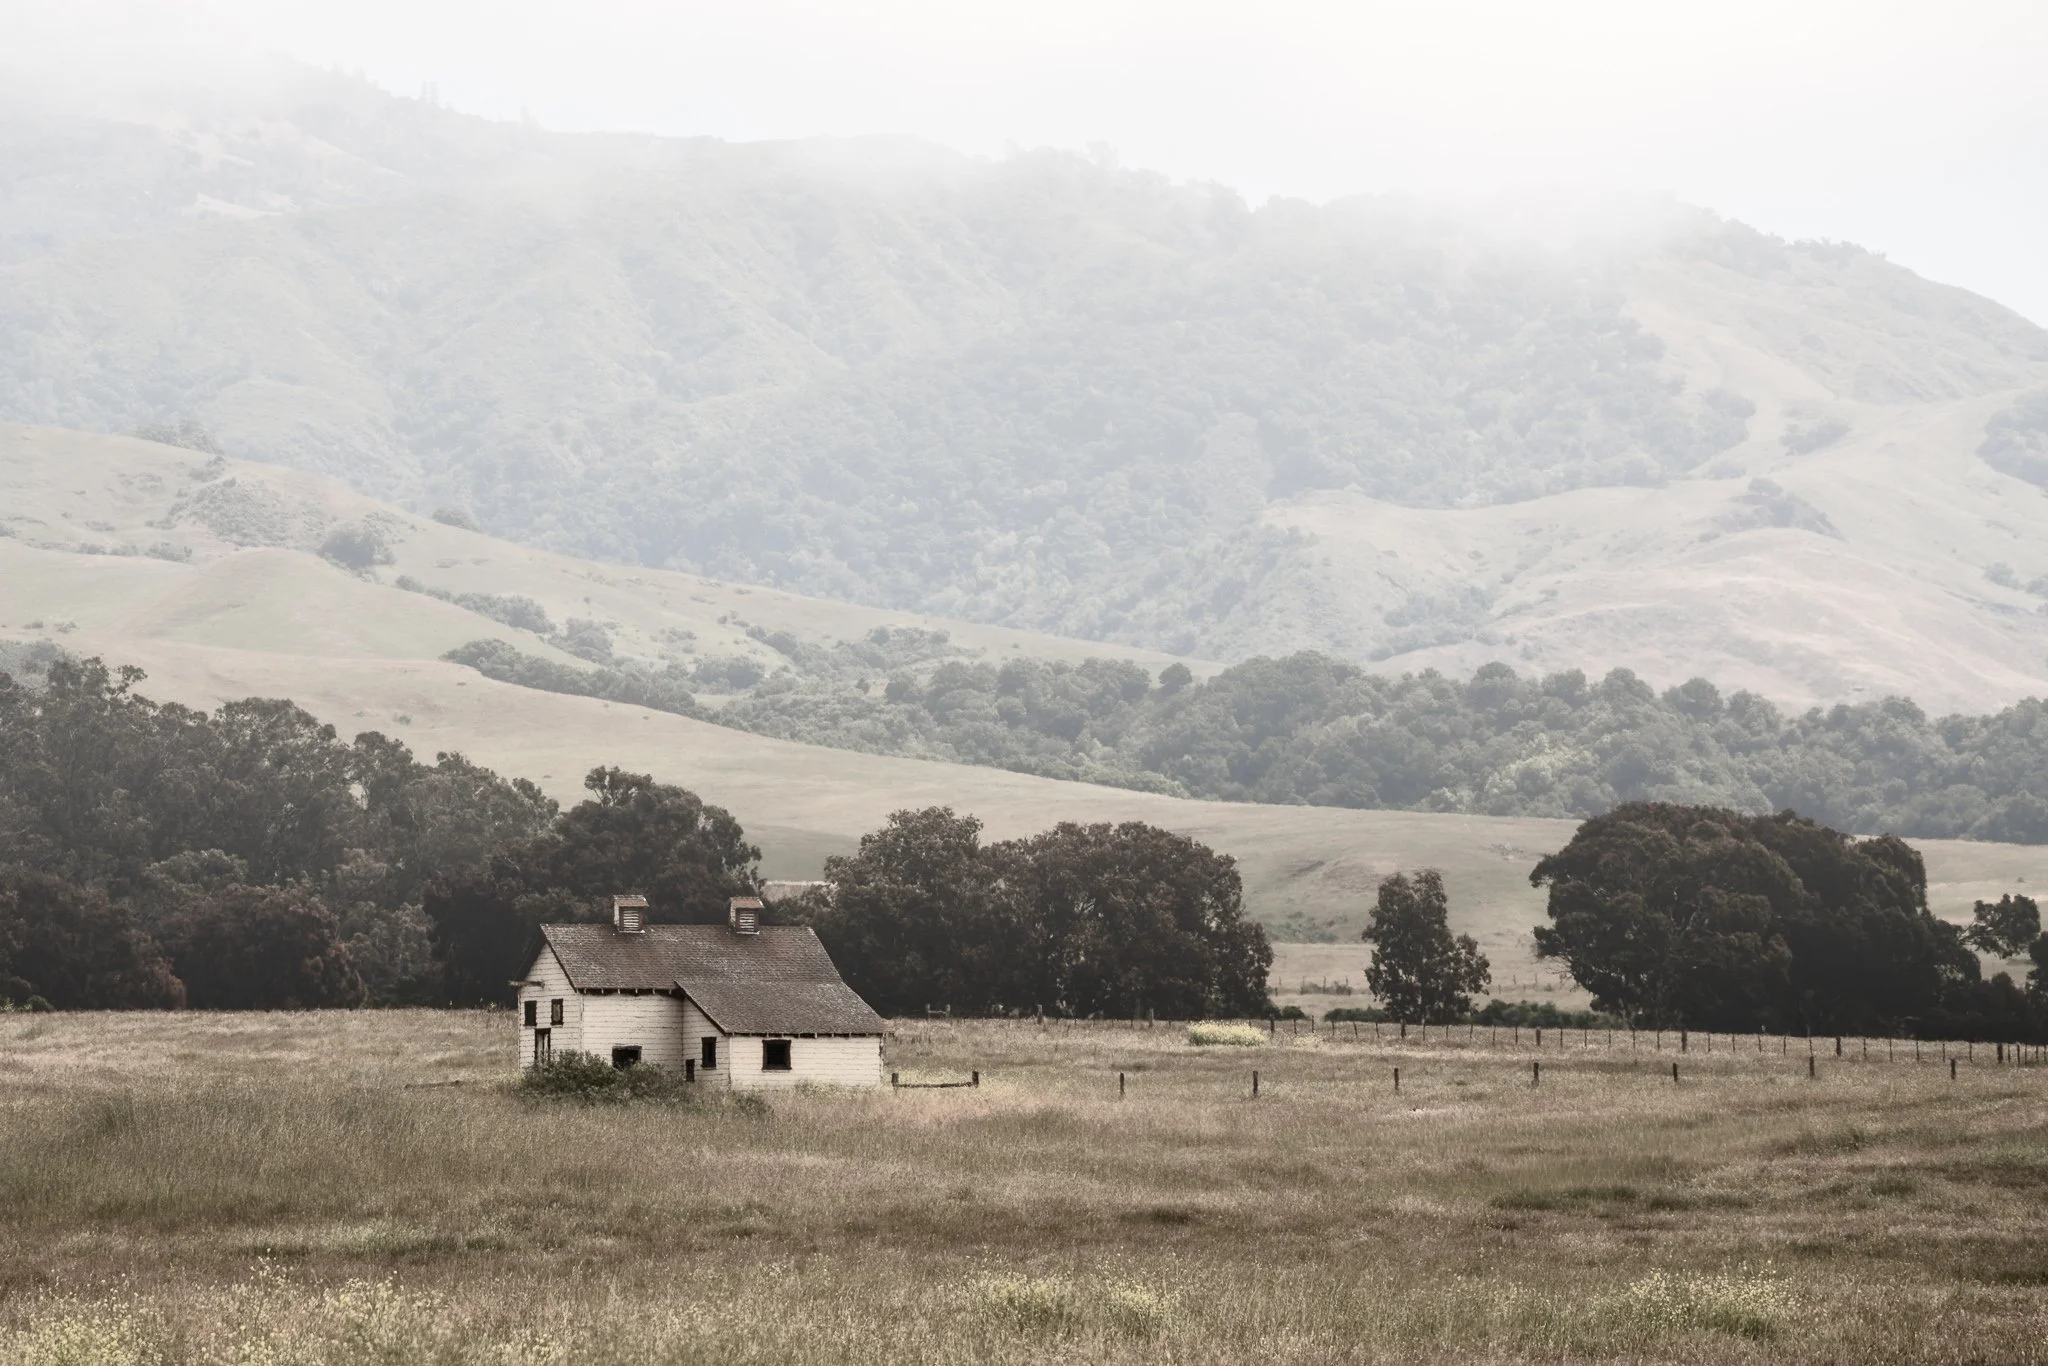
Fog is easy to add—but making it look natural takes more control than a single filter. Use Depth Mask in ON1 Effects to shape atmosphere with distance and bring realism back into the scene.
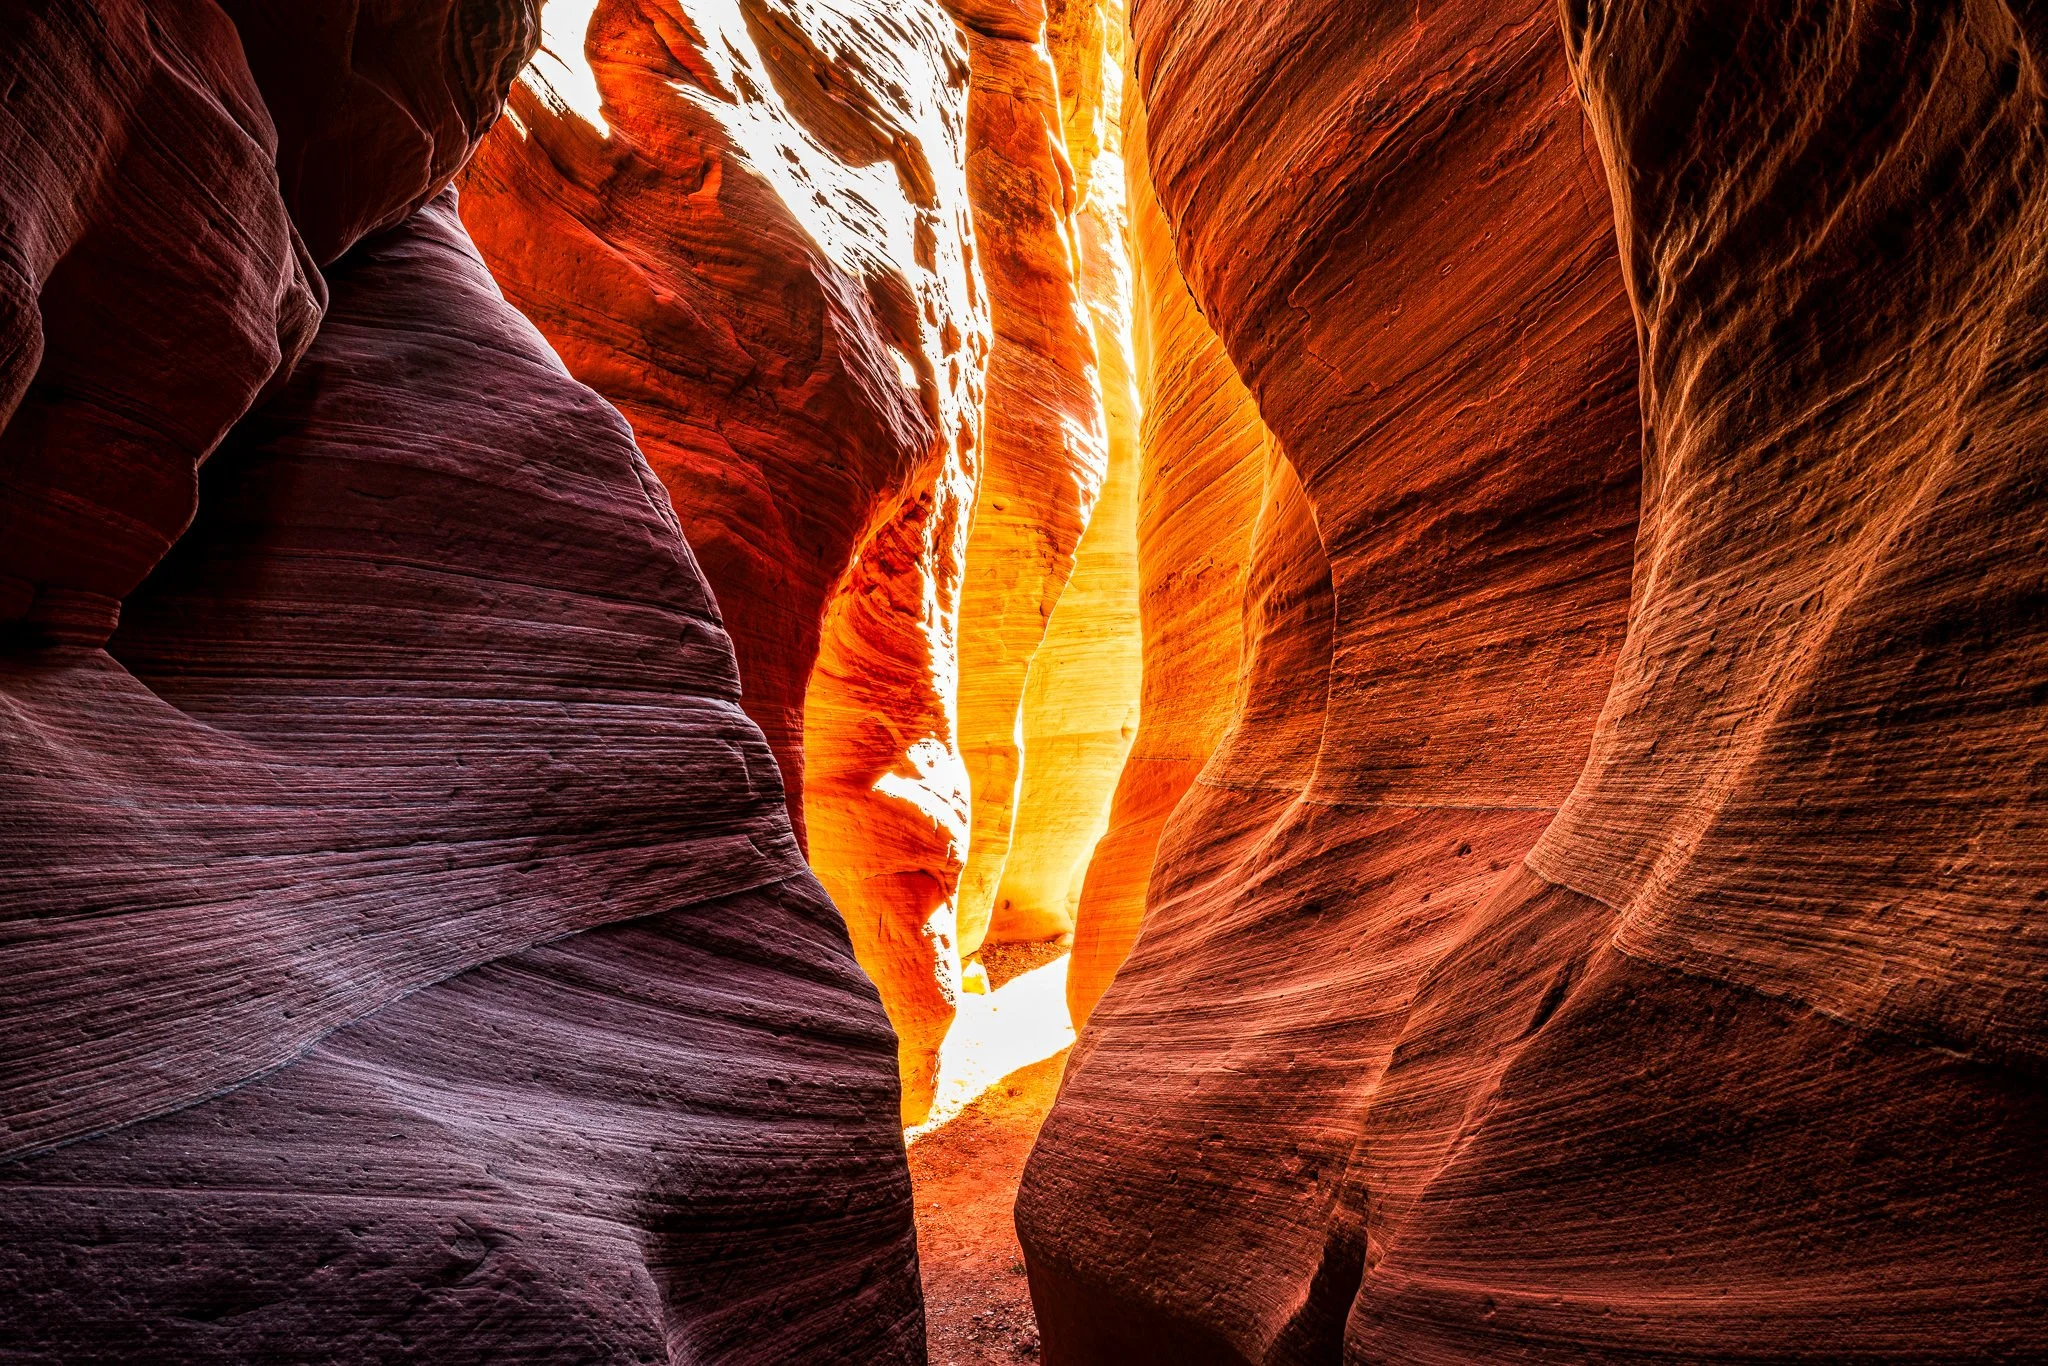
Want to edit foreground and background separately without brushing? In this video, I show how ON1’s Depth Mask lets you apply contrast up close and glow in the distance using a single slider—perfect for deep scenes like slot canyons.
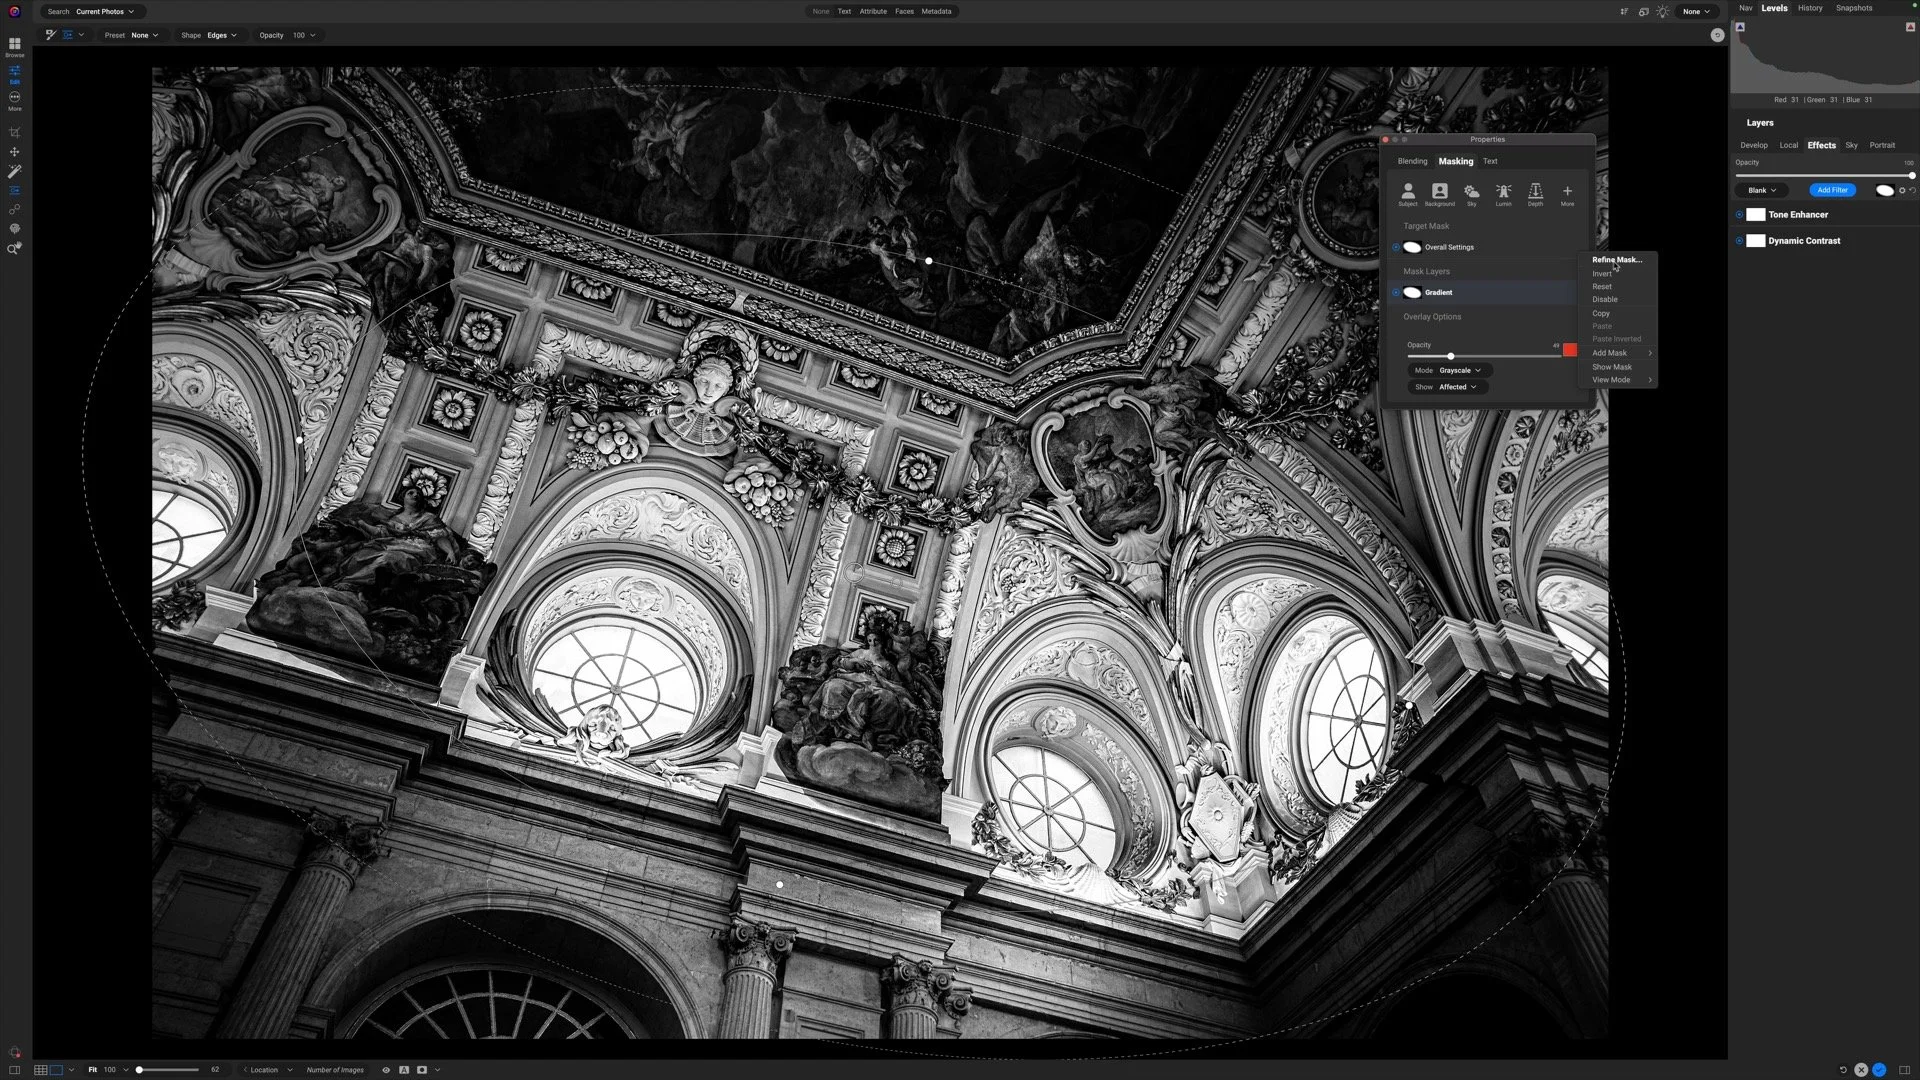
Selective detail can make or break a black and white photograph. In this video, I show how to focus attention where it matters most while keeping the rest of the image soft and cohesive.
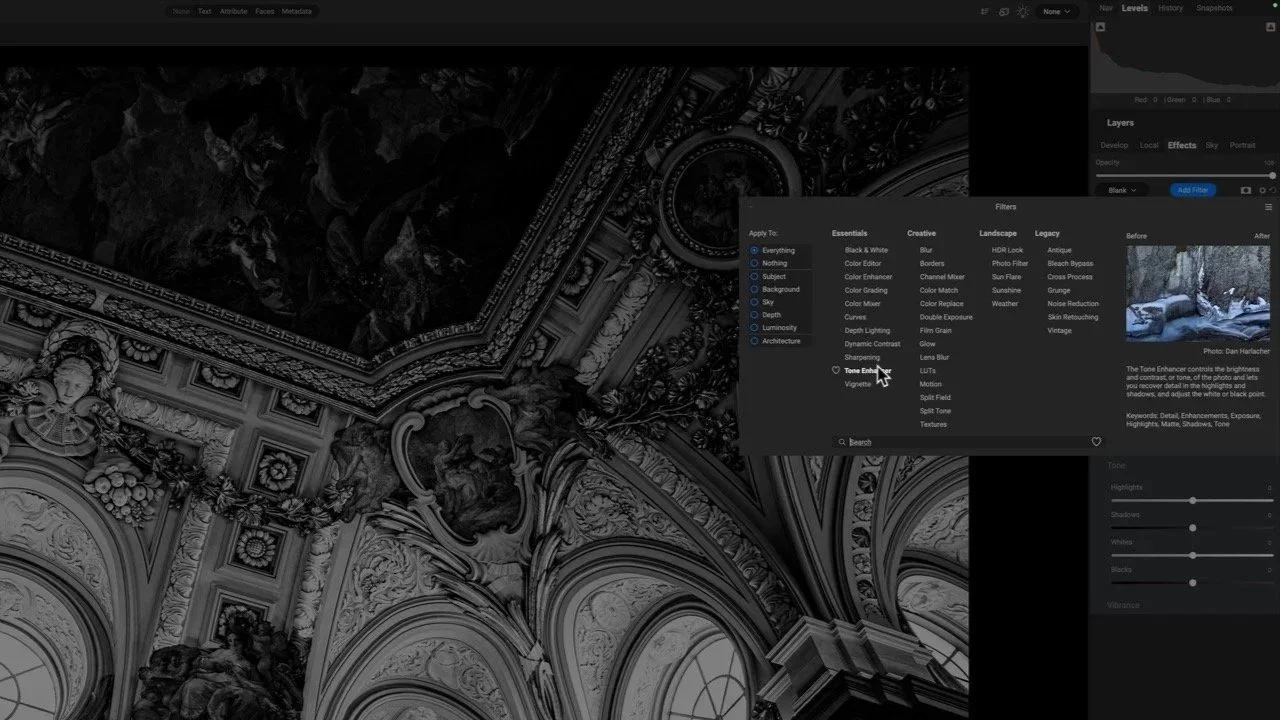
This image is packed with beautiful detail—but it needs a thoughtful touch to shine. I’ll show how Dynamic Contrast and Tone Enhancer in ON1 bring out texture and structure without pushing the photo too far.
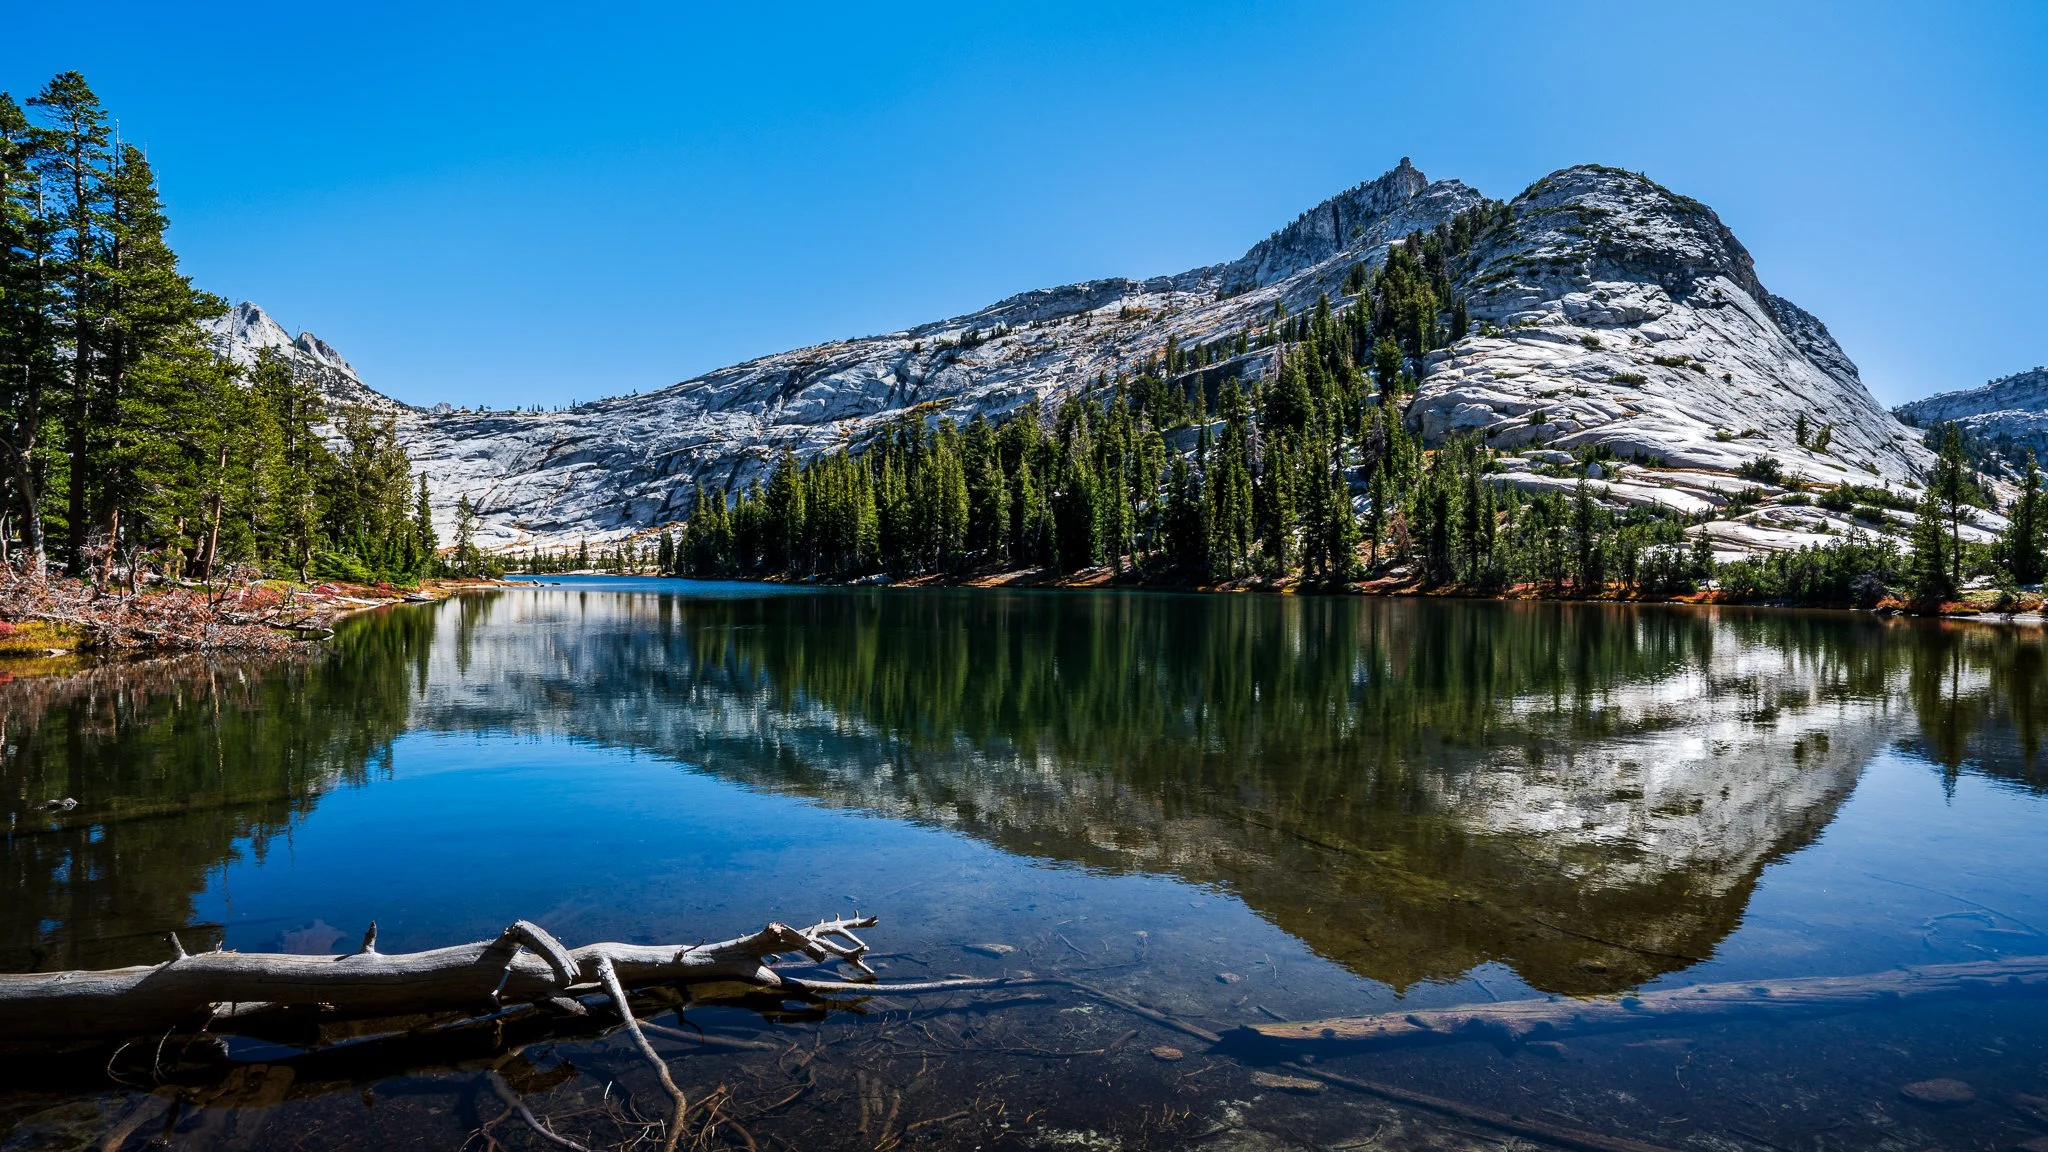
Learn how to brighten highlights in reflections without affecting the shadows or midtones. In this tutorial, I walk through a precise masking approach using a luminosity mask and a brush tool to keep the adjustment clean and natural.
A little glow can bring atmosphere to a landscape photo, but spreading it everywhere can weaken the scene. How do you give that light a direction while keeping the shadows quiet and the brightest details intact?
Using the Sunshine filter in ON1 Effects, I shape a soft glow through a forest scene toward the water. The approach builds on an editing vision and shows how a few complementary masking tools can help you follow through on it.