I Break My Glow Look Rule - In Post #508
I follow this “rule” when I apply glow looks to my landscape photos. I apply a luminosity mask. Why? Because in nature, bright things glow and dark things don’t glow. Adding a luminosity mask to a glow look downplays the effect in the shadow areas and creates a smooth, natural-looking glow. It’s a great ambiance boost for photos.
With a Glow filter in ON1 Effects, it is very easy to do. Add your desired glow look, open the masking area, and click the Lumen button.,
Applying a luminosity mask to a glow look limits the glow to brighter tones in a landscape photo.
By default, a luminosity mask will hide an effect from shadow areas and reveal and effect in brighter areas.
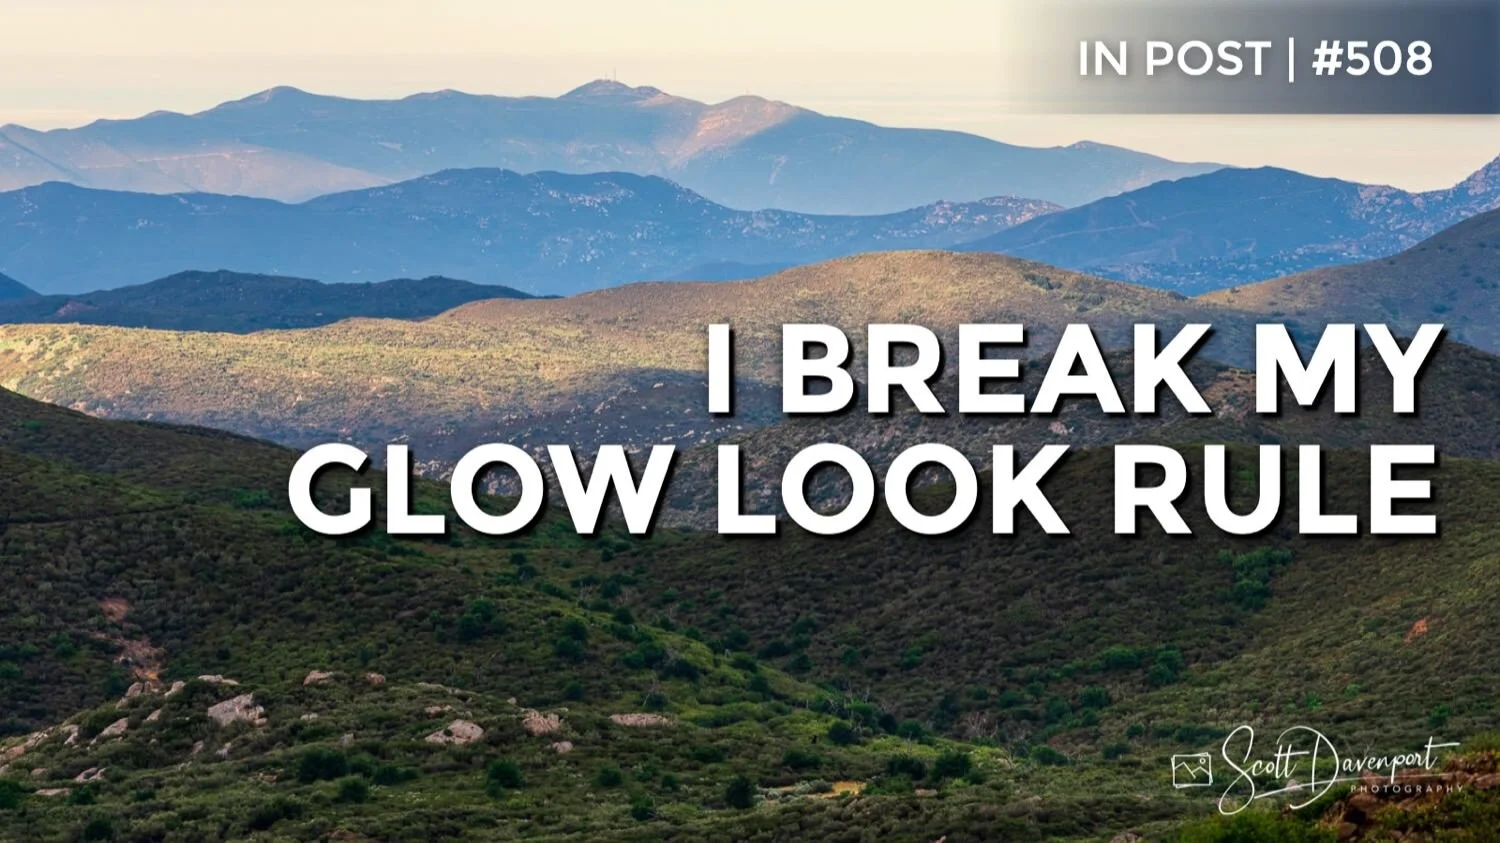
Well … rules are meant to be broken, right? At least I think that’s true for photography. Rules are more like guidelines. For this scene, my typical application of a glow wasn’t working for me. The story I wanted with this image is a touch of dreaminess, yet the hills in the distance being the more prominent feature. The foreground needed to “step aside” as it were, and help the viewer’s eye to look toward the layers of hills leading to the horizon.
I chose to invert the mask on the glow. The darker areas of the photo got a little darker and a little softer as a result. The midground and background didn’t lose crispness, and the eye more easily flows through the frame.l
Inverting the luminosity mask pushes the glow look to the darker tones. In this scene, the foreground gets a little deeper, more easily guiding the eye into the center of the frame and beyond.
The inverted luminosity mask. The brighter parts of the mask is where the glow look is applied more strongly.
This isn’t exactly how the natural world would react. Yet for the story of the photo, and for this scene, it worked very well.
Rolling Hills Along Sunrise Highway
Contact Scott to commission a print or license this image.