
This video is part of the Printing Your Photos series.
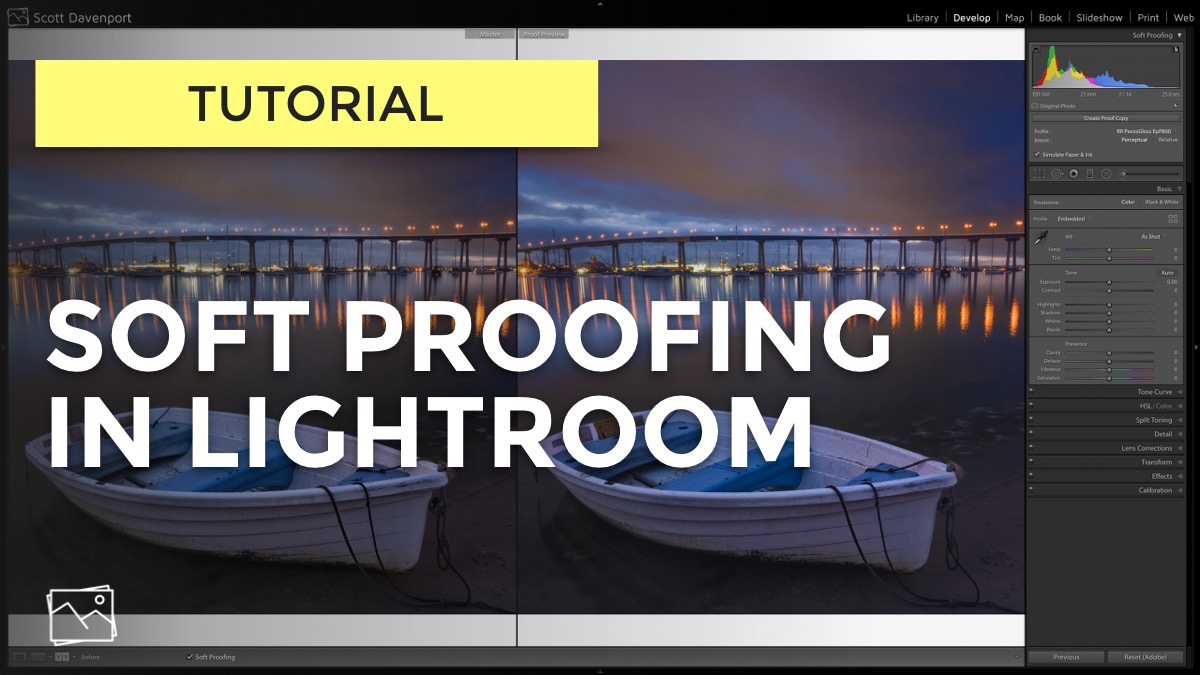
In this video, I show you how to use soft proofing in Lightroom. Printed photos appear differently than images on a screen. Soft proofing helps us prepare an image for a particular printer/paper combination, so your final print is much closer to how it looks screen. It requires a little work, however it’s not a huge process.
There are three main things to attend to:
Set the printer/paper profile to the paper stock and printer you’ll use for the print
Make soft proofing adjustments on a copy of your photo (don’t change your original!)
Check any gamut warnings
Watch the video. I’ll show you everything you need to know.
I use Red River Paper for my paper stock.

Calibrating your monitor and printer can be a bit of a hassle. And you need equipment for it. Is it really necessary?

Not all printer drivers are created equal. You could be missing out on important controls and settings for your photo prints.

I’d never paid attention to this checkbox before. Now that I know what it does, I’m turning it off.

Preparing a file for print in ON1 Resize is quick and easy. I especially like it to customize my canvas wraps.

I printed another photo book with Saal Digital and it turned out beautiful! I have a few tips for using the Saal Design software to layout your book project.

I look for two things in a print lab: a solid reputation and professional grade support and service. Saal Digital hits squarely on both counts.

Soft proofing helps you get your prints to look like your on-screen photos. Let me show you how it all works.

Setting up ON1 Photo RAW to print using ICC profiles for your paper/printer combination is easy.


There are two Red River papers I am turning to again and again for my prints.