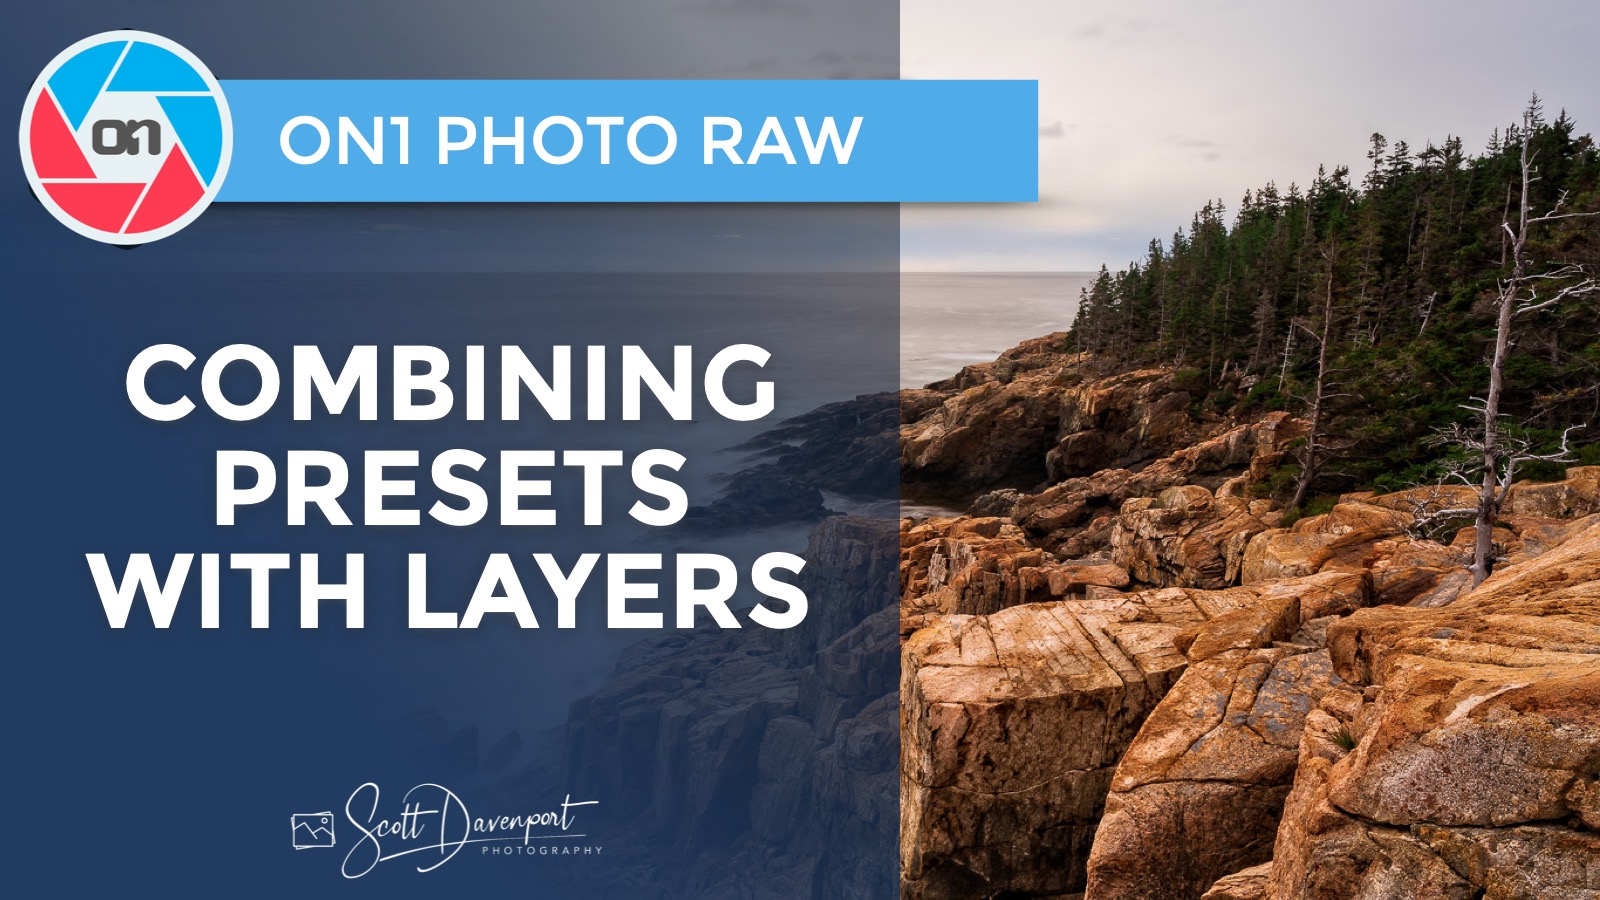
Combining Presets With Layers In ON1 Photo RAW
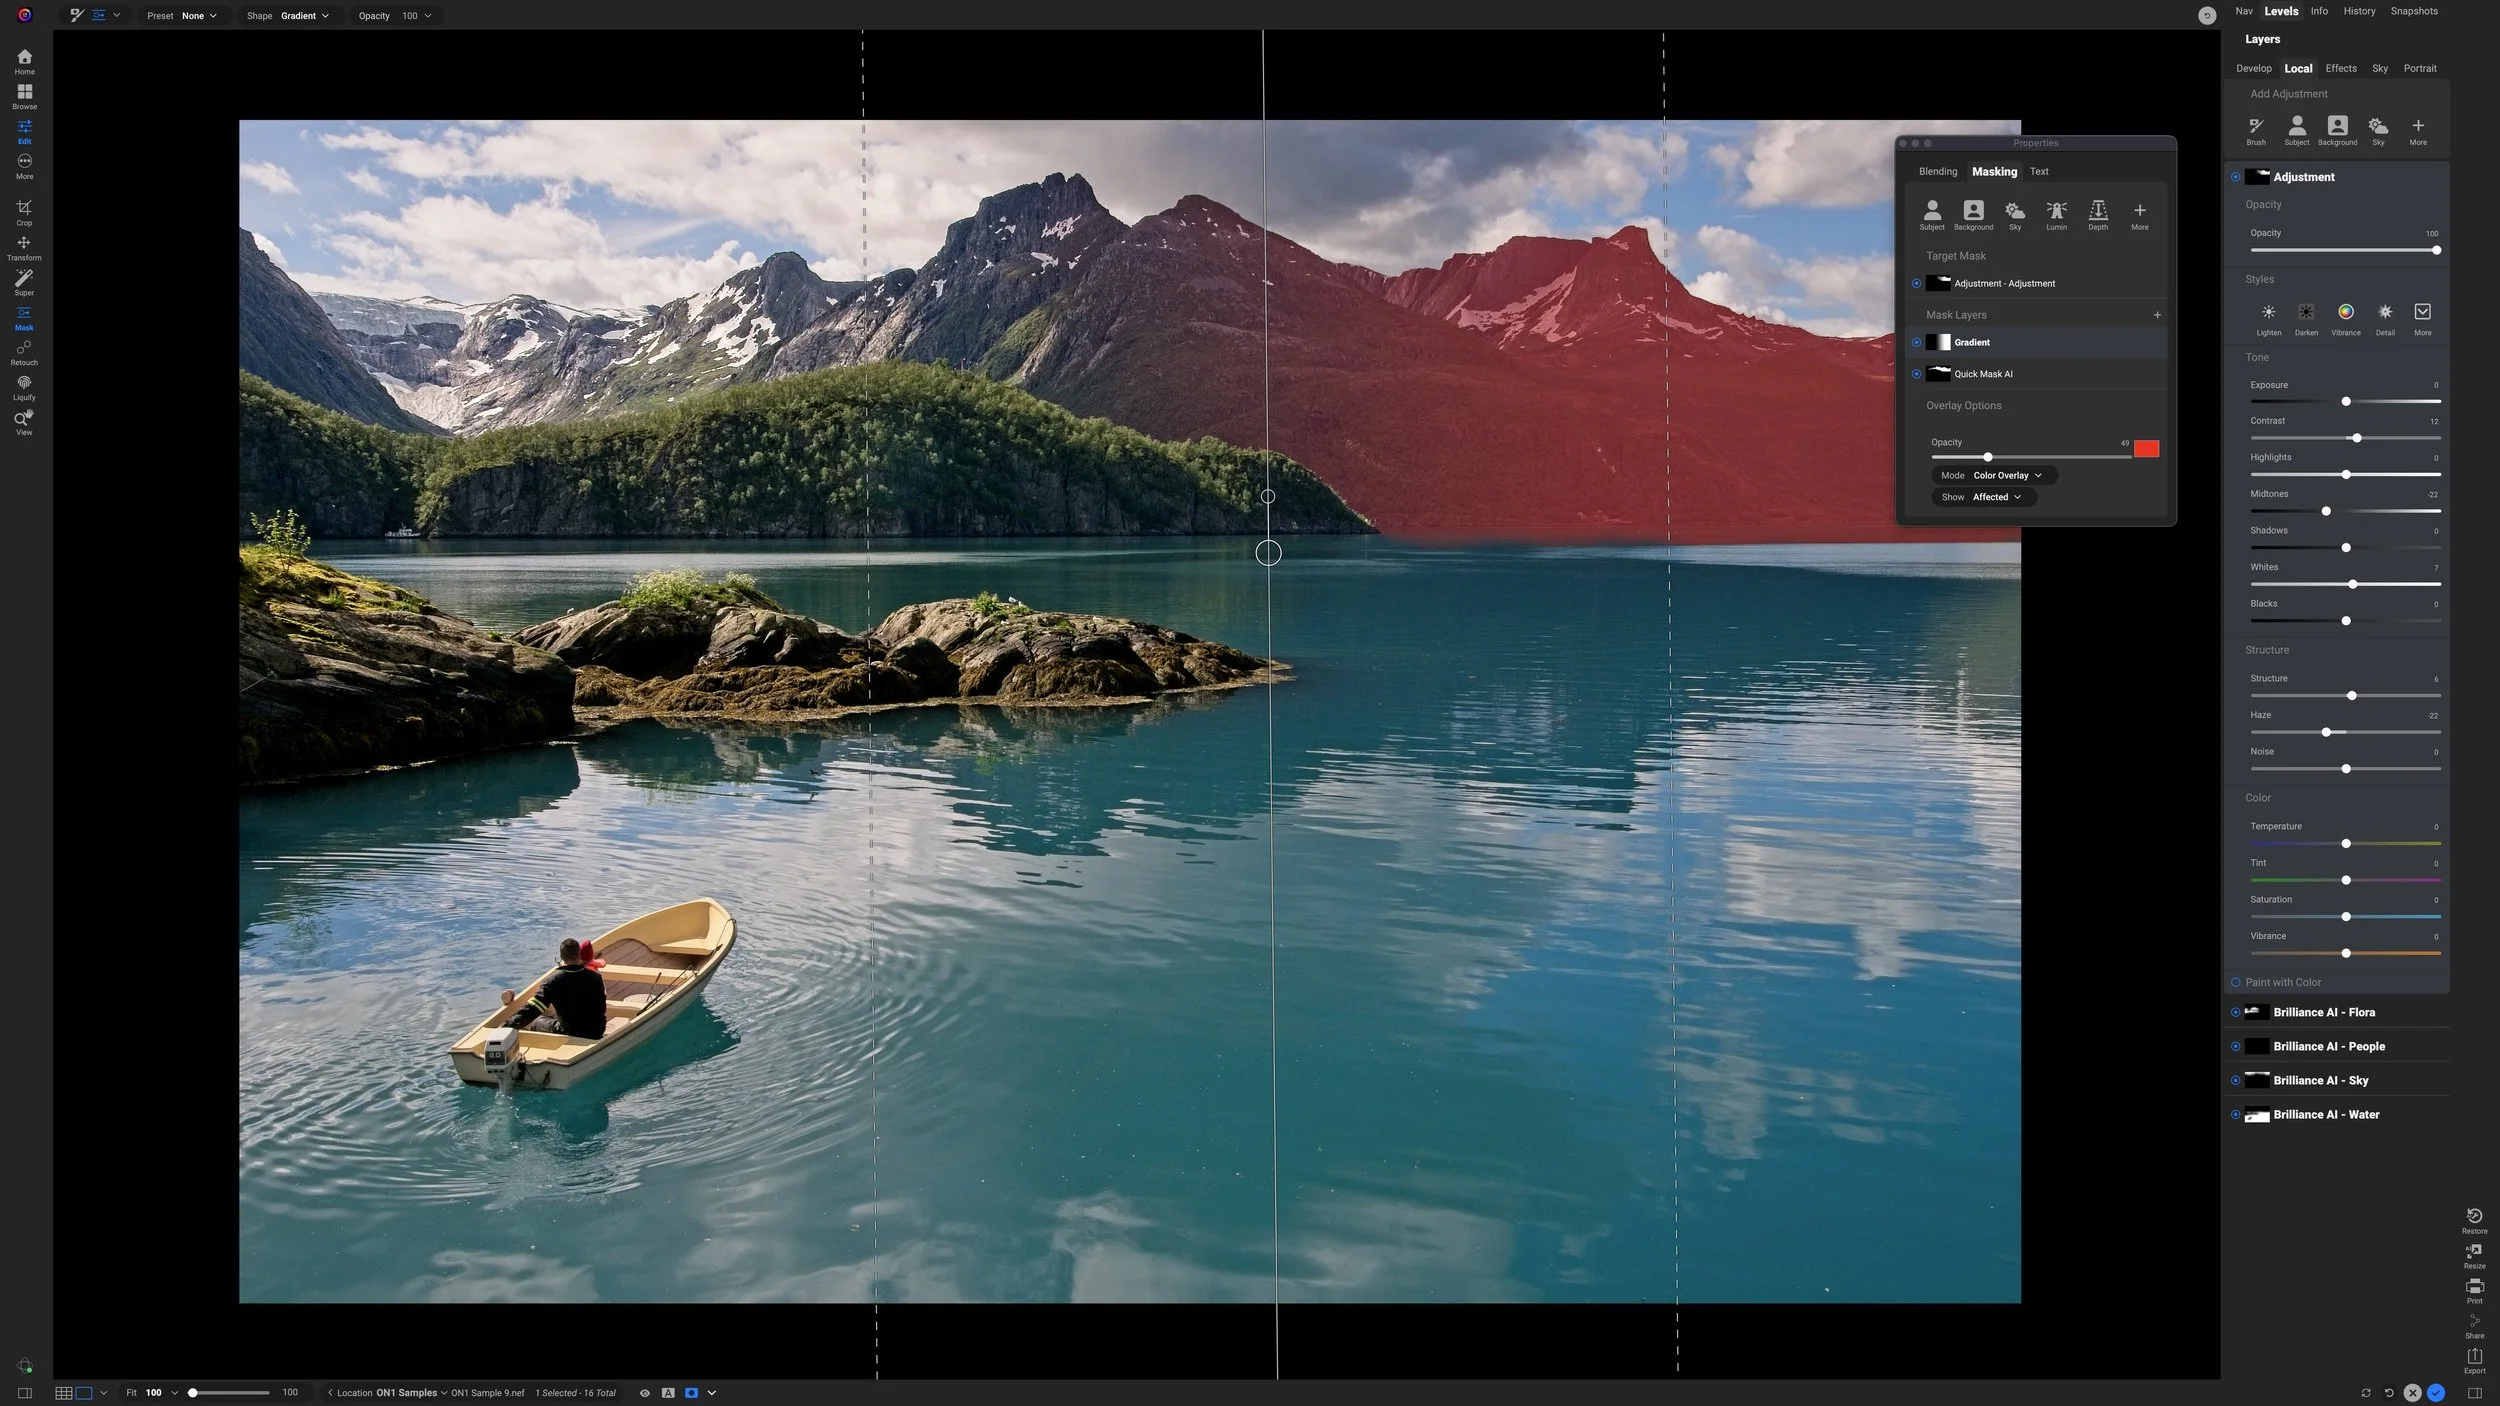
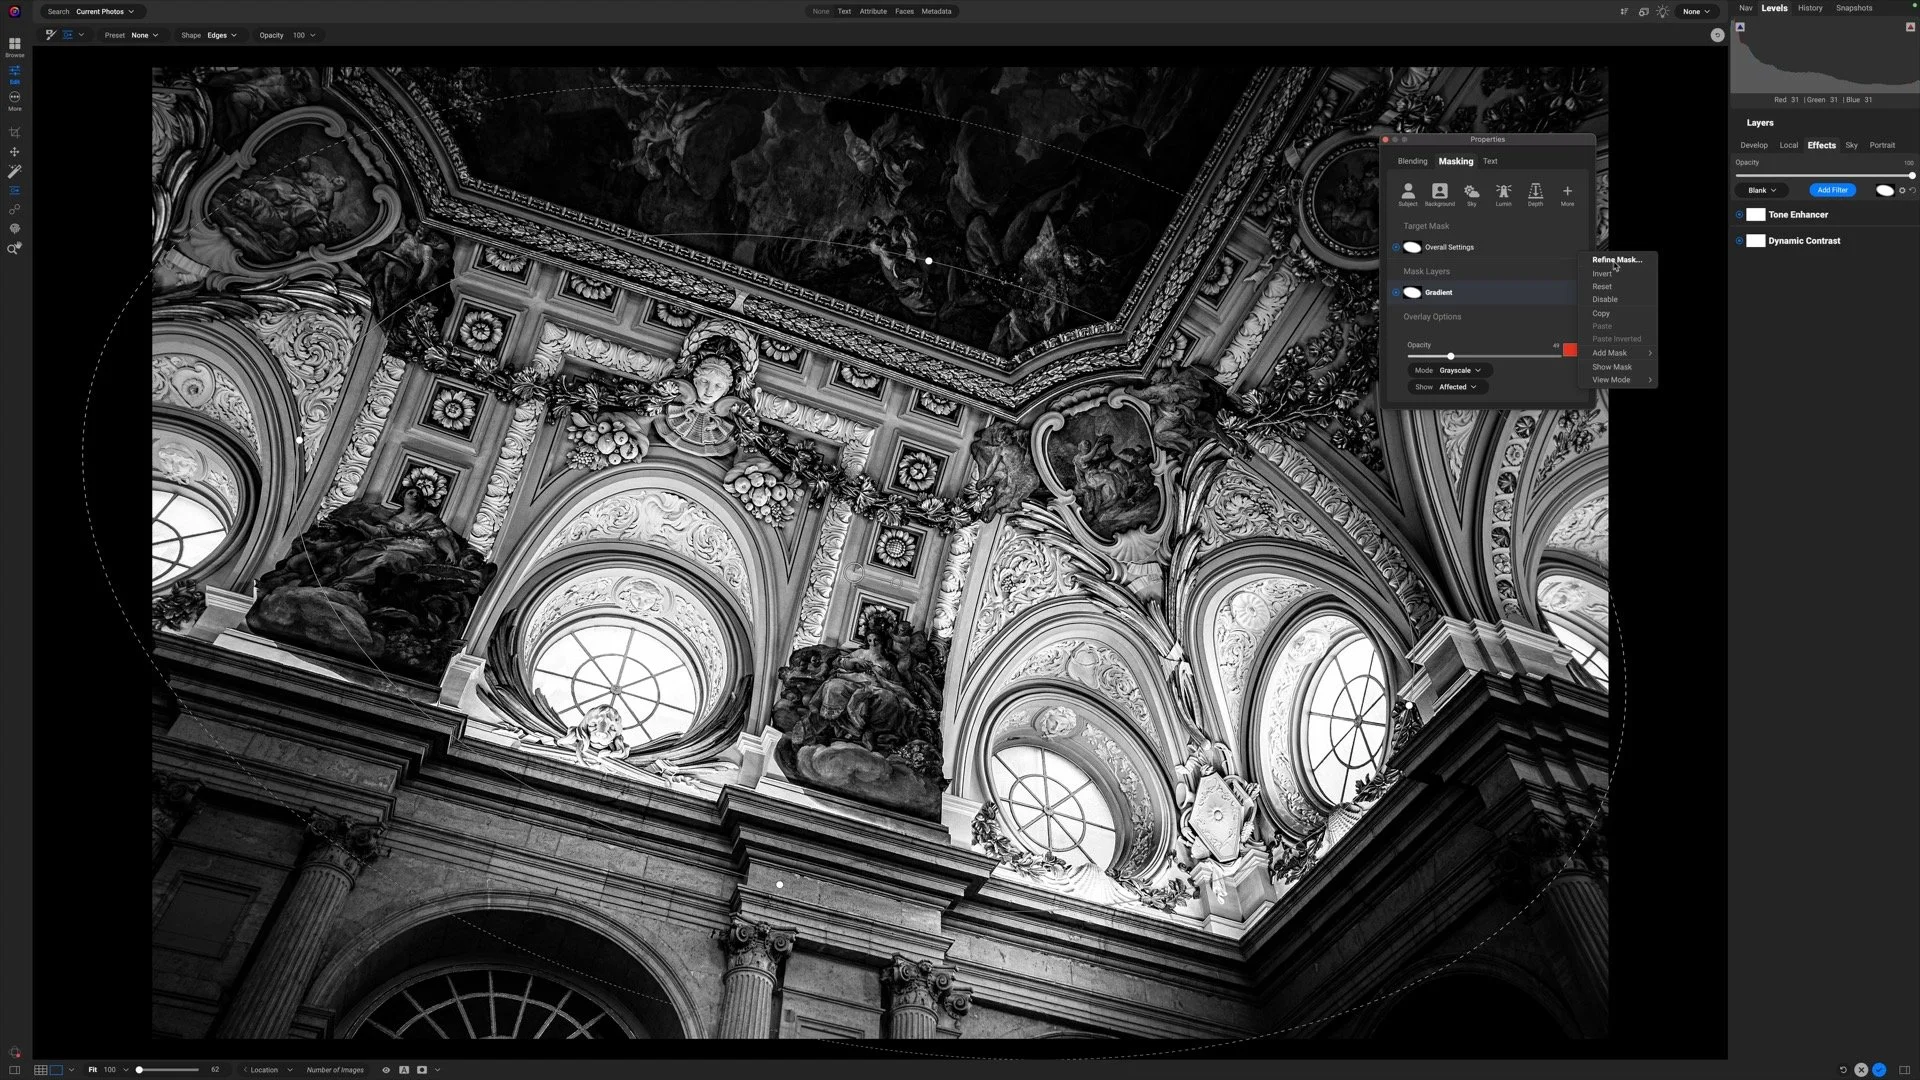
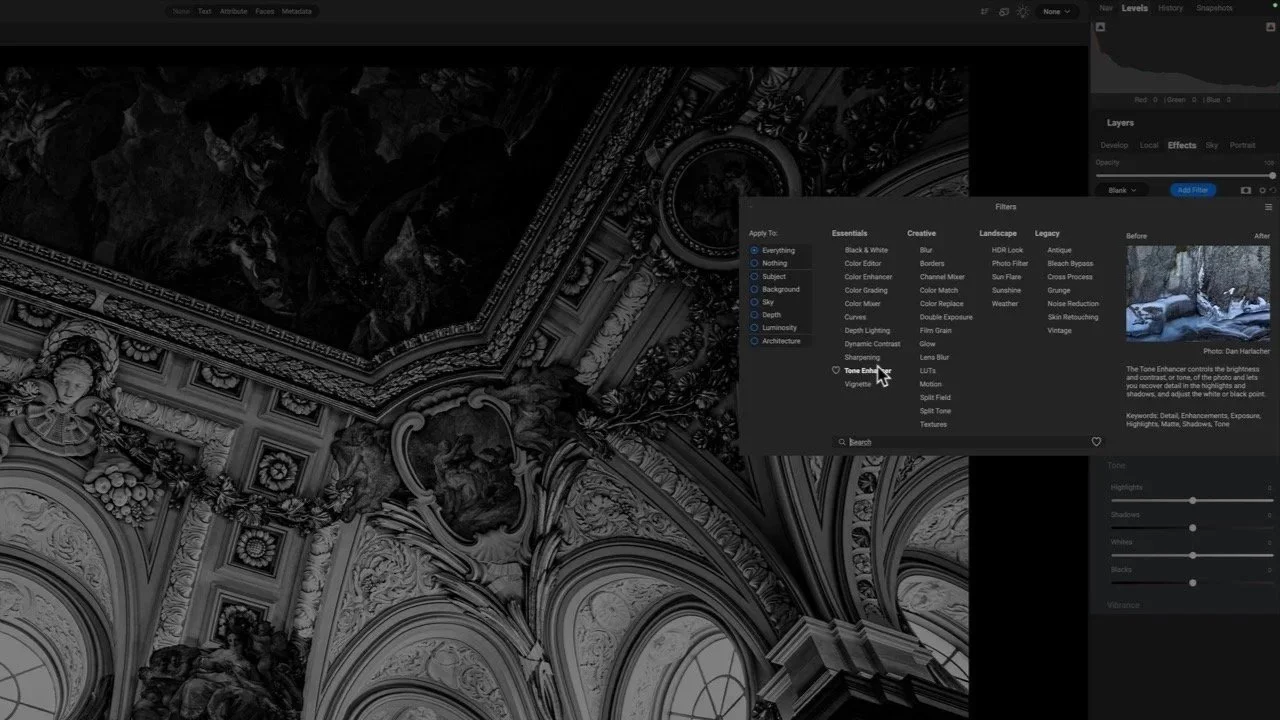
Using a layered workflow in ON1 Photo RAW is a flexible way to edit your photos. Easily stack different presets and use layer masks to limit a set of filters to select elements in your image. I’ll show you how to make layers a part of your workflow.
A summary of this workflow:
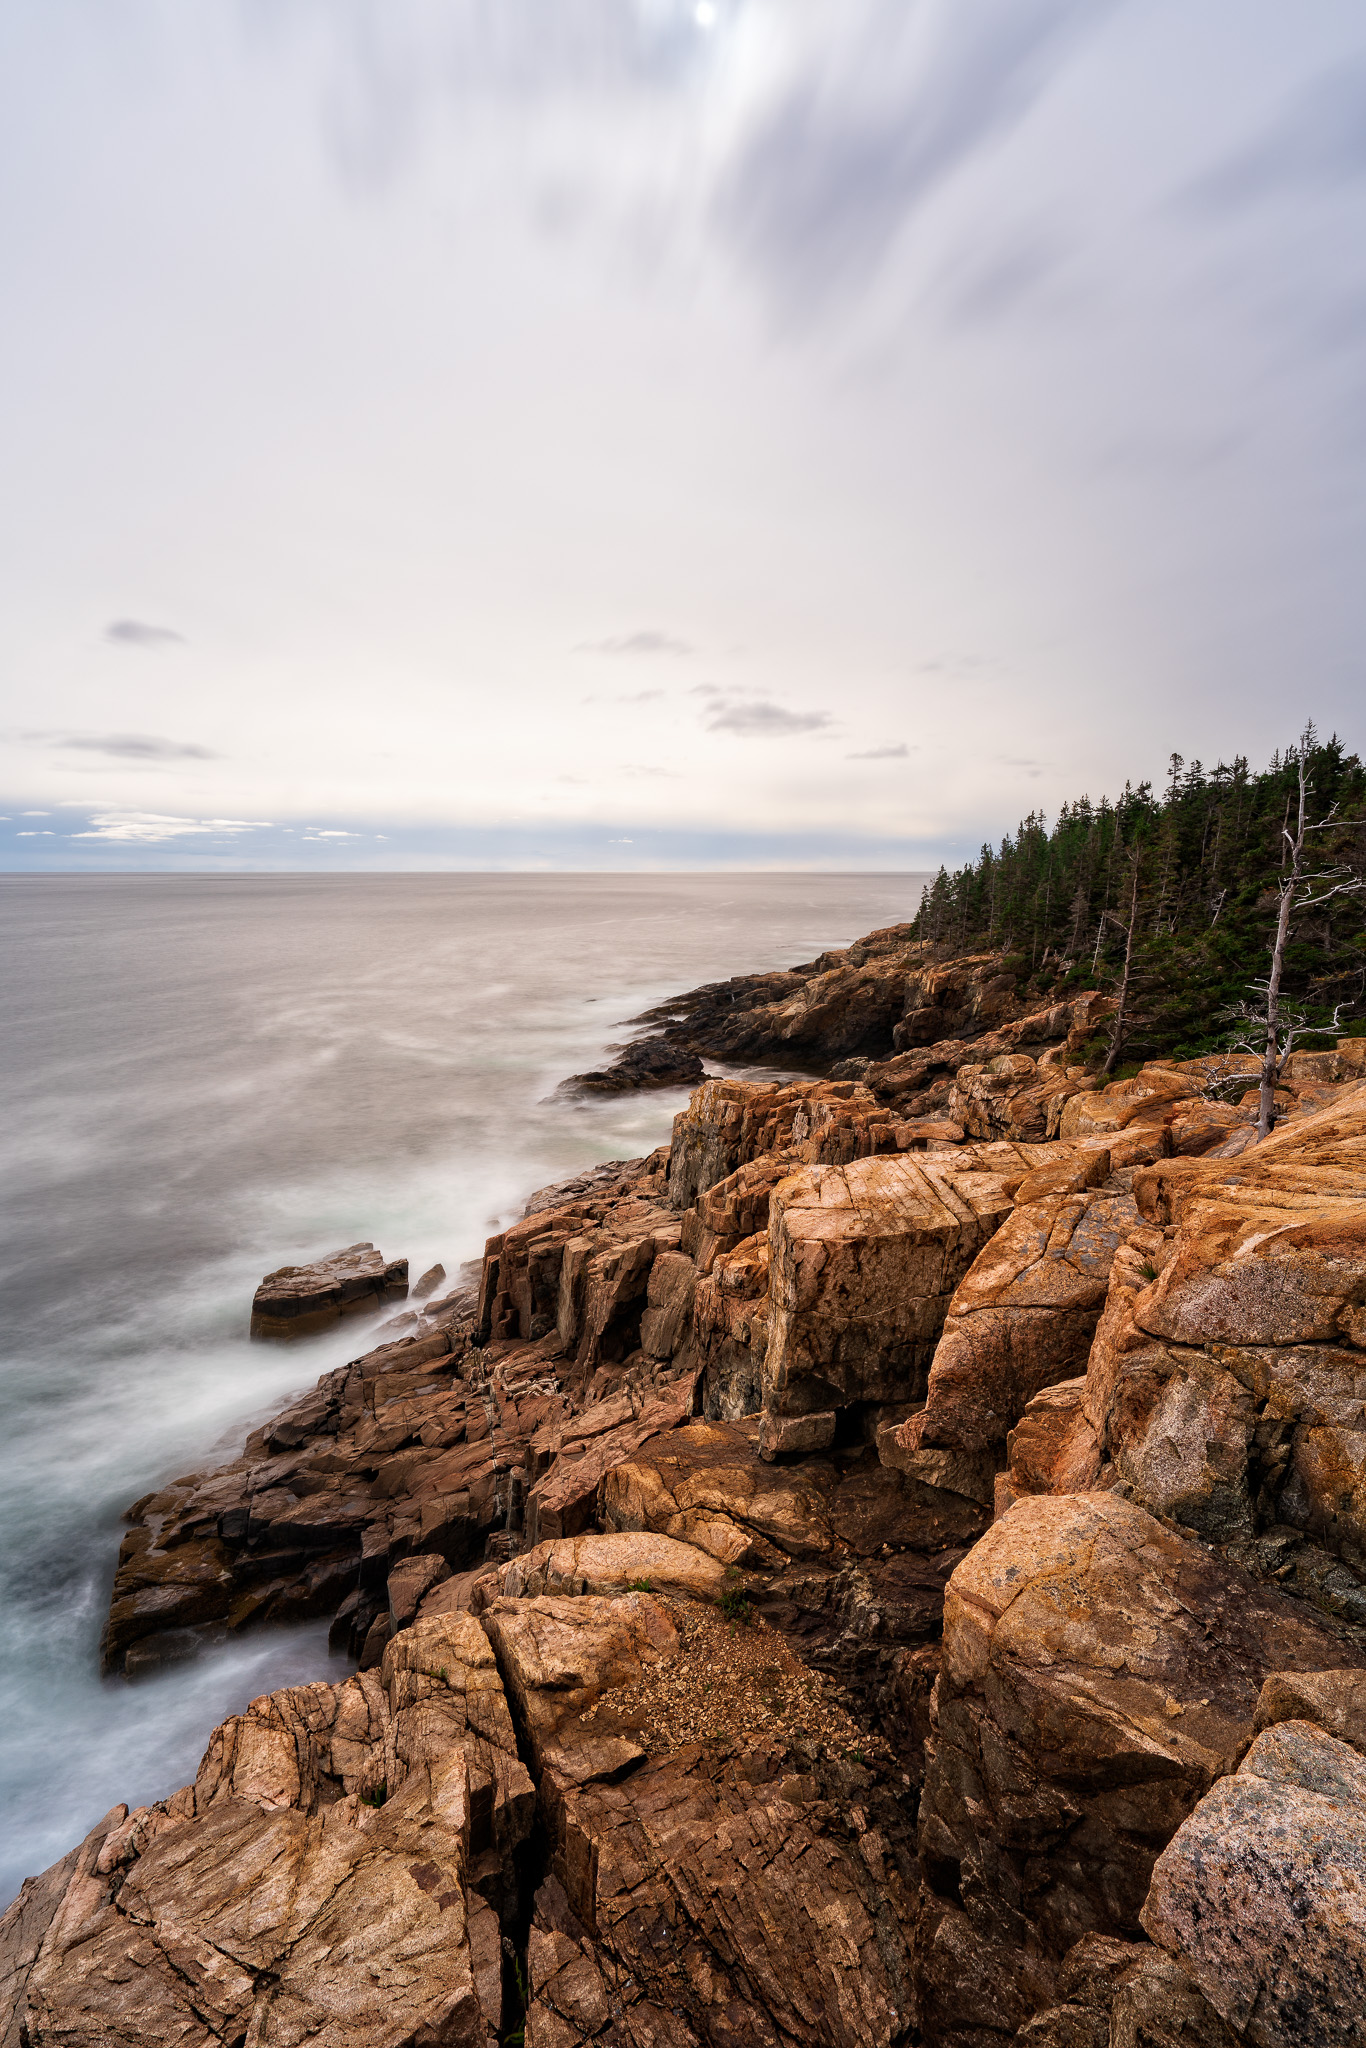
Identify the main elements in your scene. In my example, I have two items, the cliffs and the sky.
Duplicate your image so you have a layer per element. In my example, I have two layers.
Browse your ON1 presets for ones that look good for a certain elements. Apply one preset per layer.
Use the masking tools to limit the layer’s effects to the element you want to accentuate.
Subscribe and share!