Adding Character To An Overcast Sky - In Post #516
Landscape photographers are all too familiar with nature serving up gray skies. However, gray isn’t always all bad. Overcast skies are often more than featureless swaths of gray. There can be nuanced midtones that we can accentuate in post-processing, adding character to a gray sky. A few small adjustments to the tonality of a sky adds character and can improve your photo overall.
The new Select Sky option in the Lightroom masking panel makes targeted adjustments to the sky very easy. It’s a one-two punch:
Open the Lightroom masking panel and choose Select Sky.
Adjust the core tonality adjustments, notably Exposure and Contrast.
As you make the adjustments, features in that overcast sky begin to emerge.
Create a mask for the sky. Using the Select Sky option in the Lightroom masking area makes this very easy.
Change the basic tonal adjustments like Exposure and Contrast. Depending on the scene, you may also use Highlights, and Temp.
The sliders you use will depend on your photo. In most cases, reducing Exposure is the first step. This is a classic technique we landscape photographers have used for ages, including graduated ND filters in the field. Also visit the Contrast slider and increase it. The separation among lights and darks in accentuated and nuances in the midtones are emphasized. For skies with patches that are very bright, reducing Highlights helps, although I prefer to keep some brighter patches in the sky.
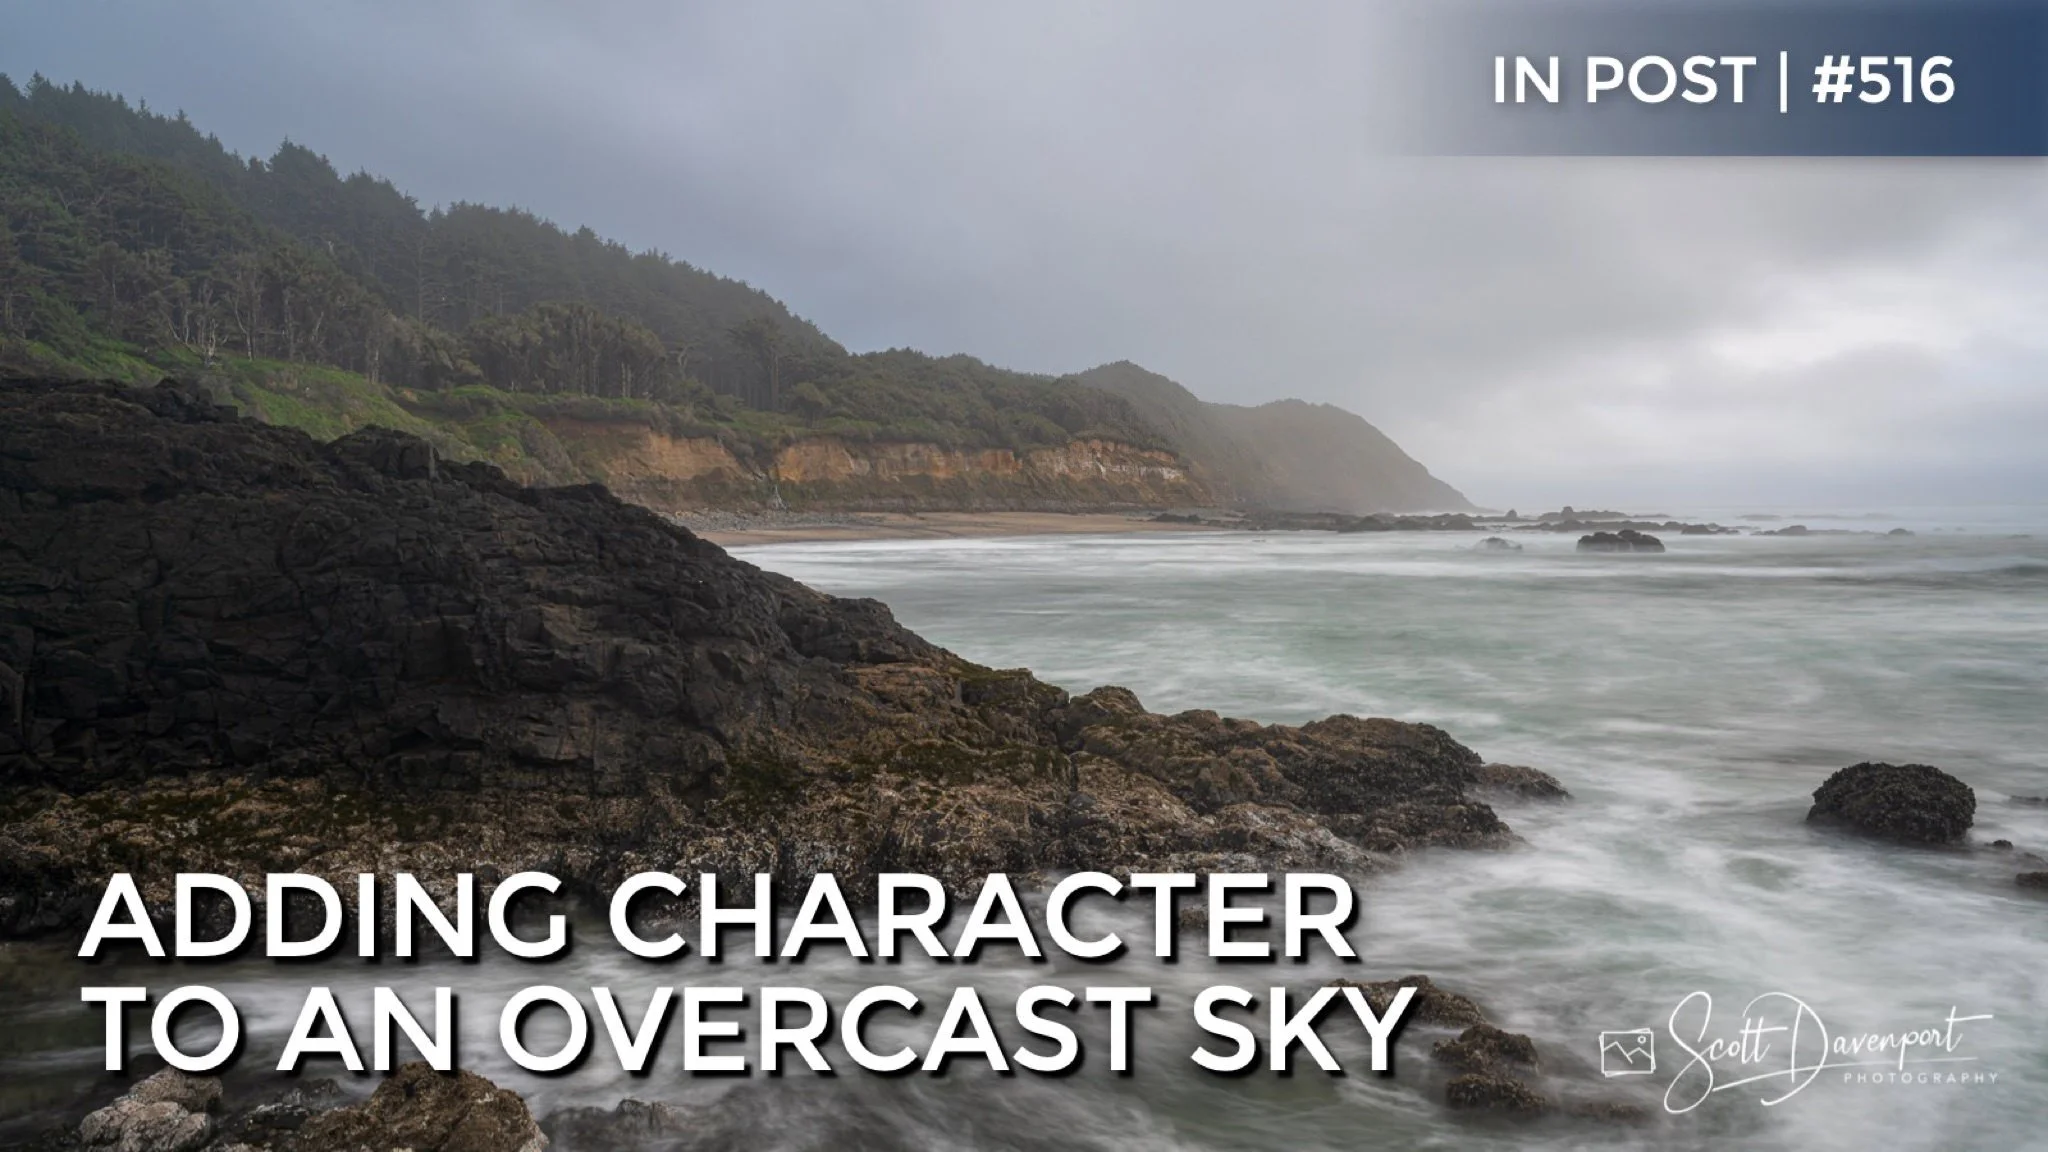
In the photo with this article, I adjusted Exposure and Contrast. Pushing the Contrast slider far to the right greatly exaggerated the tonal differences, revealing even more variation in the sky. For this scene, I did not want the sky to dominate the photo, so I kept the look more subtle. I also added a touch of coolness with the Temp slider. There were patches of blue-gray in the sky already, and the nudge on the Temp slider added a blue I felt complemented the entire photo well.
Before the treatment to the sky
After the treatment to the sky
Keep this technique in mind when you’re next in the field, and don’t abandon a location because the skies are “not good.” On all but the most overcast days, there is variation and subtlety in that overcast sky, and you can bring that out in your post processing.
Have fun!
Southern View From Strawberry Hill Oregon
Contact Scott to commission a print or license this image.


