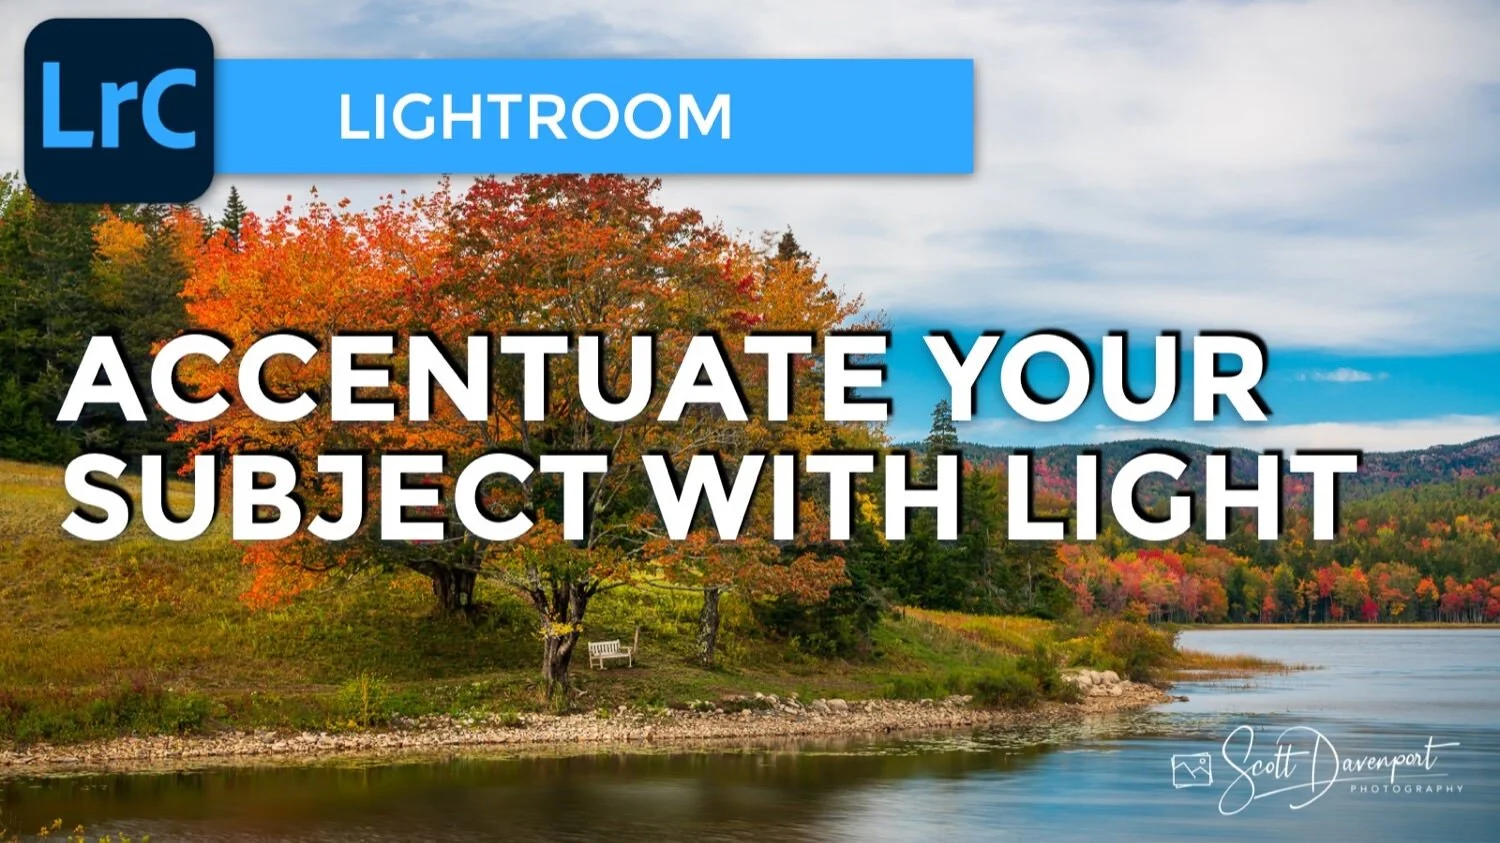
Accentuate Your Subject With An Inner Light In Lightroom
The focus of my Story And Vision video course is knowing the story of your image and using post-processing to amplify and accentuate that story. Here is a small yet great example of how our digital tools aid photographers in telling their stories and expression their vision.
Little Long Pond on Mount Desert Island in Maine is a beautiful place. When draped in fall color, it’s hard to imagine a better place for a relaxing walk, clearing one’s mind, and simply soaking in nature’s beauty. Along the walking paths that follow the edge of the pond are these benches, often beneath the canopy of a tree, that provide rest and refuge from the mid-day sun.
I photographed one of these benches beneath the reds and oranges of autumn leaves from across the pond. After the bulk of my post-processing was finished, the colors and tones of the sky, trees, and grasses looked great. However, the bench beneath the tree was no longer obvious. It was couched in shade and just getting lost in the frame. A simple adjustment to add a bit of localized brightness returned the bench to the forefront, letting it take its rightful and important place in the story of the photo.
Before: post-processing and vignetting have left the bench under the tree dull and hidden. The story of the photo is weakened..
After: A localized pop of brightness to the bench reinvigorates the story in the scene.
What technique did I use to accentuate my subject? A radial filter paired with a luminance range mask. The adjustment itself is a simple one-two-three step recipe
Draw a radial around your subject and the check the Invert checkbox selected. Invert makes the adjustments affect what’s inside the radial.
Add a boost to exposure to brighten the area and a pop to clarity to amplify local contrast.
Select Luminance in the Range Mask area and tighten the range so only the most important portions of your subject are affected by the adjustments.
For my scene, I wanted the tree trunks and deeply shadowed areas beneath the tree to remain dark. It’s the bench that I want to be brighter. The bench is comparatively a much brighter tone, so reducing the range mask from the left side, removing the adjustments from the shadows, is appropriate. I also lowered the smoothness for a more crisply defined transition across the affected and unaffected areas.
Luminance range masks are so incredibly useful in Lightroom. If you are not incorporating localized adjustments with range masks into you post-processing, I truly encourage you to learn how to use them. Your ability to shape and craft your images will take a quantum leap.
Little Long Pond Acadia
Contact Scott to commission a print or license this image.