
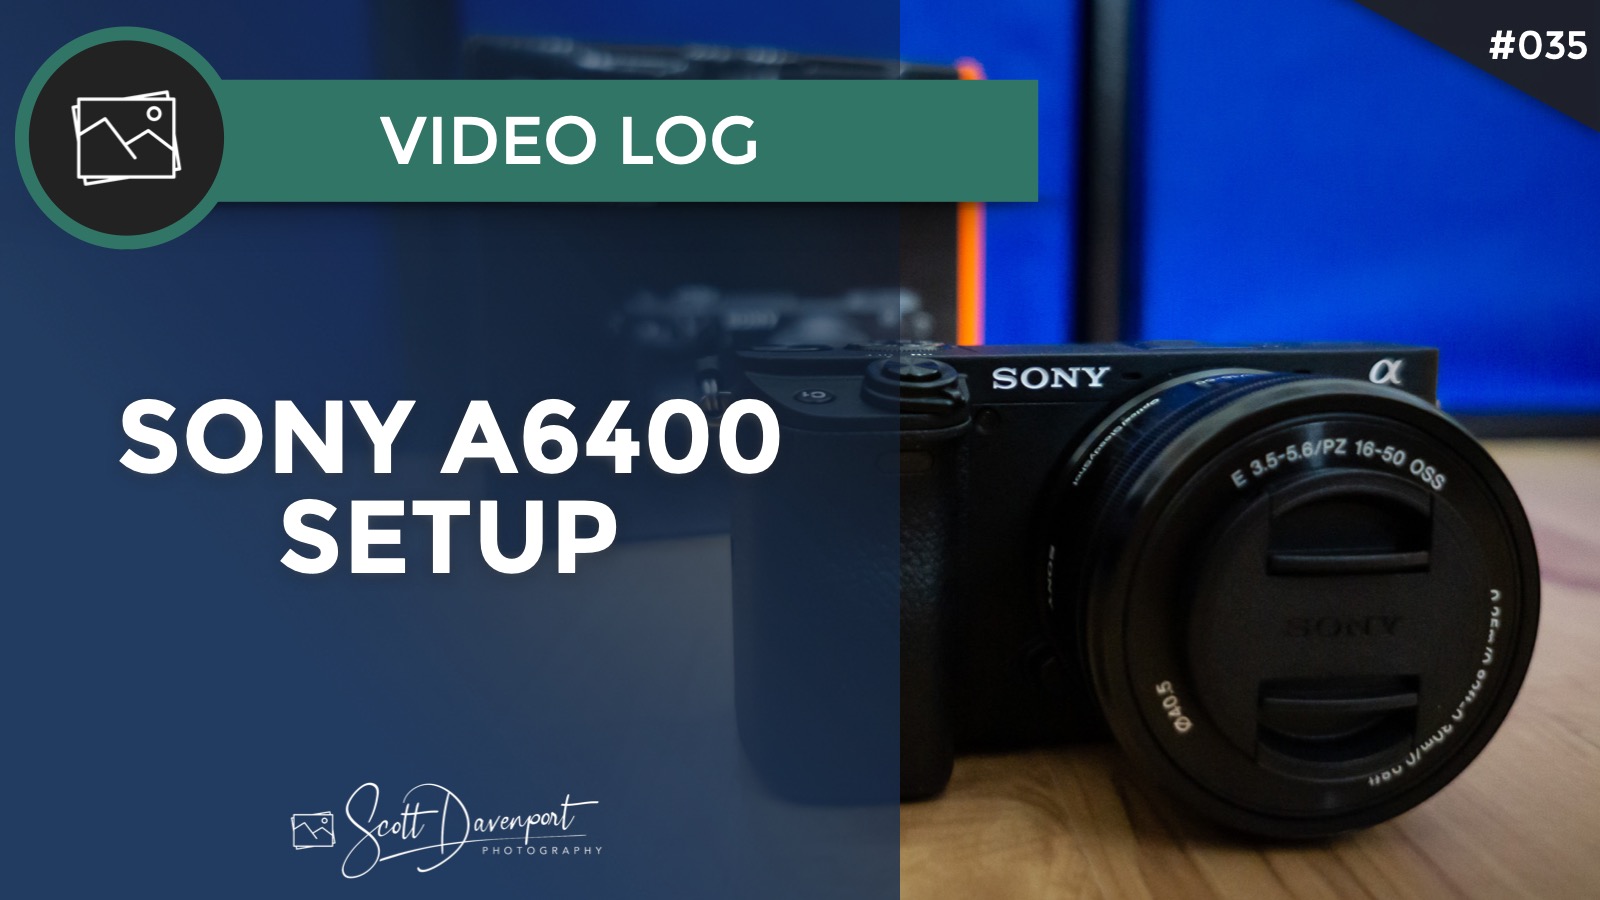
I’ve just added a Sony A6400 to my kit. In this video, I power it up for the first time and walk through the initial configuration. My primary use for the A6400 is as a video and vlogging camera. So my settings slant toward that usage.
Settings I modified from the defaults, menu by menu:
Camera Settings 1
File Format: RAW
JPEG Quality: Extra Fine
Long Exposure NR: Off (Why? Watch this video)
Color Space: Adobe RGB
Bracket Settings > Bracket Order: - -> 0 -> +
ISO Settings > ISO Range Limit: 100 - 6400
Face Registration: I registered my face
Camera Settings 2
File Format: XAVC S 4K
Record Setting: 30p 60M
Zebra Settings > Zebra Display: On
Zebra Settings > Zebra Level: 100+
Grid Line: Diag. + Square Grid
Audio Signals: Off
Network
No changes
Playback
No changes
Setup
Copyright Info: Add my name
Folder Name: Date Form
My Menu
No changes

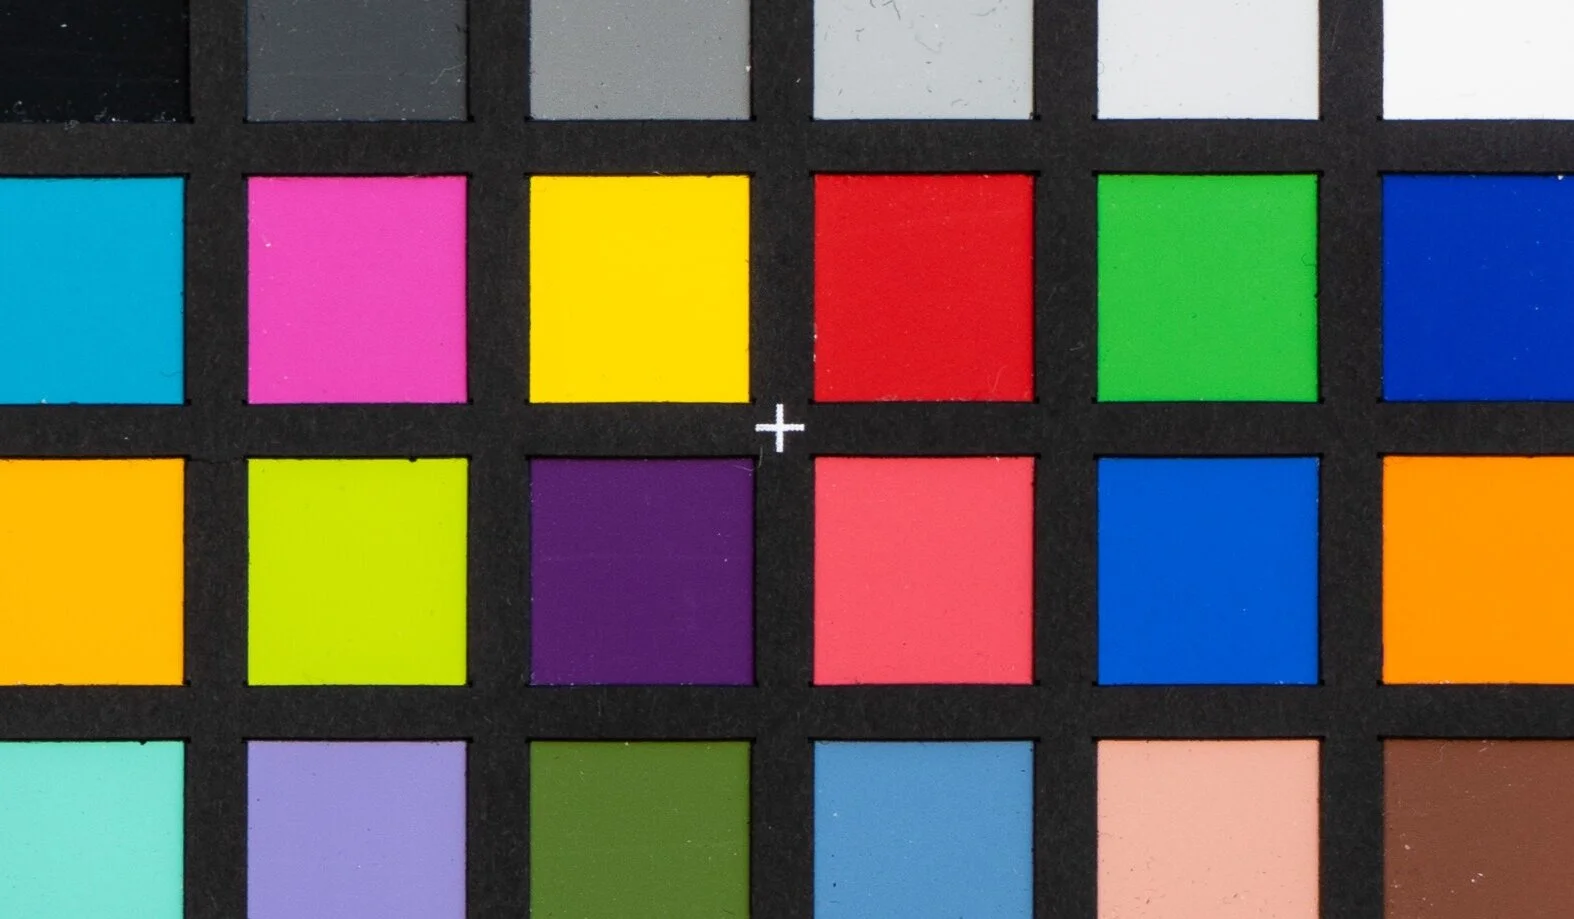
Test your own filters for a color cast. All you need is a reference point and consistent lighting.

I get asked about my tripod spikes all the time. Finally another company is making a set like the ones I have.


Calibrating your monitor and printer can be a bit of a hassle. And you need equipment for it. Is it really necessary?

Not all printer drivers are created equal. You could be missing out on important controls and settings for your photo prints.
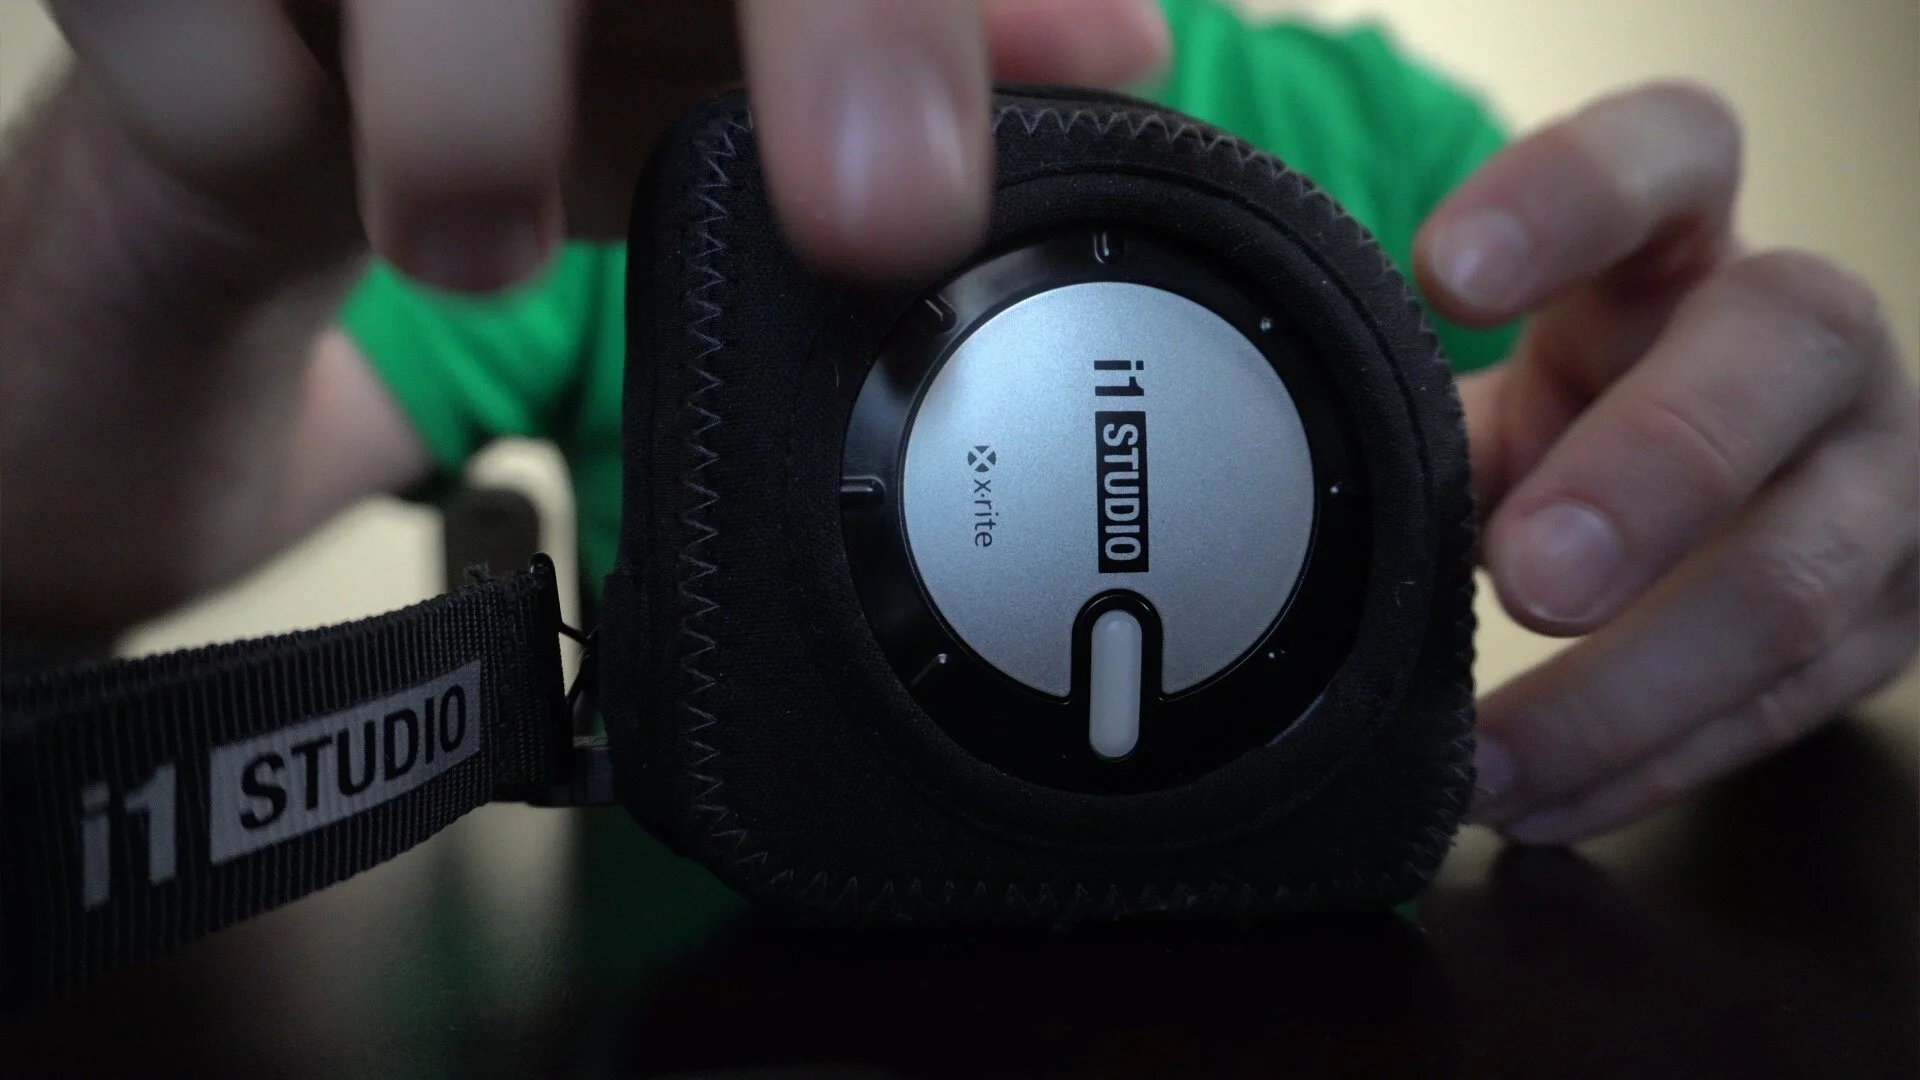
I use the X-Rite i1 Studio to color calibrate my monitor and printer. The dial on the device may be a little difficult to rotate. I’ll show you the simple trick I use to make it easy.
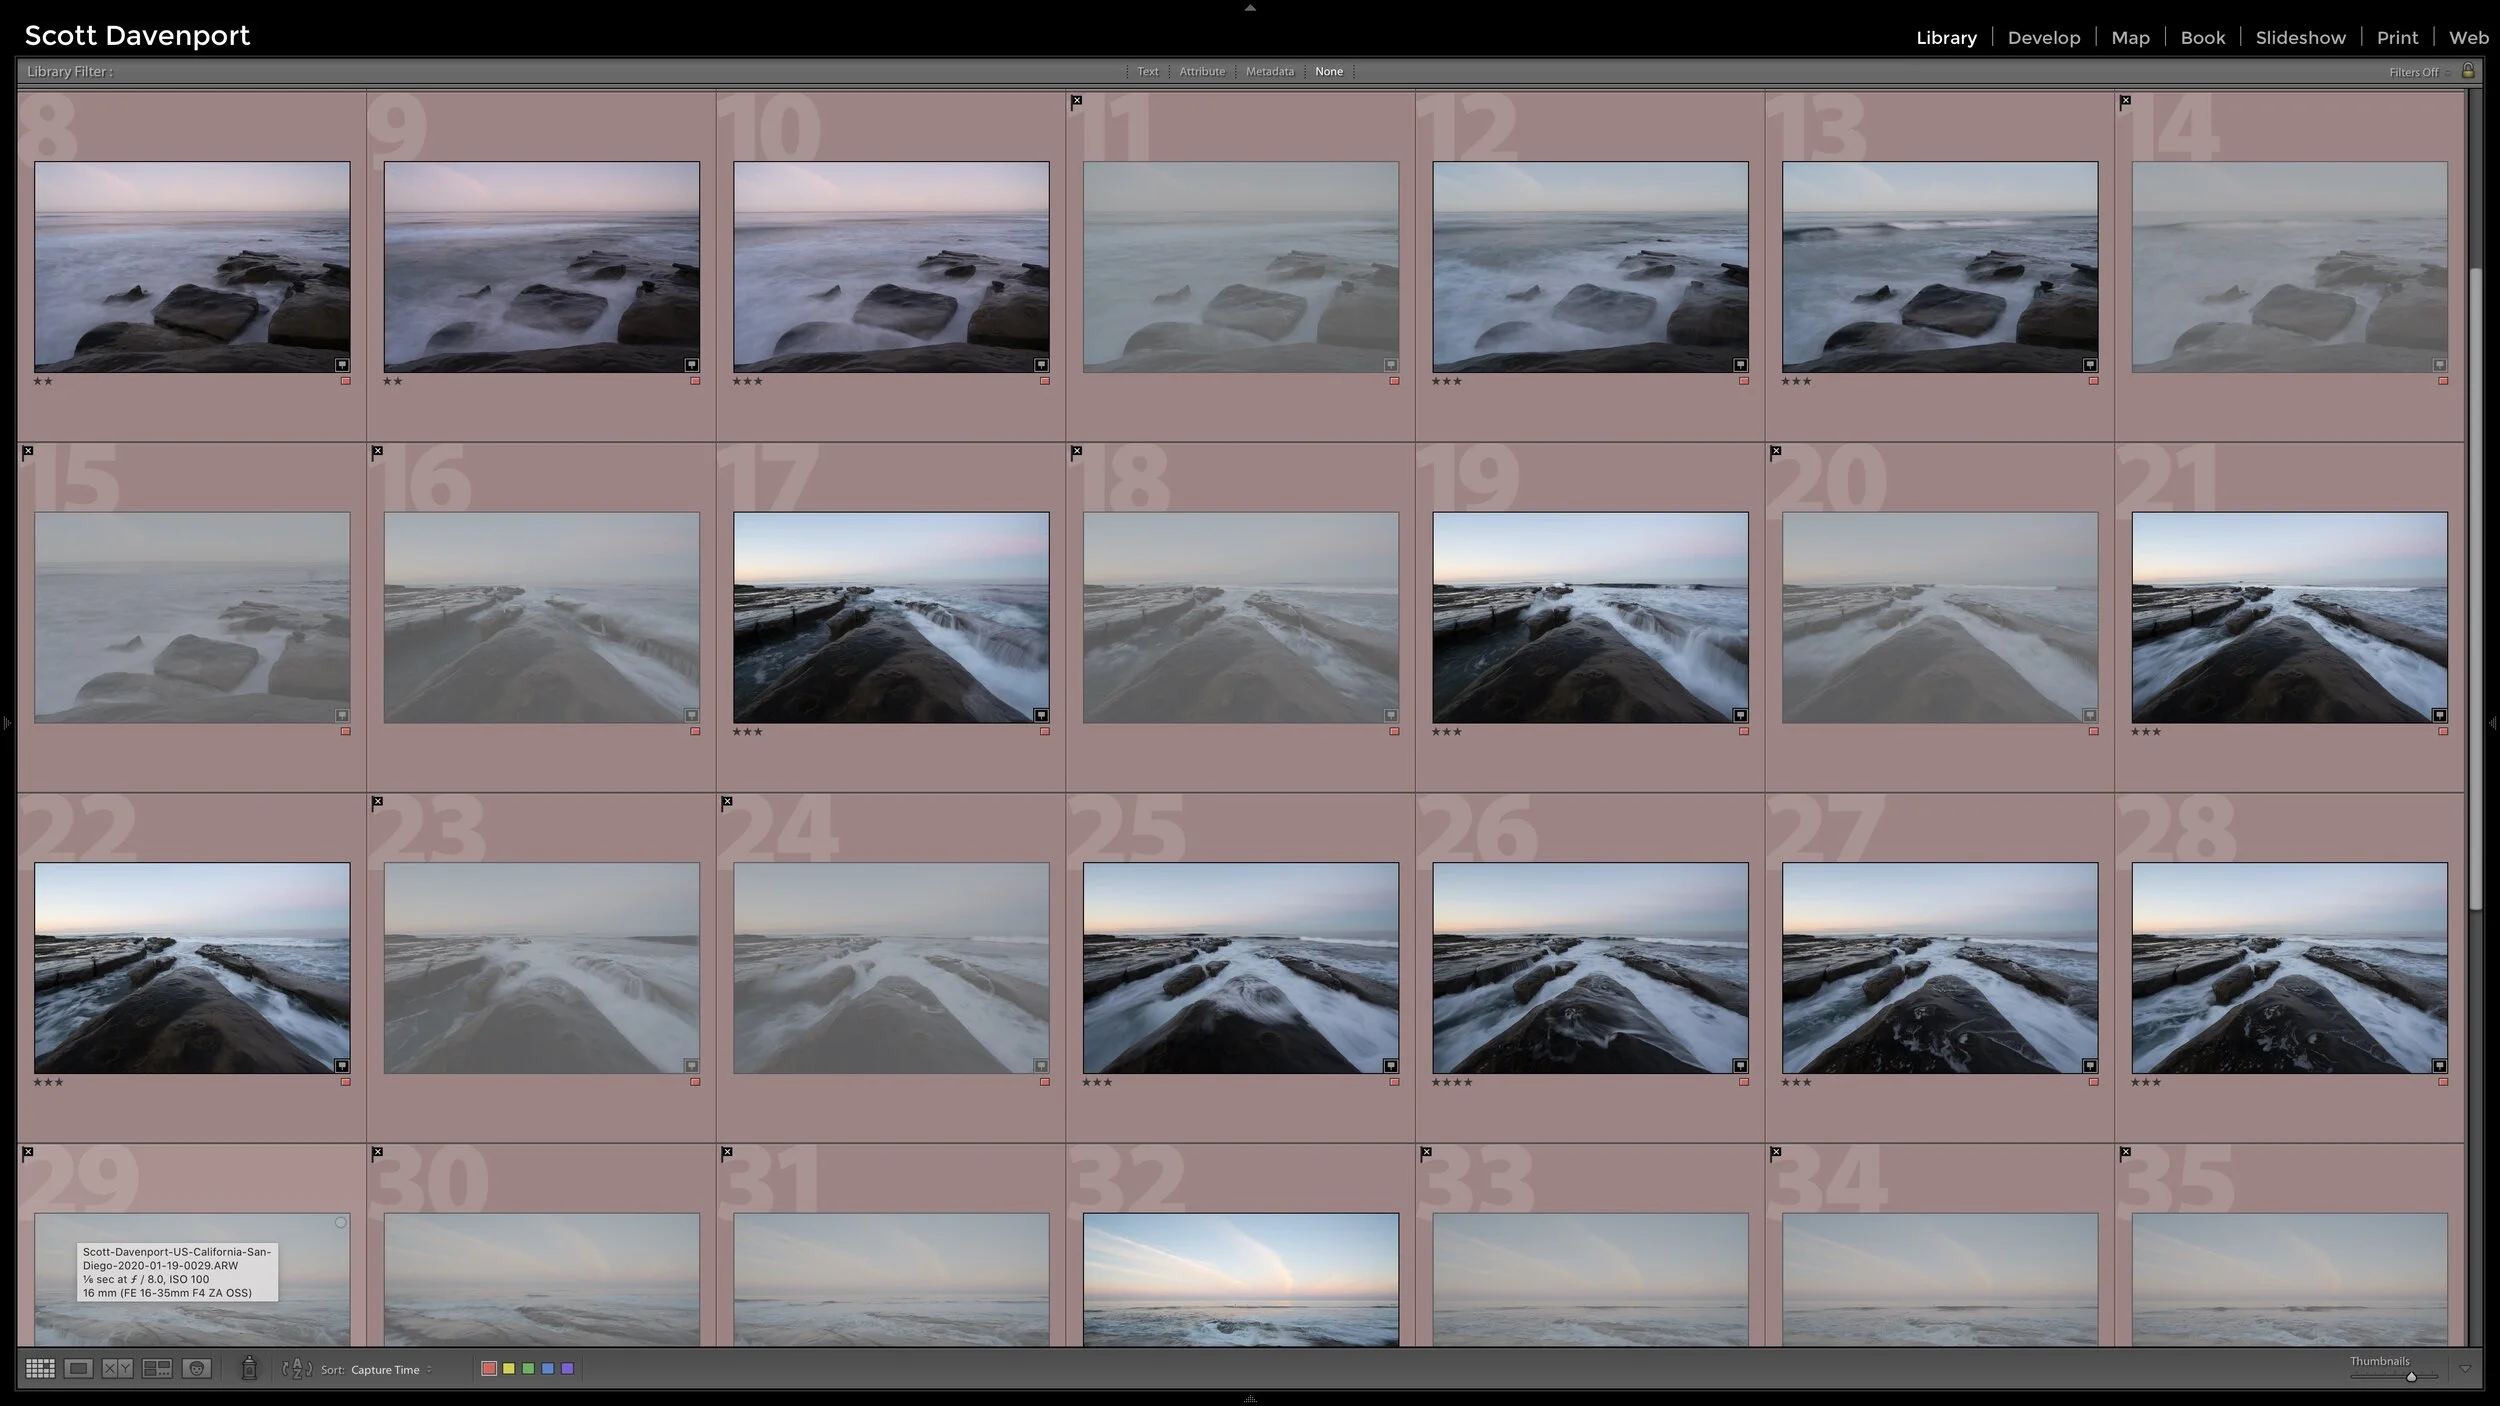
A seascape outing usually results in a lot of photos of a few compositions. Culling is critical to keep the working set of photos manageable.

Image theft happens… and it sucks. I use Pixsy to help me find potential infringements on my work. I’ll show you the basics of what I look for when I review matches found by the service.

Finding several unique images within your existing photo is a great way to grow your eye for composition. You might have new, compelling photos hiding in plain sight.