
How To Test Your Filters For A Color Cast
I have done a few filter review videos over the last several weeks and months. One of the tests I do is checking for a color cast on neutral density filters or polarizers. You can do this with your own filters, too. All you need is a gray card or color checker and consistent lighting.
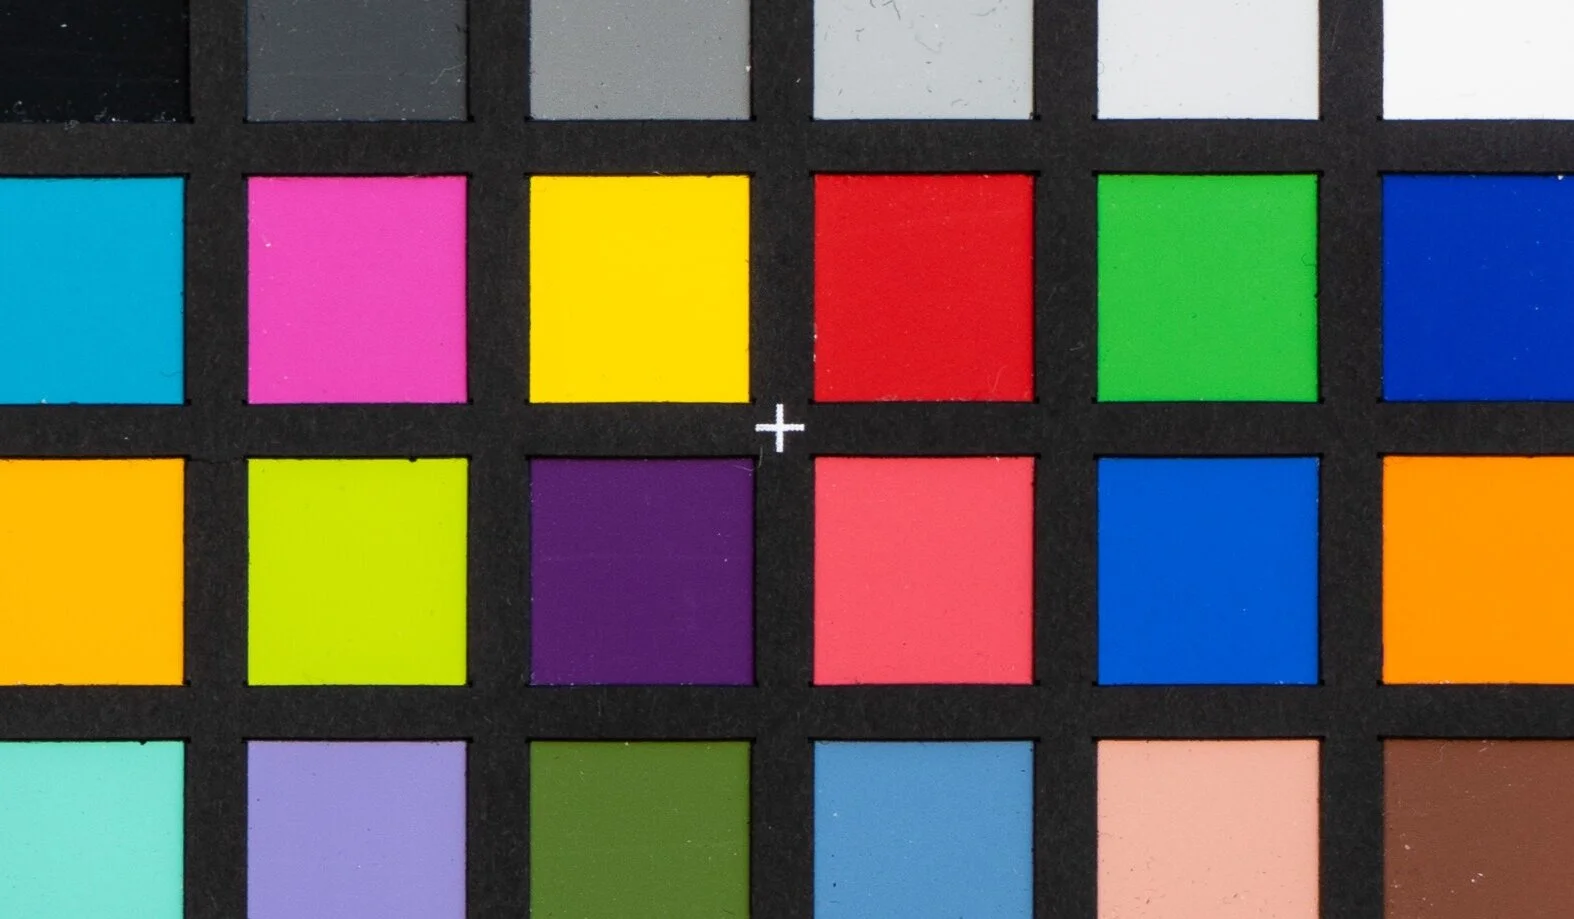
Get your setup in order. Your camera, a tripod, a color reference card, and consistent lighting. You want the lighting to be the same across the two photos you’ll take.
Take a photo of the color reference card with no filters. We’ll call this the Nominal frame.
Add the filters. Take another photo of the color reference card. We’ll call this the Filtered frame.
Load the two photos into your editing software.
Open the Nominal frame and use your white balance picker to select your color reference point.
Copy the white balance settings (Temperature & Tint).
Open the Filtered frame and paste the white balance settings. Don’t use the white balance picker on the Filtered frame. You want to measure the shift compared to the Nominal frame, not correct the Filtered frame.
That’s it. For higher quality filters, the color shift should be reasonably low. Within a few hundred Kelvin is good - and that means you’ll know you can easily correct for any color cast your filter delivers.
Subscribe and share!







Haida announced a new 2-in-1 filter that combines a circular polarizer and a variable neutral density filter into a single screw-in filter. And I’ve got the details for you.