A Non-Destructive Layered Workflow With Lightroom And ON1 Effects 2022
If you are trying ON1 Photo RAW, the ON1 plug-ins like ON1 Effects or ON1 HDR, or upgrading your ON1 software to a newer version, please consider using my affiliate link. There is no extra cost to you and it helps support ON1 tutorials like this one. Ready to buy? Use the offer code SDP20 at checkout and SAVE 20%!
ON1 updated their Professional Plugin Series this past week, including one of my favorite Lightroom plug-ins, ON1 Effects 2022. The filters and styles in ON1 Effects touch many of my photos. I like the level of control the filters give me. I also like the ON1 masking tools. I find them easy to use and powerful. As a Lightroom user, while I do have Photoshop, I sometimes prefer the ON1 masking tools for their ease of use.
I am very happy to report that the ON1 Effects 2022 plugin offers Lightroom users a non-destructive, layered workflow. Couple that with ON1’s Smart Photo feature and you can edit and re-edit layered photos with ON1 Effects directly from Lightroom.
This article describes the steps for a non-destructive, layered workflow using Lightroom and ON1 Effects.
Step 1 - Open Multiple Photos In ON1 Effects From Lightroom
In Lightroom, perform your basic edits on the photos you want to use with Layers. With your photos ready, select them in Lightroom. Then, choose File > Plug-in Extras. Scan down to the ON1 Effects 2022 section and choose Open As Layers. You’ll get a pop-up window asking for the file format, color space and bit depth. I recommend choosing the Smart Photo option. With this format, you can re-open the resulting PSD file later in ON1 and make adjustments to the Effects settings.
After a moment or two, the photos are opened in ON1 Effects with each one on its own layer. You’ll see that in the Layers panel.
Step 1 - Select two or more photos in Lightroom and choose Open as Layers from the File > Plug-in Extras > ON1 Effects 2022 area.
Step 2 - Compositing Work
With your photos in layers, use the masking tools and controls in the Layers area to do your compositing work. The level and scope of work will depend on the images you are combining. In this example, masked in an accent in the foreground where the waves spilled down the rock facade. The steps I used were:
Select the top layer
Invert the mask, hiding all the pixels
Choose the Masking Brush and set the mode to Paint In
Adjusted the brush size, feather, and opacity
Painted over the foreground rock to reveal the water accent
Step 2 - Use Layers to do any compositing work you like. Here, I masked in a little more accent water on the foreground rock.
Step 3 - Combine And Style
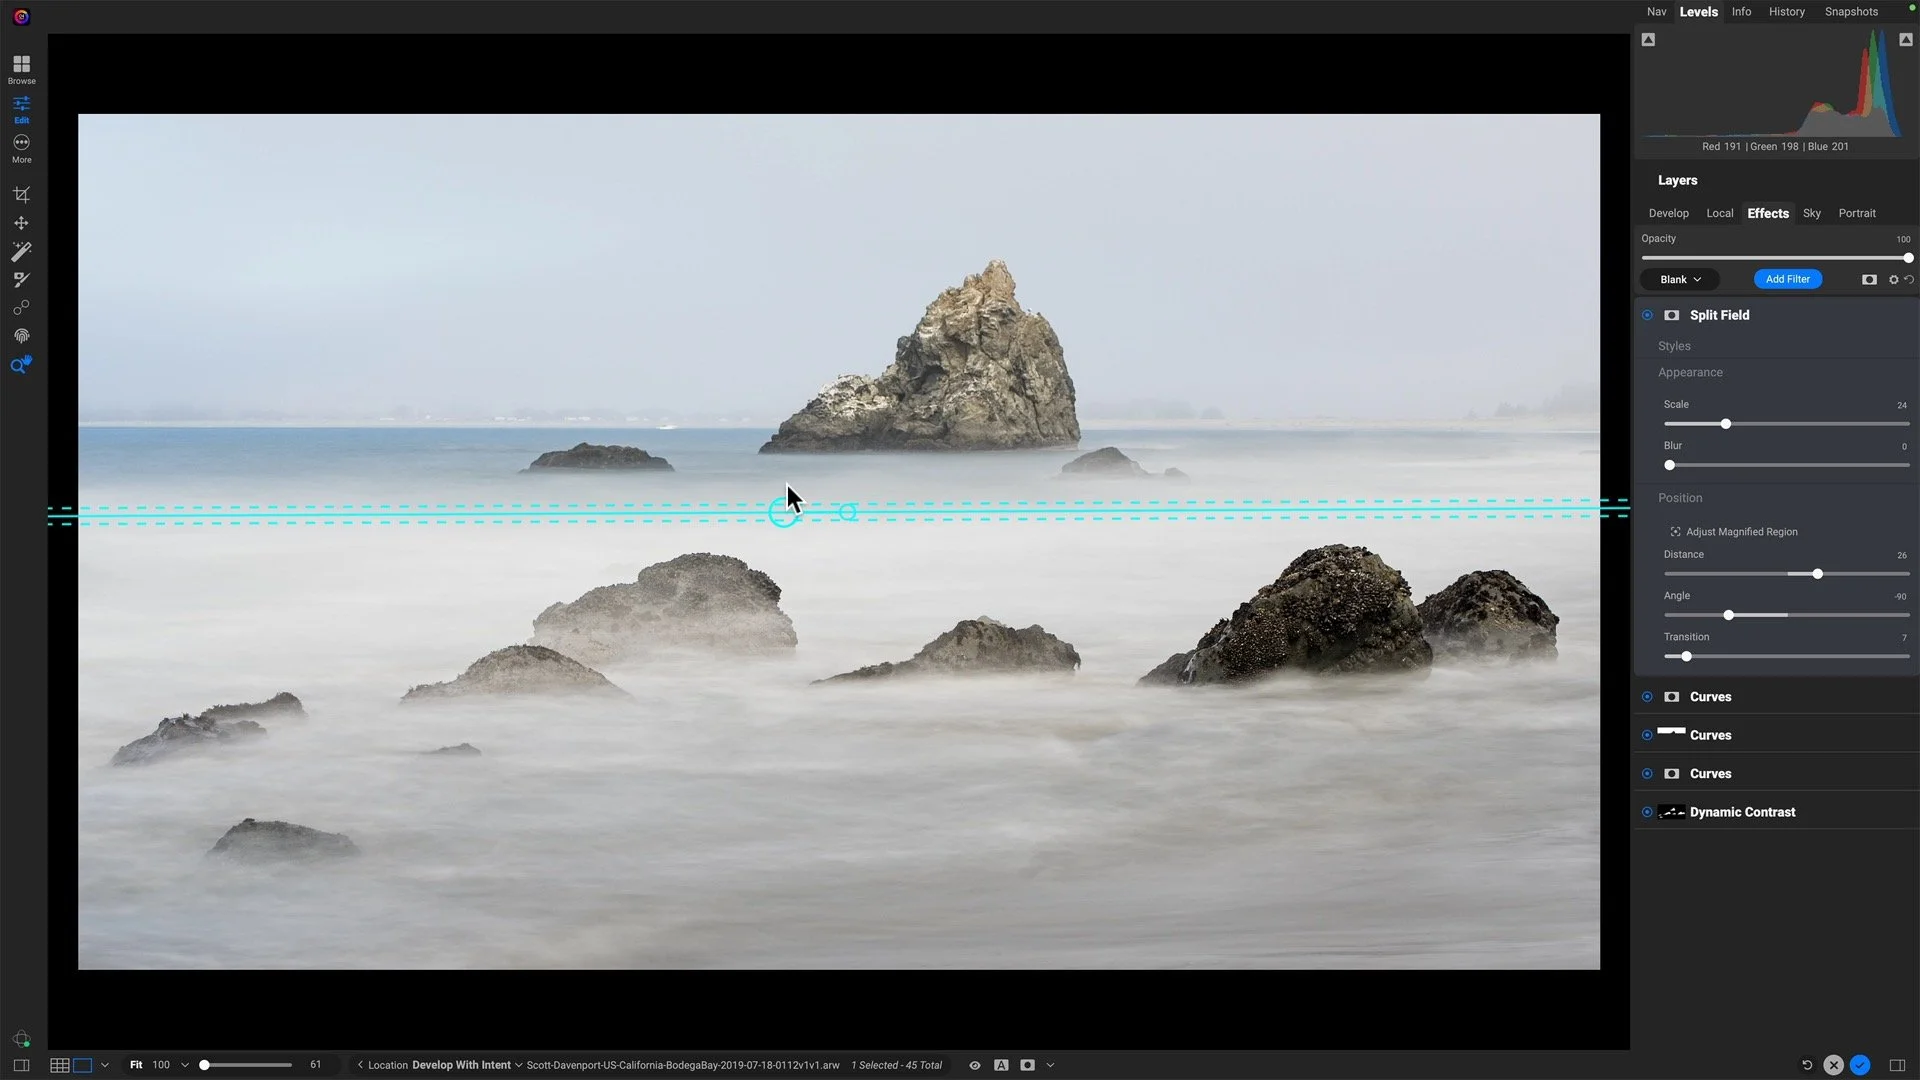
Once compositing work is complete, you can still add Effects filters to your image and style it. I recommend first creating a Stamped Layer so that all of your pixels are on a single layer. Do this in the Layers panel by right clicking the top layer and choosing New Stamped Layer from the popup menu.
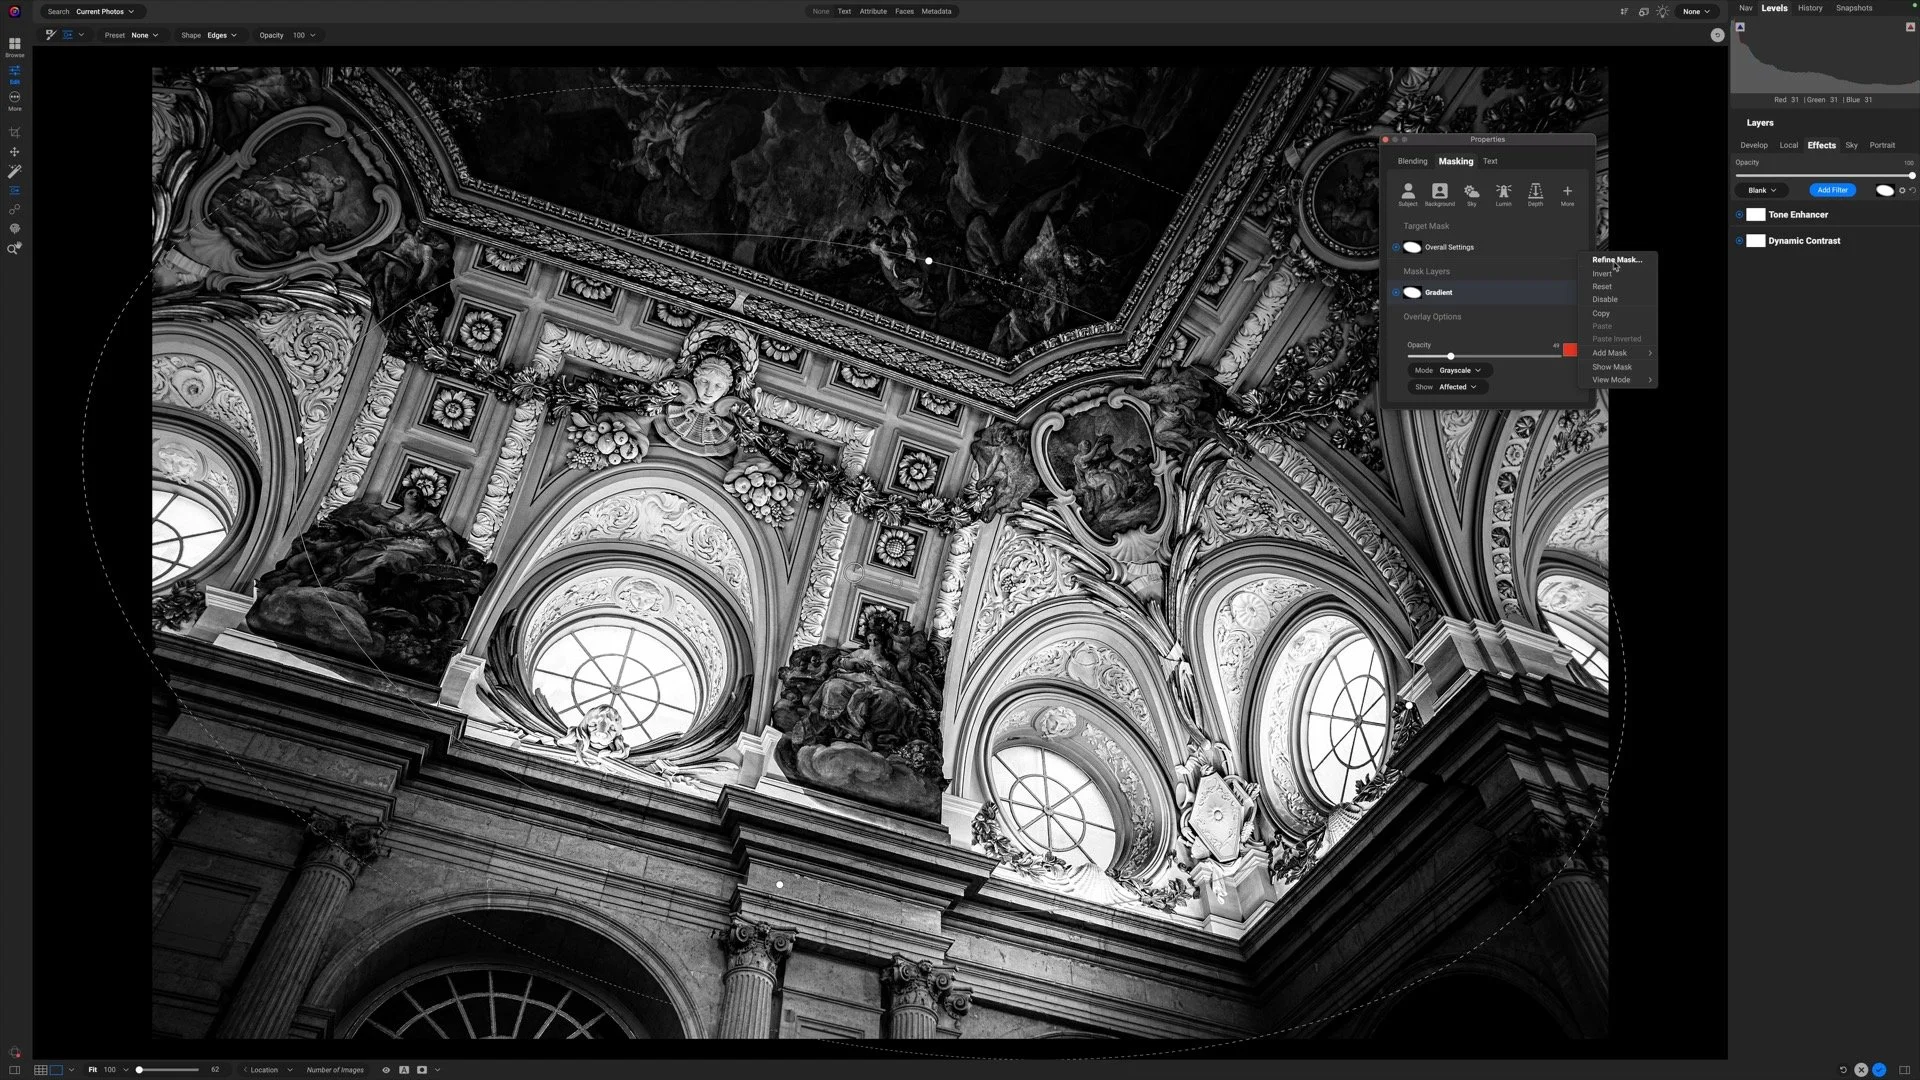
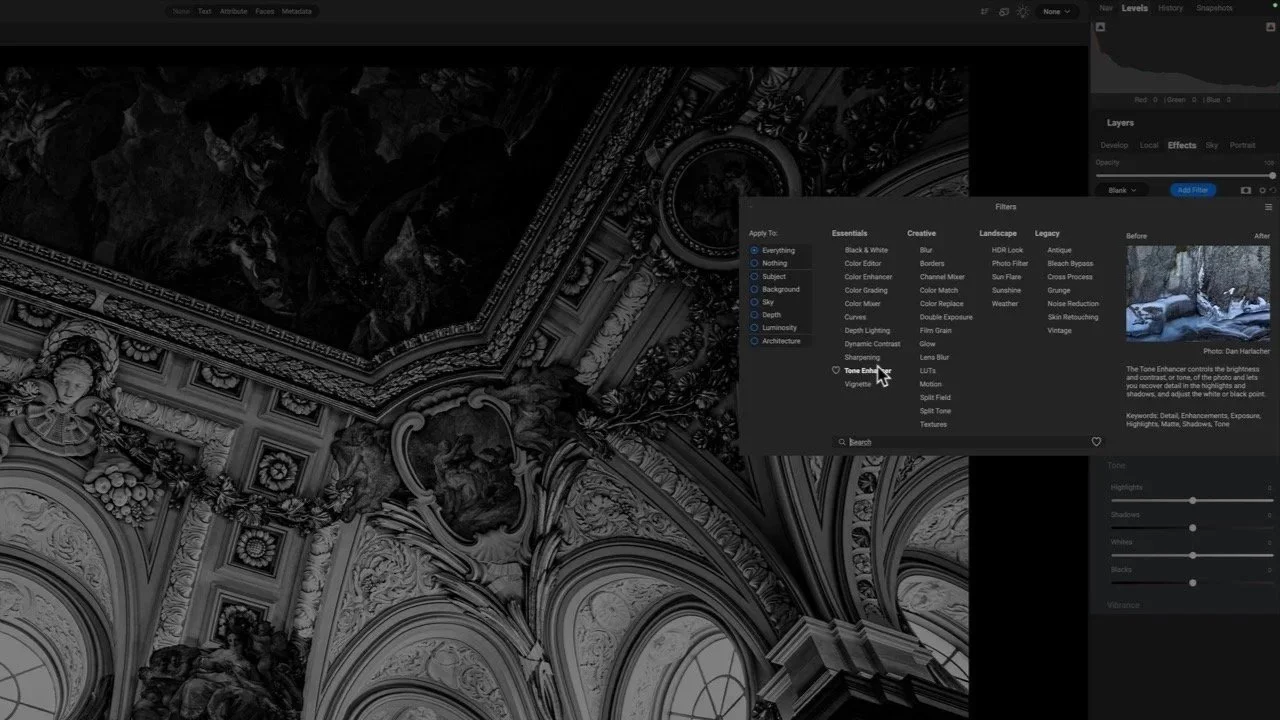
Next, style your photos with the Effects filters. Add as many filters as you like. All Effects filters have the same level of masking power as layers, so the effects can be targeted to just the elements in your photo you want to accent or downplay.
Step 3 - Style your image using the Effects filters. Each filter can be individually masked for the exact look you want.
Step 4 - Refine With Local Adjustments
If your image needs further refinement, use the adjustments in the Local tab. In this photo, the foreground was still a little dark. I added a local adjustment, raised the exposure some, and used a combination of a luminosity and gradient mask to limit the brightness to the ocean water.
Step 4 - Refine your image with the Local Adjustments.
Step 5 - Save Your Work Back To Lightroom
When you are all finished, click the Done button in the lower right corner. ON1 Effects saves your work and the plug-in workflow adds the new PSD file to your Lightroom catalog. It’s right next to your original photos. Your originals are still available as well as your composite.
If you used a Smart Photo, you can re-edit it at any time. Right click, choose Edit In > ON1 Effects and edit the Original photo.
Step 5 - Save your composite image back to Lightroom.
There you have it. A non-destructive, layered workflow using Lightroom and ON1 Effects.
You can, of course, continue making edits on the PSD once in Lightroom. And those are non-destructive too!
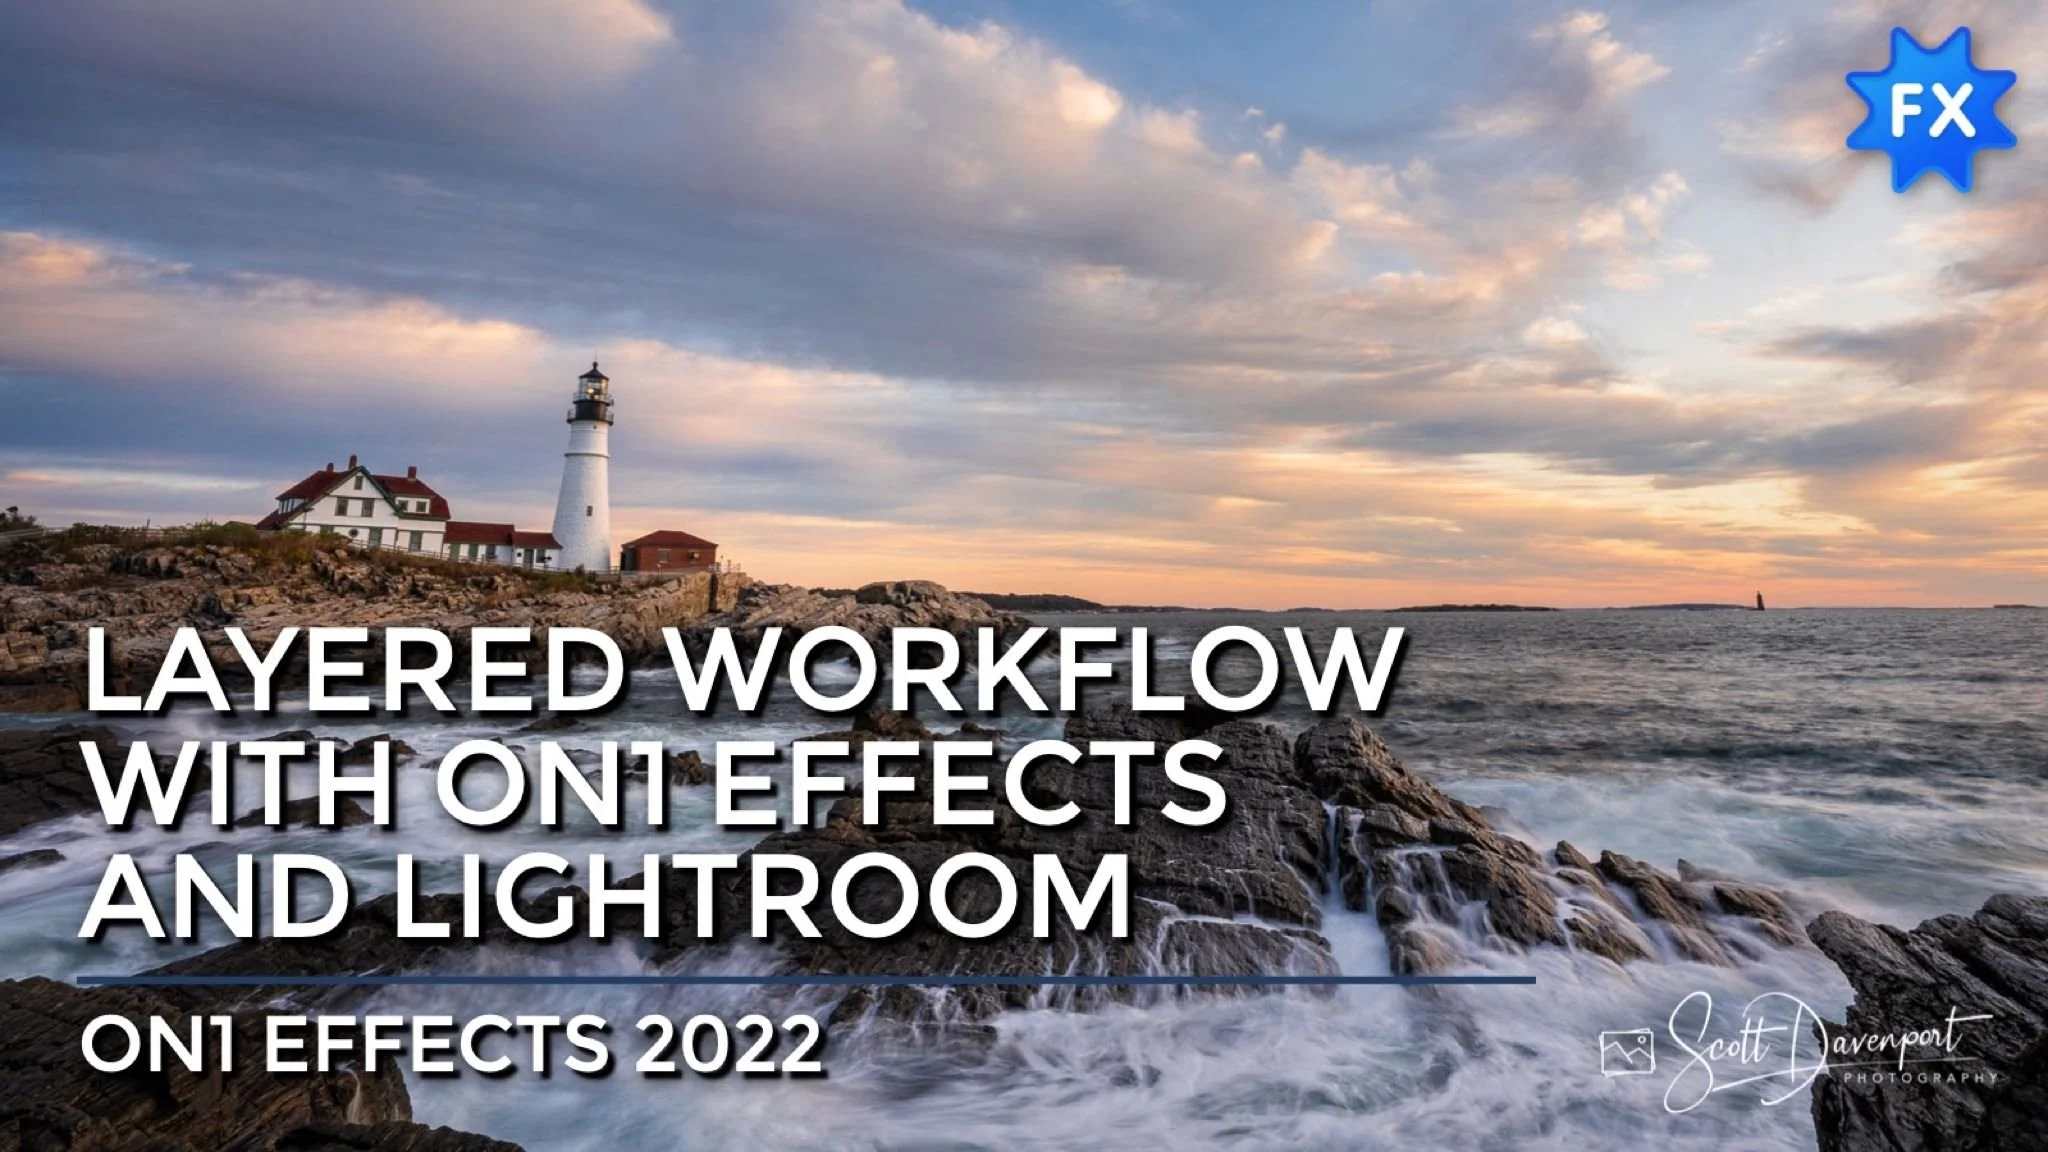
Portland Head LIght At Sunrise
Contact Scott to commission a print or license this image.
