When To Use Sharpen AI In Your Photo Editing Workflow
If you are trying Sharpen AI or other Topaz Labs products, please consider using my affiliate link. There is no extra cost to you and it helps support tutorials like this one. Ready to buy? Click my link and support my work.
I’ve recently added Topaz Labs Sharpen AI to my workflow. Many of you asked me - when do I use Sharpen AI in my photo editing workflow? What is the right time in editing to sharpen? While each photo is different, and precisely when you’ll reach for Sharpen AI will vary, the general answer is somewhere in the middle. In the middle of my workflow is when I launch Topaz Sharpen AI to deal with any blur, camera shake, or other softness in my images. What exactly is the middle? I let the needs of the photo help me figure that out.
Step 1 - Basics First
The first thing I do is get the fundamentals of the photo in order. I do this in my host editing application. For me, that’s most often Lightroom. You might be using ON1 Photo RAW or Photoshop or something else. Whatever your application of choice is, get the tonality of your image in order. Correct exposure, black and white point, deal with any clipped shadows or blown highlights. Sometimes that’s just an auto-button away.
Once basics are done if the next, obvious problem with the image is its sharpness, it’s time for Sharpen AI. Don’t waste effort styling and tweaking a blurry image.
Step 1 - Adjust the fundamentals of your photo in your host application, like Lightroom, ON1 Photo RAW, or Photoshop. Leverage the richness of your RAW image to fix highlights, shadows, and exposure.
Step 2 - Fix Sharpness Issues In Sharpen AI
Next, send the photo into Sharpen AI and fix whatever softness or camera shake problems exist. Why not do this first? Once you invoke a plug-in, you are no longer working with your RAW photo. Leverage the wide latitude RAW images give us to correct things like exposure, highlights, and shadows. Then sharpen.
I have another article about how to use Sharpen AI and a video on how to choose the best Sharpen AI settings for your images. Once you’ve dialed in the adjustments in Sharpen AI, click the Apply button and return to your host application.
Step 2 - Correct sharpness issues in Sharpen AI. Do this after the fundamental tonality of your photo is set.
Step 3 - Add More Style And Finish Editing
Once the photo is crisp and sharpness is no longer a problem, you can add more style and adjustments to your photo. You might add more local contrast, or adjust color, or add vignettes. You might use additional styling plug-ins, too. With the sharpness issues behind you, now is the time to spend on shaping and crafting your signature look.
Step 3 - Add more style in your host application or other plug-ins. With sharpness issues addressed, now it’s time to spend effort on your final work.
Exactly when you’ll turn to Sharpen AI will be different for each photo. For example, a photo with only a touch of softness might get more basic styling before sharpening. Let your image be your guide. When the sharpness of your photo is the primary thing to address, that’s the time to fix it. If you can’t fix whatever sharpness issue it has, time spent styling the photo might be better spent on a different image in your catalog.
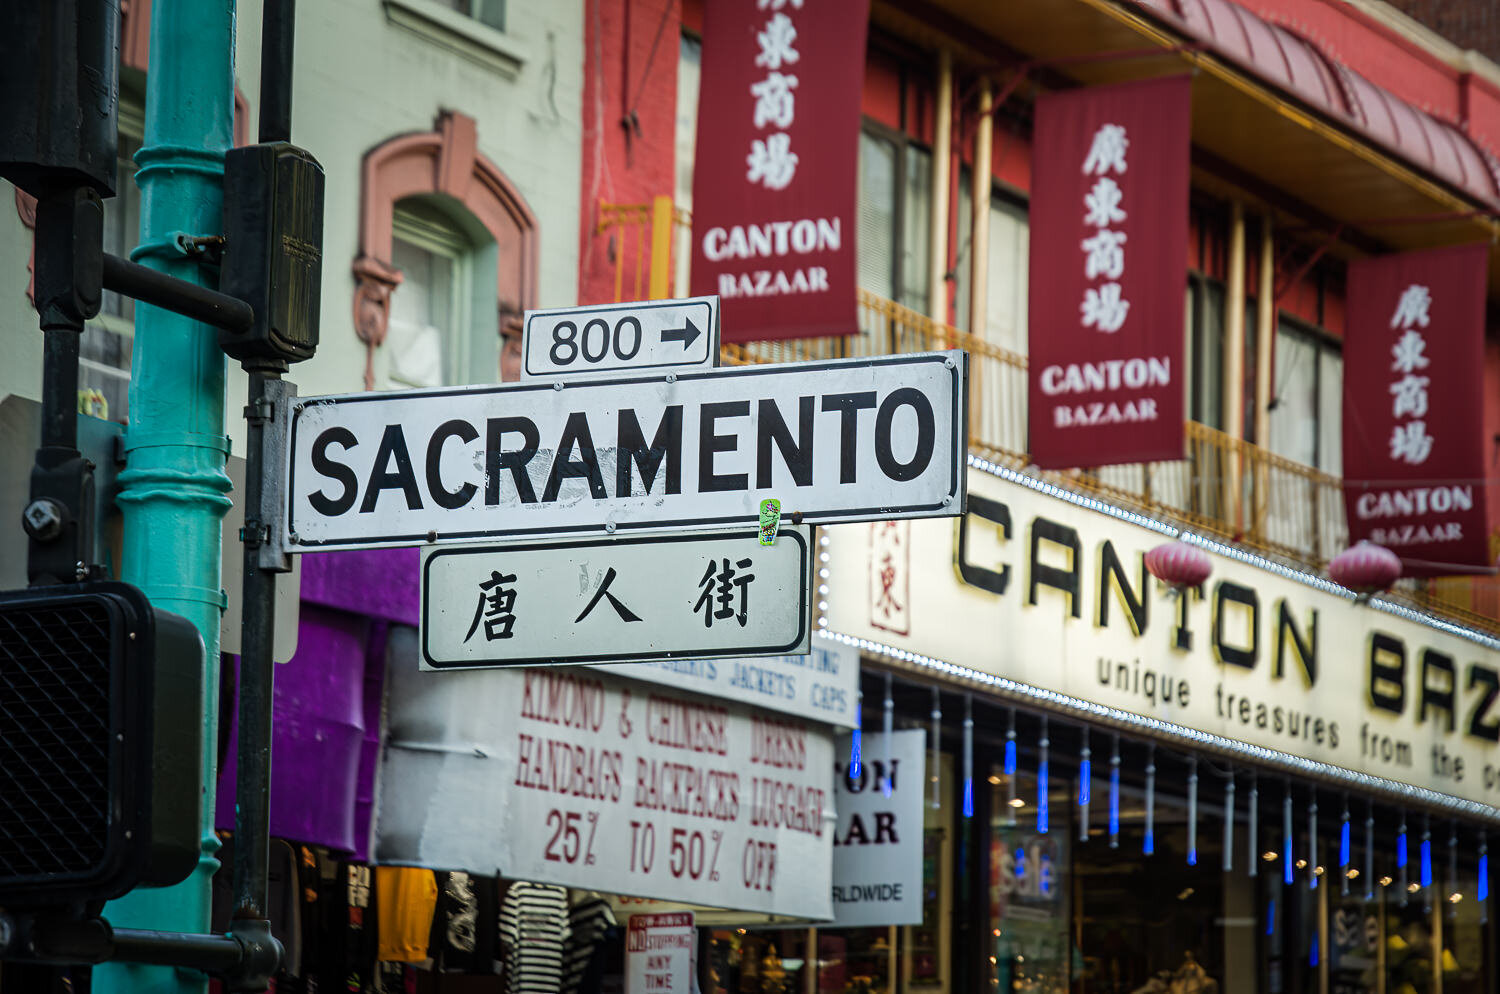
Sacramento Street Chinatown
Contact Scott to commission a print or license this image.


