Quick & Easy Seascape Composites - In Post #492
I absolutely love photographing the ocean. Every wave is different and every curl of whitewash is unique. However, nature doesn’t always serve up the perfect wave. Sometimes the surf plays wonderfully around one area of the rocks and not the others. With a little patience and persistence in the field, you can capture a set of photos that can easily be blended into the perfect seascape photo.
1. Capture The Right Photos To Composite
When I capture seascapes, I am typically using a neutral density filter for a slower shutter speed to accentuate emotion in the scene. That means my camera is on a tripod, which lends itself to capturing a series of photos to composite later. Capture several photos as the waves work their way through your composition. Pay attention to the foreground and background to ensure you capture enough photos for blending later. If you do get that perfect wave and all the elements come together - great! And consider yourself very lucky. You might want to buy a lottery ticket, too!
Below I have three frames to composite. The photo in the upper left has most of the elements I want. The cascades over the rocks on the right side of the frame are excellent, and the mid ground toward the left edge of the scene is good, too. However, the foreground is a little empty. That is where the other two photos fill the gaps. Notice in the photo on the right and the photo at the bottom the whitewash reaches farther into the frame. However, the makeshift waterfalls have since drained.
As all three photos are captured on a tripod, the layering and blending job is easy. In Lightroom, select the three photos and choose Open as Layers in Photoshop. All three images are loaded into Photoshop, each on their own layer. You can use other software to do the blending as well, so long as layers and blending modes are supported.
Select the photos to blend in your layering software. One photo has most of what you want and the others are accents with extra whitewash.
Open the images as layers in Photoshop, ON1 Photo RAW, or your layering software of choice.
2. Arrange The Layers
With the photos loaded as layers in Photoshop, take a moment to arrange the layers. Place the photo that has most of the elements you want in your scene on the bottom of the layer stack. If the photos loaded in a different order, simply drag and drop them in the layer stack. You can also rename the layers by double-clicking and entering a custom name. This is a convenient way to keep track of what each layer brings to the composite.
In this example, I have three layers. The Base Image layer has the cascade of surf, my primary subject in this composite, and is placed on the bottom. The other two layers are put on top and have the surf accents I want to composite. The Wave & Wash layer is the upper right photo has more whitewash in the foreground and a small accent wave in the midground. The Wash layer is the third photo of the bunch, and has a longer finger of whitewash extending into the foreground.
Arrange the layers in the layer stack. Put the layer with most of your content on the bottom and the accent layers on top.
Change the blend mode of the first accent layer to Lighten. Add a black mask (hide all pixels) to the layer.
I like to build my up my composite working my way up the layer stack. I turn off visibility for all the accent layers and select the lowest one. Switch the blending mode to Lighten, add a layer mask, and invert the layer mask (Command/Control I in Photoshop).
3. Masking Made Easy With The Lighten Blending Mode
The Lighten blending mode makes the masking job very easy. Lighten tells the selected layer to only display the pixels that are brighter than the layer beneath it. When you are blending seascapes, the brighter pixels are the whitewash in the surf. Grab your masking brush or other tool and begin painting in on the selected accent layer. As if by magic, only the whitewash appears as you paint. Remember, those are the brighter pixels and the Lighten blending more will only display the bright pixels.
This makes masking very easy. Your brush strokes can be wide an imprecise, yet the resulting look is smooth and natural. After brushing in the accents from the current layer, repeat the process. Select the next accent layer in the stack, switch its blending mode to Lighten, and mask in the surf and foam you want to add in.
Grab a masking brush or other tool and paint in the accent layer. The Lighten blend mode reveals only the pixels that are brighter than the base image.
Repeat this process with additional accent layers… as many as you need!
Voila!
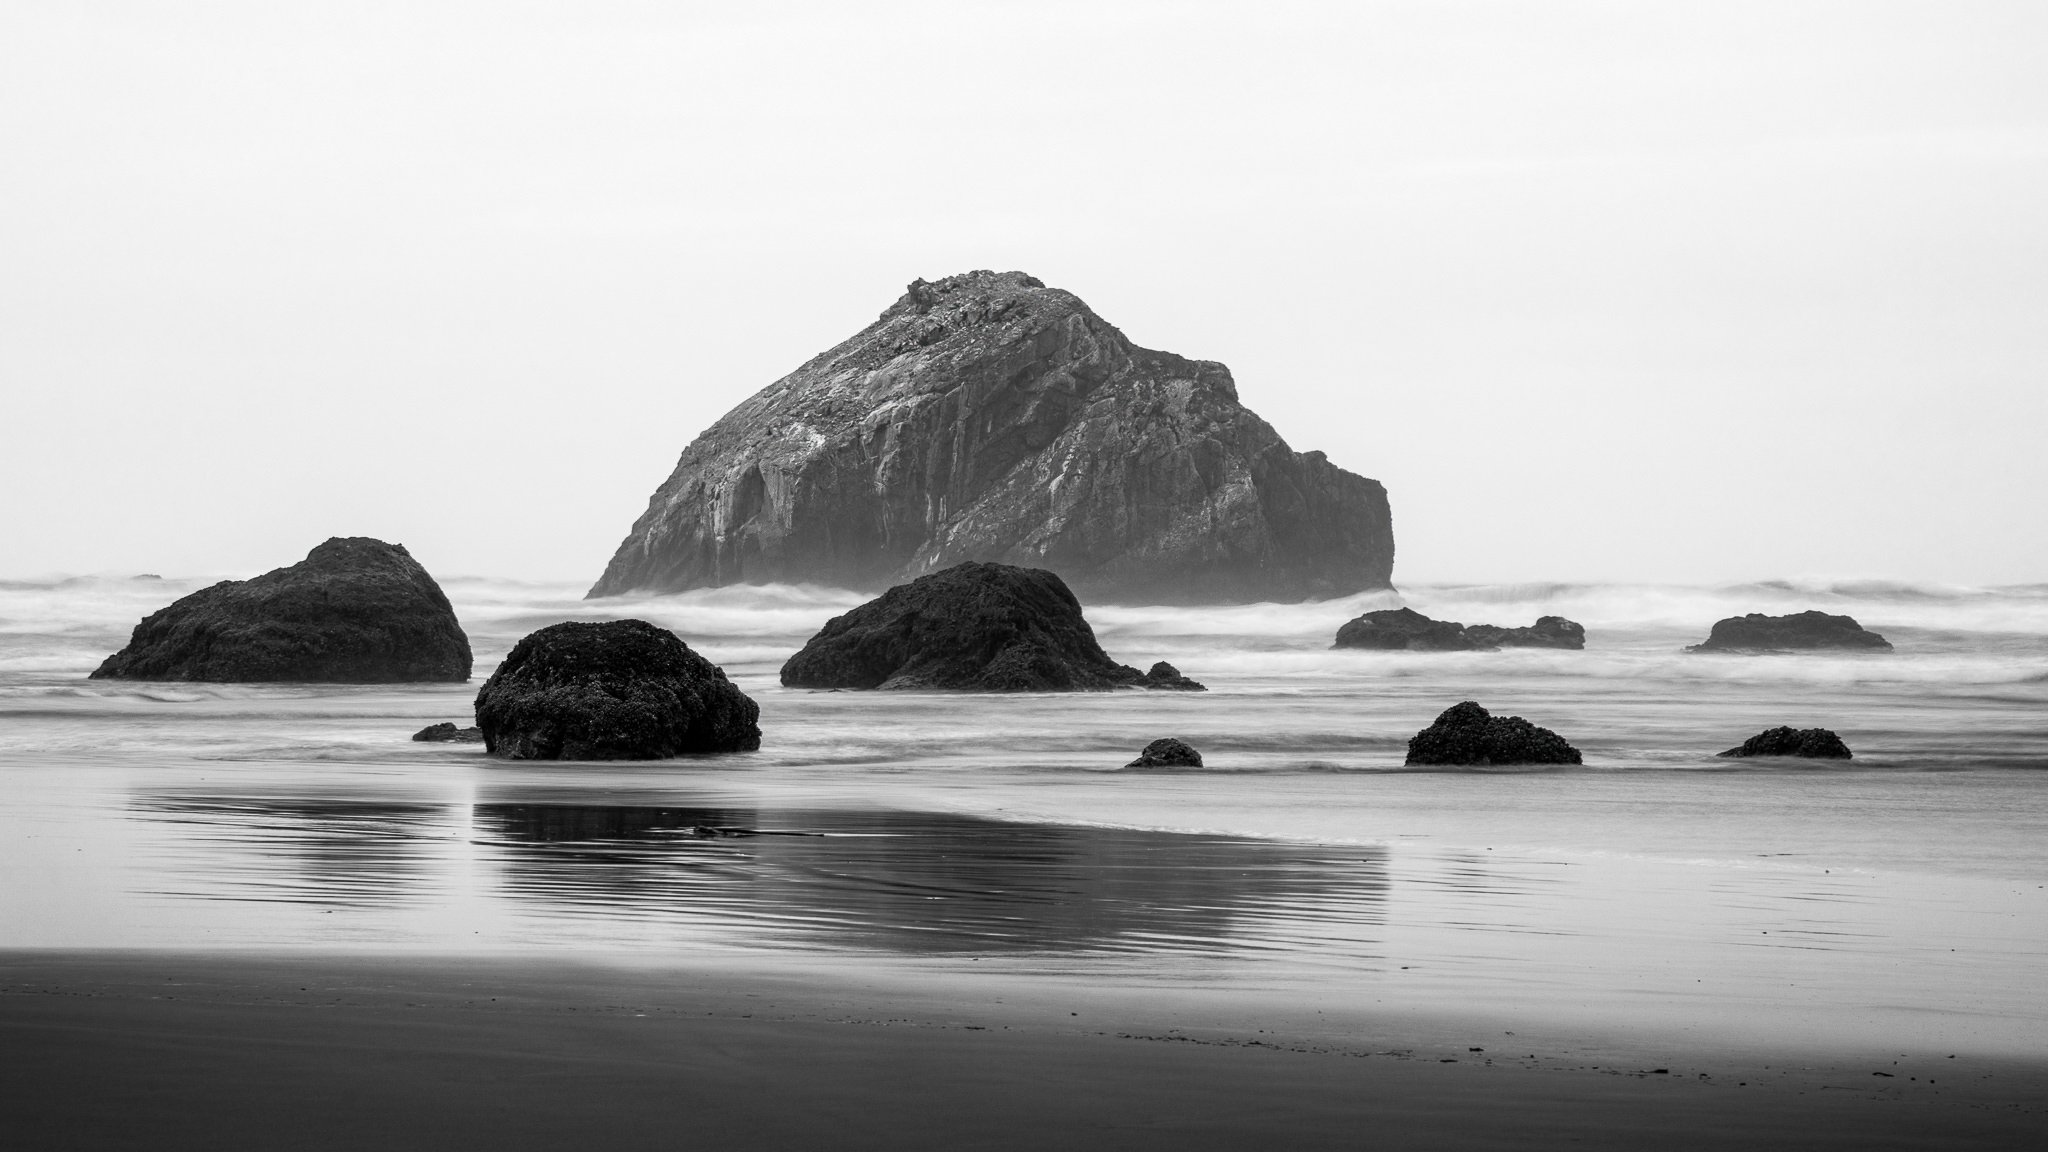
Within a few minutes you’ll have a perfectly crafted seascape composite. From here, you can create a new stamped layer or merge the component layers together and continue your other post-processing. You might add detail or contrast to the rocks, adjust color, and so on. The key takeaway is to leverage the Lighten blending mode to make the composting work fast and easy.
You can use this technique for many other landscapes featuring water, such as waterfalls and streams. The lighten blending mode also works well for cityscapes and star trails.
Soft Sunrise At Little Corona Del Mar
Contact Scott to commission a print or license this image.


