Easy Landscape Compositing In ON1 Effects
If you are trying ON1 Photo RAW, the ON1 plug-ins like ON1 Effects or ON1 HDR, or upgrading your ON1 software to a newer version, please consider using my affiliate link. There is no extra cost to you and it helps support ON1 tutorials like this one. Ready to buy? Use the offer code SDP20 at checkout and SAVE 20%!
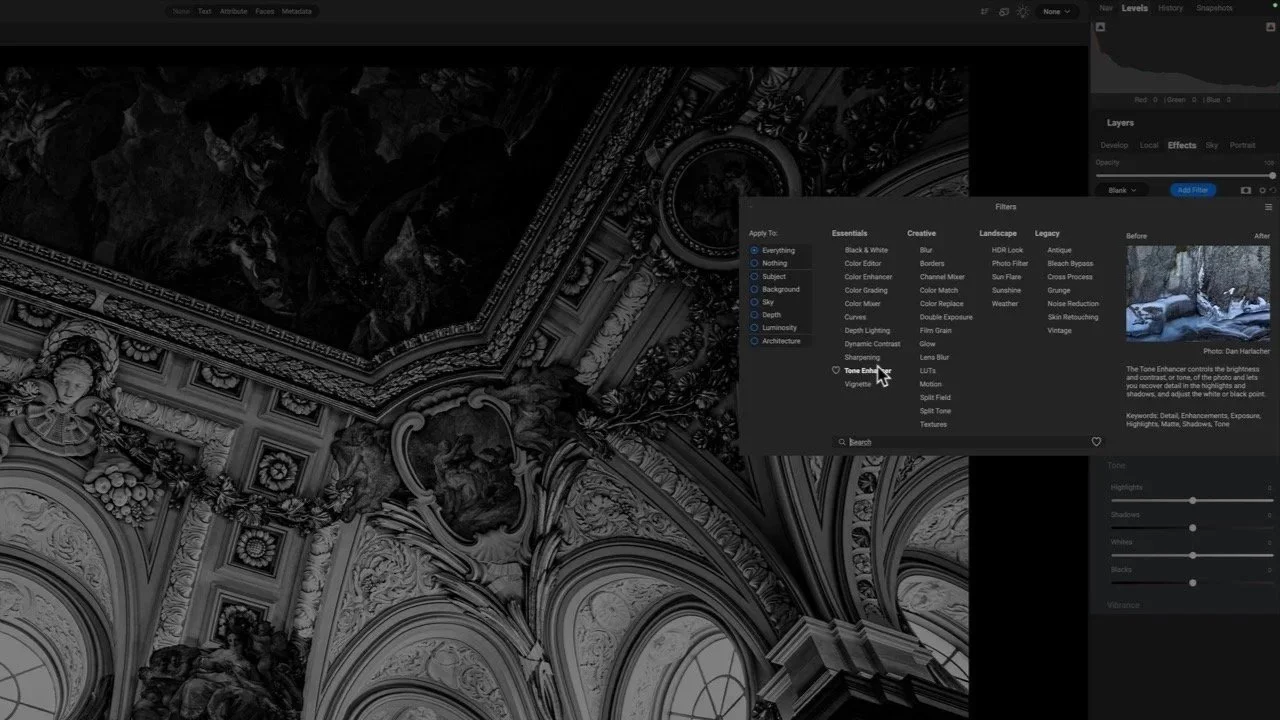
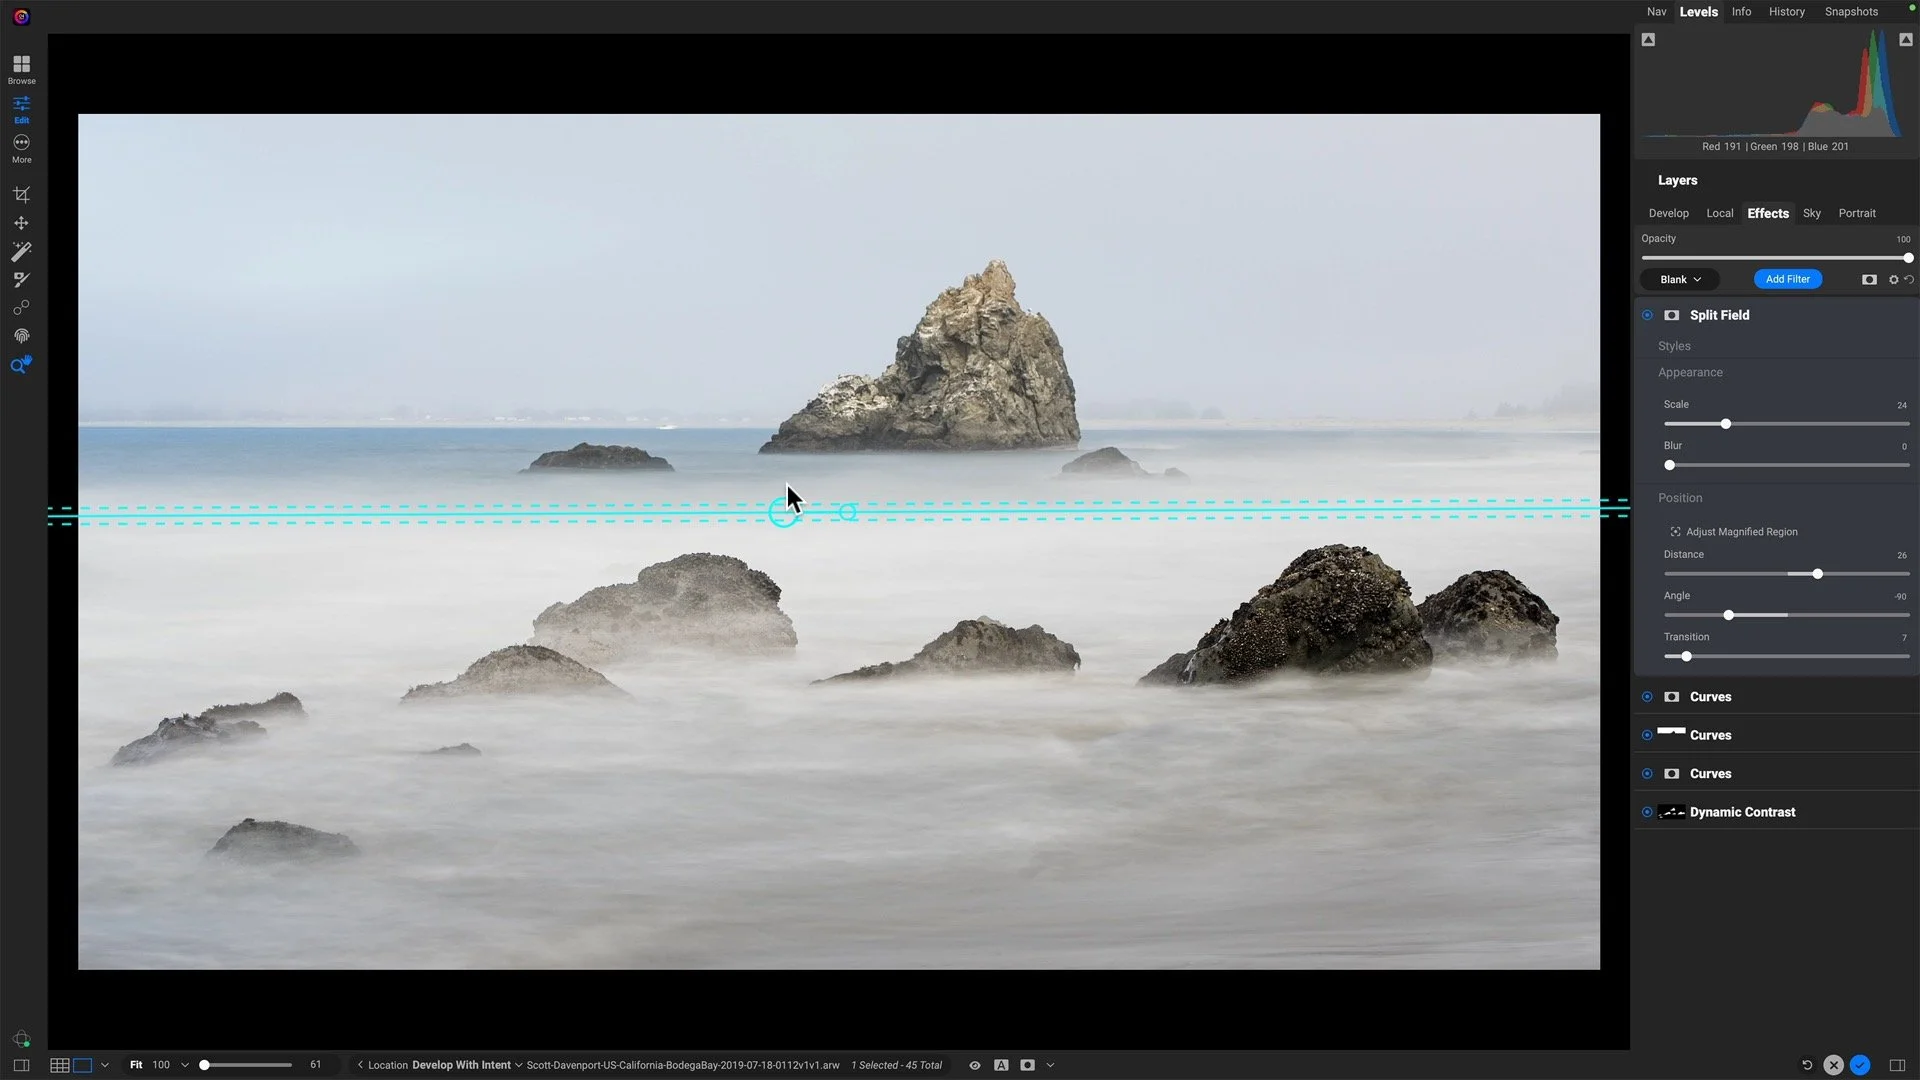
Most of my images go through ON1 Effects during my editing workflow. I’m adding style with filters like Dynamic Contrast or applying Color Adjustments. Did you know that the ON1 Effects plugin also supports layers? When I have a couple of images to blend into a single composite, I’ll send them into Effects and do my layer blending there. Then when my composite is done I’m ready to add style and finish the editing.
Step 1 - Select The Images and Open As Layers
From host programs like Lightroom, select the images to open and use the Open As Layers option for the ON1 Effects plugin. The selected images are combined into a single photo document (like a Smart PSD) and each individual photo is put on its own layer.
Step 2 - Rename The Layers
In the Layers pane in Effects, double-click on each layer and give it a descriptive name. I do this to avoid getting confused about what elements I want to incorporate from each image layer. In this example, I opened two images as layers. I want the Sky from one image layer and the Ocean from the other.
Rename layers to avoid being confused about what elements from each layer you want in your composite.
Step 3 - Blend With Layer Masks
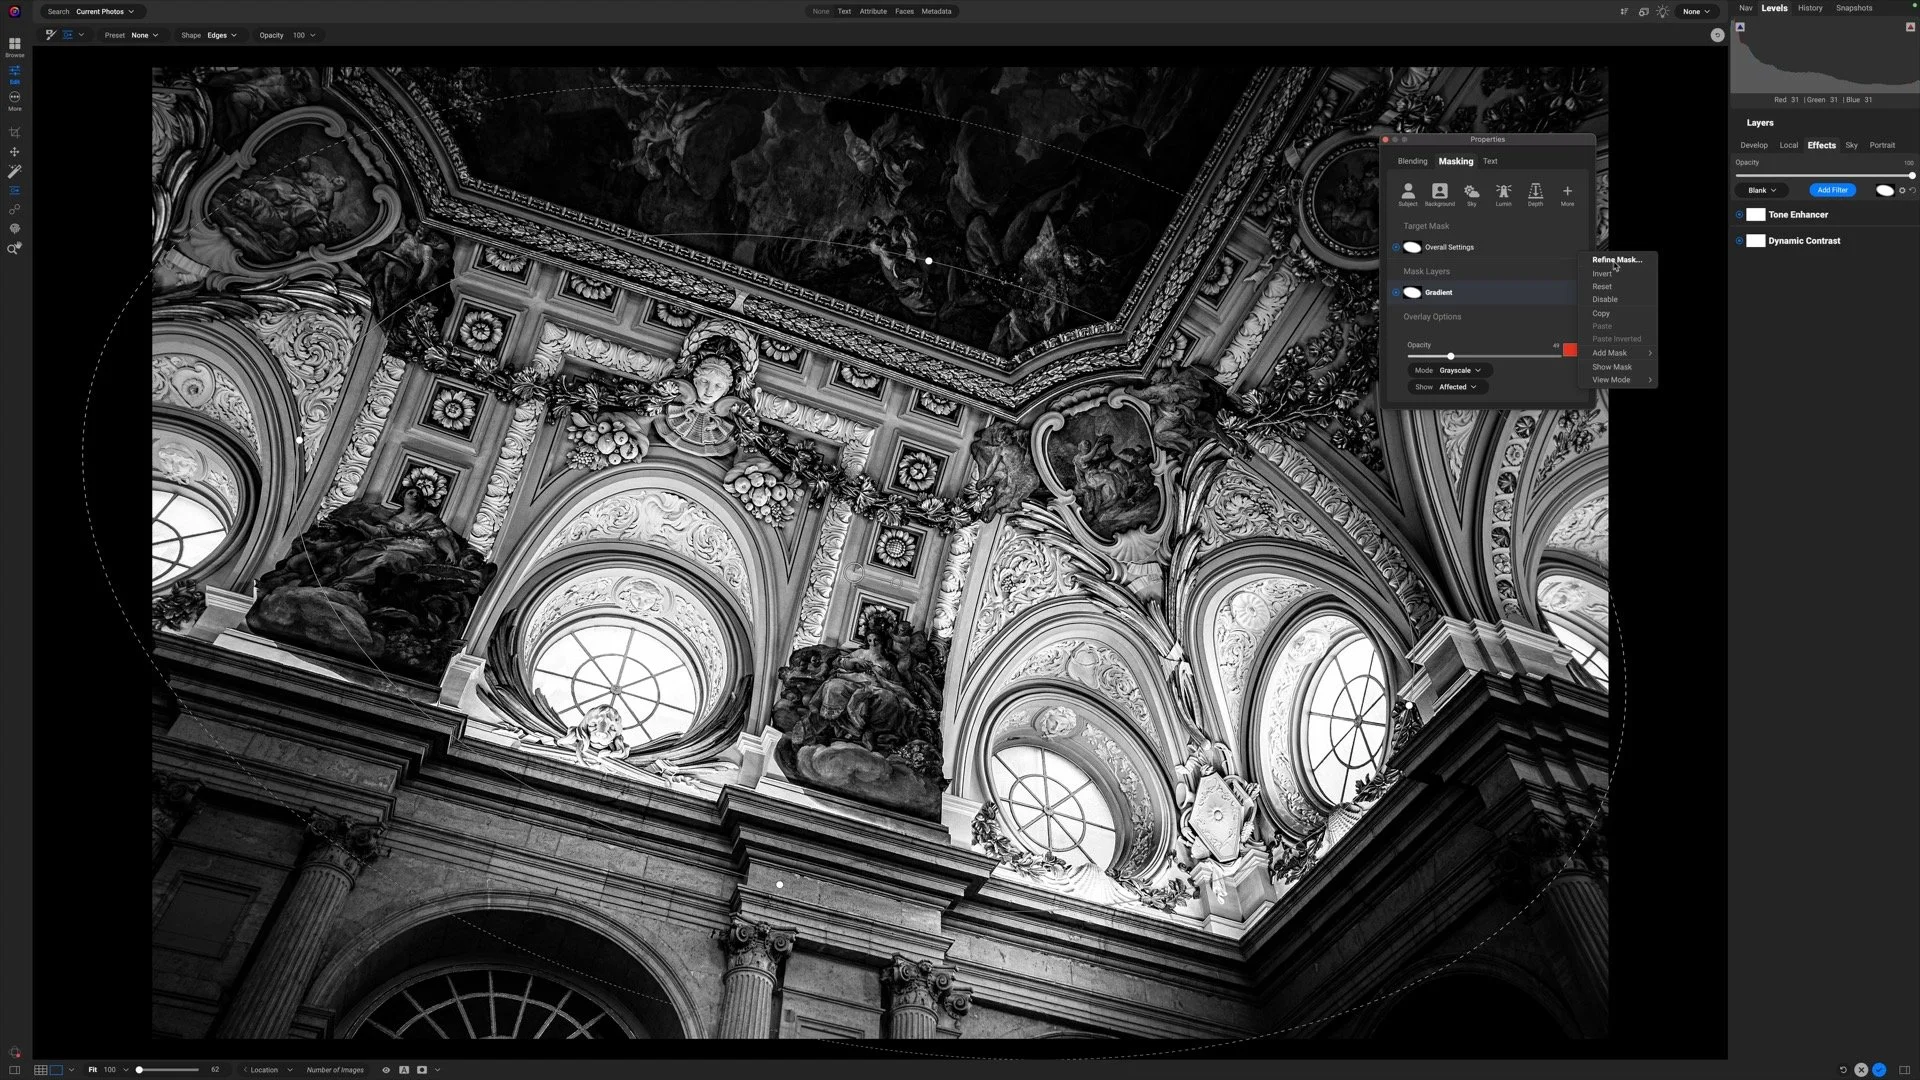
Next, add a layer mask to hide unwanted elements on the top layer and reveal elements from the bottom layer. In this example, I use a gradient mask to hide the sky from the top layer, revealing my preferred sky on the bottom layer. The ocean and foreground on the top layer remain visible.
Because I captured both images moments apart using a tripod, I do not need to worry about image alignment.
Use layer masks to create the composite.
Go Further!
Do you have a more complex composite to do? Leverage the layer blending modes to help. Watch the video to see how I duplicated a layer and used the Darken blending mode to re-add the fisherman into the scene.
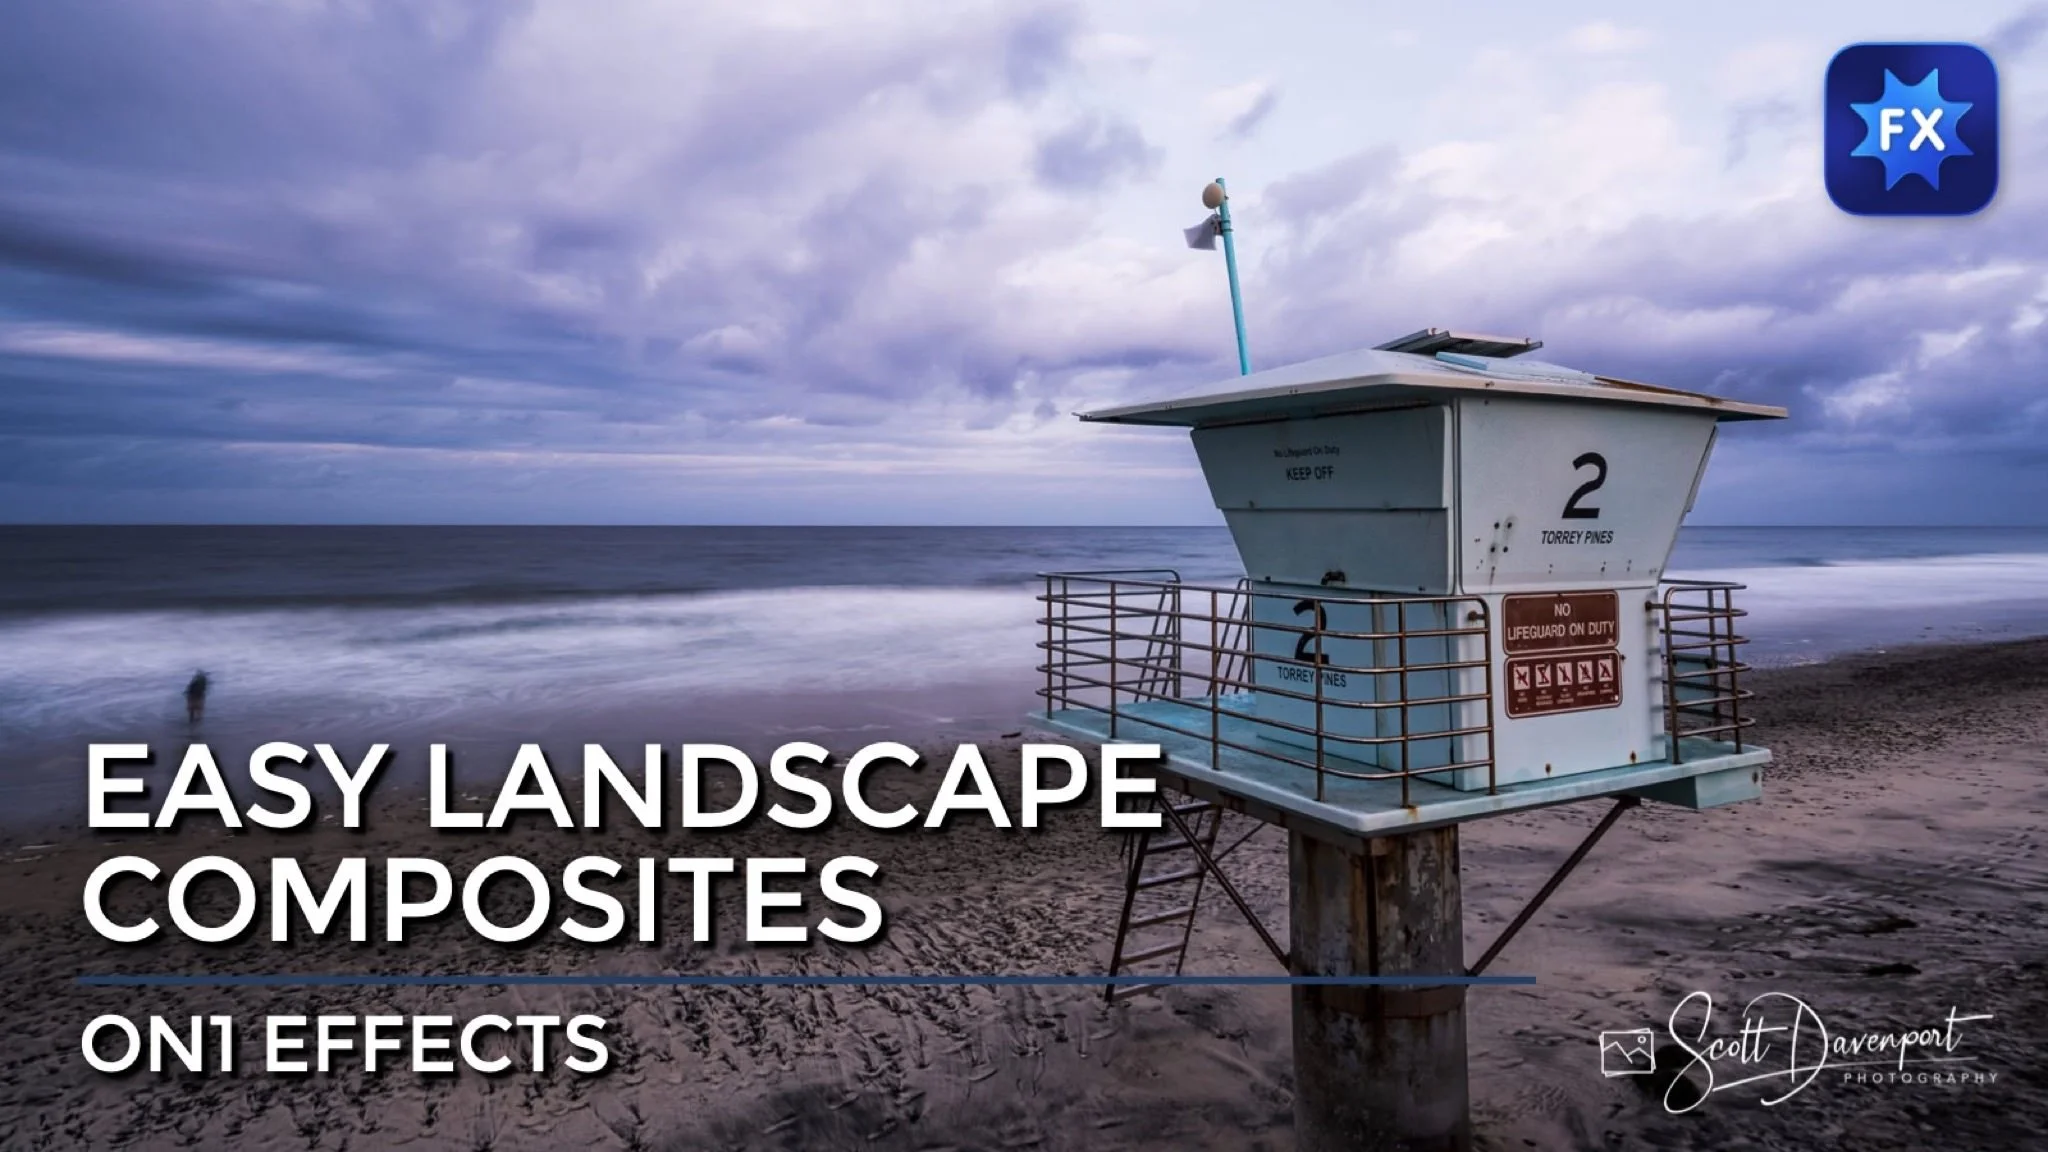
Torrey Pines Tower 2, October 2023
Contact Scott to commission a print or license this image.
