Make Powerful Lightroom Presets By Including Masks In Them
Presets have traditionally been global adjustments that modify the entirety of your photo. Sliders are set in fixed positions in the hopes that they look good across a wider breadth of photos. The new masking experience in Lightroom opens up new opportunities for more intricate and powerful presets. Lightroom presets can include masks and for certain masks - especially luminance and color range masks - your presets can become “tonally aware” or “color range aware”.
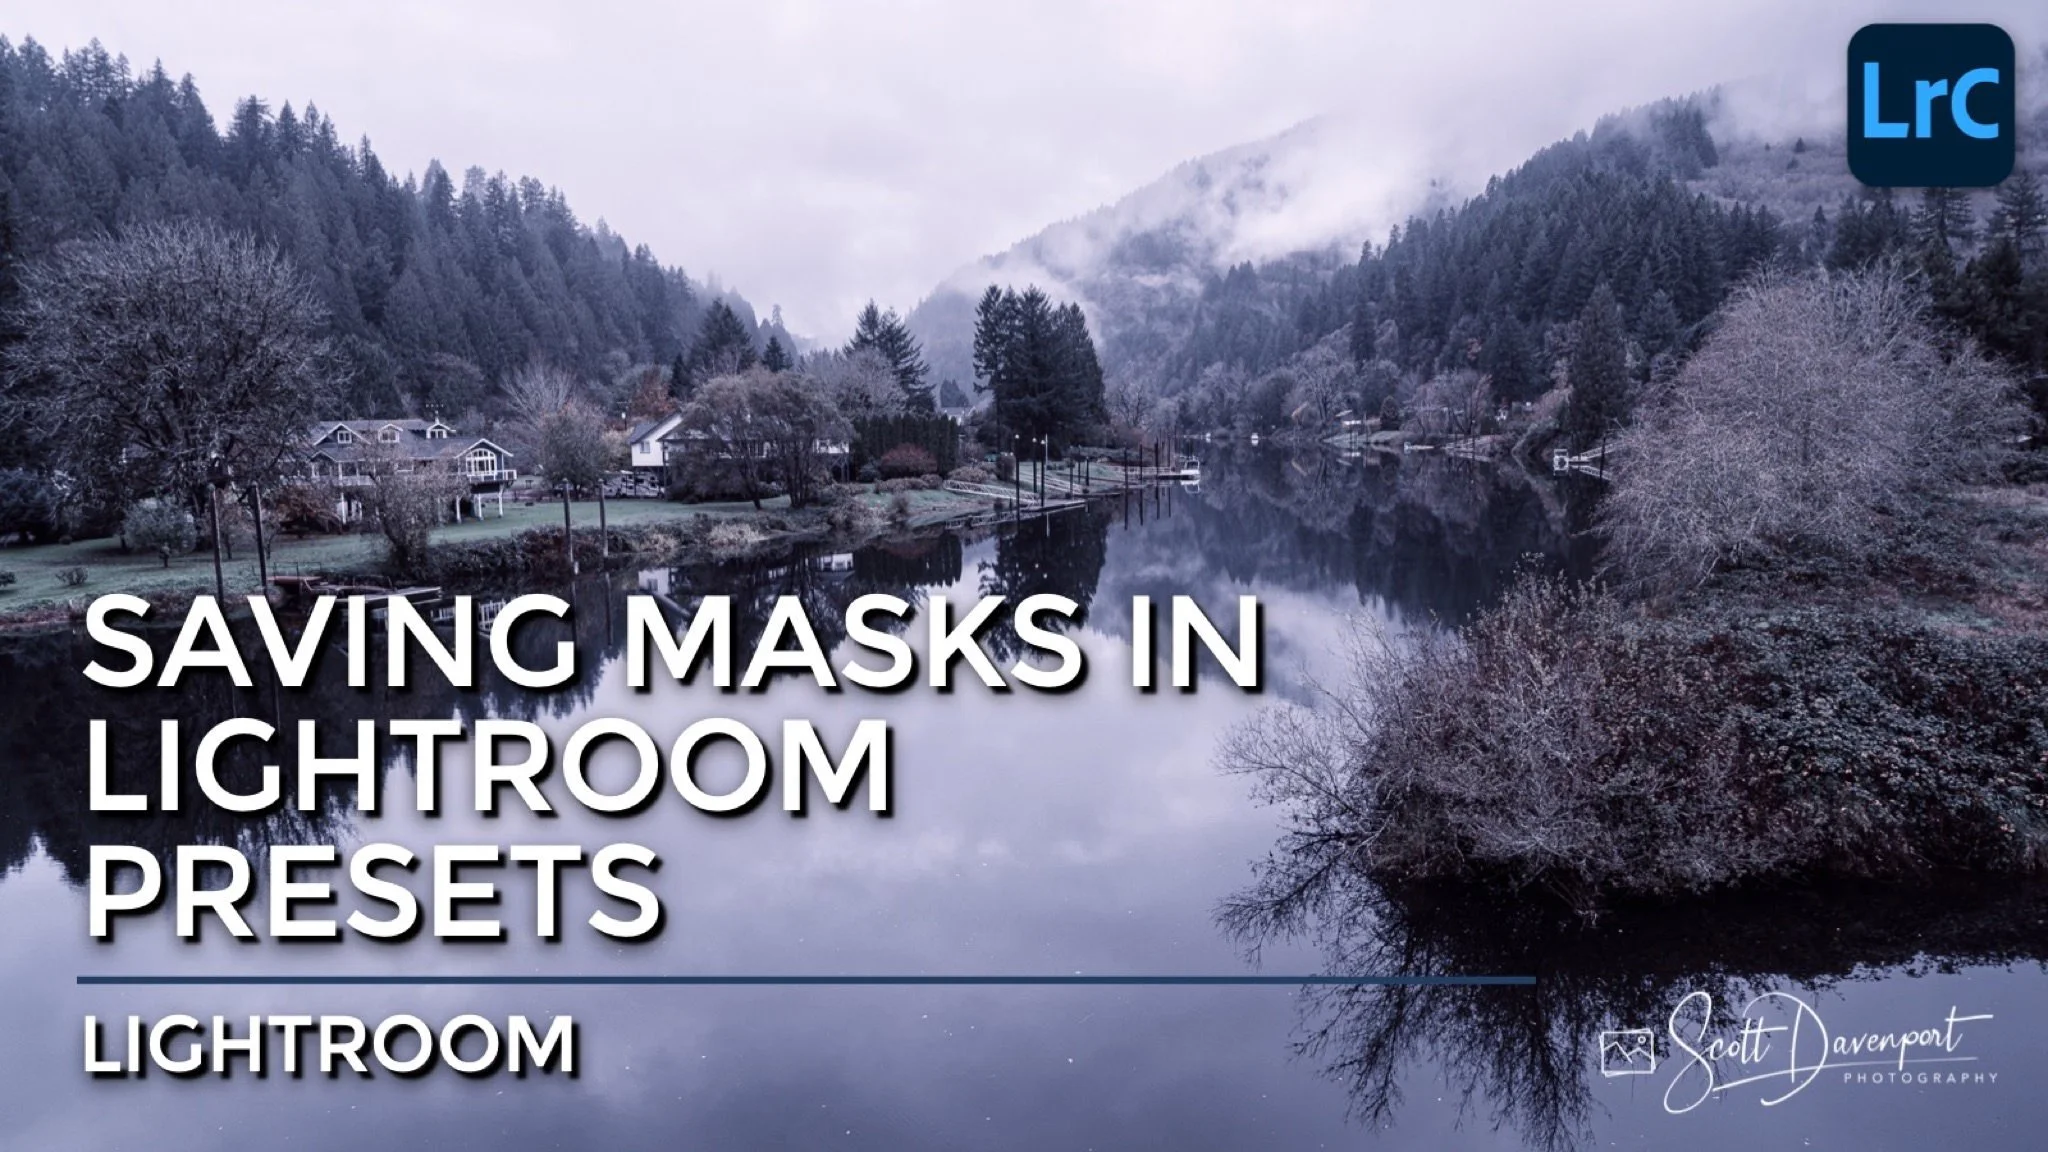
An Example Look
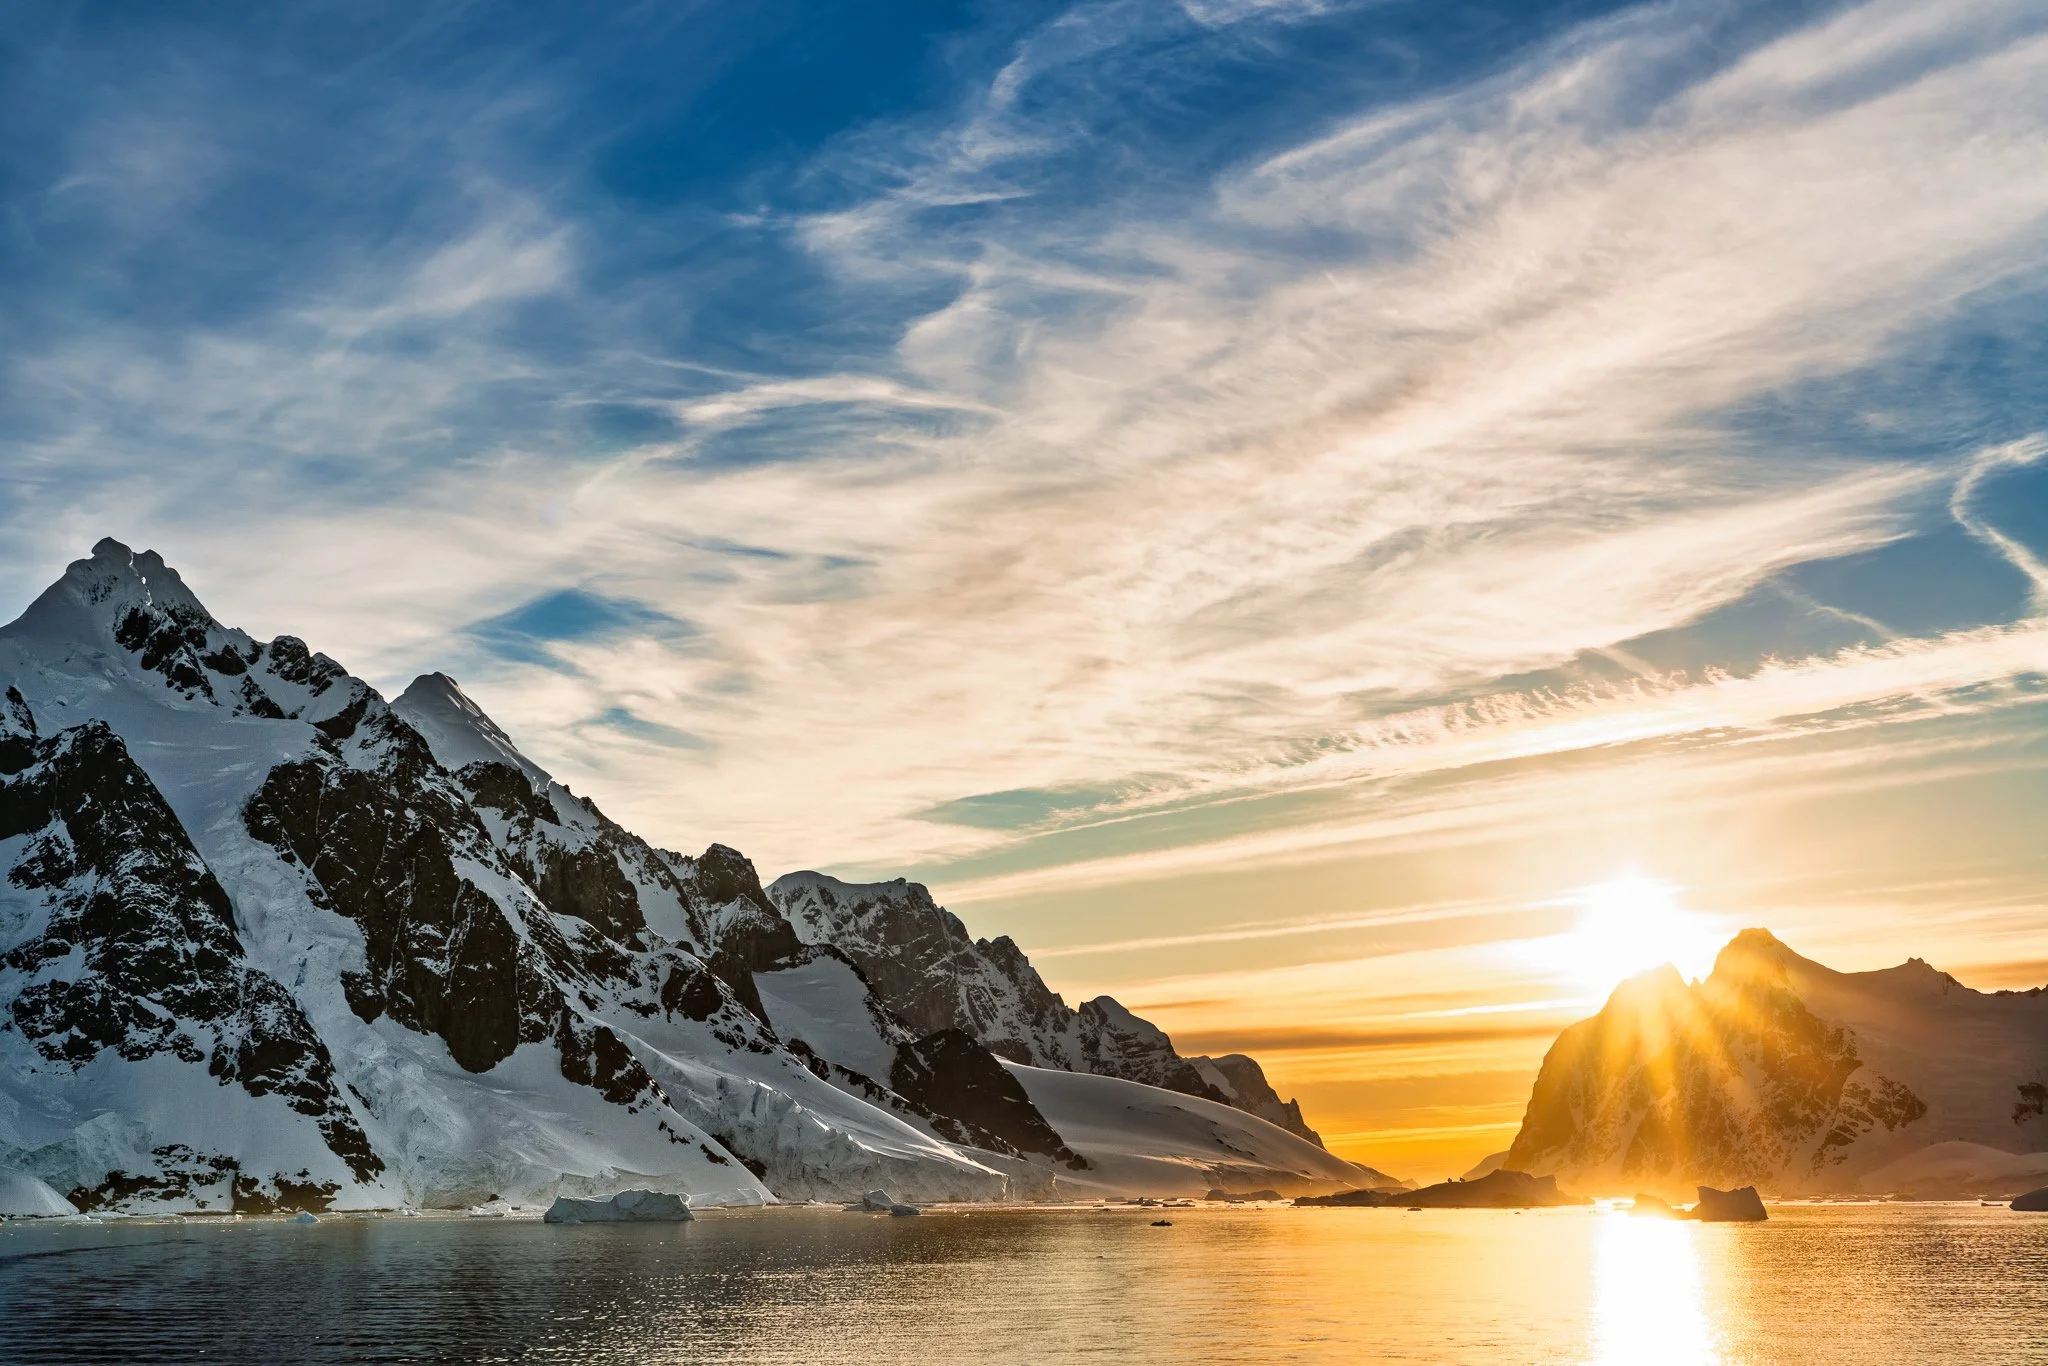
In this photo, I crafted a cold, wintery look for this landscape scene. In addition to the global adjustments, several masks were used. Some of the masks are luminance range masks, another uses the AI-powered Select Sky mask type.
A cool, wintery look crafted with global sliders and several masks.
The masks used to create the look include luminance range masks and an AI-powered sky selection.
How To Save Masks In Lightroom Presets
I like the look and want to save it as a preset. The masks and treatments I added in this look are not unique to the subject in my photo or their placement. Rather, they are tonal-based adjustments and leverage Lightroom’s sky detection AI. They can readily apply to many other photos - even when the subjects are entirely different.
When saving a Develop preset, you have the option to include the masks. Notice the Masking area lists all the masks I’ve added to this photo. I have the option to select some or all of the masks.
Include masks in your Lightroom Develop presets using the Masking area in the New Develop Preset dialog. Select some or all of the masks to save.
Notice the warning triangle next to “Mask 3”. That is the mask for the AI-powered sky selection, and Lightroom notes that the mask needs to be regenerated when the preset is applied to a new photo. Not a problem at all. Detecting a sky only takes a moment or two. You’ll see that in a moment.
Apply A Preset With Masks
Applying a preset with masks to another photo is the same as any other preset. Pick your photo, select the preset from the Preset navigator, and you’re done. Luminance Range and Color Range masks are applied using the tonal and color information from the photo being developed, not the photo used to create the preset. That’s powerful! Presets leveraging masks like this can deliver much more targeted and nuanced looks to a wide variety of photos, without the need to recreate masks and reapply slider adjustments.
Apply a preset containing masks just like any other preset.
The masks from the preset are applied. Luminance Range and Color Range masks use the tones and colors in the image being modified - not the image used to create the preset.

The AI-powered Sky and Subject masks can be updated after applying a preset to a new photo. Click the Update button in the masking area.
Remember that warning triangle when the preset was created? It’s worth checking the masks area to see if the preset has any of the AI-powered types that need to be updated. If a mask has a warning triangle on it, select it and click the Update button in the masking area.
Again, the AI detection applies to the photo currently being developed. The sky can be in a very different position than the photo used to create the preset. The subject of the photo can be entirely different as well.
What Masks Are Good To Include In Presets?
Lots of masks are good candidates to include in your presets. Luminance Range and Color Range masks are excellent choices. The AI-powered adjustments are good as well. Radial and Linear Gradient masks are also useful in presets. Just know you’ll most likely need to adjust the position of the pins and perhaps the feather to suit different scenes.
Complex masks that use intersections are OK as well, with consideration. An example could be a spotlight glow created using a Radial Gradient intersected with a Luminance Range to affect only the highlights within the radial. The position of the radial will likely need adjustment - but you’ll save time not having to re-create the masks or the slider adjustments.
The only mask type that doesn’t fit the preset model well is the Brush mask. Brush strokes are almost always specific to the subject matter in the photo. For a series of photos with subjects in the same position, a faster workflow is to treat one photo, move to the next, and use the Previous button to apply the look to a new image.
Have fun!

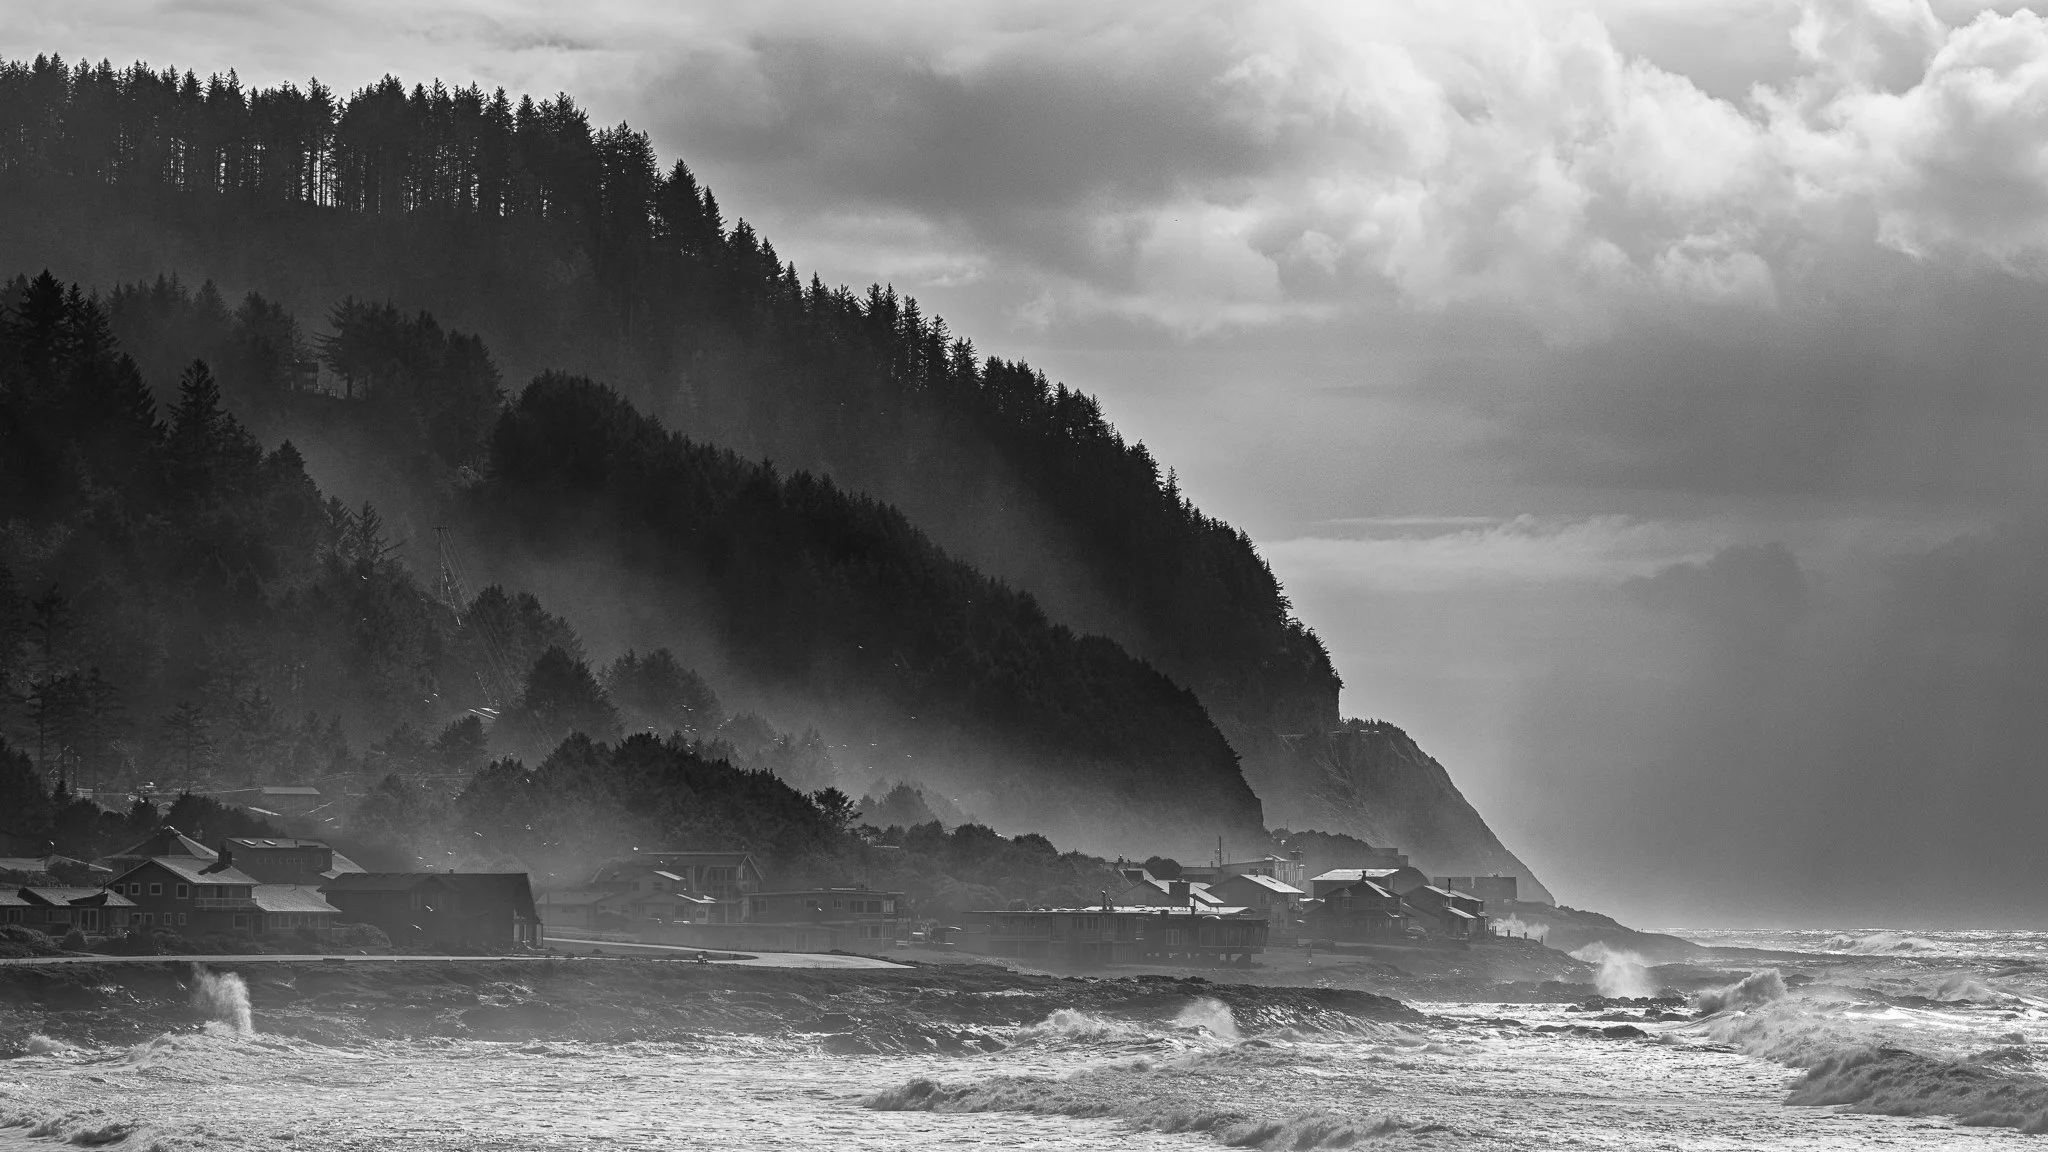
Mapleton Oregon 1
Contact Scott to commission a print or license this image.
Mapleton Oregon 2
Contact Scott to commission a print or license this image.